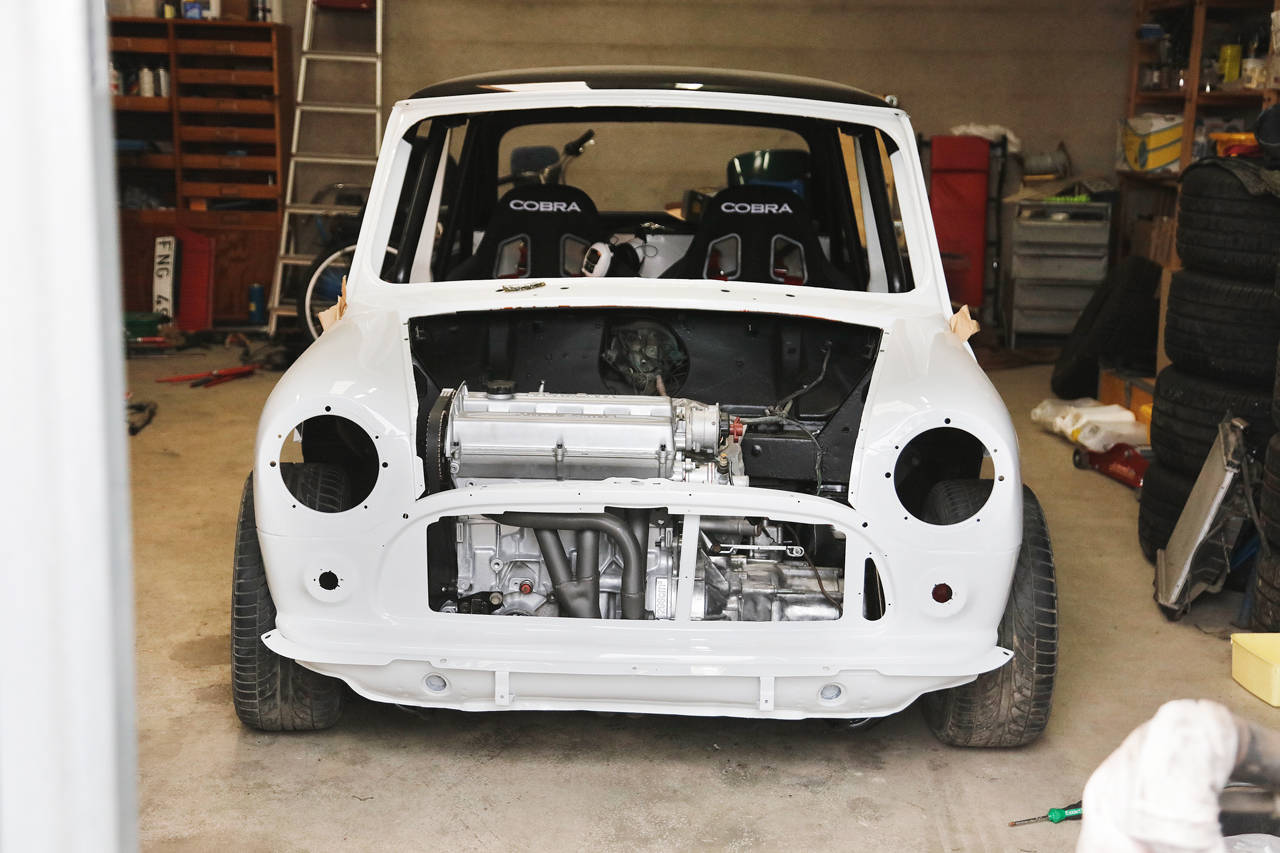
martinhejdesten
3 december 2019
· 484 Inlägg


martinhejdesten
4 december 2019
· 484 Inlägg
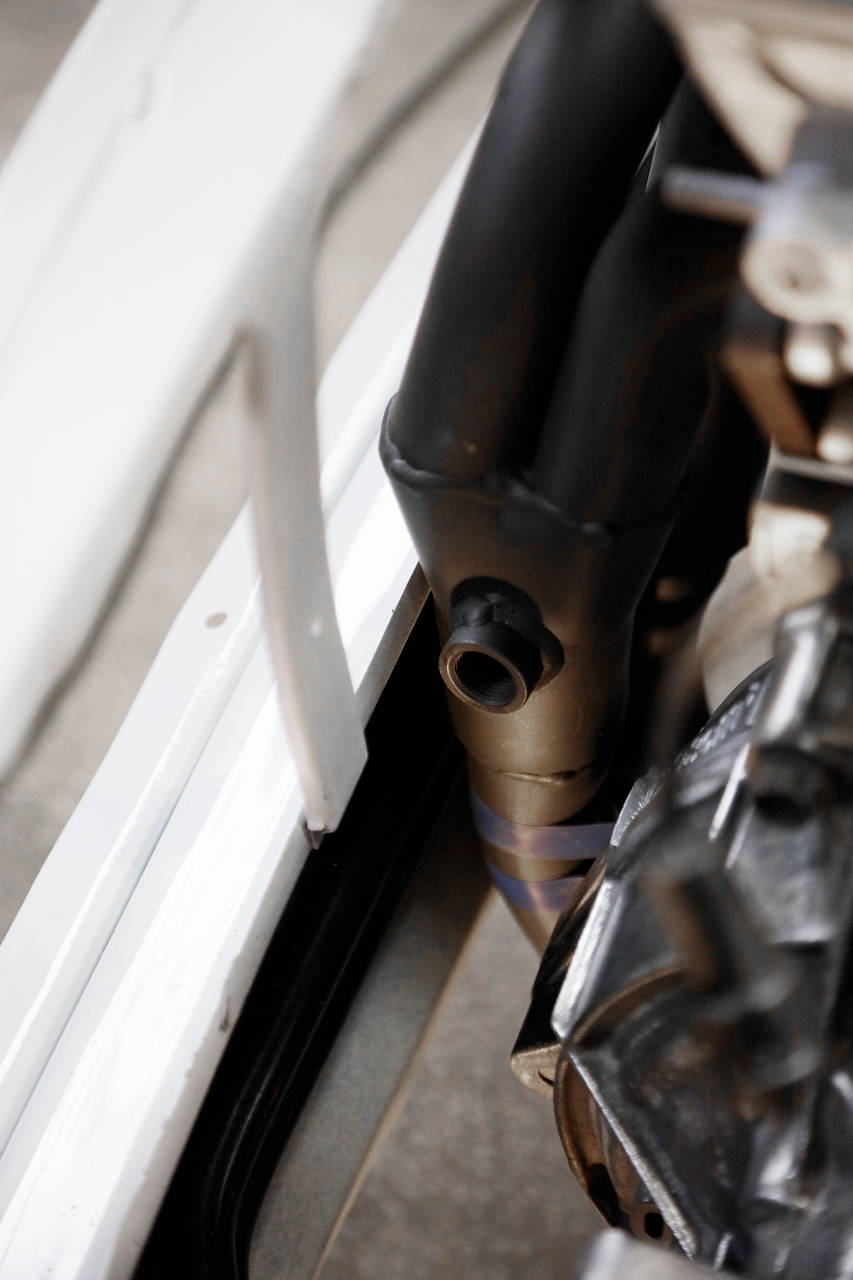
martinhejdesten
13 december 2019
· 484 Inlägg

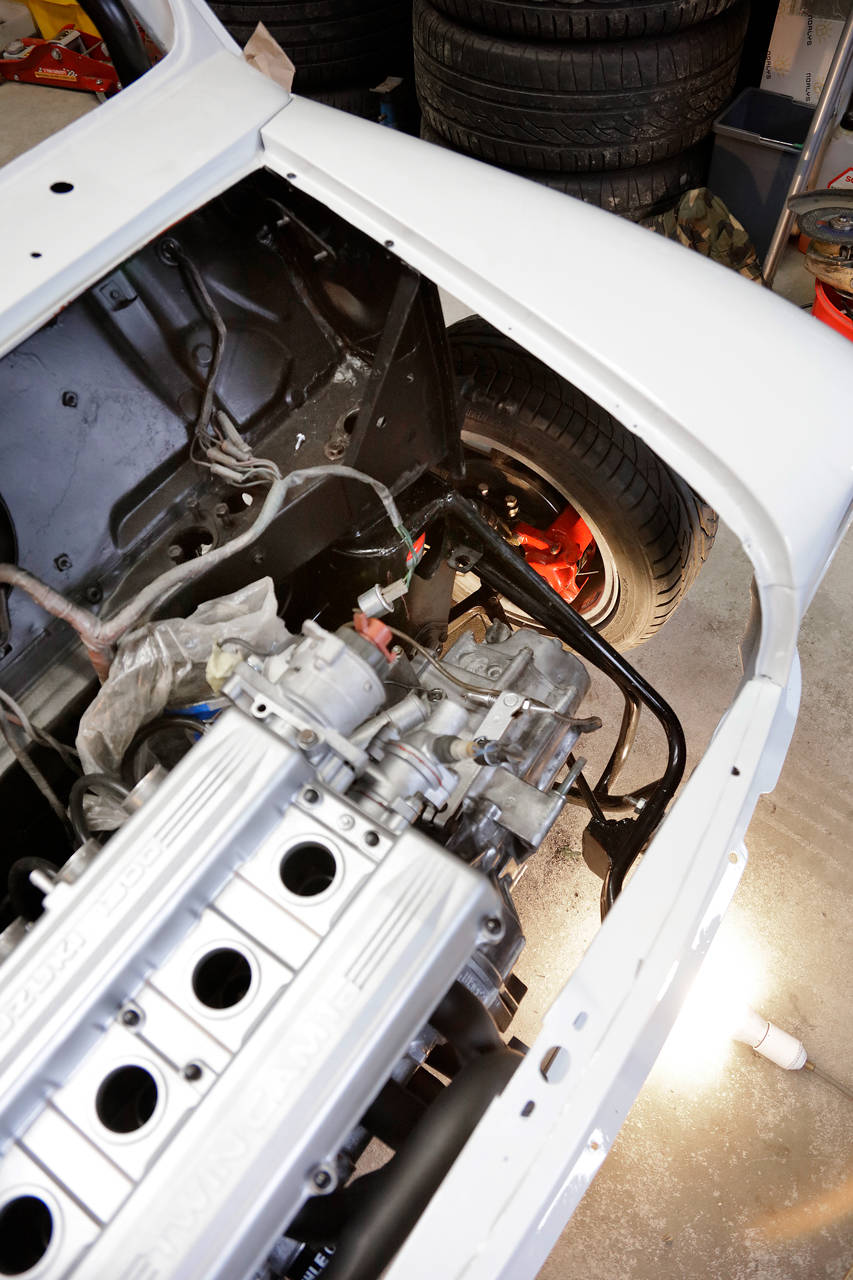
martinhejdesten
13 december 2019
· 484 Inlägg

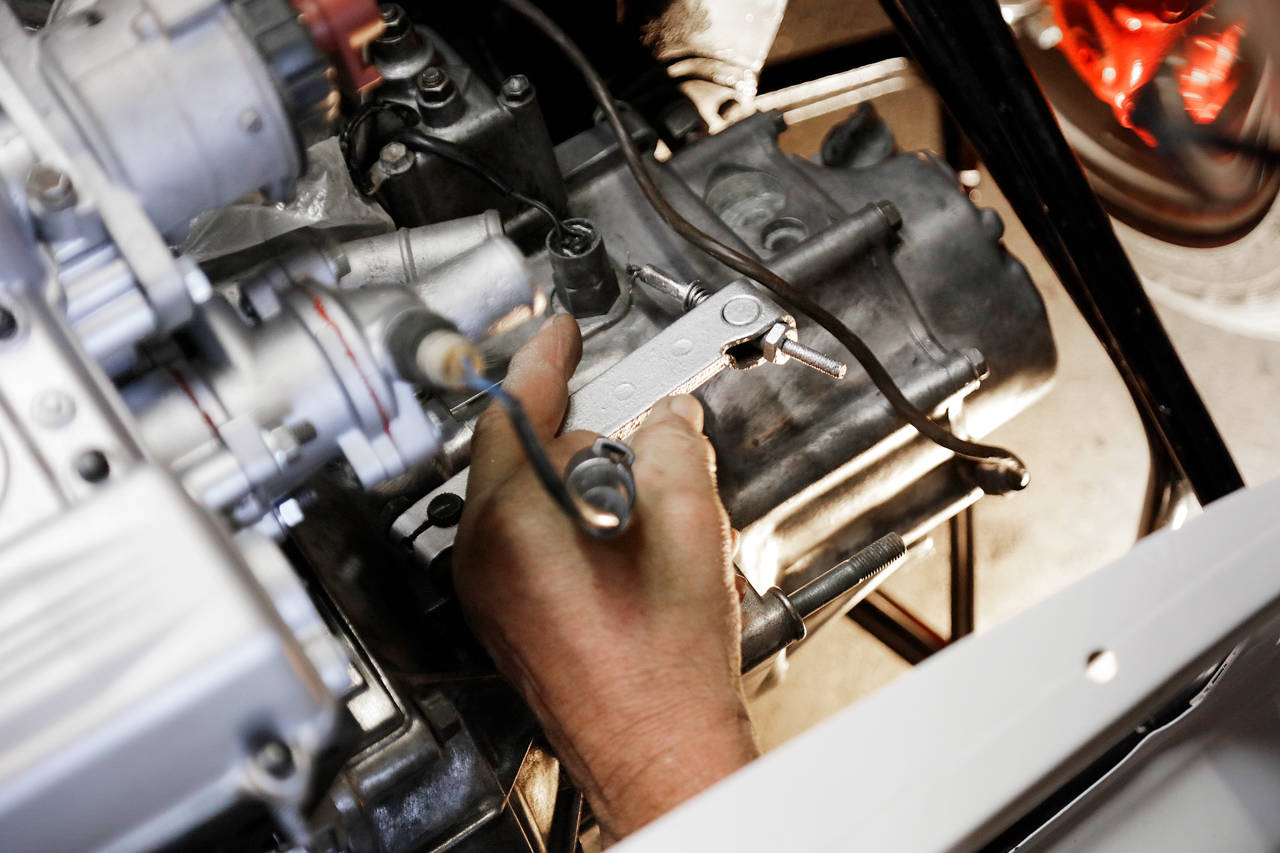
martinhejdesten
19 december 2019
· 484 Inlägg


martinhejdesten
22 december 2019
· 484 Inlägg


martinhejdesten
5 januari 2020
· 484 Inlägg

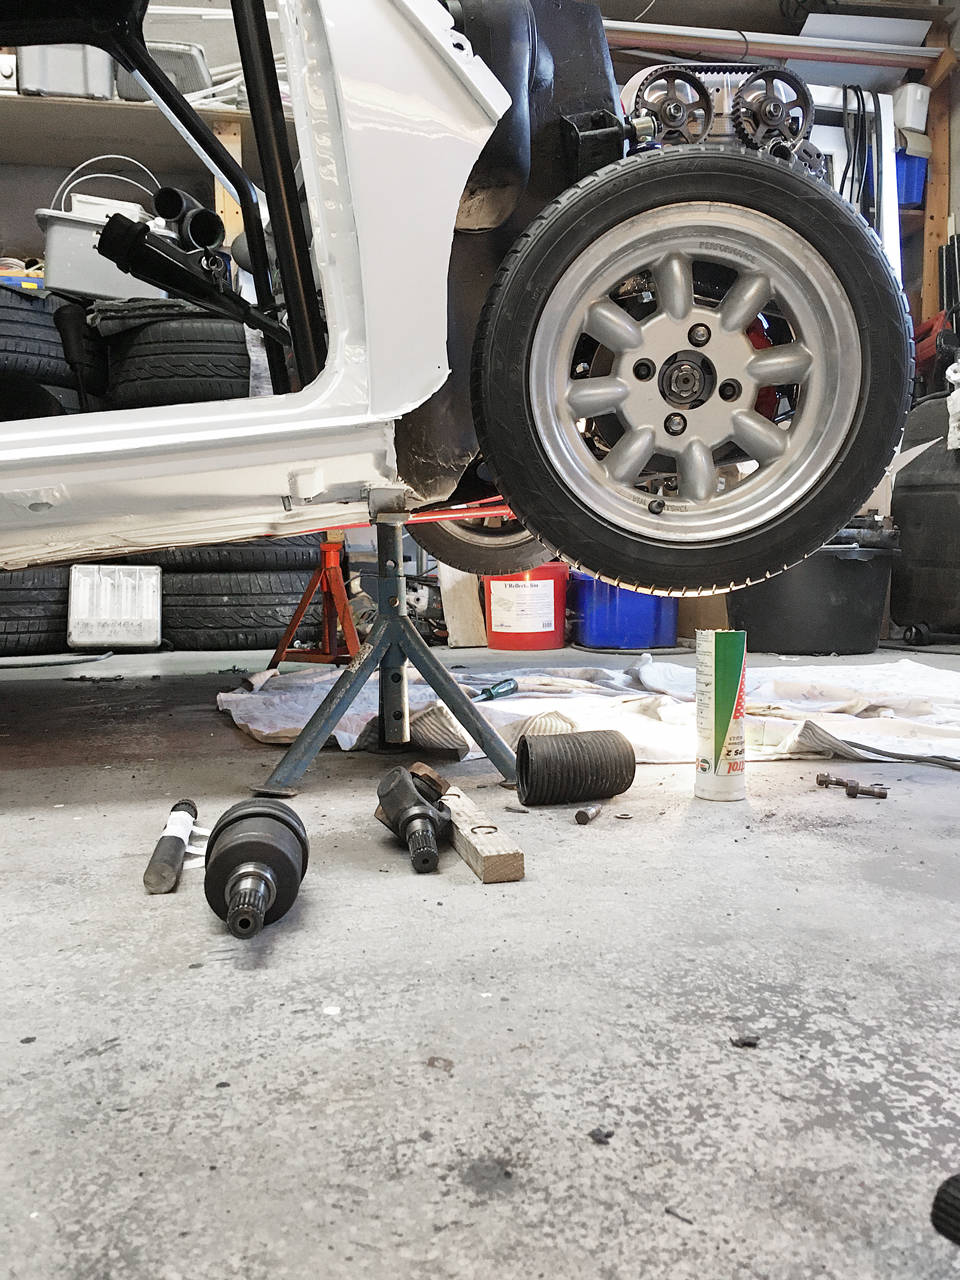
martinhejdesten
9 januari 2020
· 484 Inlägg
zzr9409209
9 januari 2020
· 716 Inlägg
martinhejdesten
9 januari 2020
· 484 Inlägg
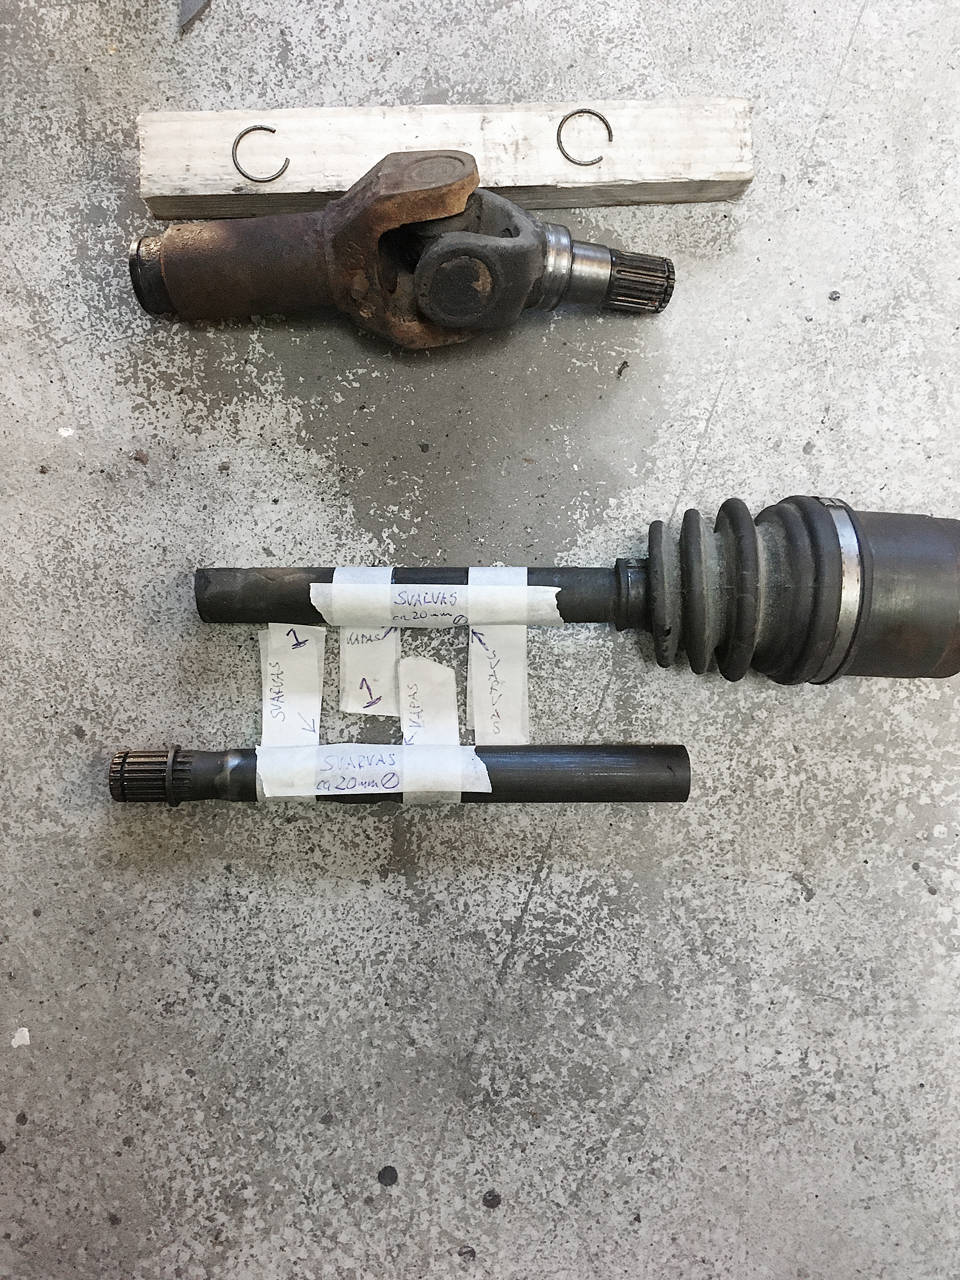
martinhejdesten
11 januari 2020
· 484 Inlägg

zzr9409209
11 januari 2020
· 716 Inlägg
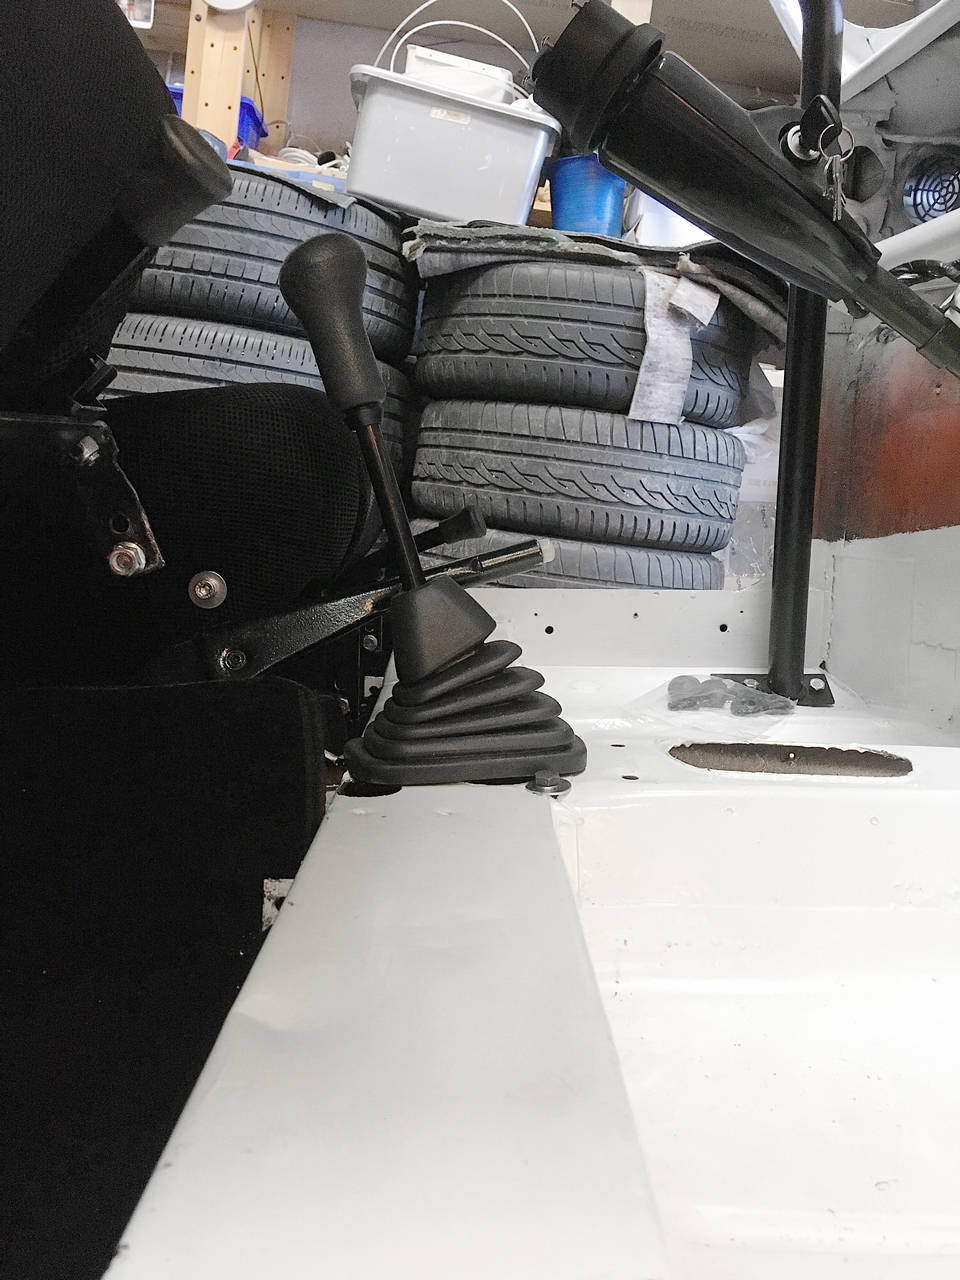
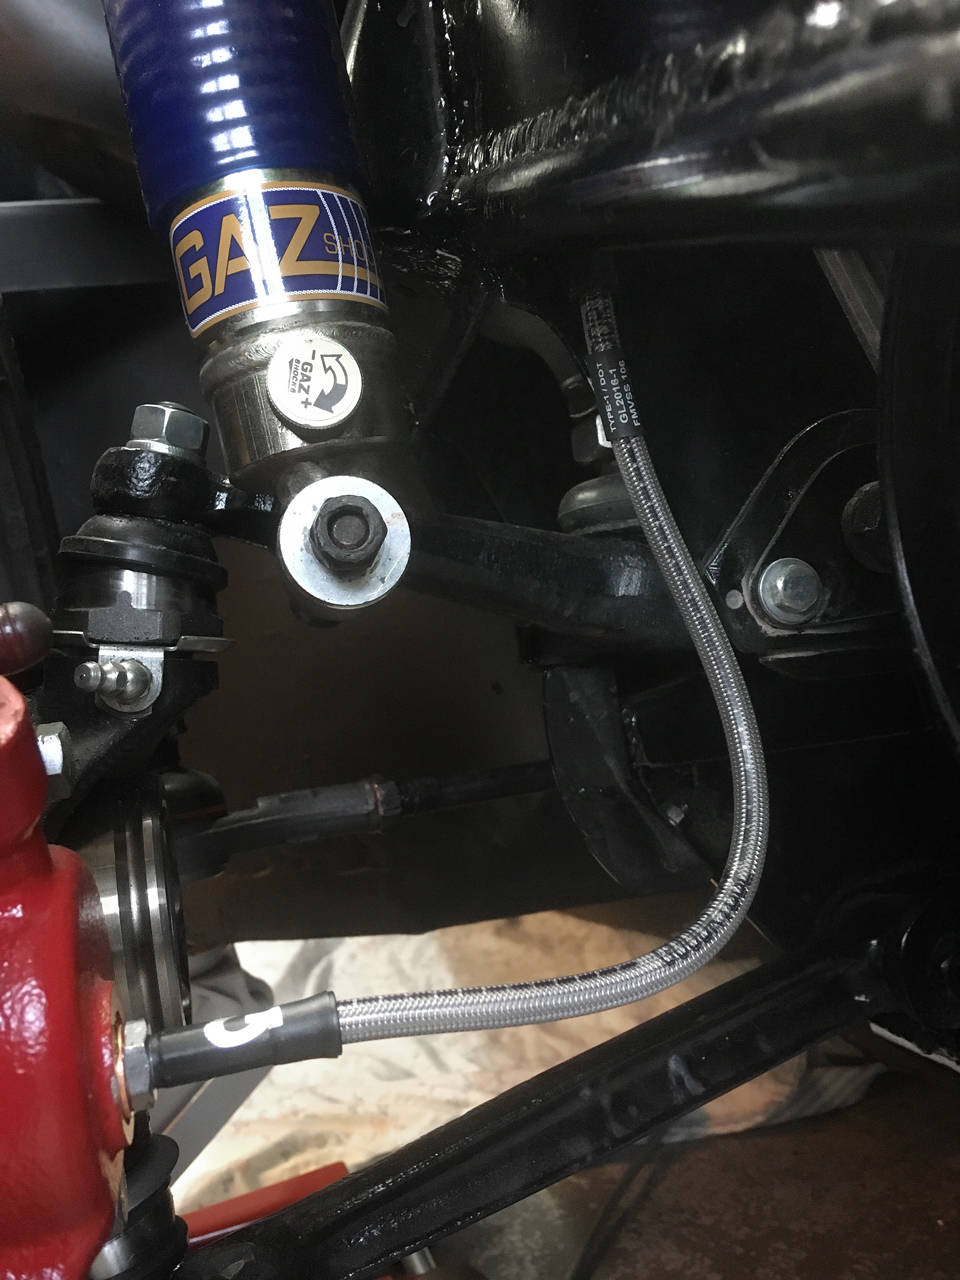
martinhejdesten
12 januari 2020
· 484 Inlägg


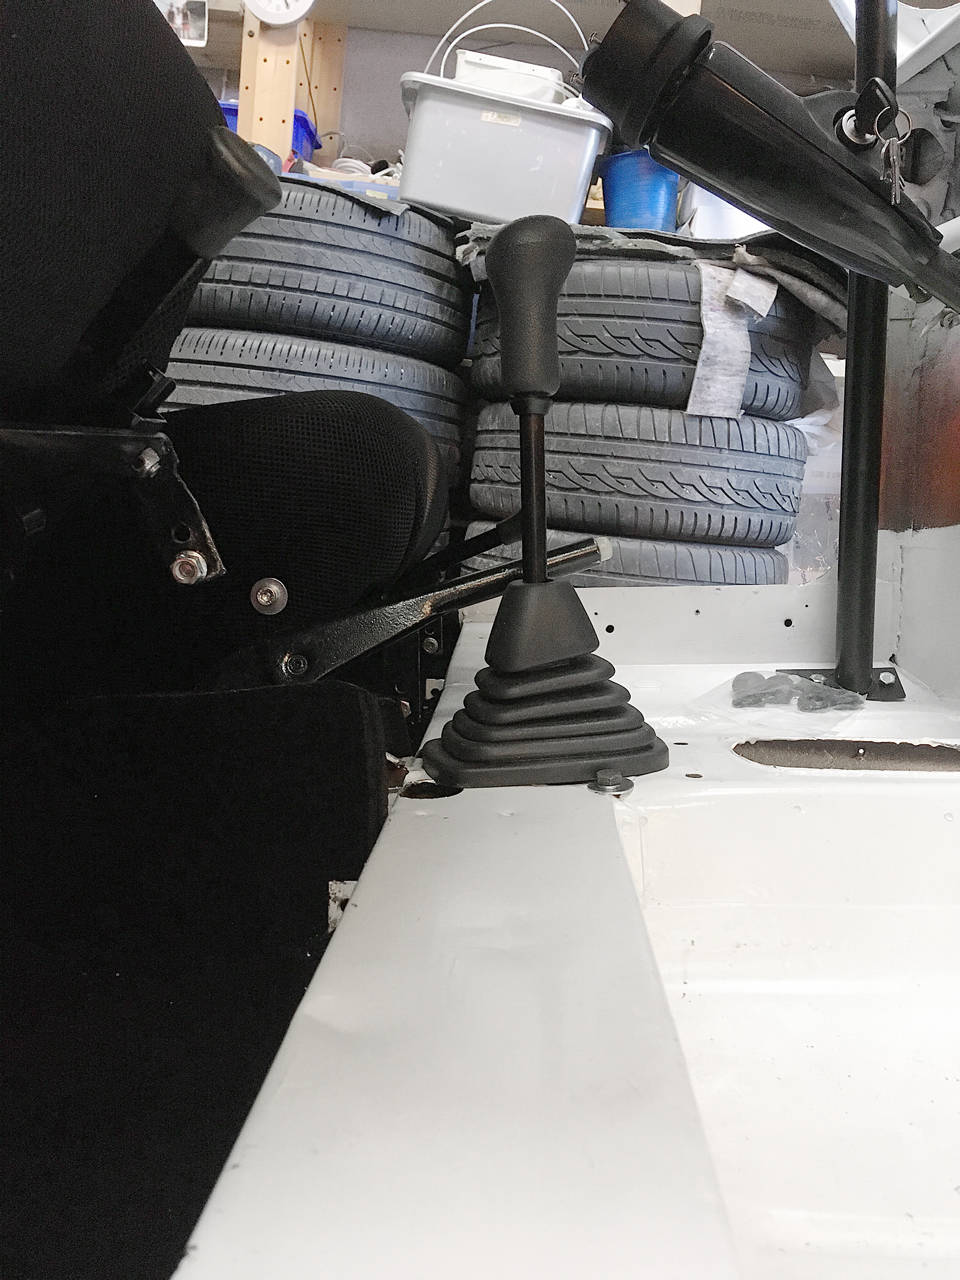
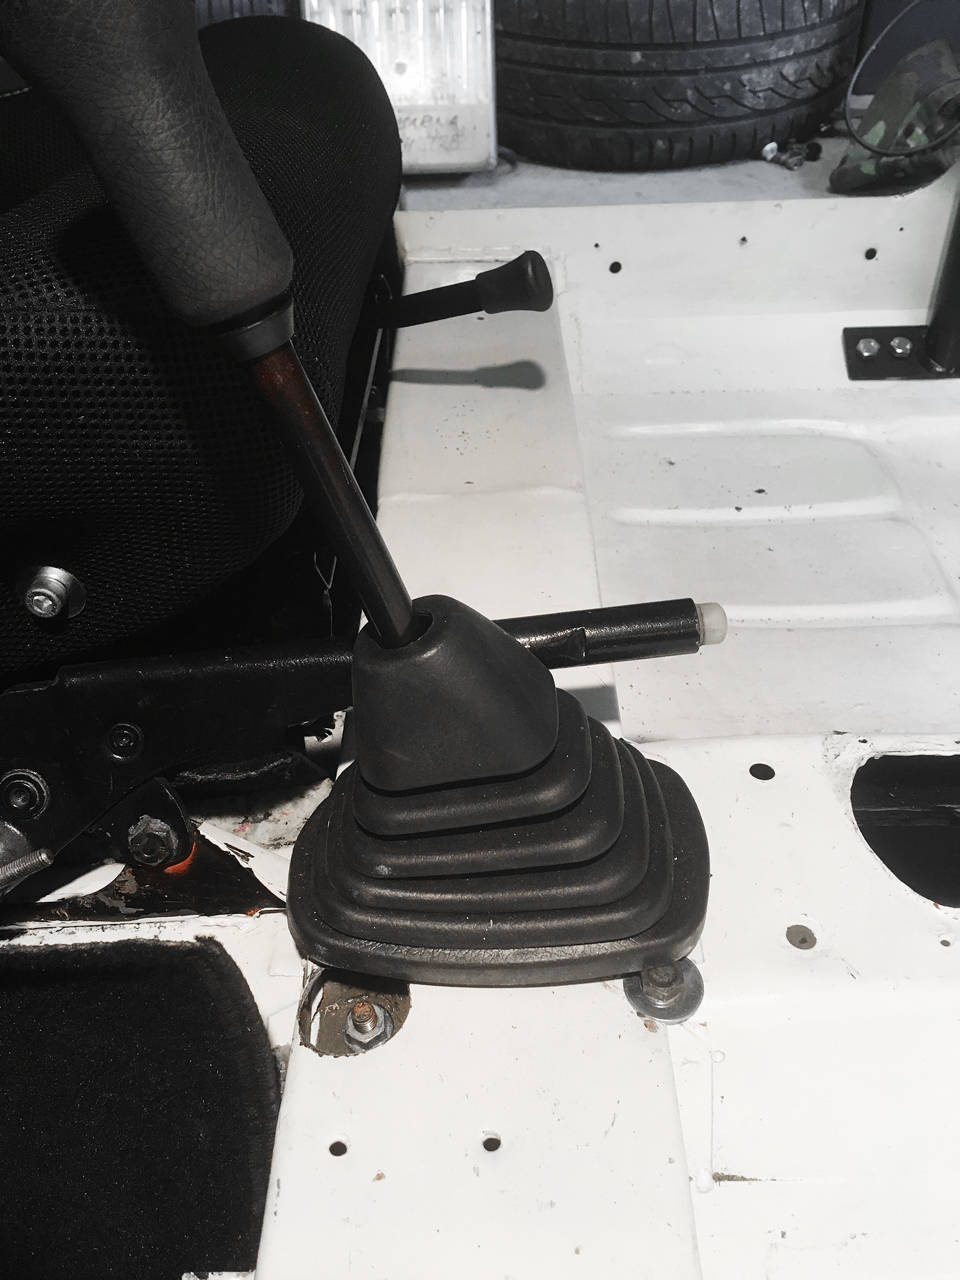
martinhejdesten
12 januari 2020
· 484 Inlägg
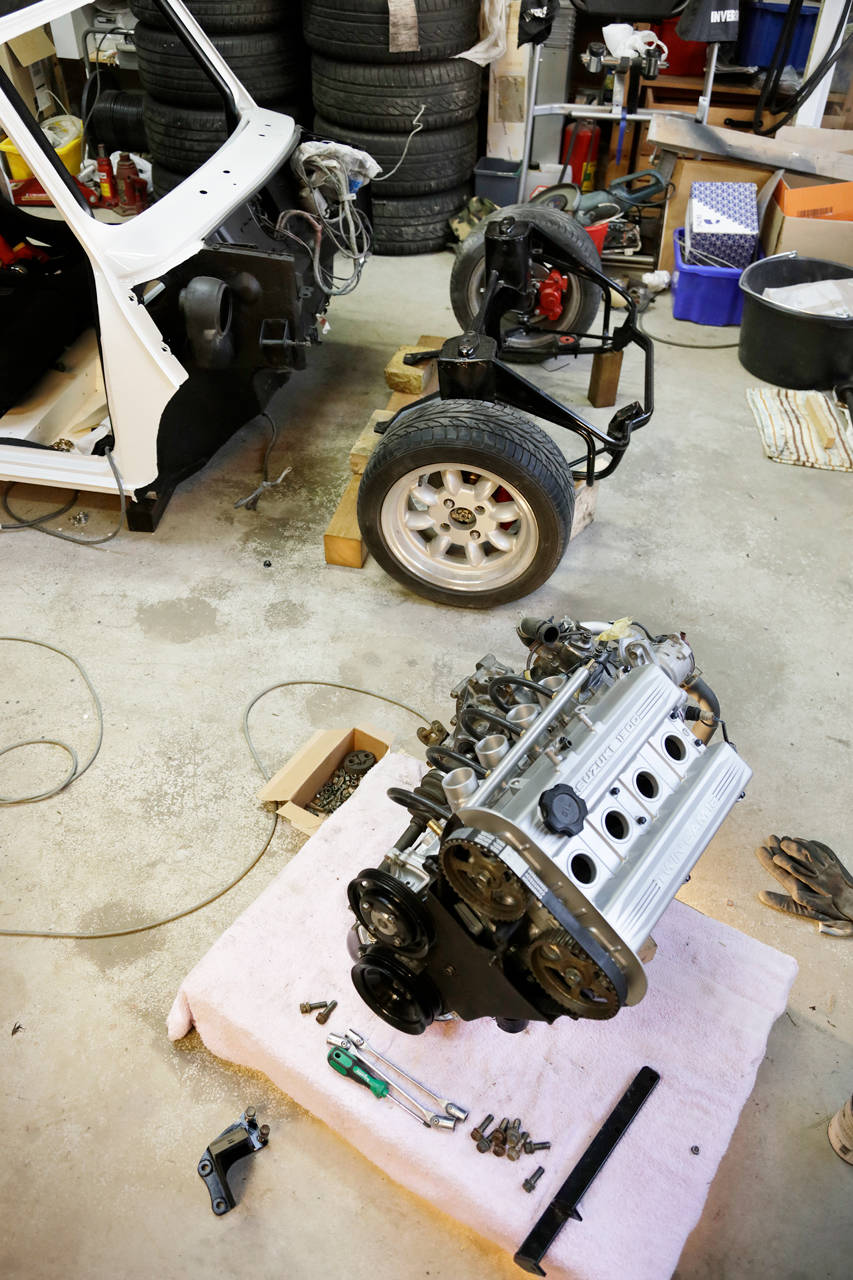
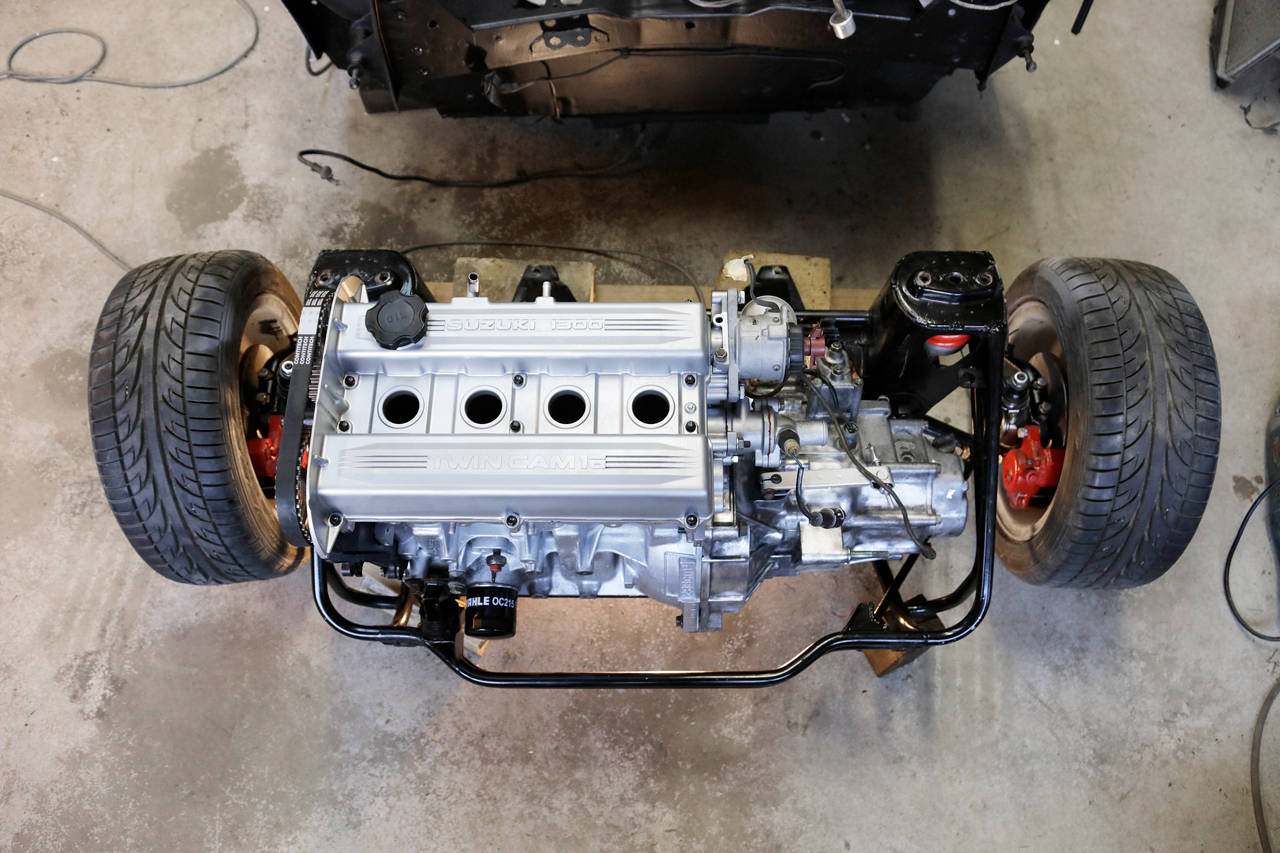
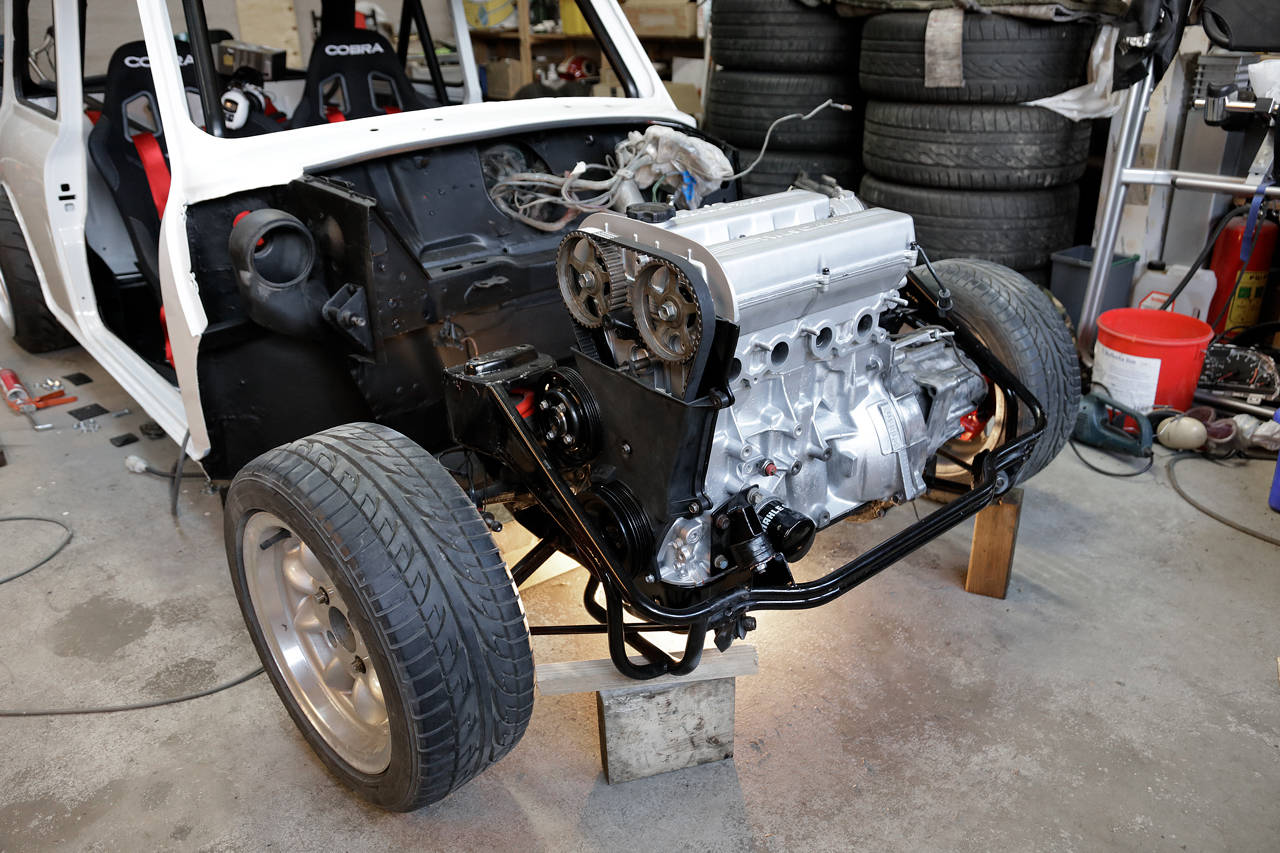
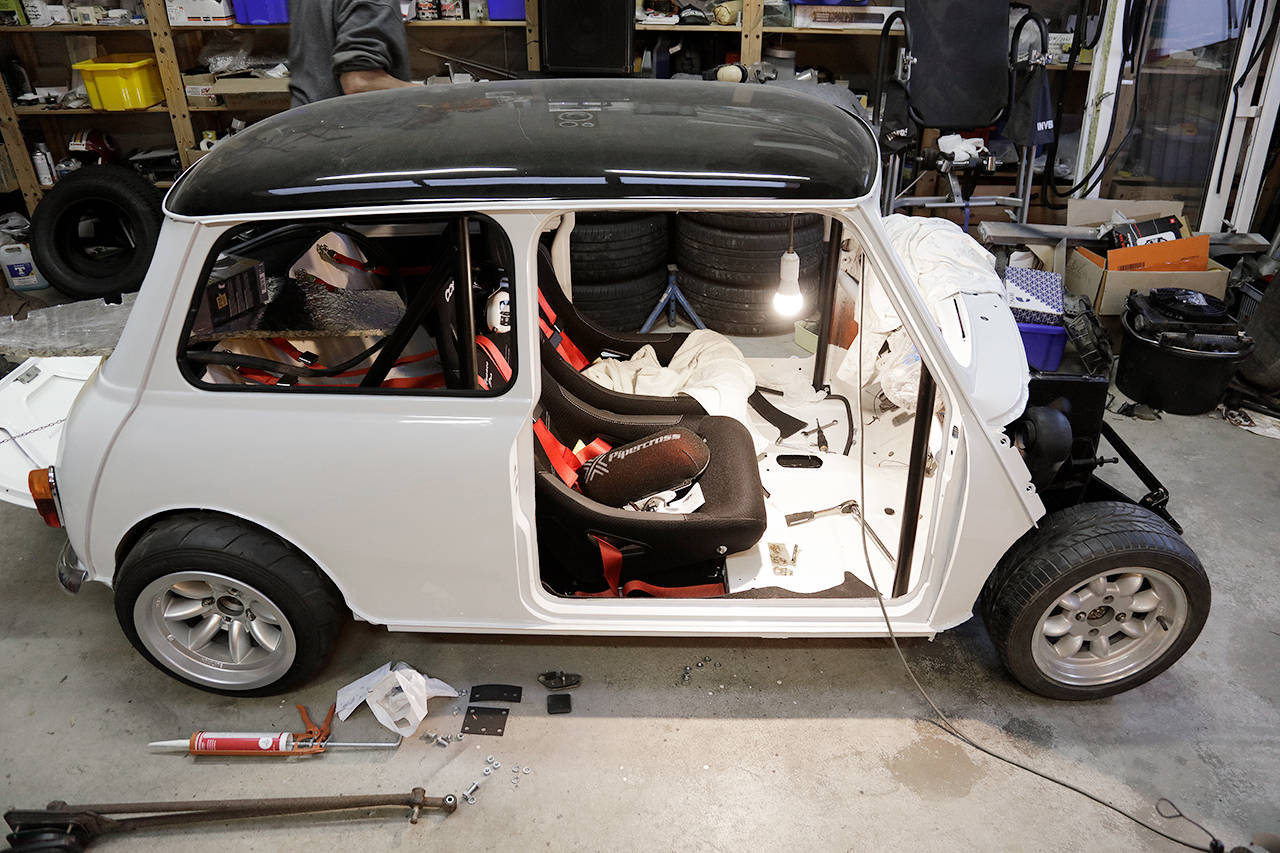
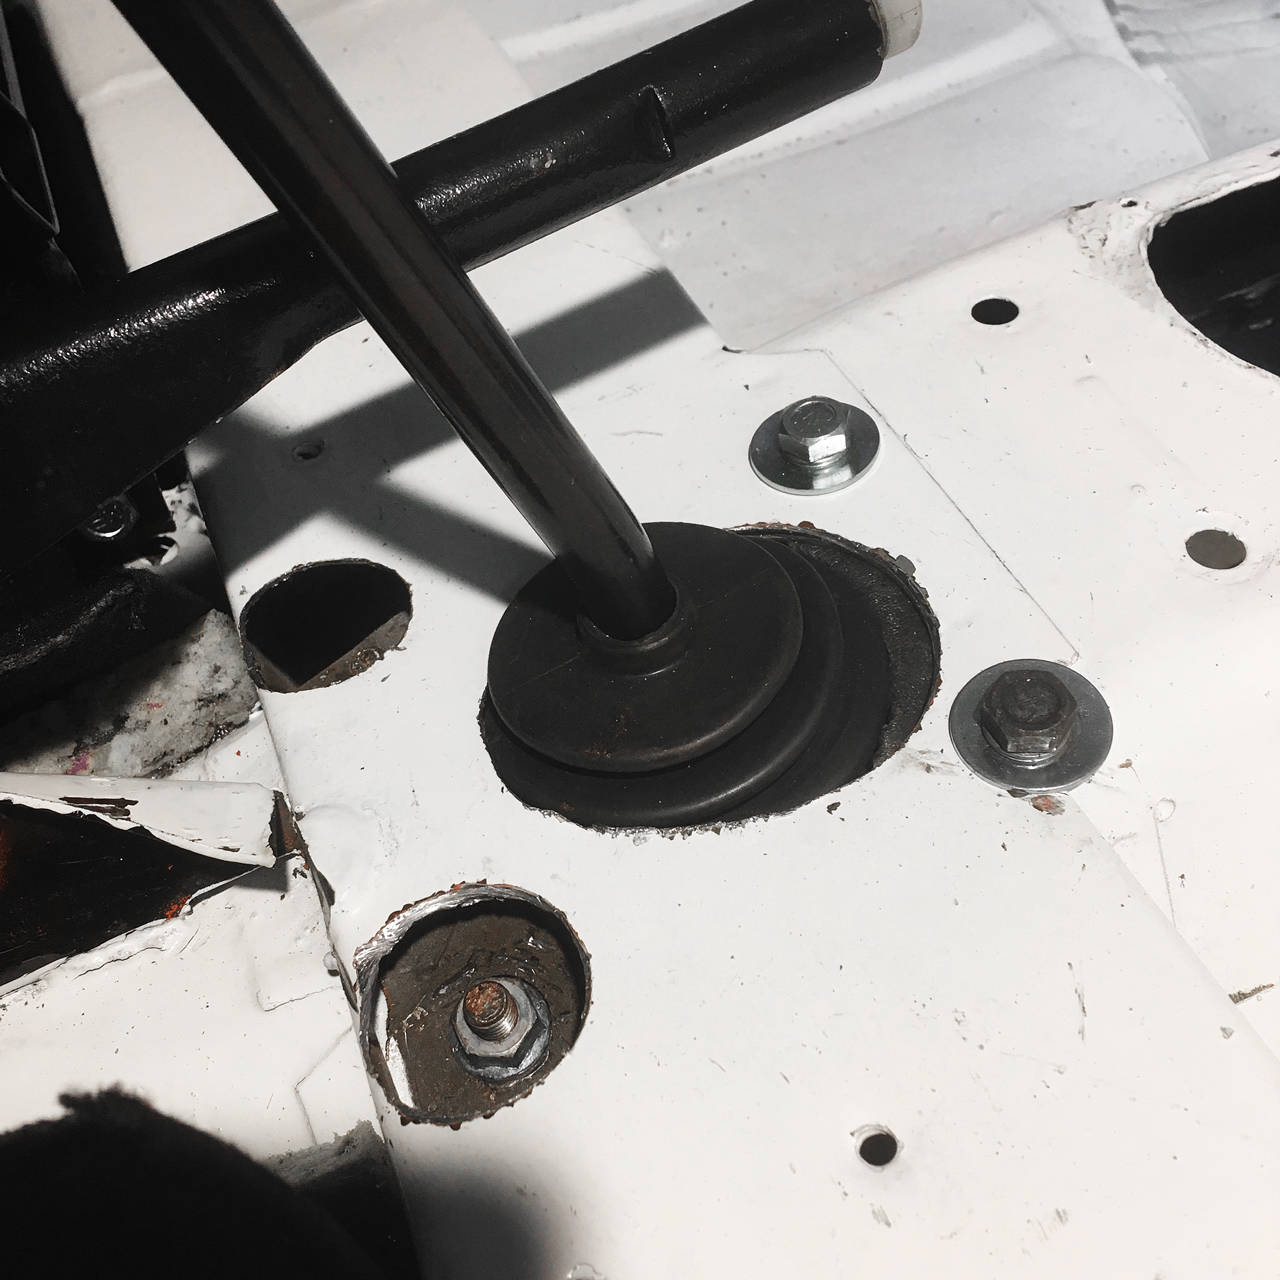
martinhejdesten
16 januari 2020
· 484 Inlägg
Tack till alla som följer och tittar i våra projekttrådar .

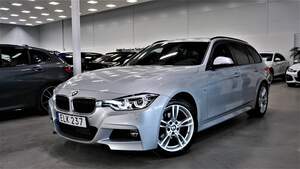
BMW 330 GT xDrive F34 (2020)
BMW Z3 Roadster 2,8 M "Style 350" (2000)
martinhejdesten
16 januari 2020
· 484 Inlägg
martinhejdesten
21 januari 2020
· 484 Inlägg

martinhejdesten
22 januari 2020
· 484 Inlägg