
rallyelwood
28 mars 2018
· 34 Inlägg
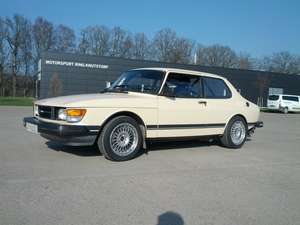
Saab 99 "GLT16" (1984)
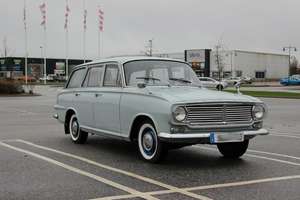
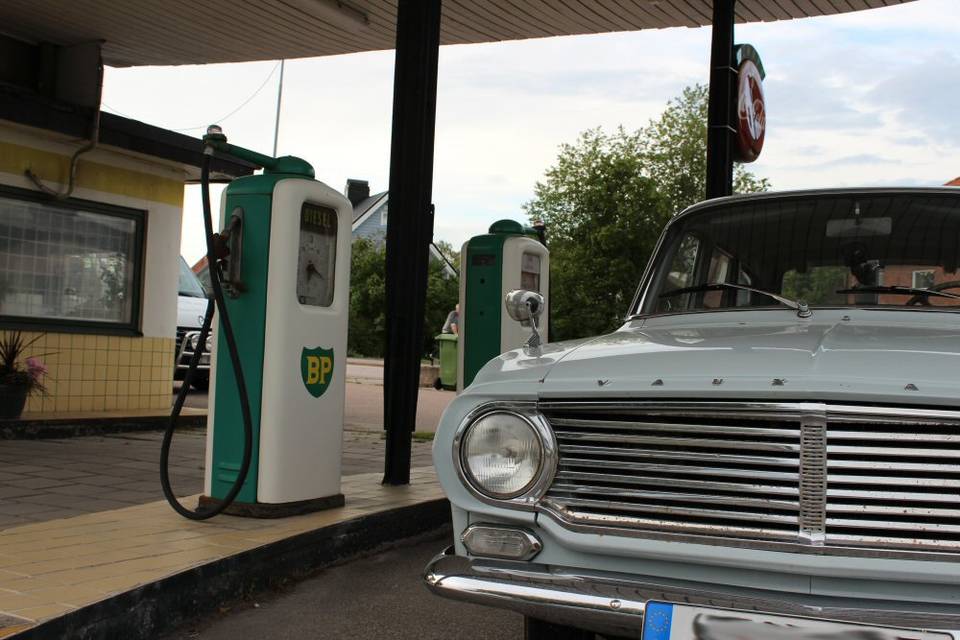
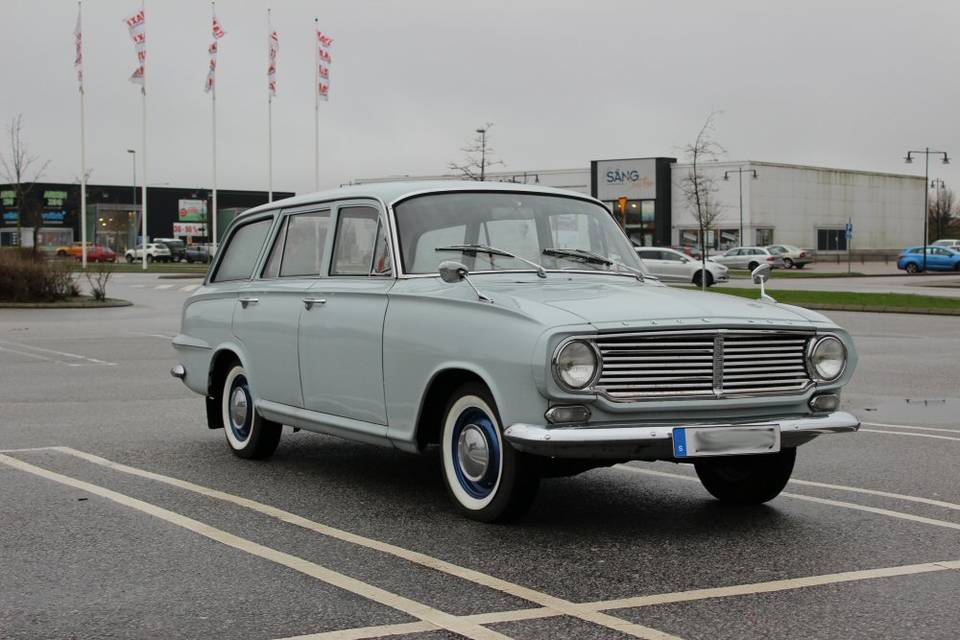
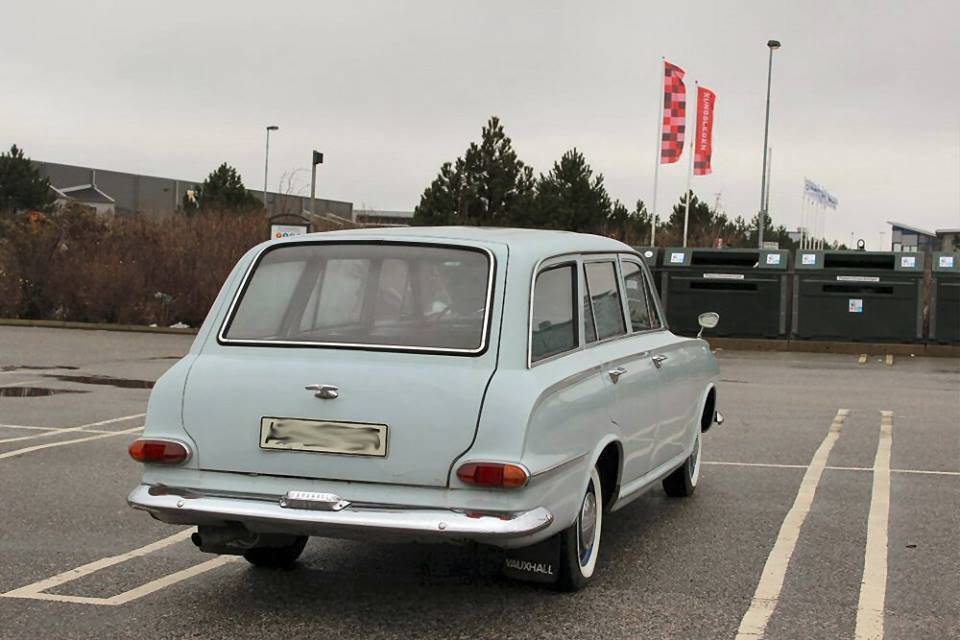
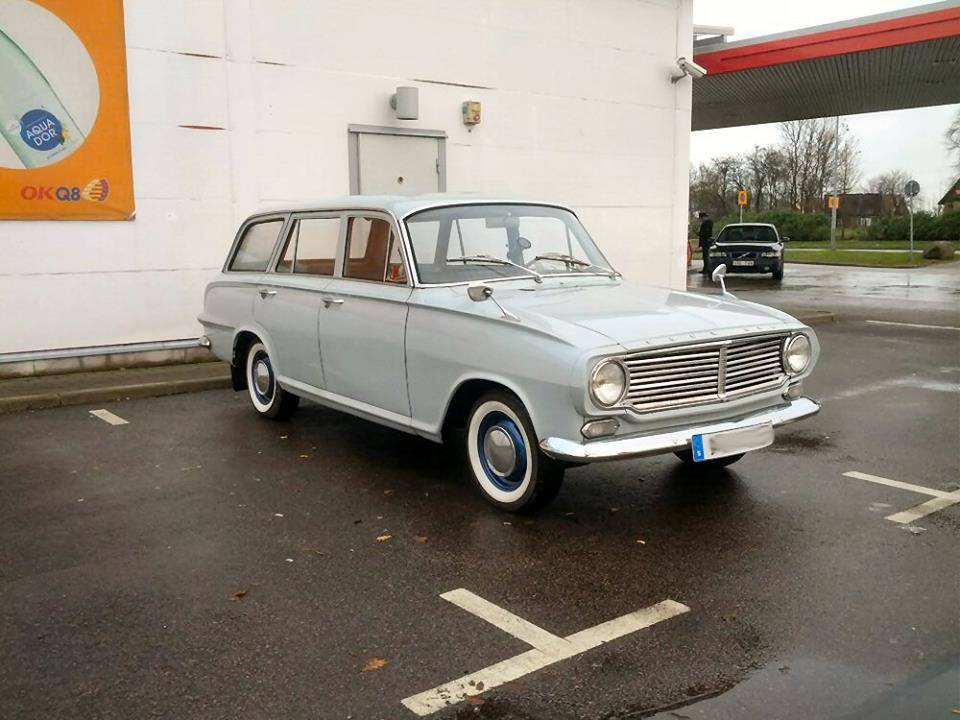
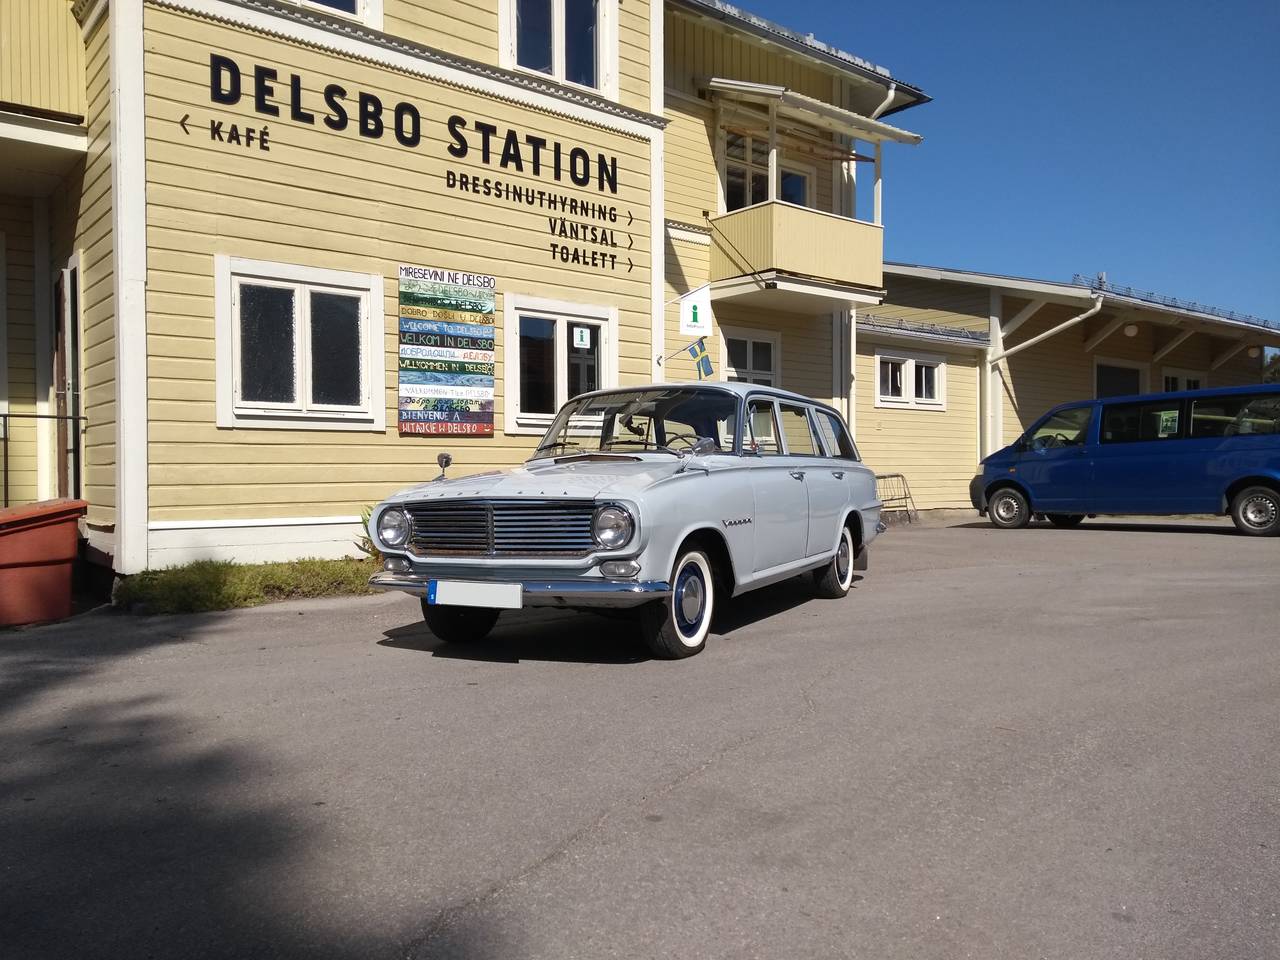
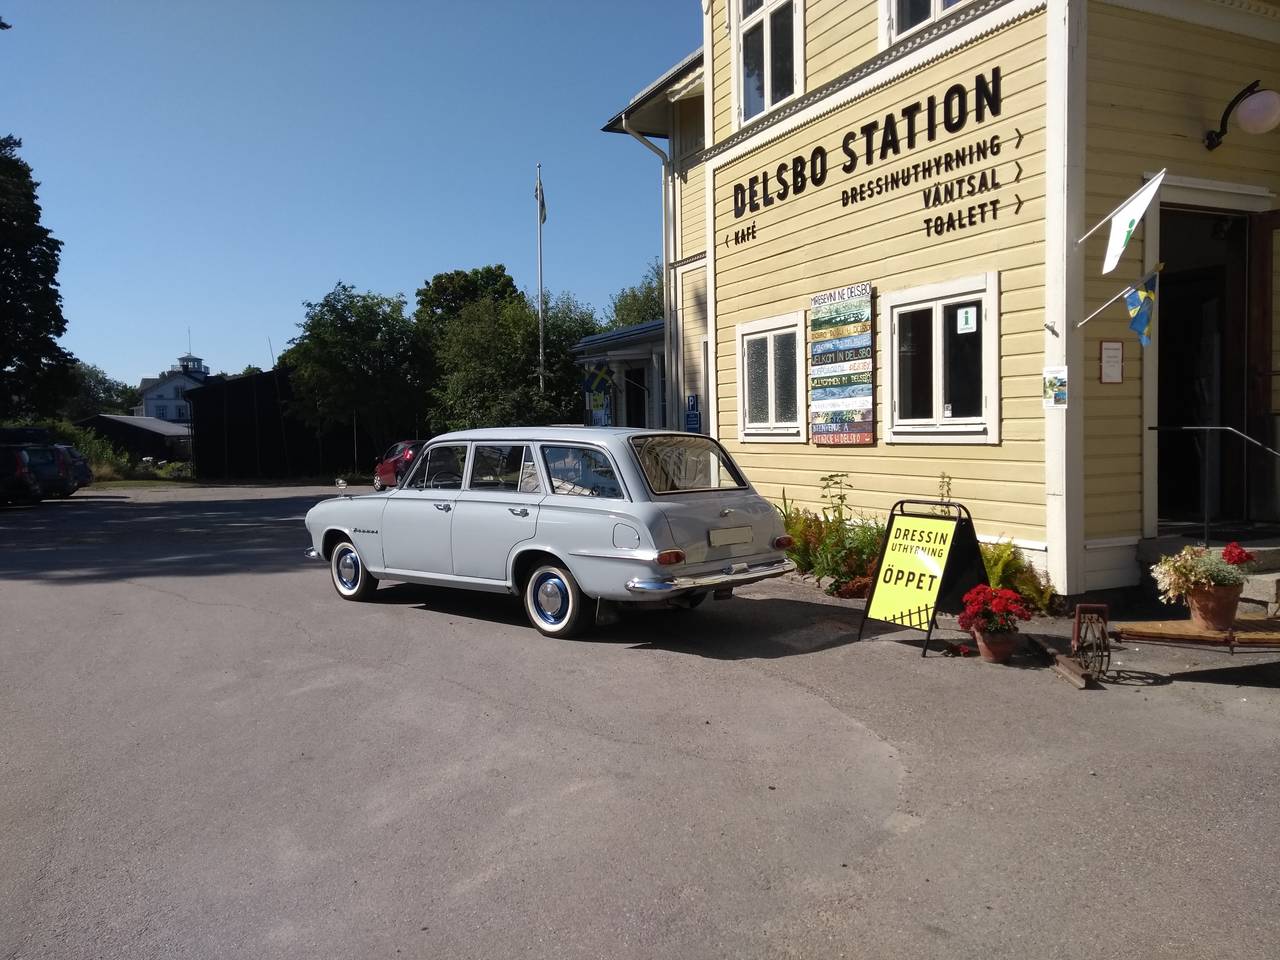
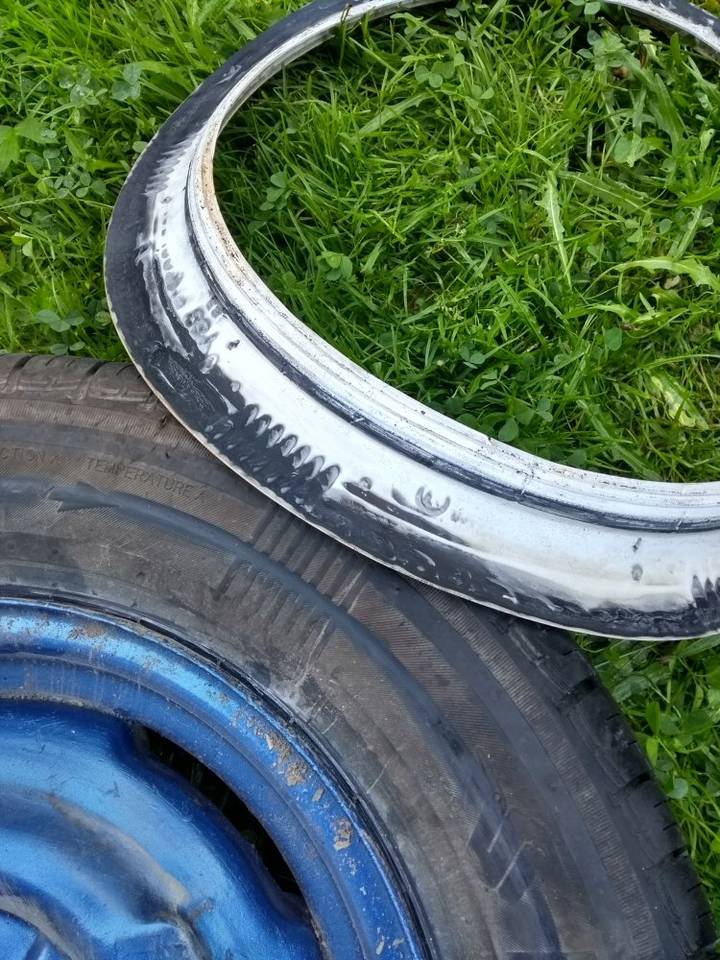
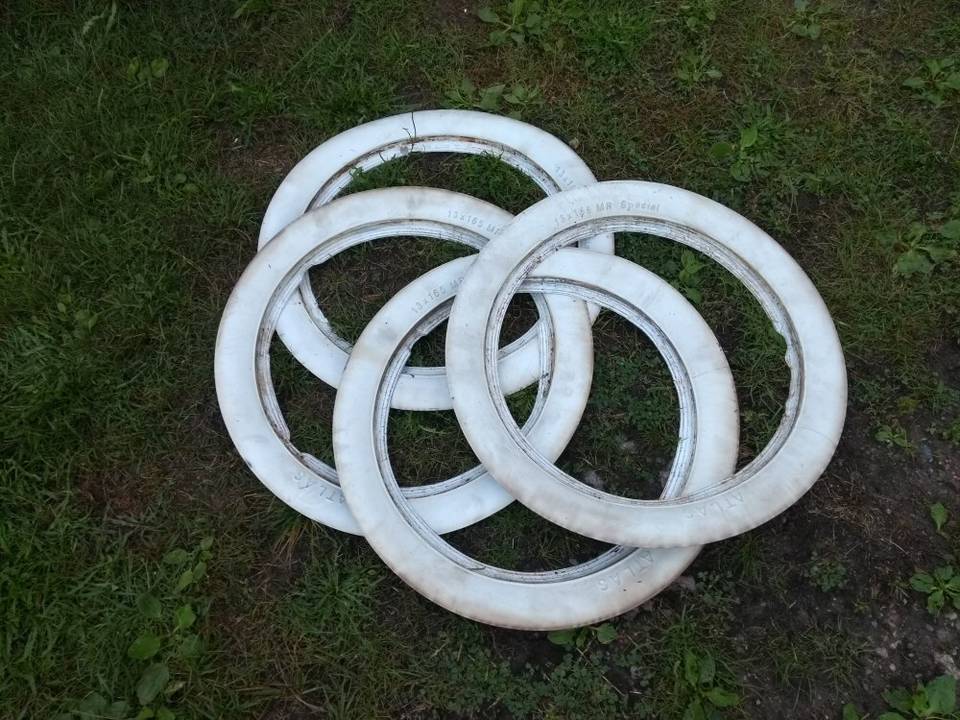
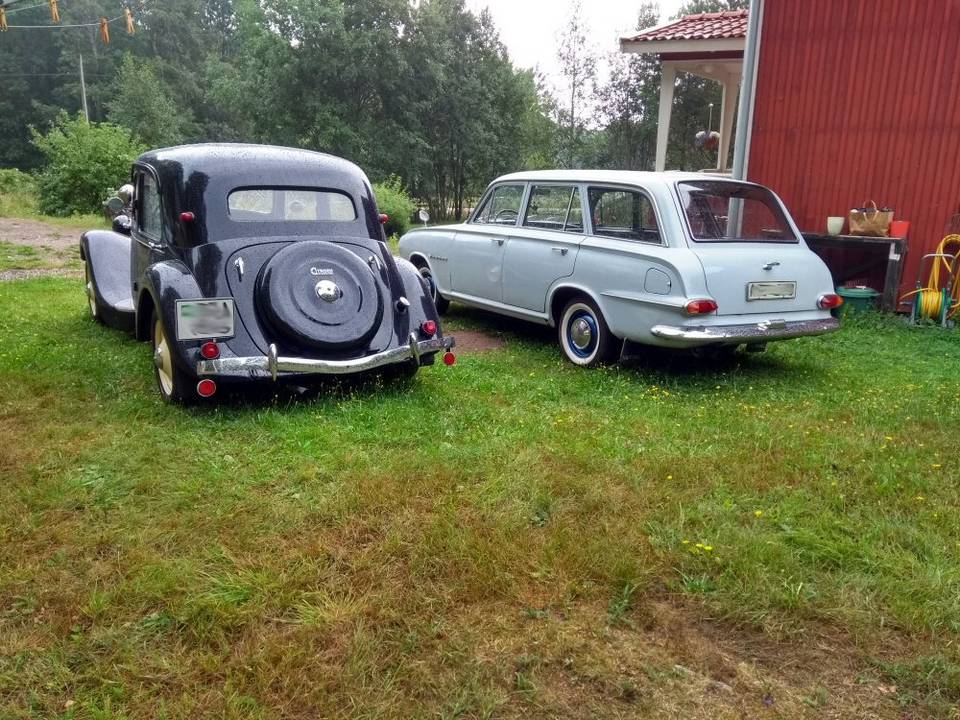
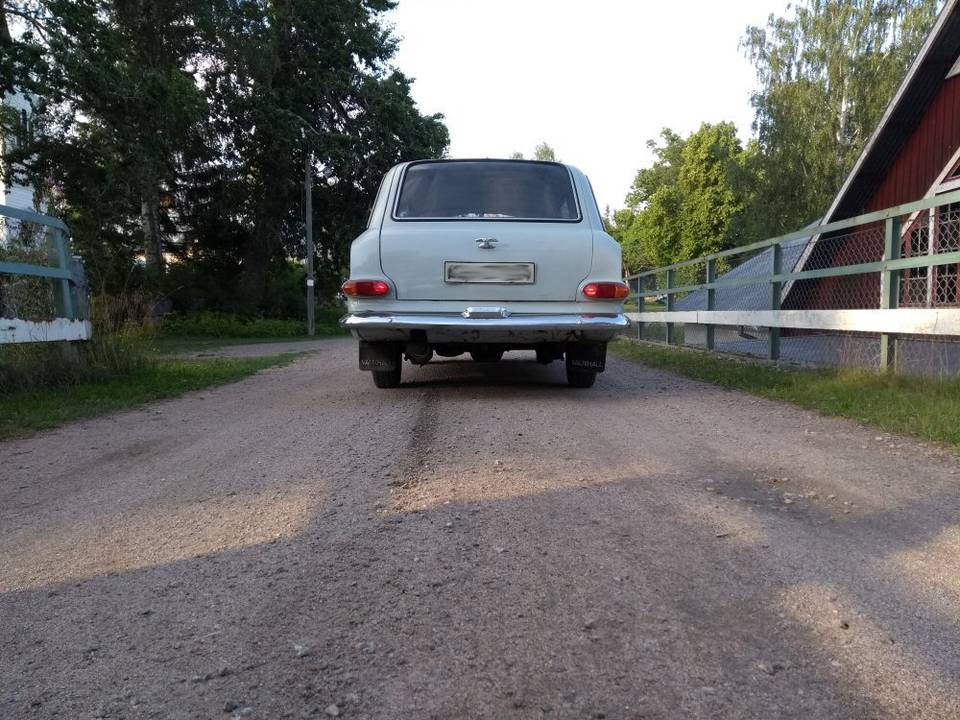
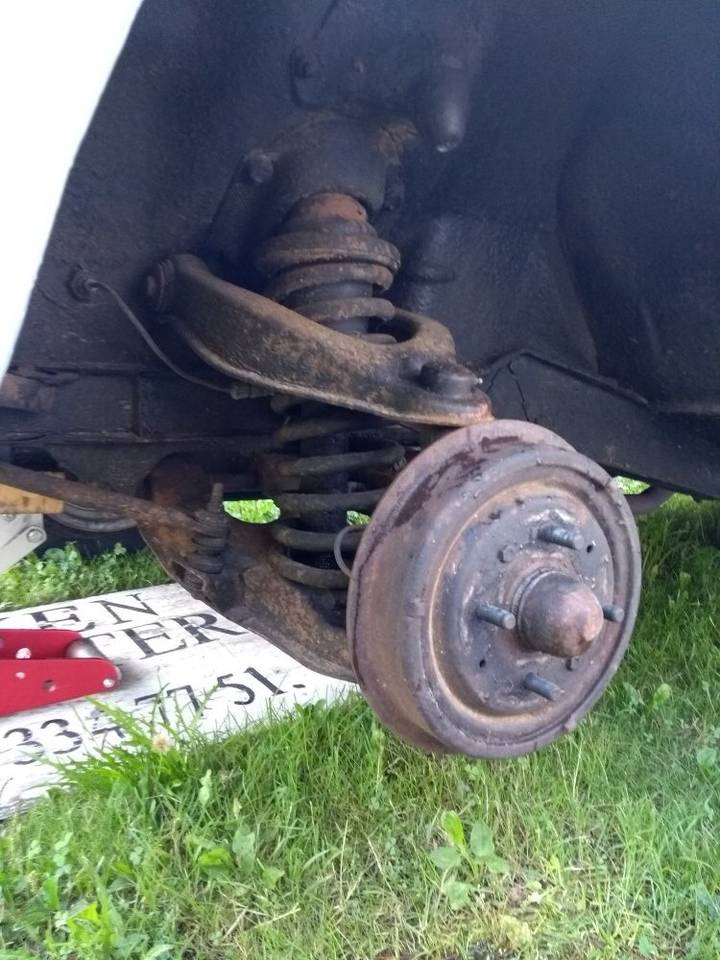
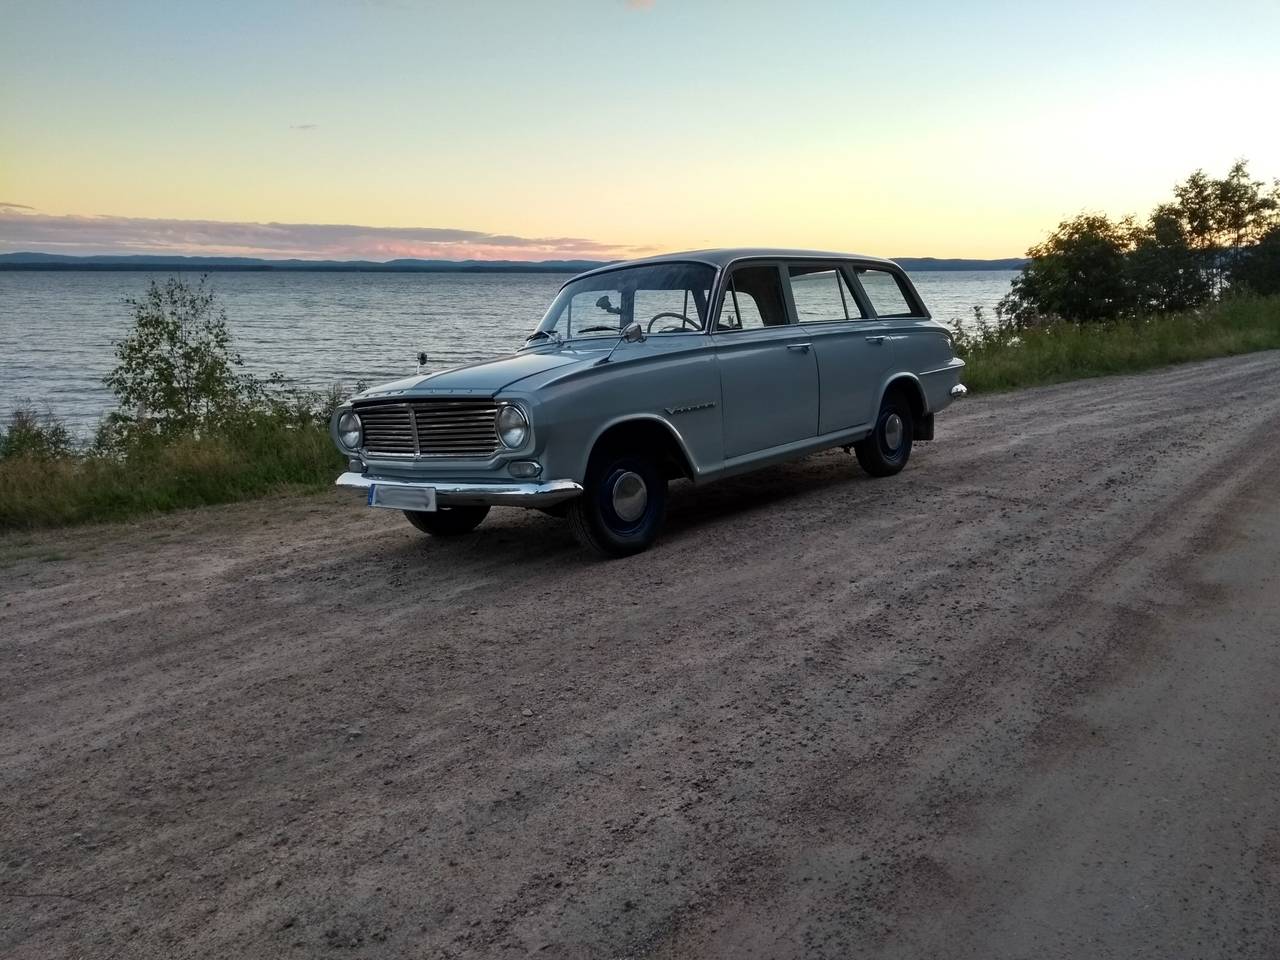
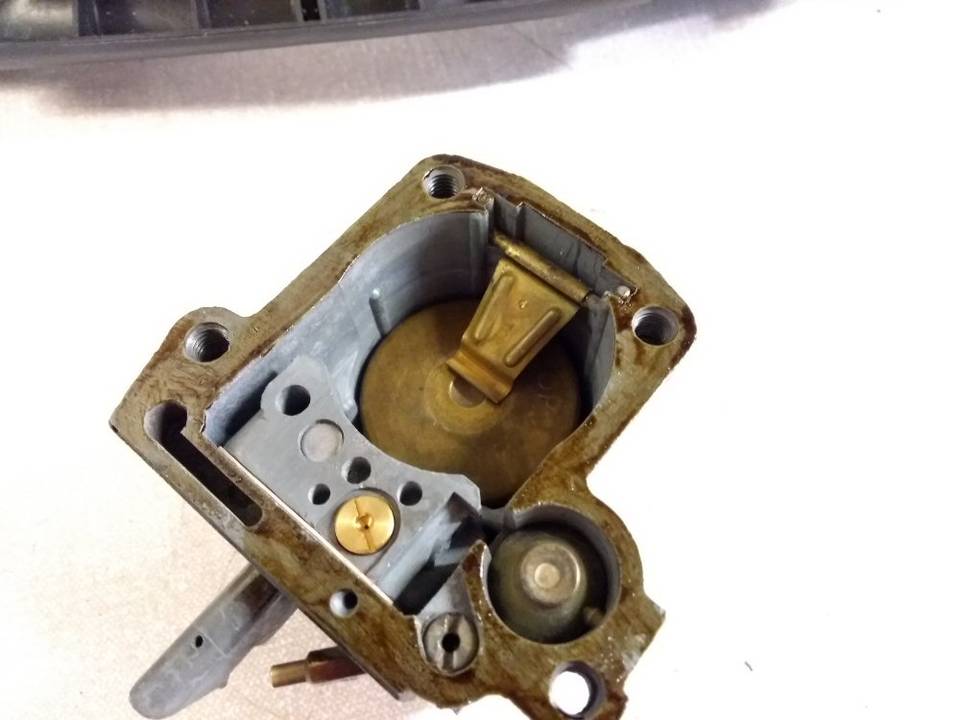
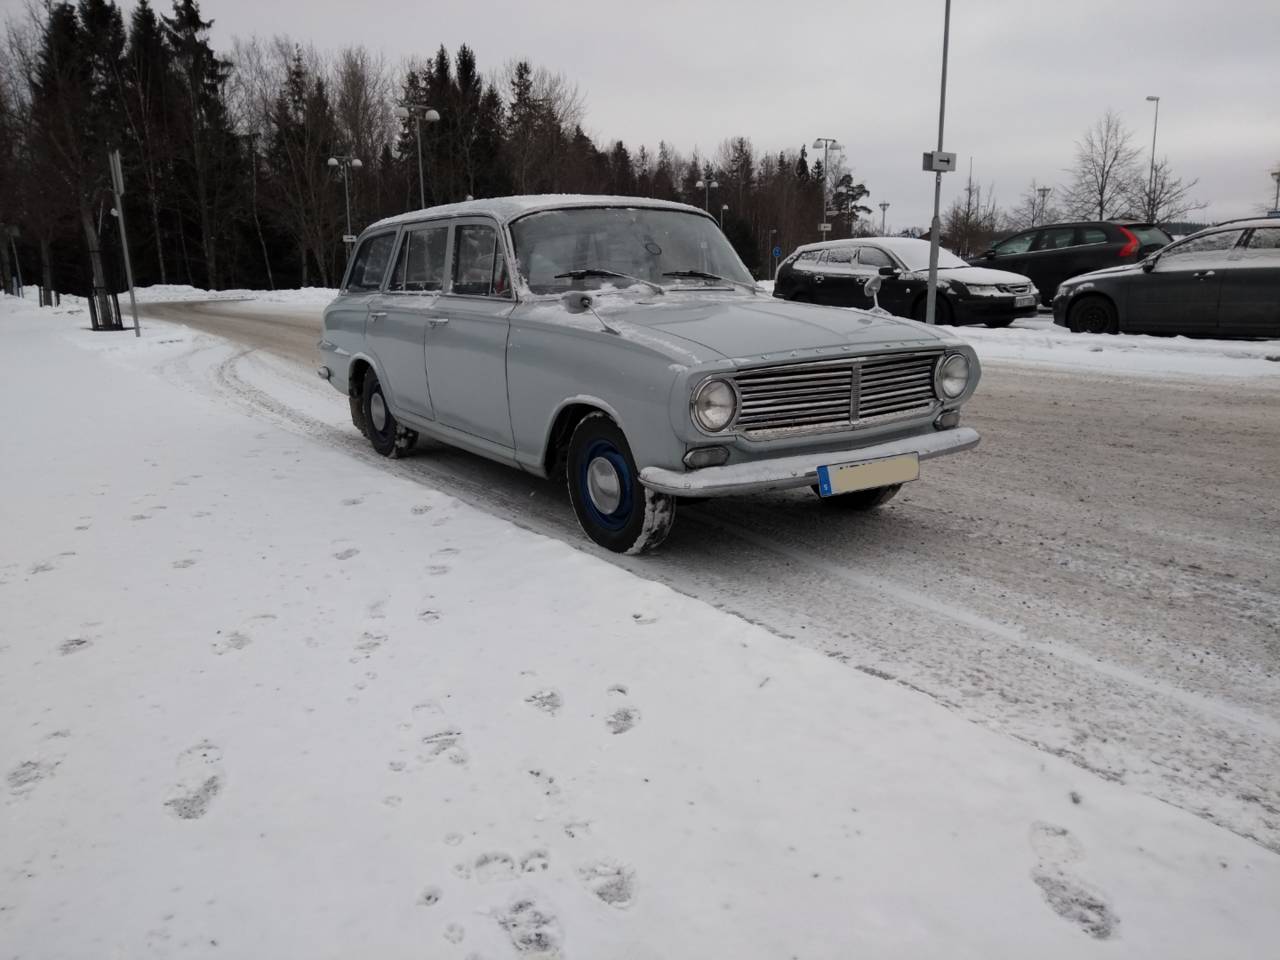
Vauxhall Victor Estate (FB) "Julia" (1962)
rallyelwood
28 mars 2018
· 34 Inlägg

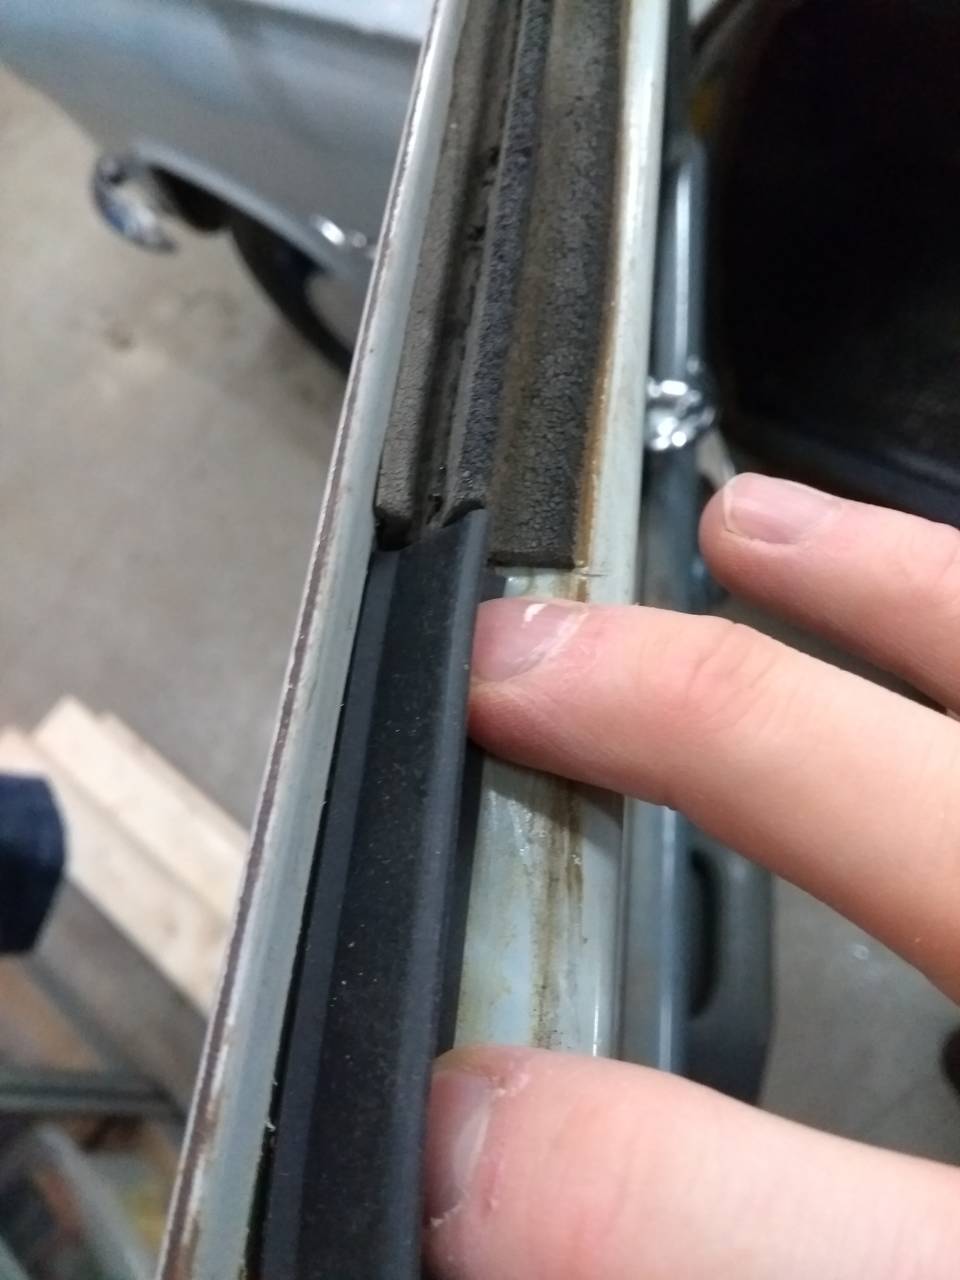
Vauxhall Victor Estate (FB) "Julia" (1962)
Saab 99 "GLT16" (1984)
rallyelwood
9 april 2018
· 34 Inlägg

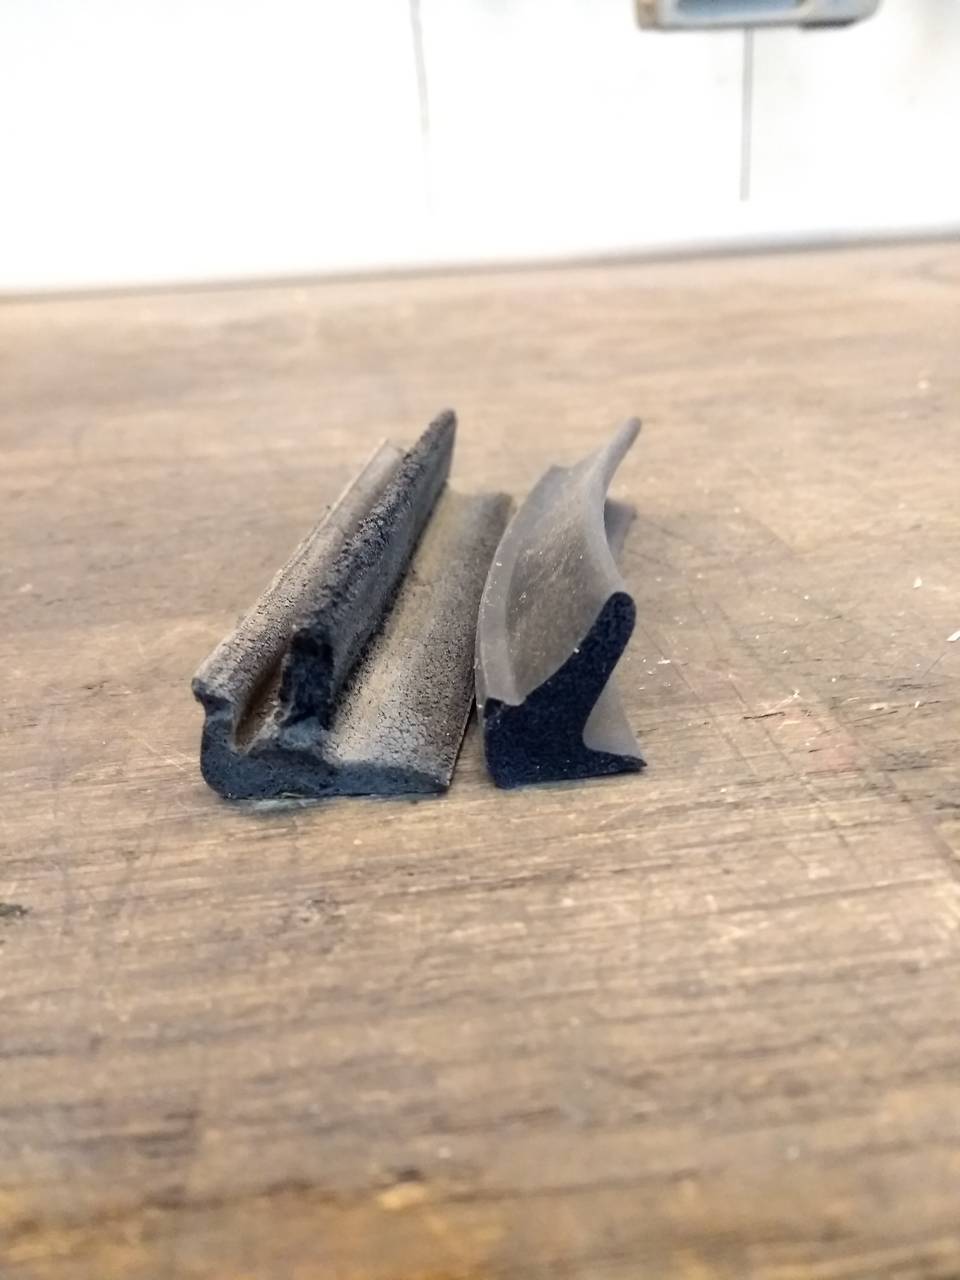
Vauxhall Victor Estate (FB) "Julia" (1962)
Saab 99 "GLT16" (1984)
rallyelwood
9 april 2018
· 34 Inlägg


Saab 99 "GLT16" (1984)
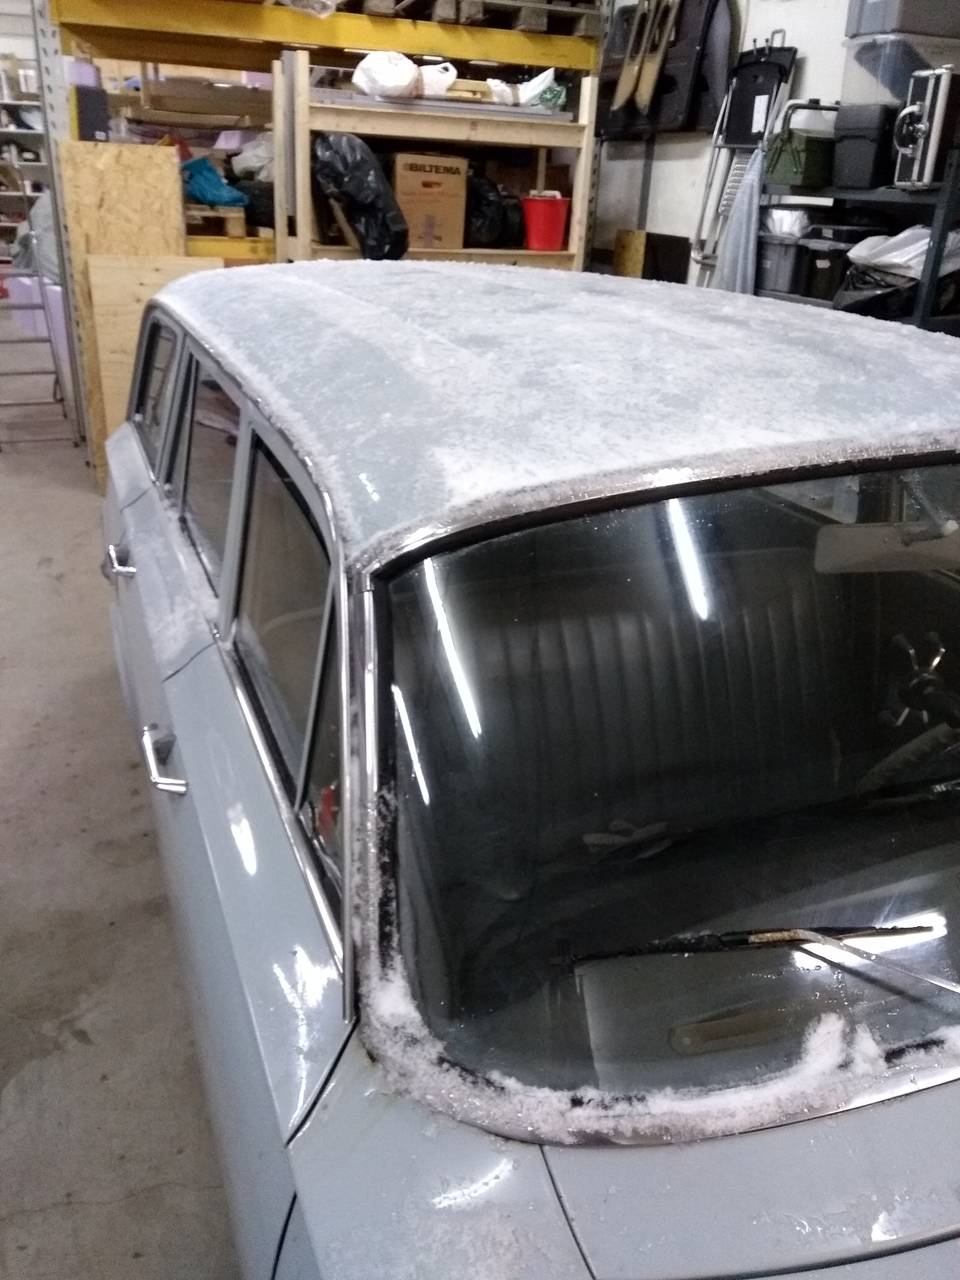
Vauxhall Victor Estate (FB) "Julia" (1962)
rallyelwood
20 maj 2018
· 34 Inlägg
Vauxhall Victor Estate (FB) "Julia" (1962)
Saab 99 "GLT16" (1984)
rallyelwood
25 maj 2018
· 34 Inlägg
Saab 99 "GLT16" (1984)
Vauxhall Victor Estate (FB) "Julia" (1962)
rallyelwood
5 juni 2018
· 34 Inlägg
Vauxhall Victor Estate (FB) "Julia" (1962)
Saab 99 "GLT16" (1984)
rallyelwood
5 juni 2018
· 34 Inlägg


Saab 99 "GLT16" (1984)
Vauxhall Victor Estate (FB) "Julia" (1962)
rallyelwood
11 juni 2018
· 34 Inlägg

Saab 99 "GLT16" (1984)
Vauxhall Victor Estate (FB) "Julia" (1962)
rallyelwood
2 juli 2018
· 34 Inlägg
Saab 99 "GLT16" (1984)
Vauxhall Victor Estate (FB) "Julia" (1962)
rallyelwood
29 juli 2018
· 34 Inlägg
Saab 99 "GLT16" (1984)
Vauxhall Victor Estate (FB) "Julia" (1962)
rallyelwood
29 juli 2018
· 34 Inlägg

Vauxhall Victor Estate (FB) "Julia" (1962)
Saab 99 "GLT16" (1984)
rallyelwood
23 augusti 2018
· 34 Inlägg
Vauxhall Victor Estate (FB) "Julia" (1962)
Saab 99 "GLT16" (1984)
rallyelwood
23 augusti 2018
· 34 Inlägg

Saab 99 "GLT16" (1984)
Vauxhall Victor Estate (FB) "Julia" (1962)
rallyelwood
23 augusti 2018
· 34 Inlägg


Saab 99 "GLT16" (1984)
Vauxhall Victor Estate (FB) "Julia" (1962)
rallyelwood
25 augusti 2018
· 34 Inlägg


Vauxhall Victor Estate (FB) "Julia" (1962)
Saab 99 "GLT16" (1984)
rallyelwood
29 december 2018
· 34 Inlägg

Vauxhall Victor Estate (FB) "Julia" (1962)
Saab 99 "GLT16" (1984)
rallyelwood
12 februari 2019
· 34 Inlägg

Saab 99 "GLT16" (1984)
Vauxhall Victor Estate (FB) "Julia" (1962)
rallyelwood
12 mars 2019
· 34 Inlägg

Vauxhall Victor Estate (FB) "Julia" (1962)
Saab 99 "GLT16" (1984)
rallyelwood
1 april 2019
· 34 Inlägg


Vauxhall Victor Estate (FB) "Julia" (1962)