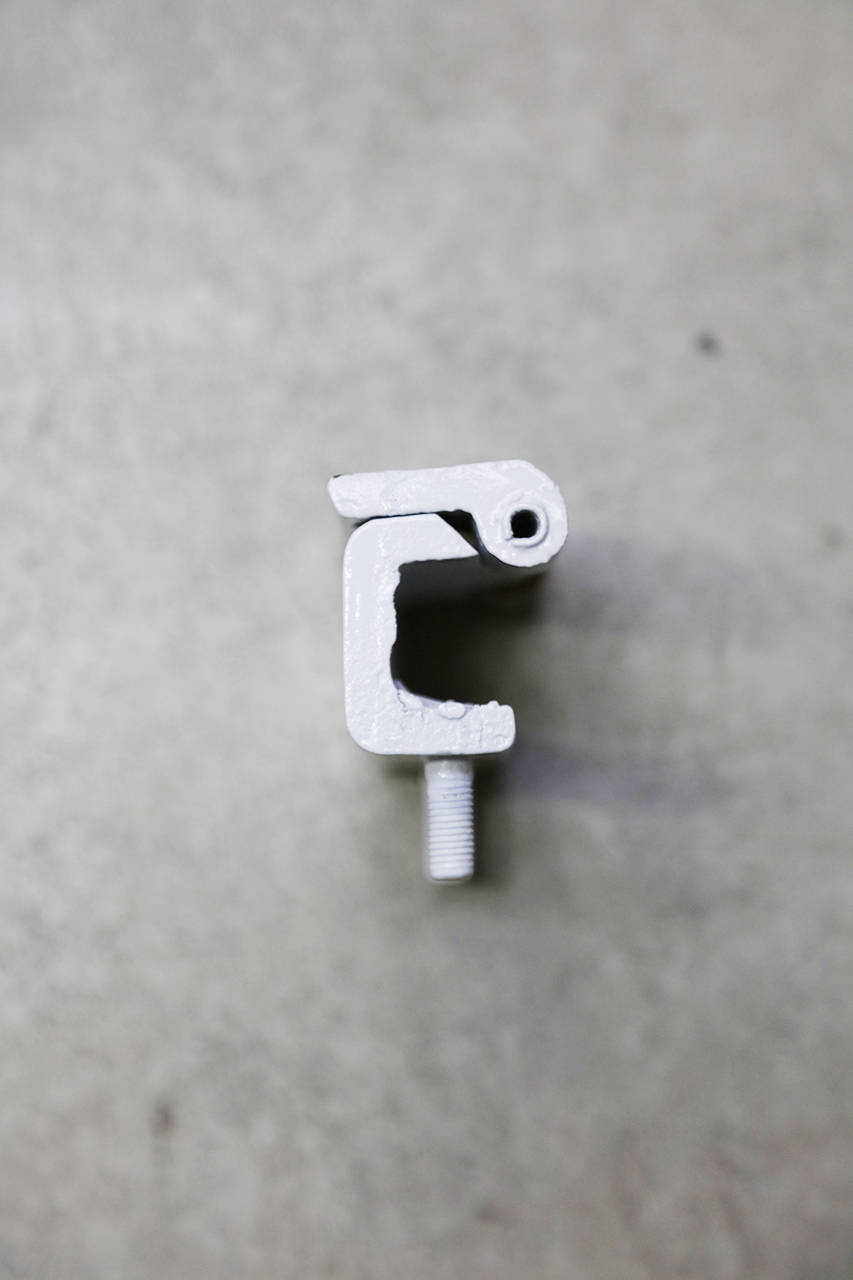
Ibland har man tur att grannens rutschkana står och slår mot väggen i de friska vindarna kl 04.40. Då kommer man ju upp tidigare och kan därmed köra till garaget och jobba 06.45.
Väl på plats så åkte nya gångjärnen på plats med en gång. Därefter satte jag igång med att finjustera de sista bitarna dämpmattor i den övre delen av instrumentpanelen. Är ju lite trixigt att få rätt på och det där spraylimmet fäster ruggigt snabbt och bra.
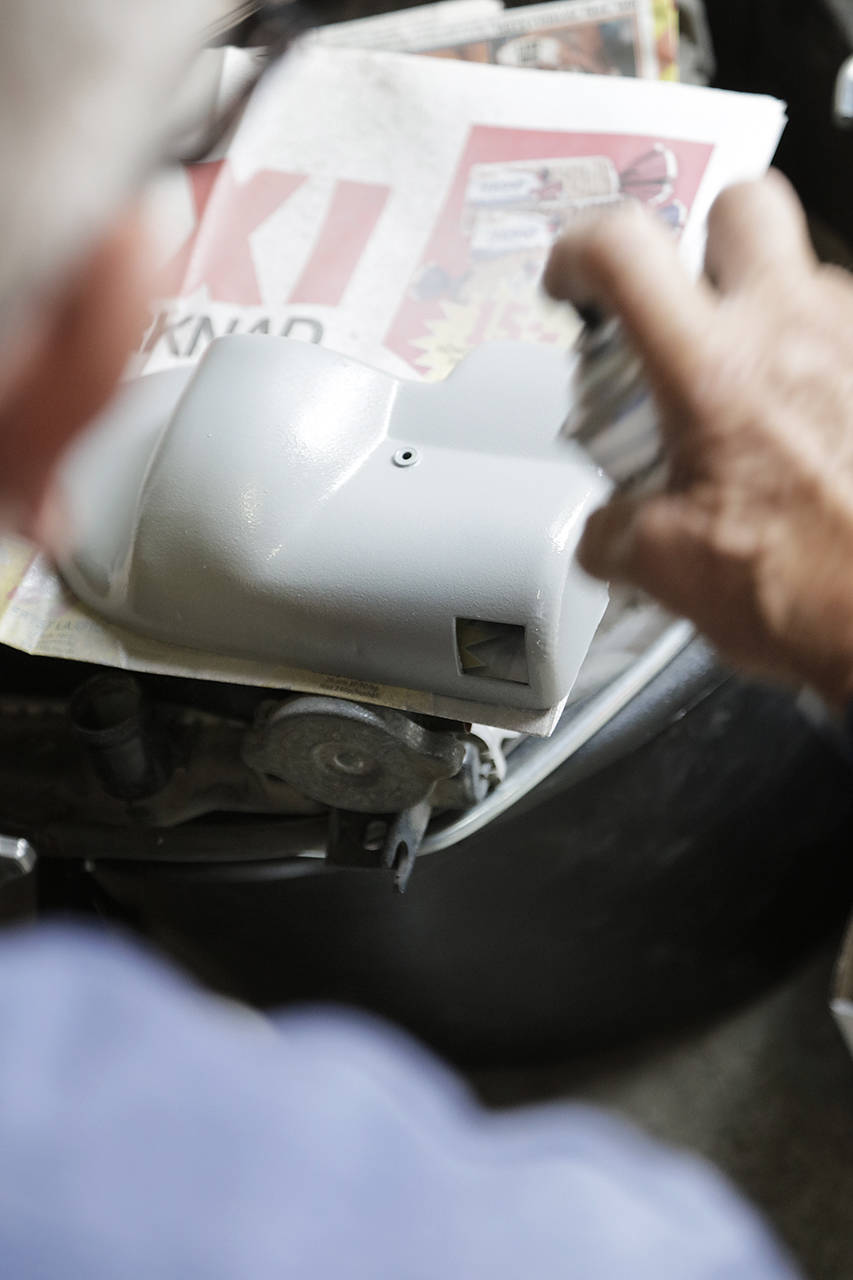
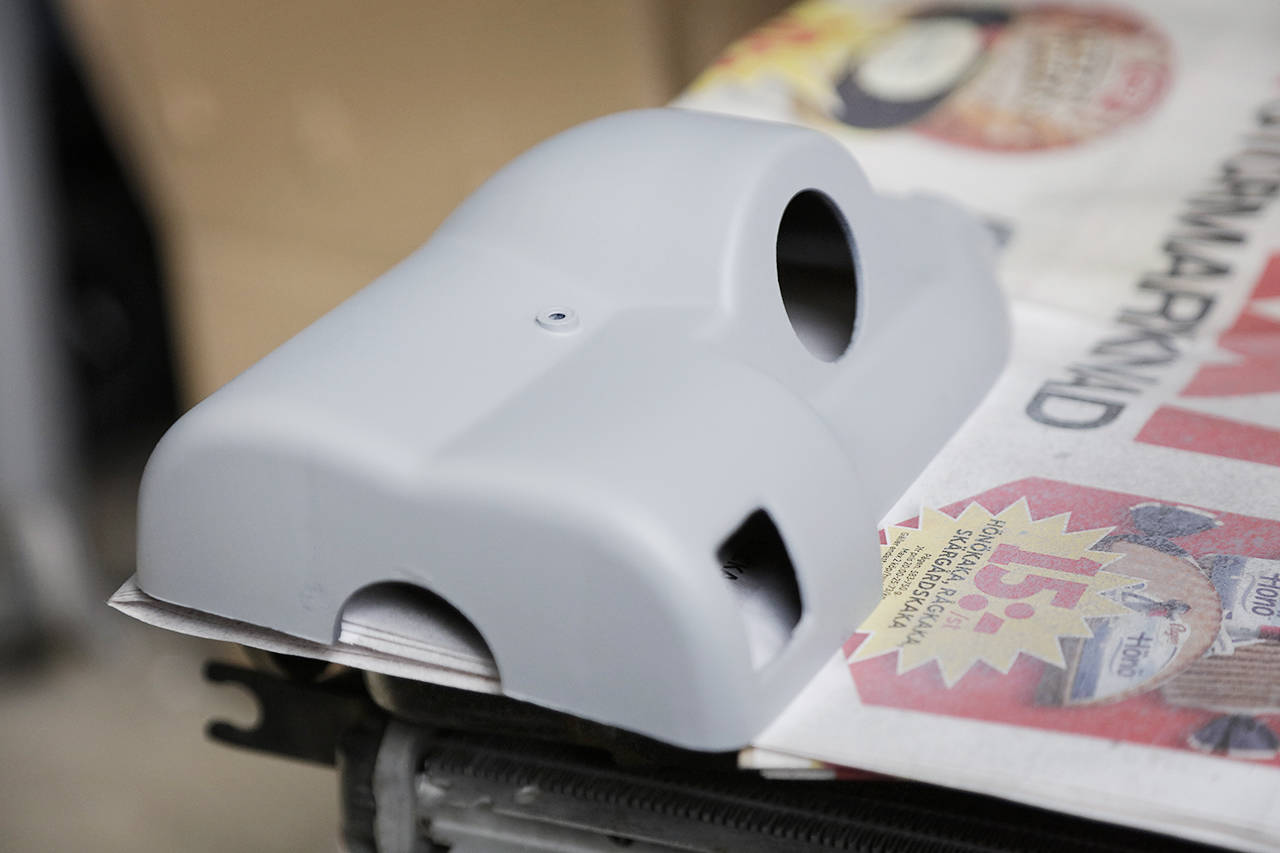
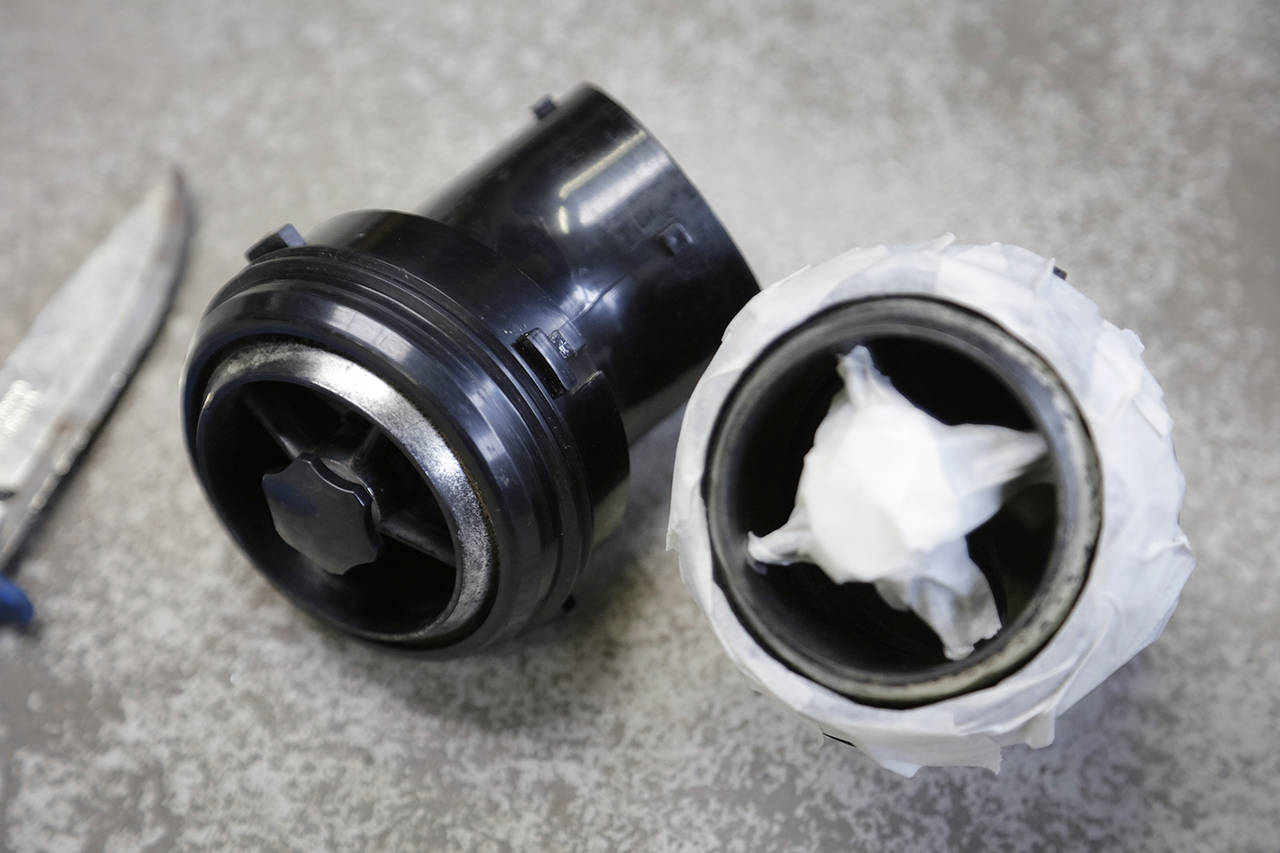
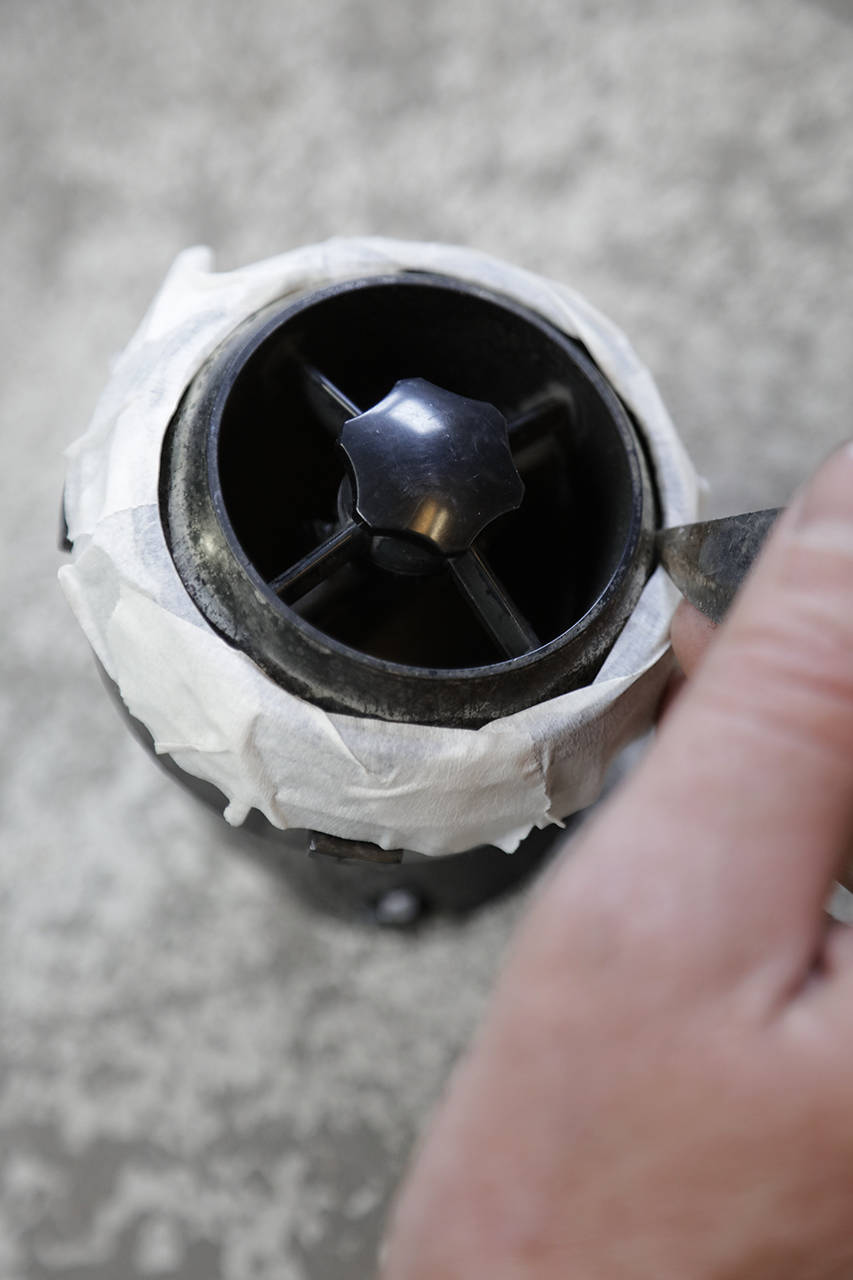
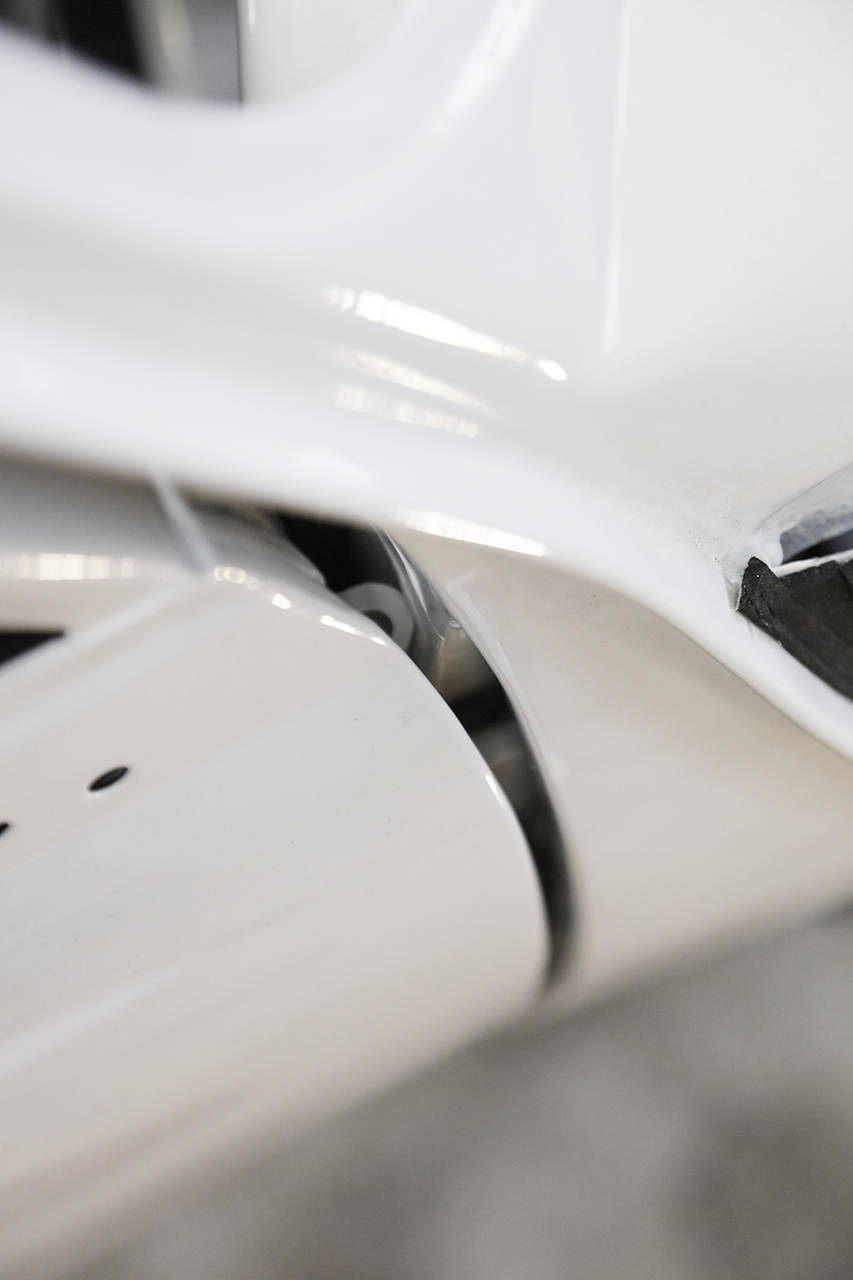
Friskluftsintagen såg lite risiga ut då kromet hade släppt av många års slitage. Efter maskering och snabb sprayning så var de nästan som nya igen.
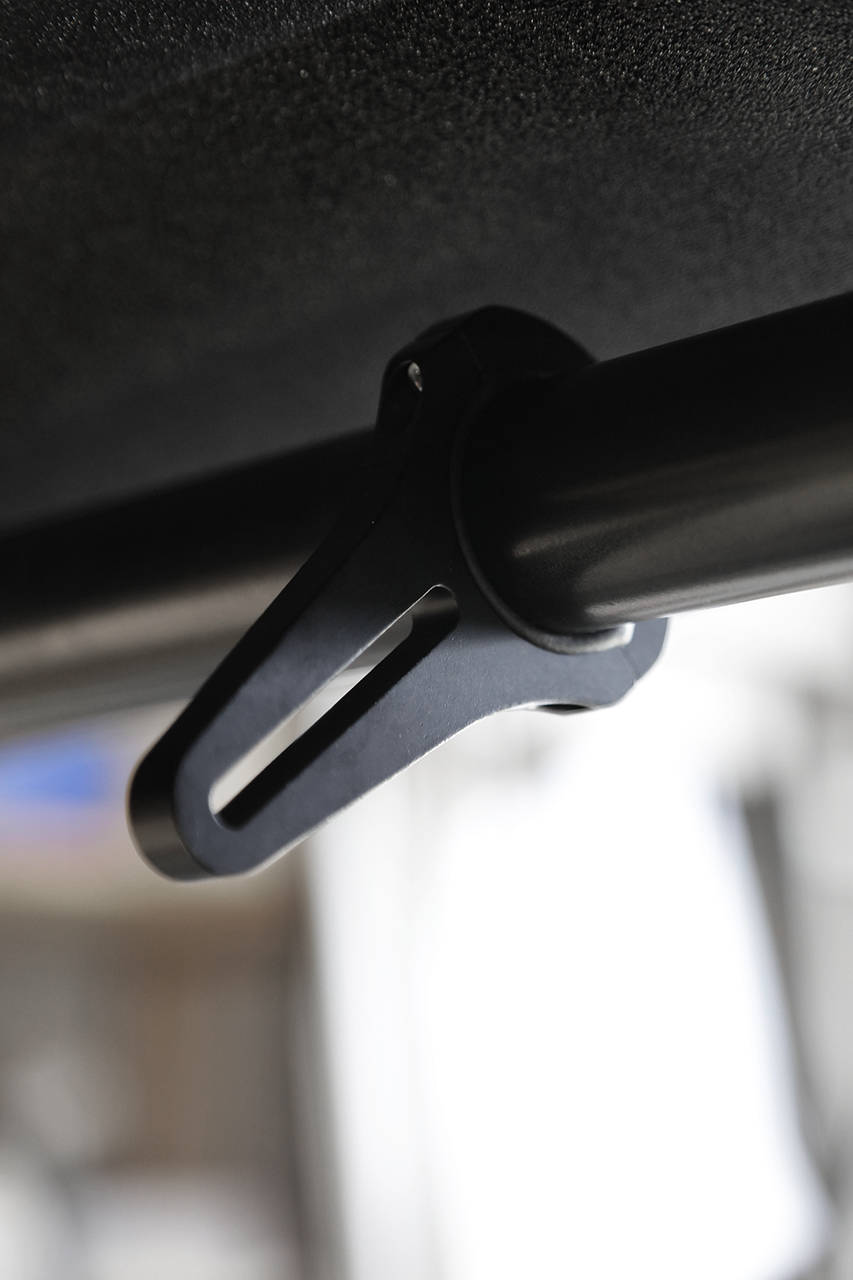
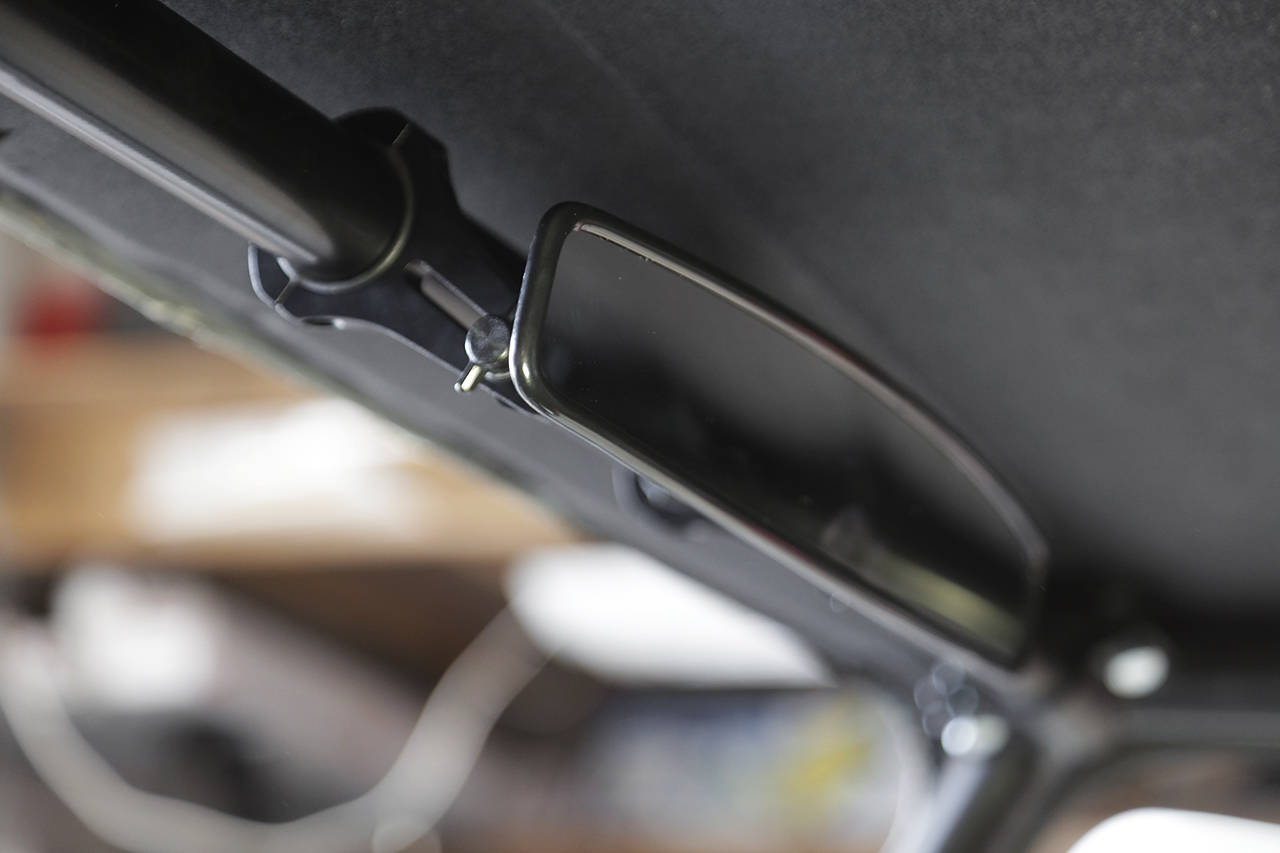
Fästena till den nya backspegeln som ska sitta på övre delen av buren (delen mellan A-stolparna) måste justeras med distanser då diametrarna på burrör och fästena dessvärre inte stämde.
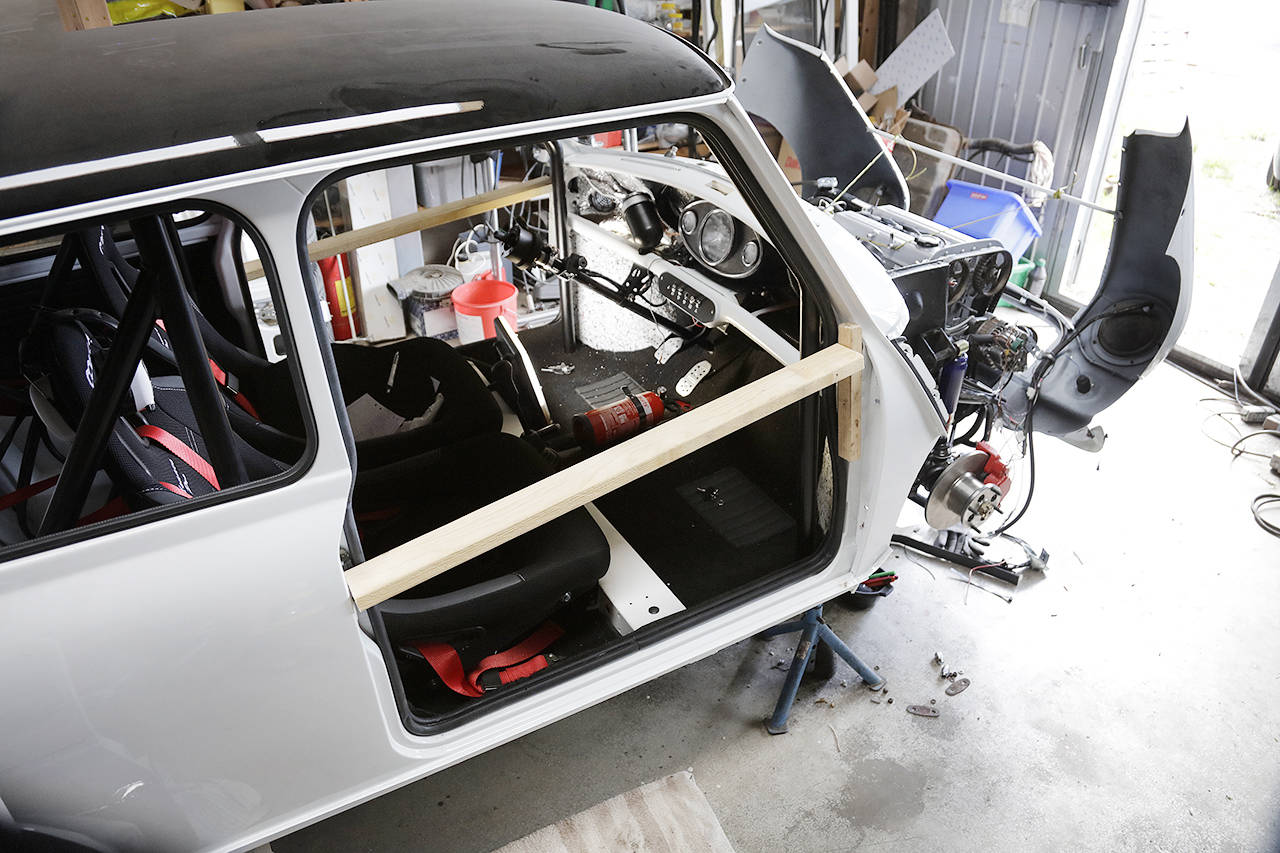
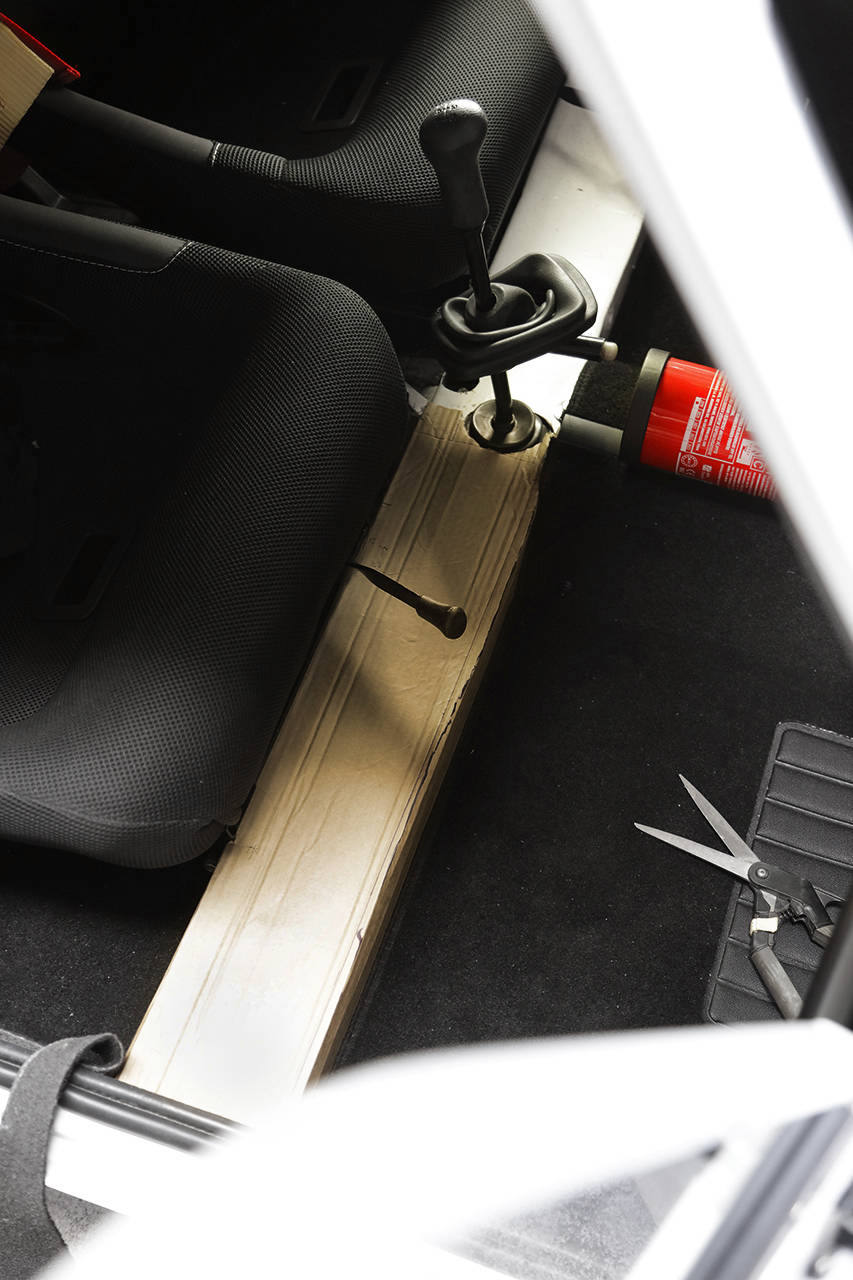
Och förra helgen fick jag ju nöjet att återuppleva minnen när jag fick åka med i grannens koja från 1998 (fortfarande den gamla designen). Gott om plats i kupén. Konstaterade att det är hela 126 cm mellan trösklarna (som visas på bilden) och 113 cm mellan B-stolparna i axelhöjd. Men av någon konstig händelse så känns kupén ändå rymlig.
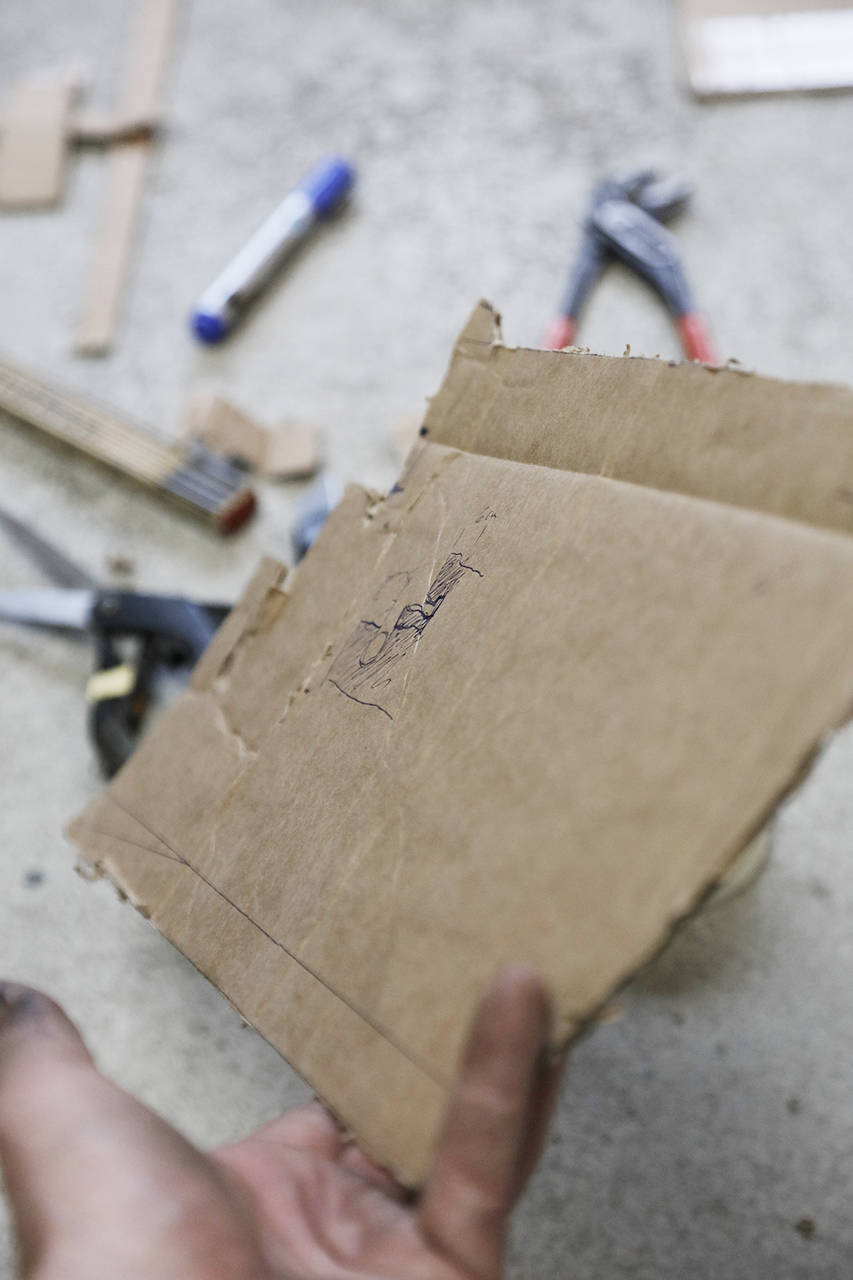
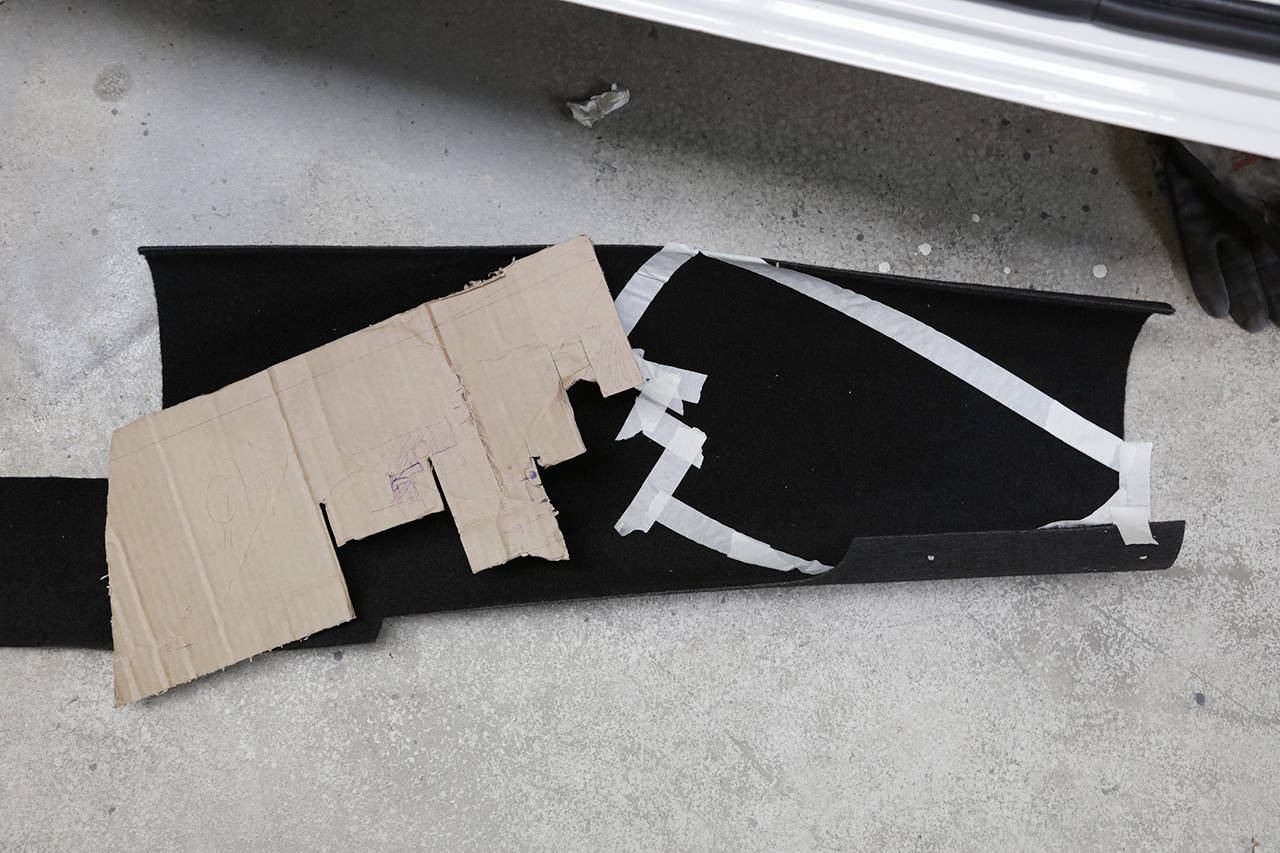
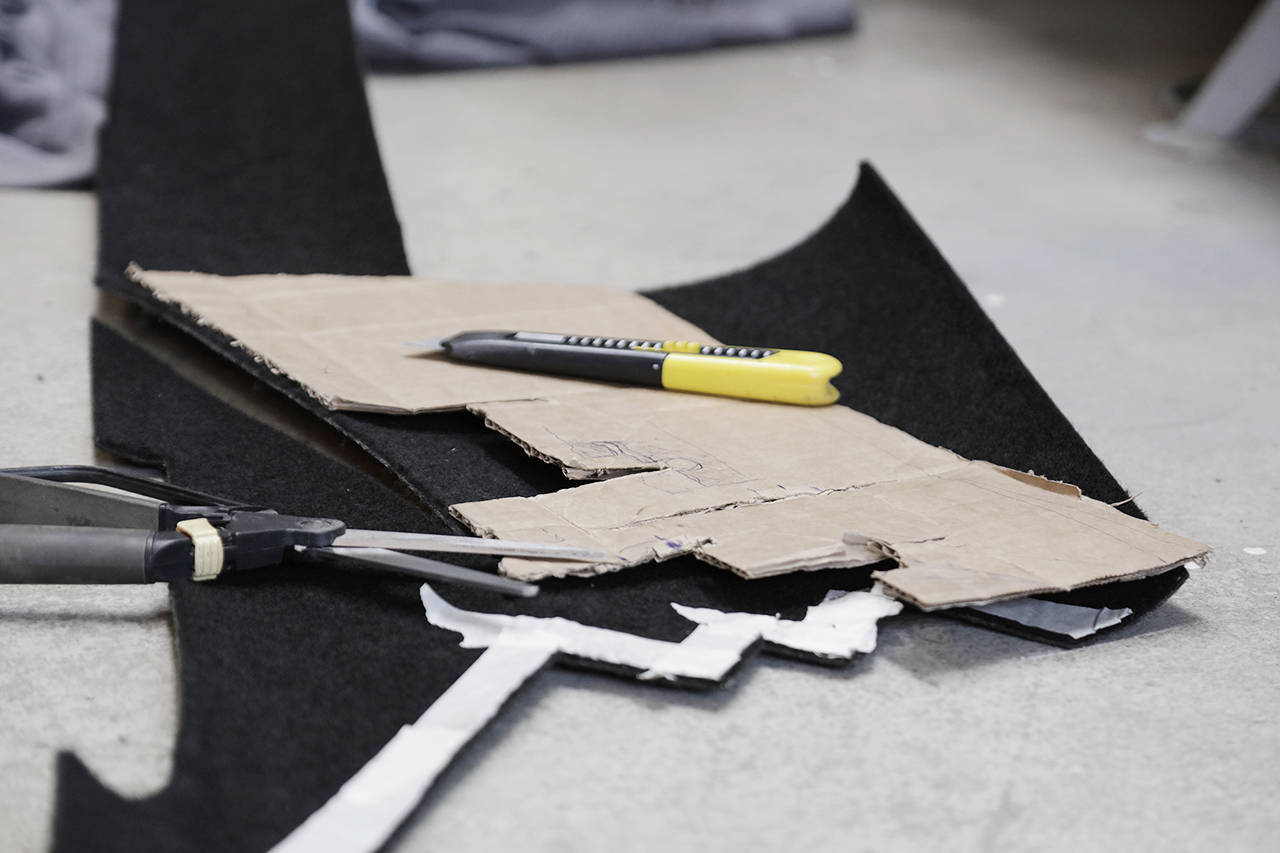
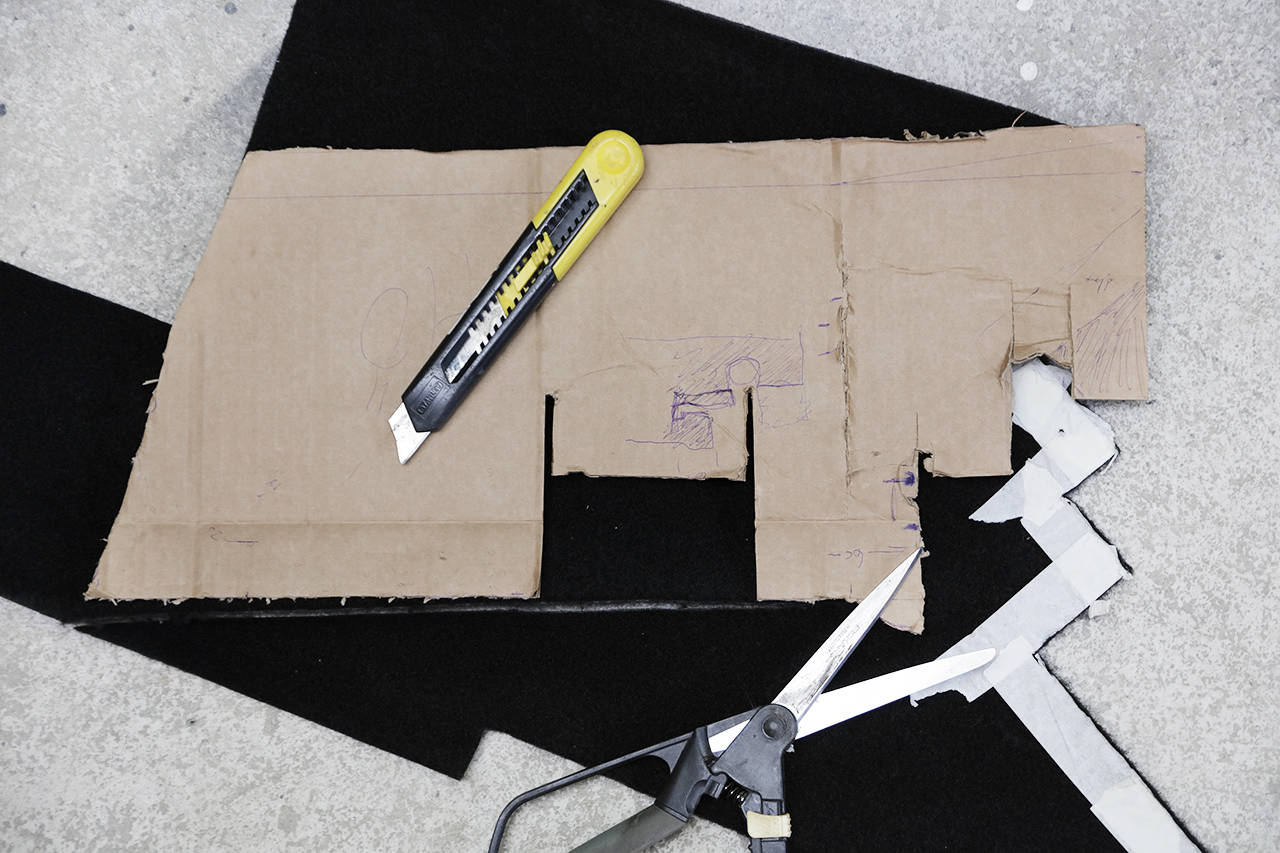
Mattan går inte hela vägen upp till instrumentpanelen i ordinarie utförande eftersom den enorma fläkten skymmer. När nu denna har ersatts så ser man dämpmattan. Så det blev till att skära ut och finjustera en kartongbit och sen skära ut motsvarande mattbit. Inte helt lätt då den sista mattbiten jag hade var precis för liten så jag vände och vred på kartongbitarna i ett tappert försök att få ut två bitar. Fick offra en liten hörna på en av bitarna men den nya fläkten skymmer turligt nog detta.
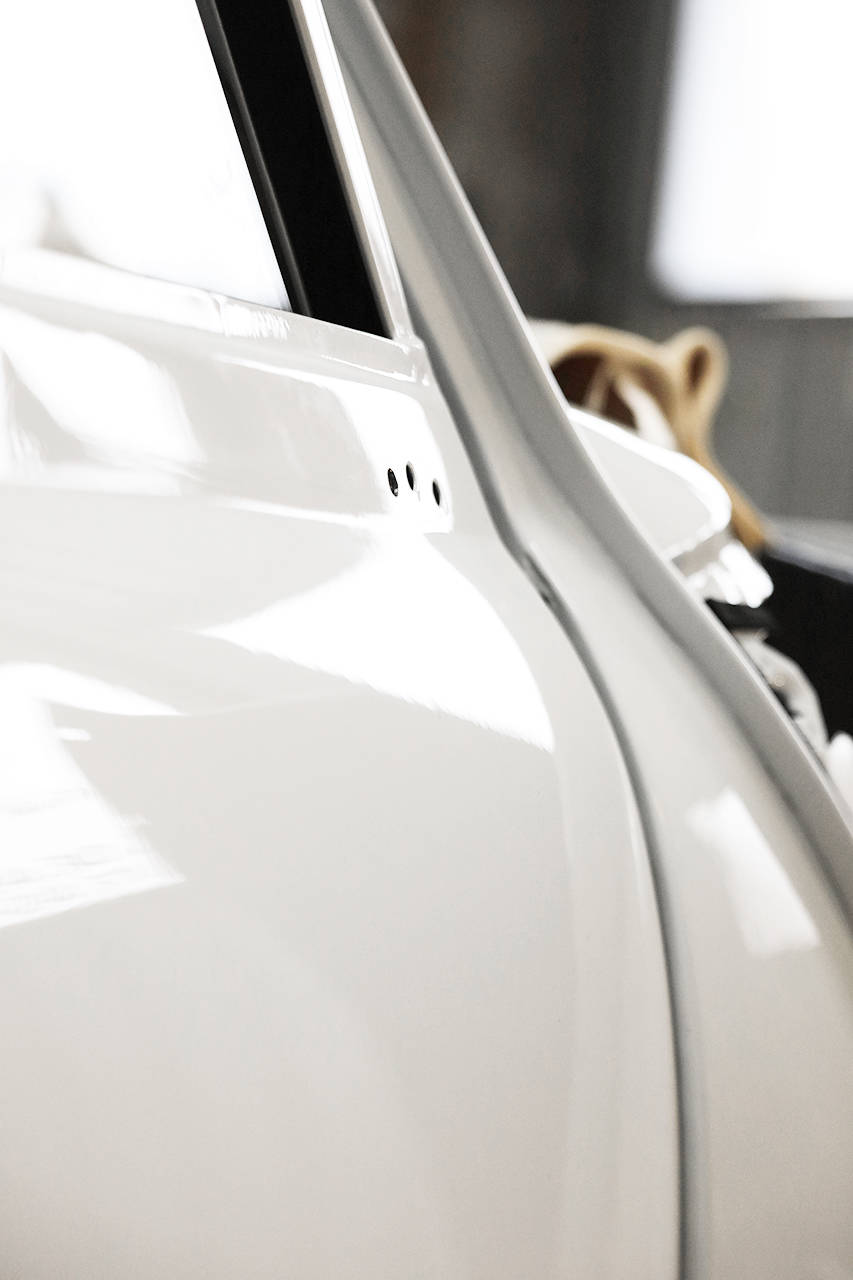
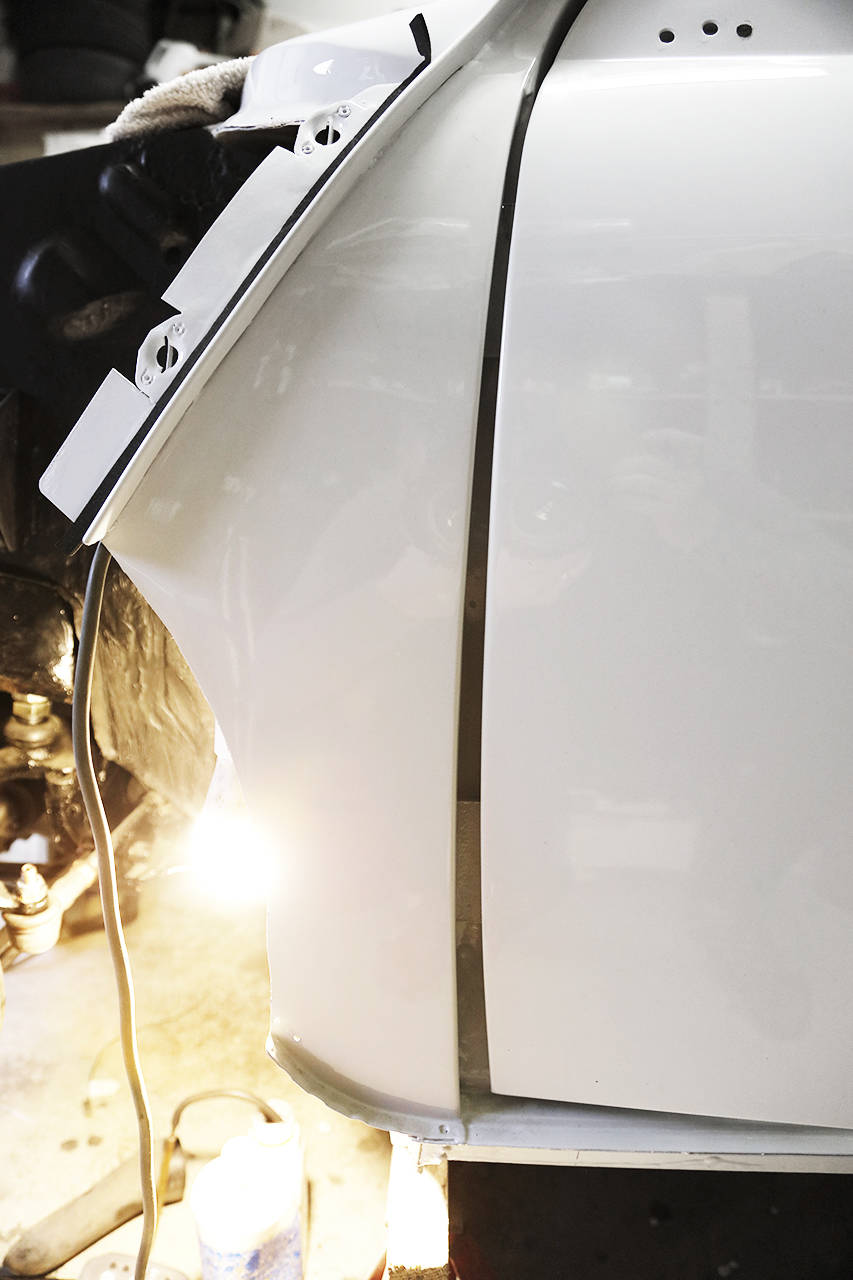
Nu var klockan runt lunch och farsan hade kommit tillbaka från en tur med husbilen norröver. Glädjande då vi numera var två och kunde gå vidare med att montera dörrarna. Ska bara påminna att de nya dörrarna monterades och injusterades/riktades i dörrhålen innan lackering med utmärkt passform. Dock med de gamla gångjärnen eftersom de nybeställda var restade i UK. Jag tror också att dörrarna är det näst tyngsta efter motorn på bilen. Jösses. Och jag kan inte påstå att det är sidokrockskydden som väger en massa då något sådant inte finns. Inga fancy sidokrockkuddar heller för den delen. Men när passagerardörren väl var på plats så, ehh, hmm... satt den inte bra. Ojämna glipor och så satt den snett. Men vi hade resurser. Vi hade distanser i form av rektangelformade plåtbitar. Efter många om och men tvingades vi använda alla distanser för att få rätt på passformen på passagerardörren. Vi fick lyfta på och av den tre gånger dock. Tålamodsprövande inpassning. Men om jag inte mindes fel så skulle förardörren sitta riktigt bra (snug fit som britterna hade sagt) utan några som helst användning av distanser.
Dörrlåset synkade inte riktigt med haspen eller vad det heter så vi fick justera placeringen av haspen något. Som tur fanns det gott om justeringsmån. Men vi tvingades justera ytterligare. Med en rundfil. Och så satt dörren perfekt.
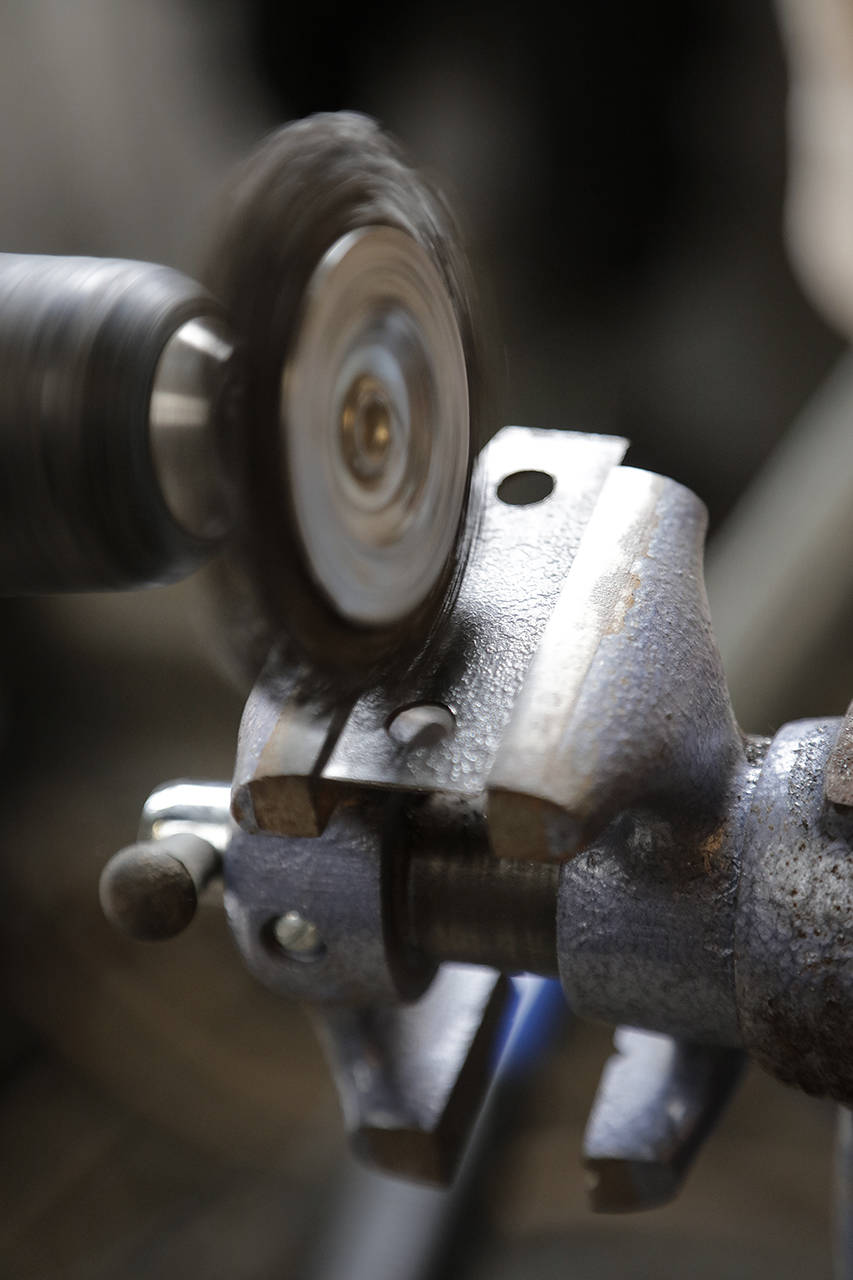
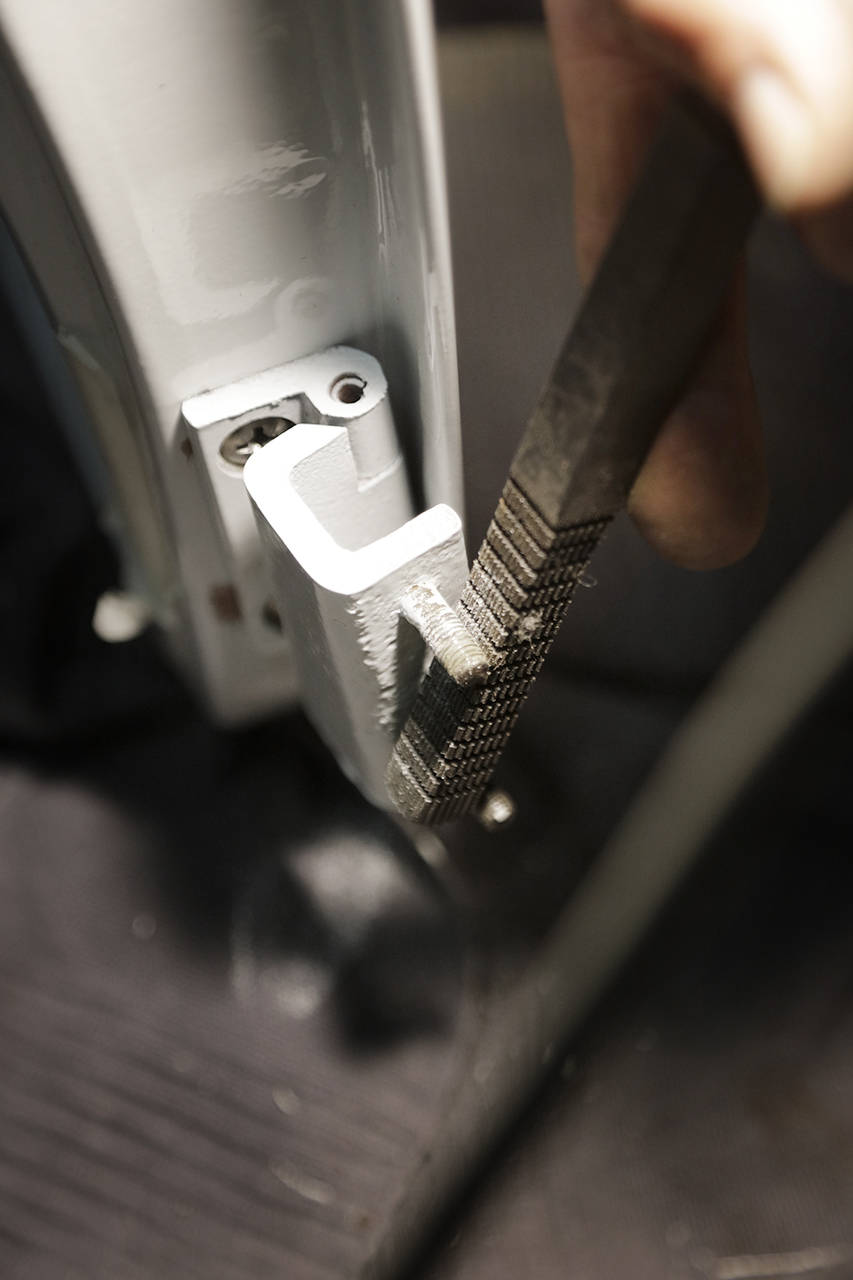
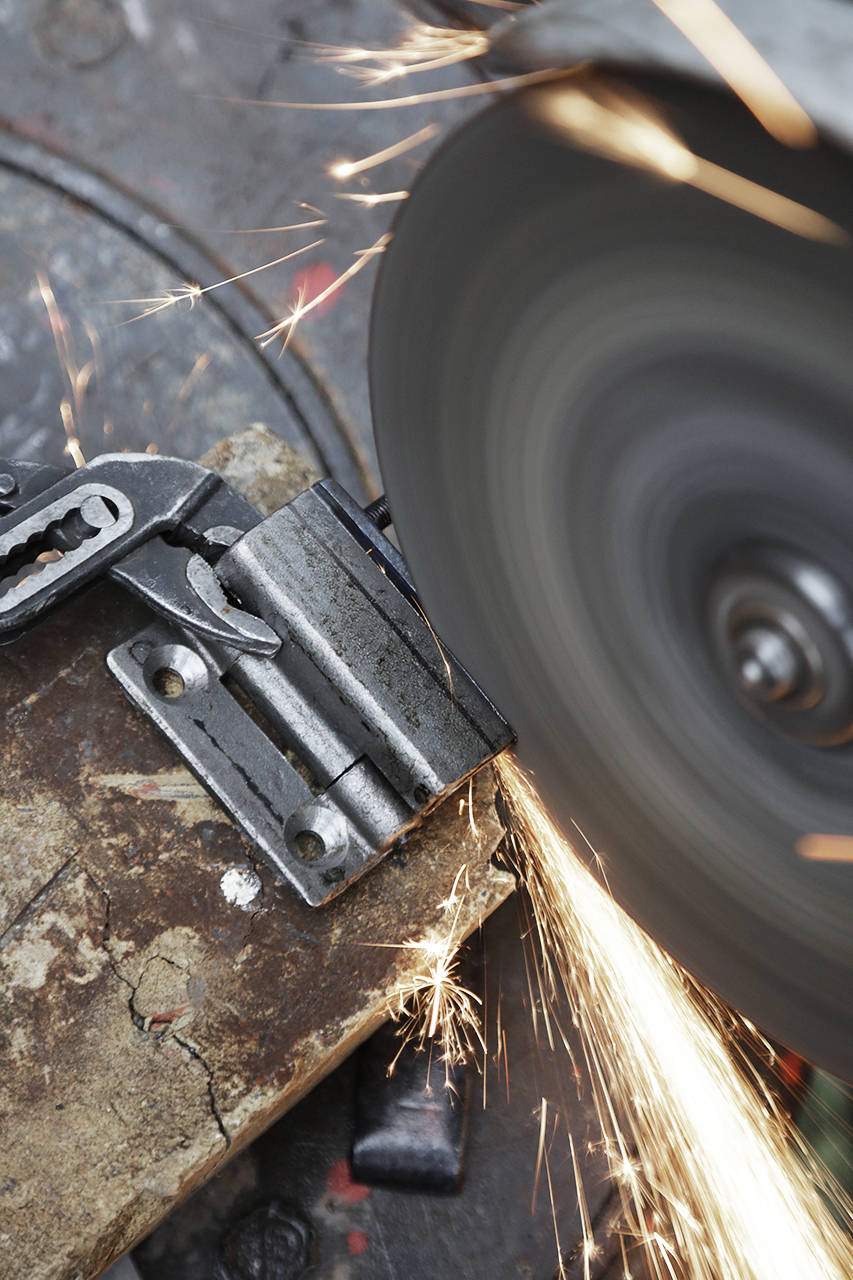
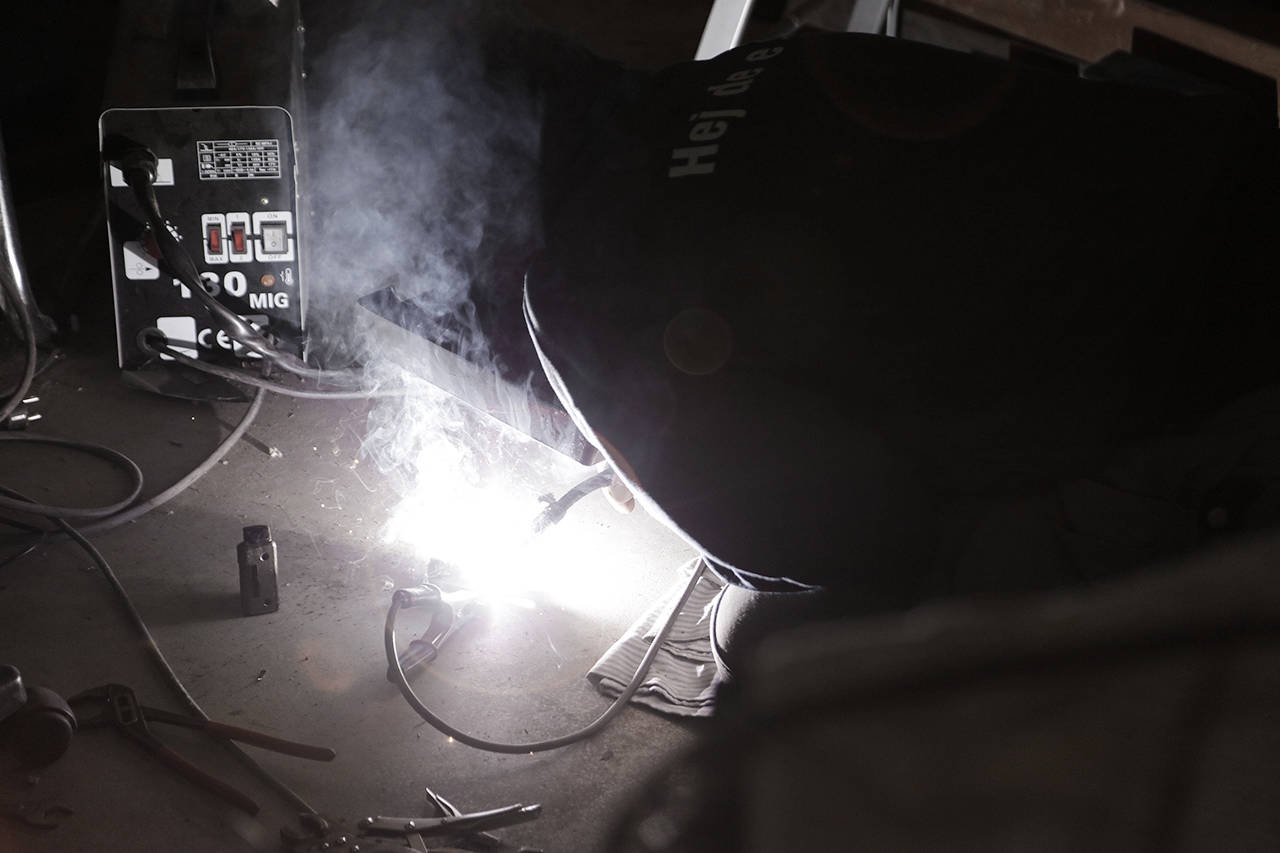
Bra. Nu blir det lättare med vänsterdörren. Oh boy, we were so wrong. De nya gångjärnen var tvungna att kapas lite i hörnen för att kunna klämmas in vid A-panelen mot fästpunkterna. Det var ju förstås lite bökigt och vi slipade dem när de satt på plats. Skyddade dörrlacken dock.
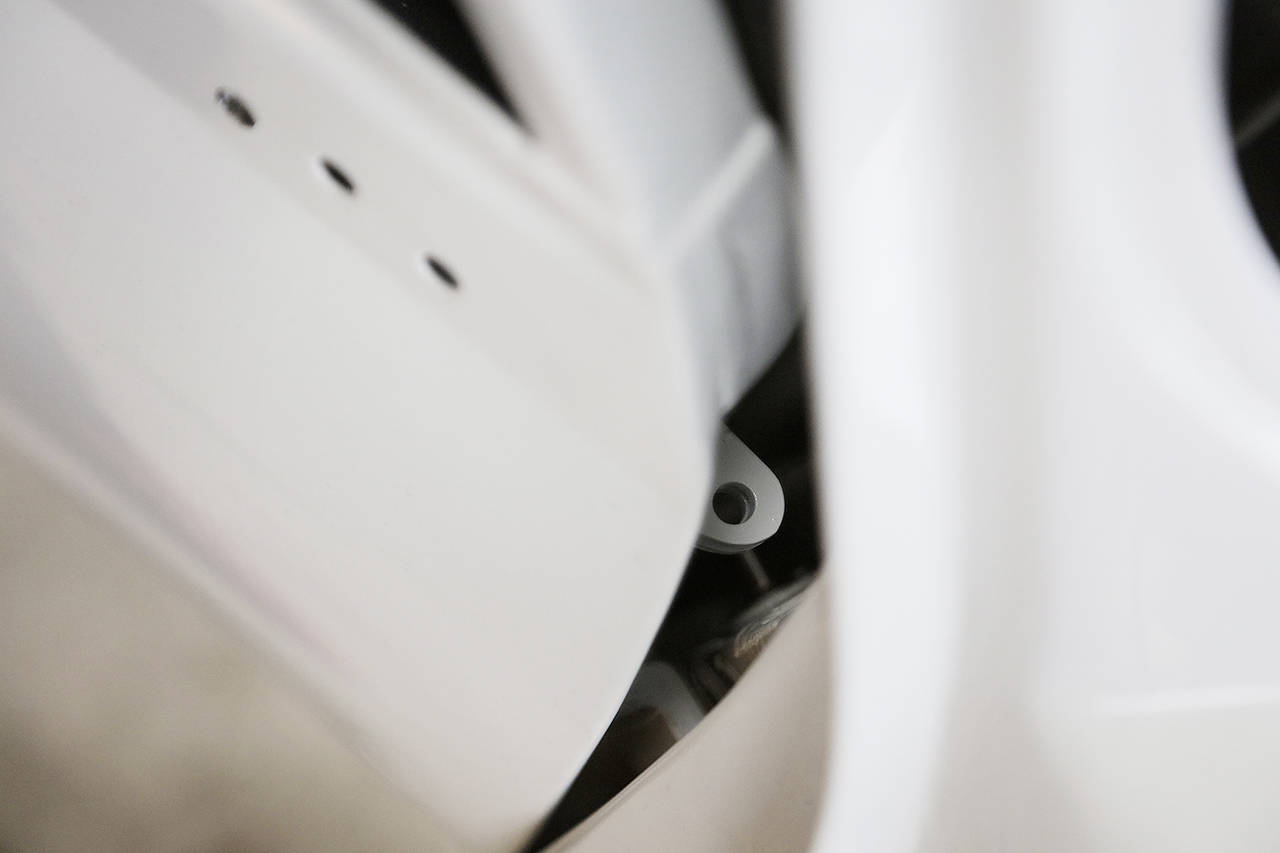
Sen gick det lätt att montera dörren men när vi skulle stänga den så... ehh... liknade dörröppningsmekanismen på nya Koenigsegg Gemera (Automated twisted synchrohelix actuation doors) då dörren lutade ca 10 grader i bakkant vilket gjorde att dörrens ovansida till och med var ovanför takets dropplist. Galet. Hur kunde det bli så här?
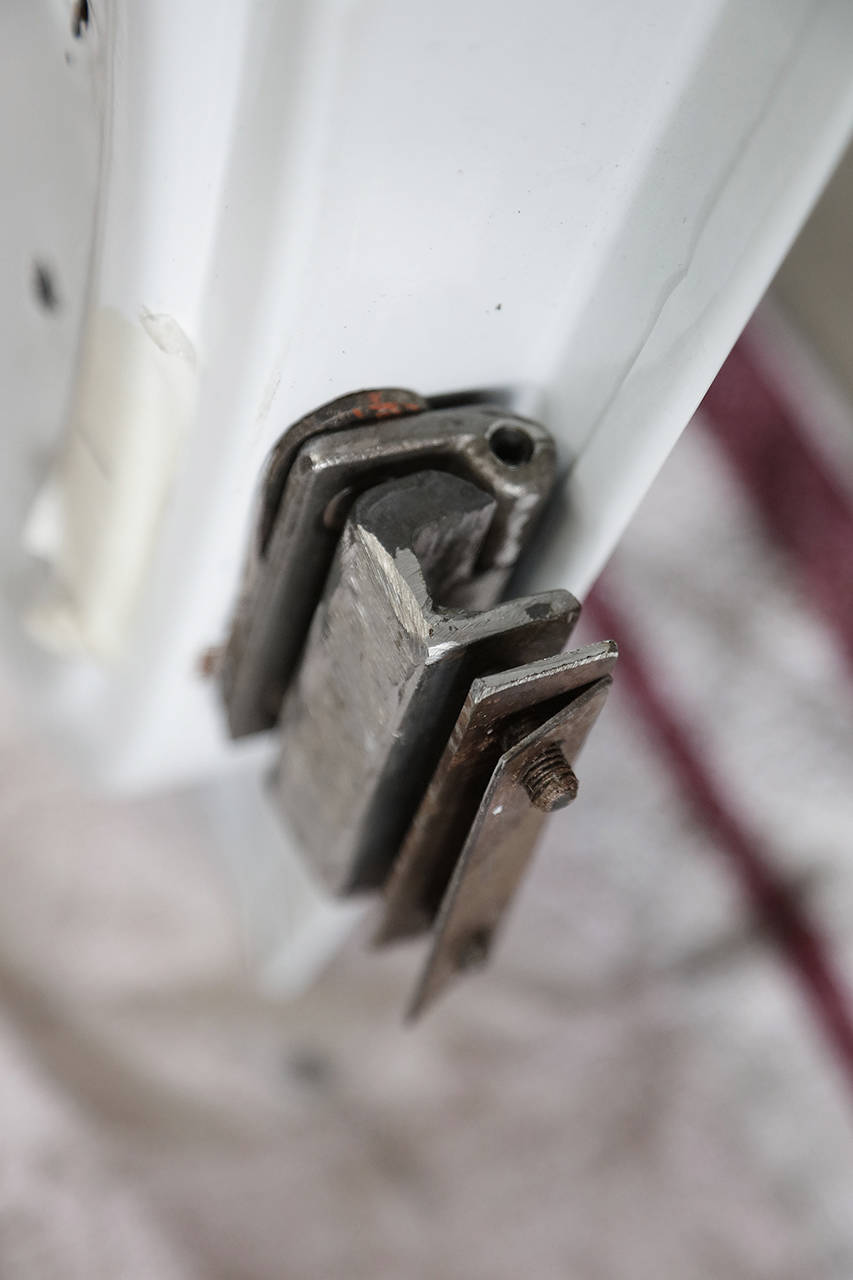
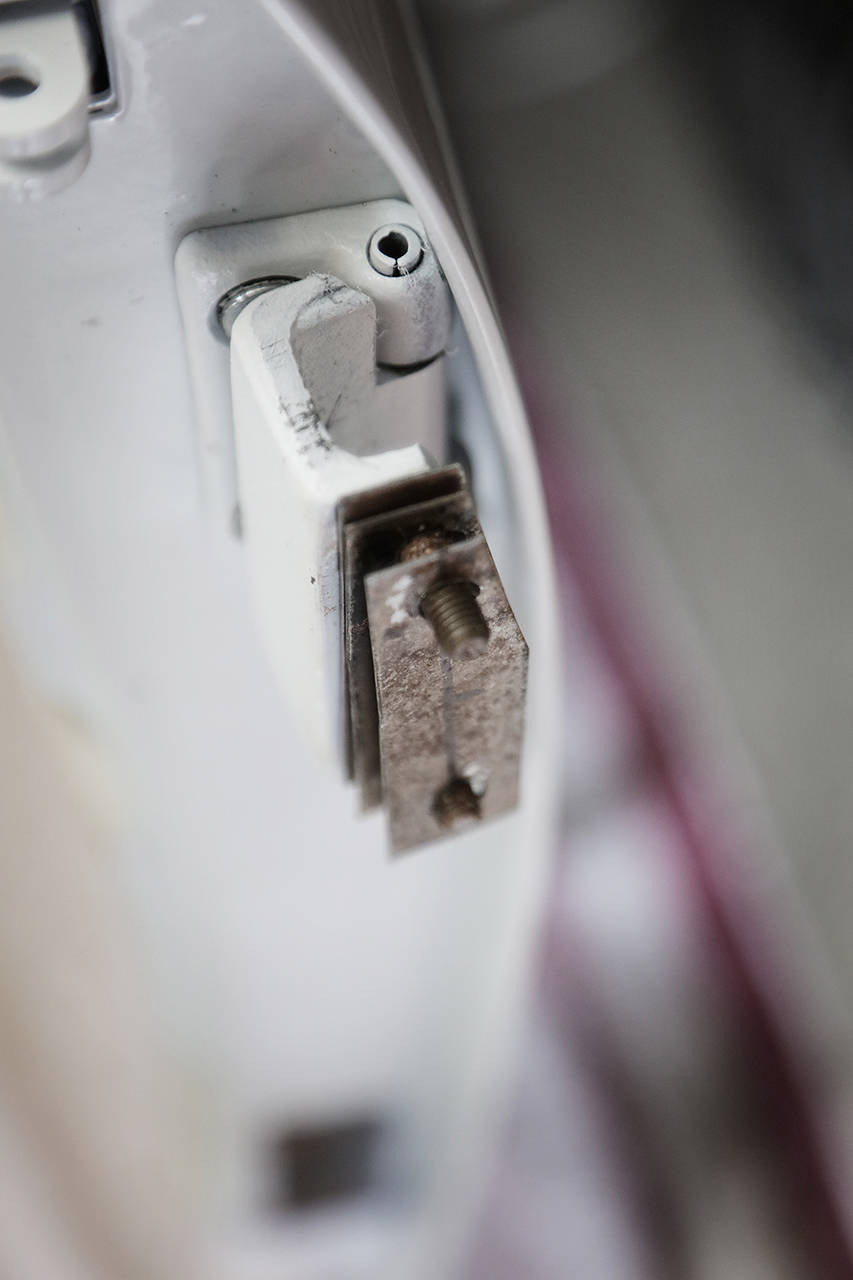
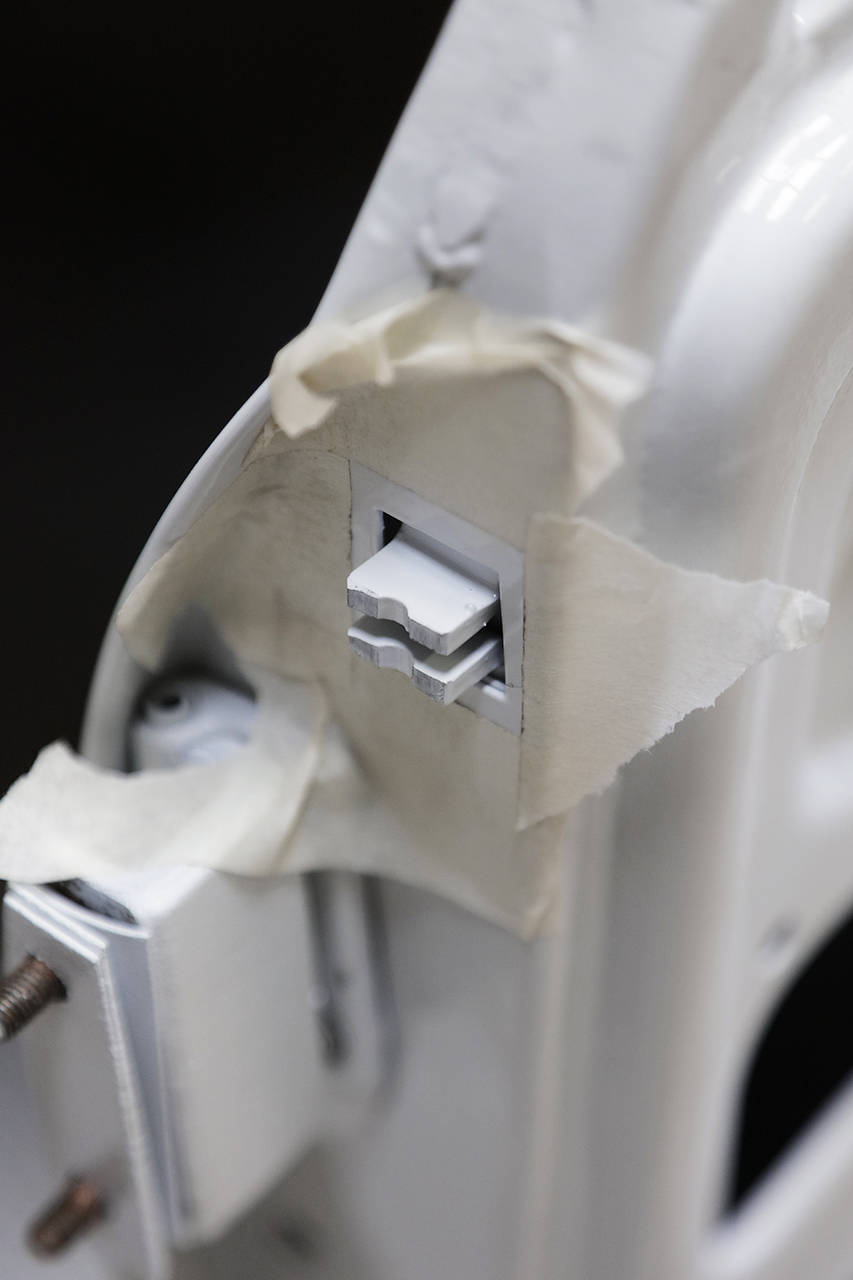
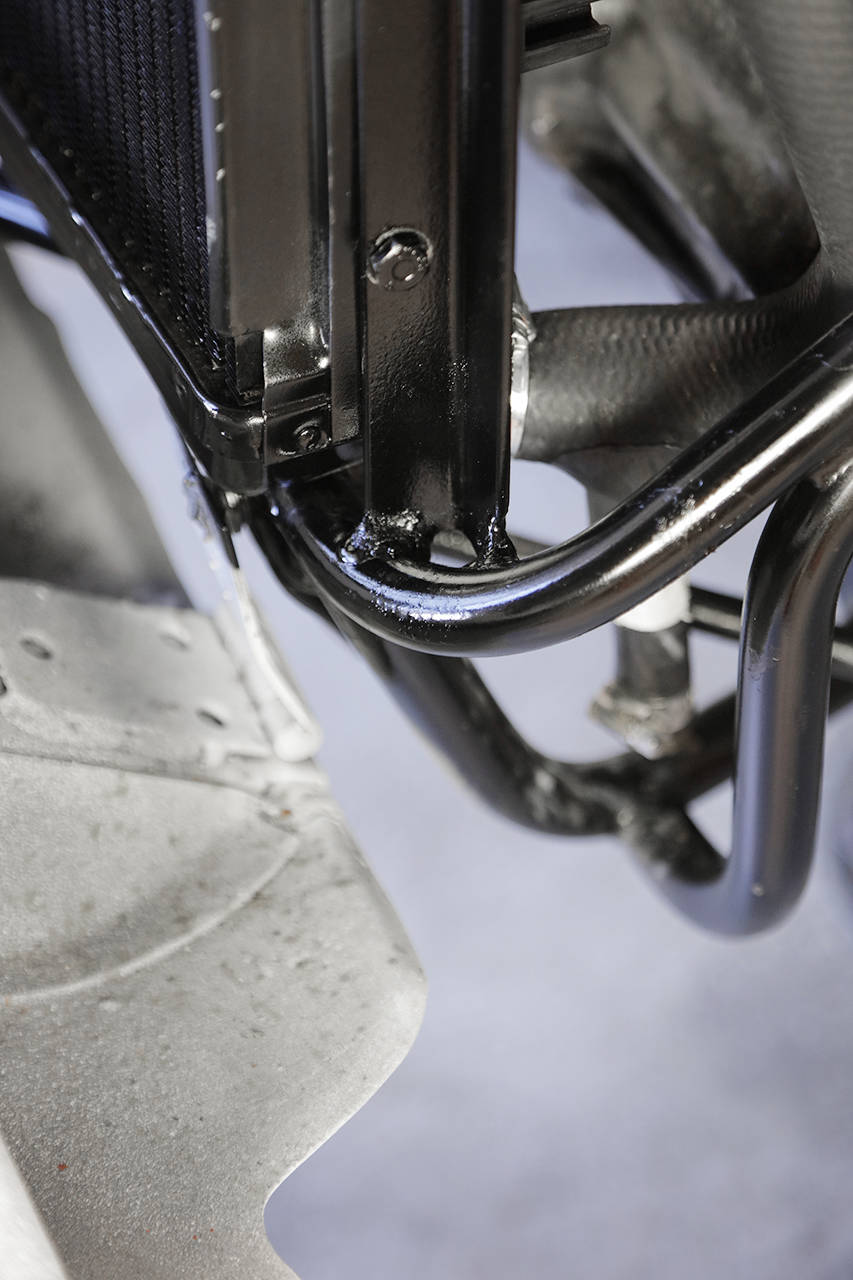
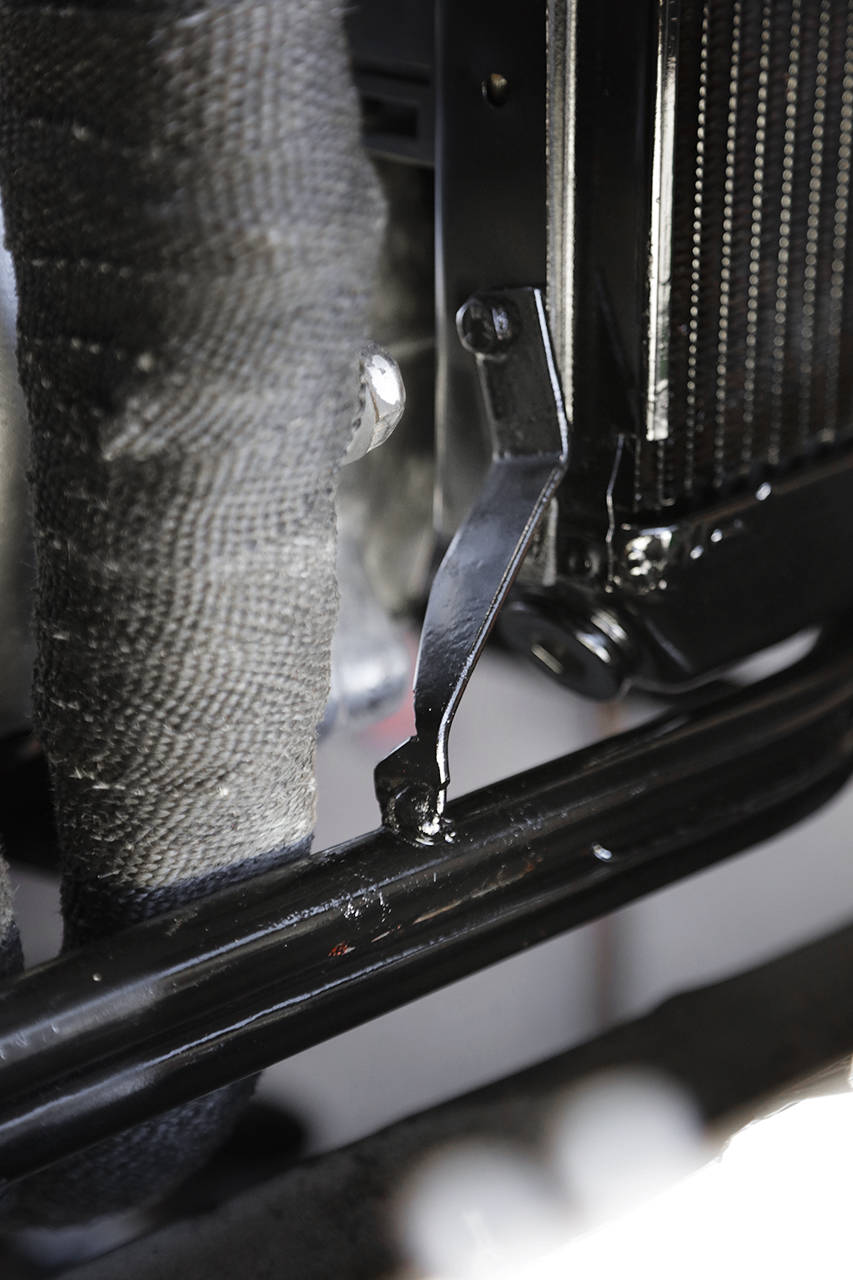
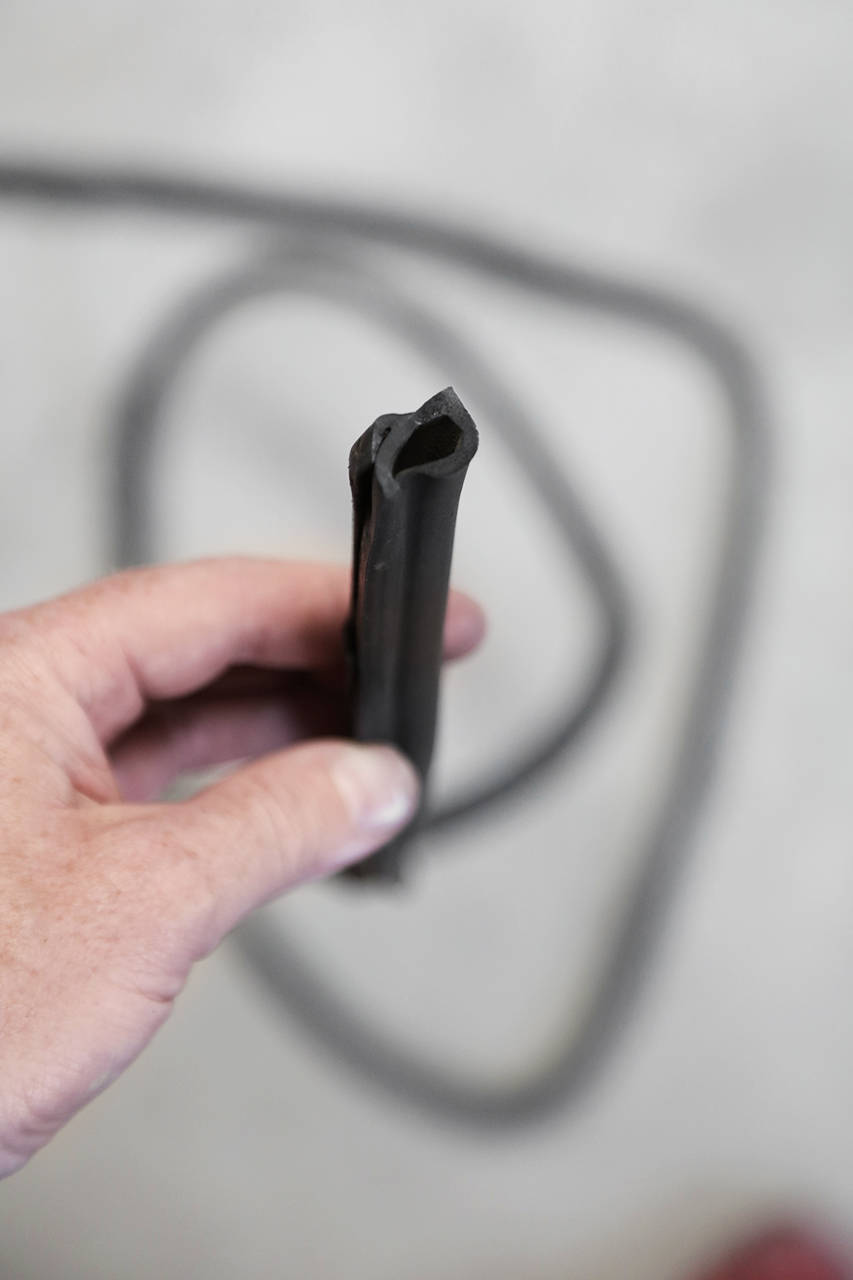
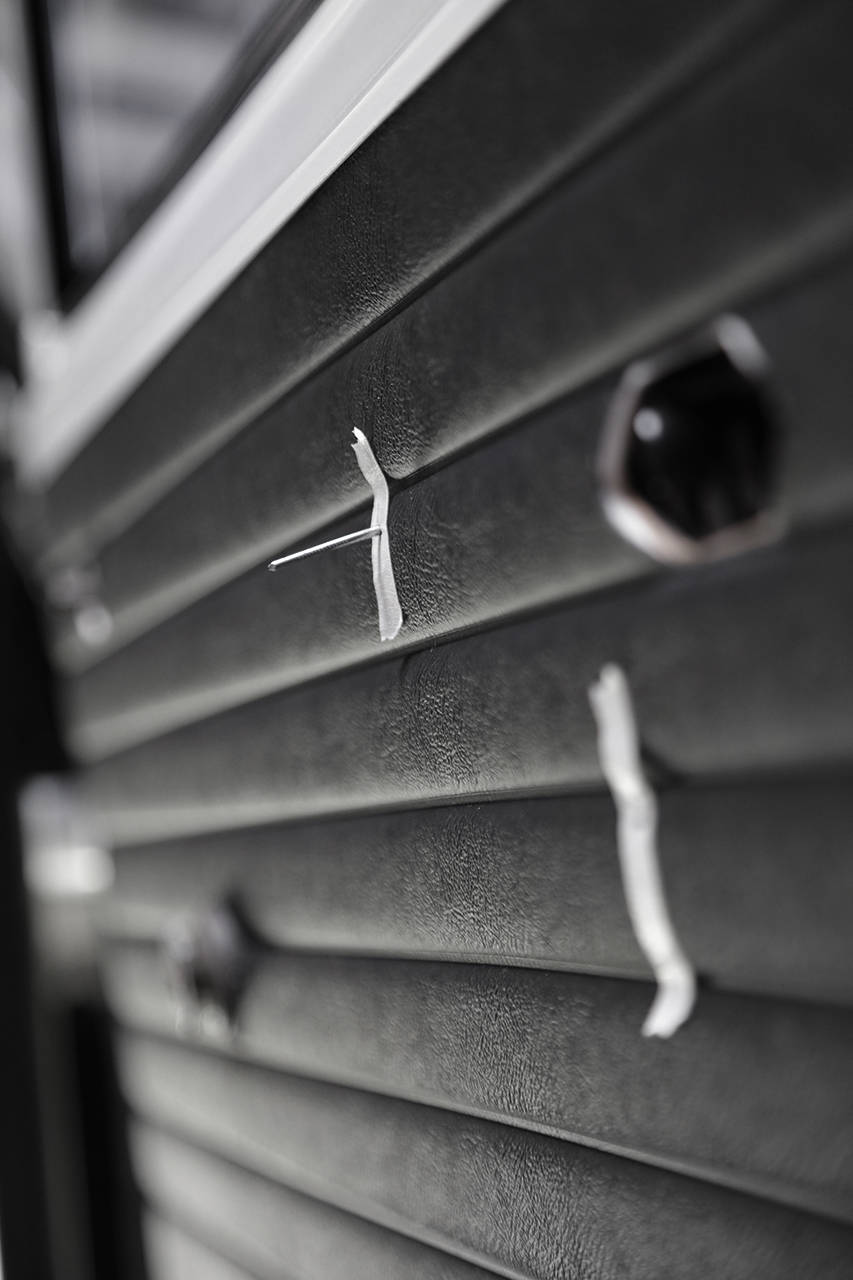
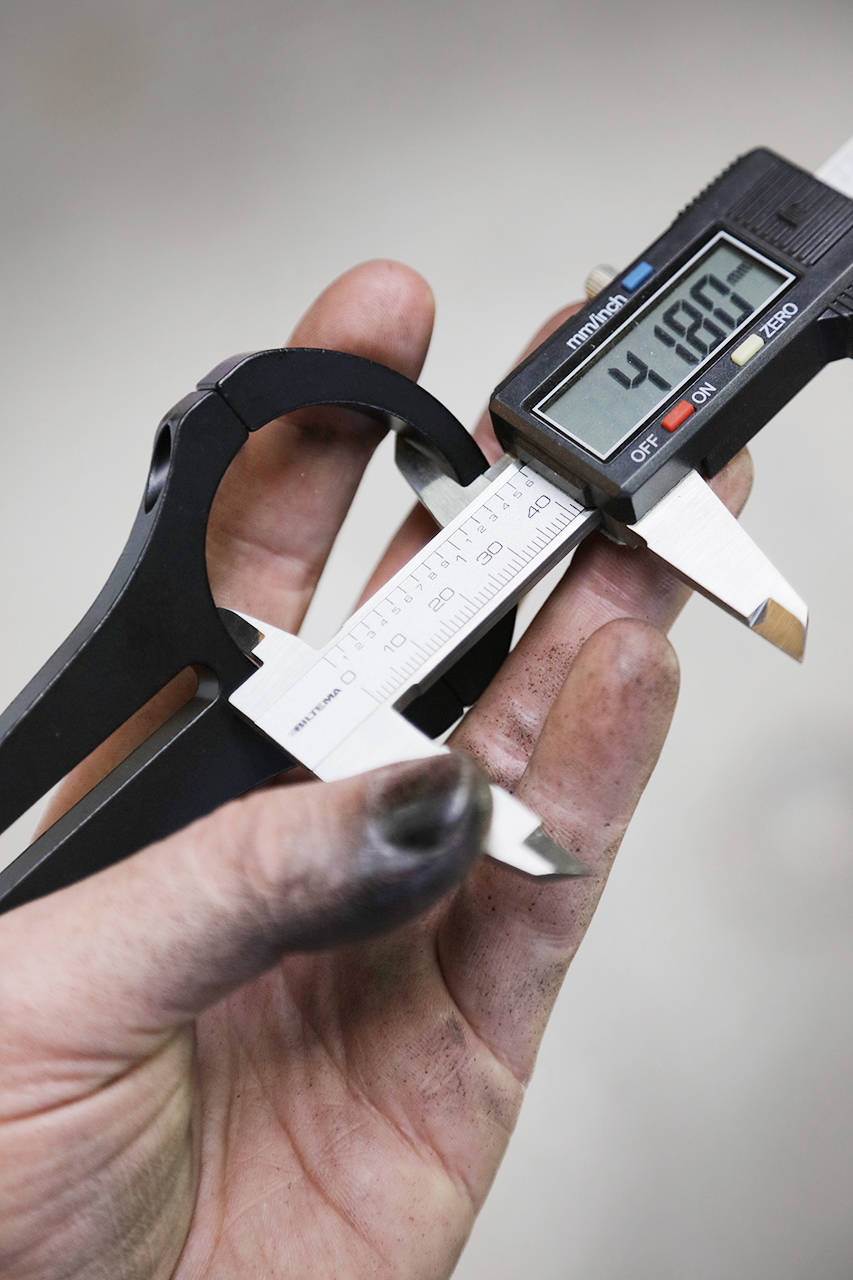
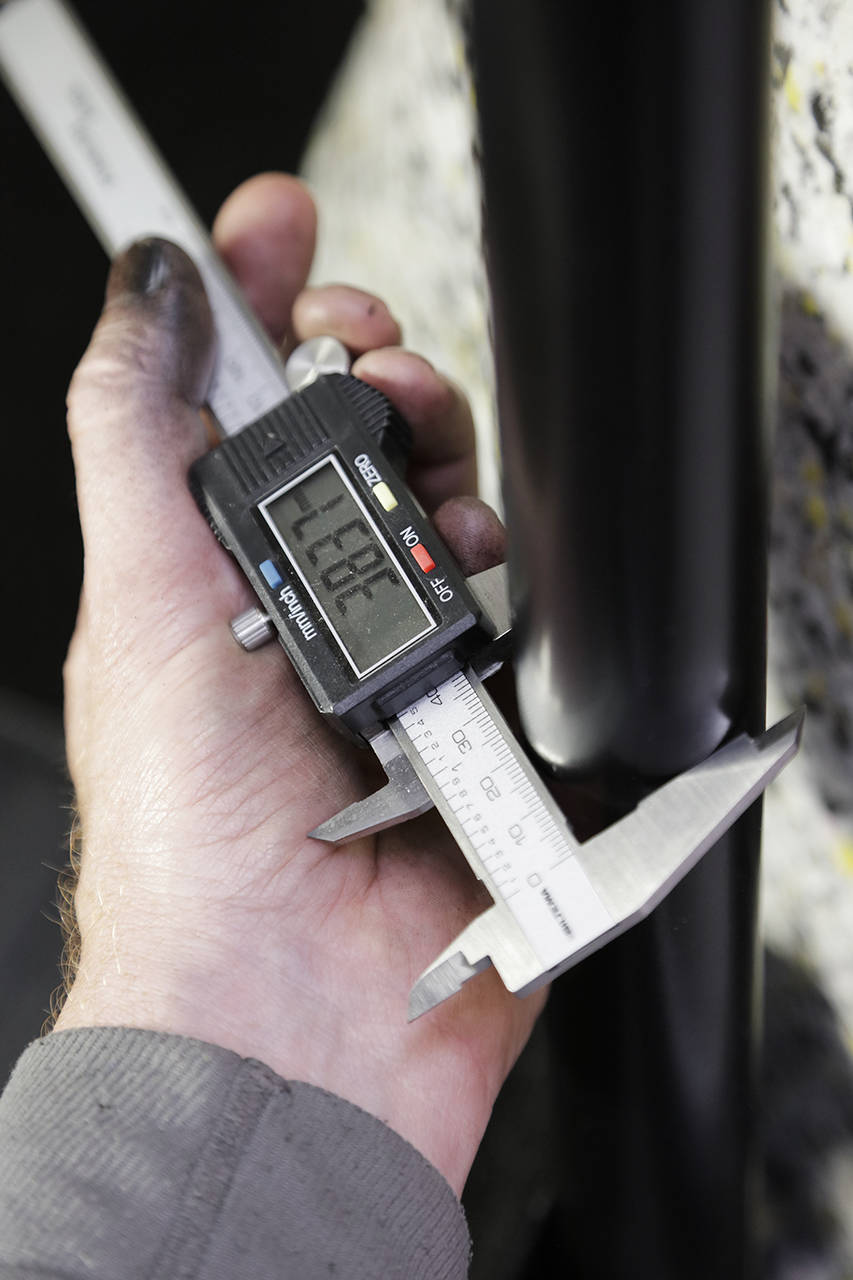
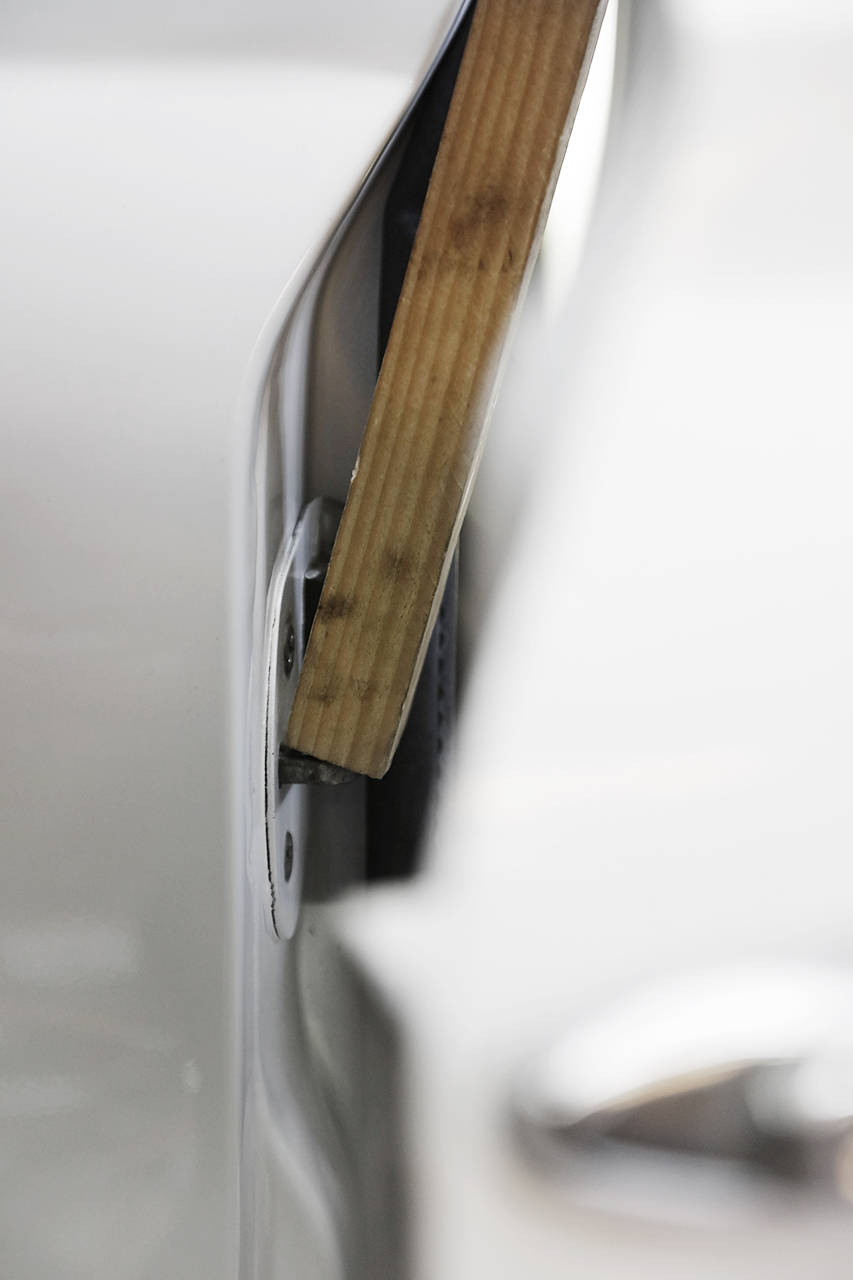
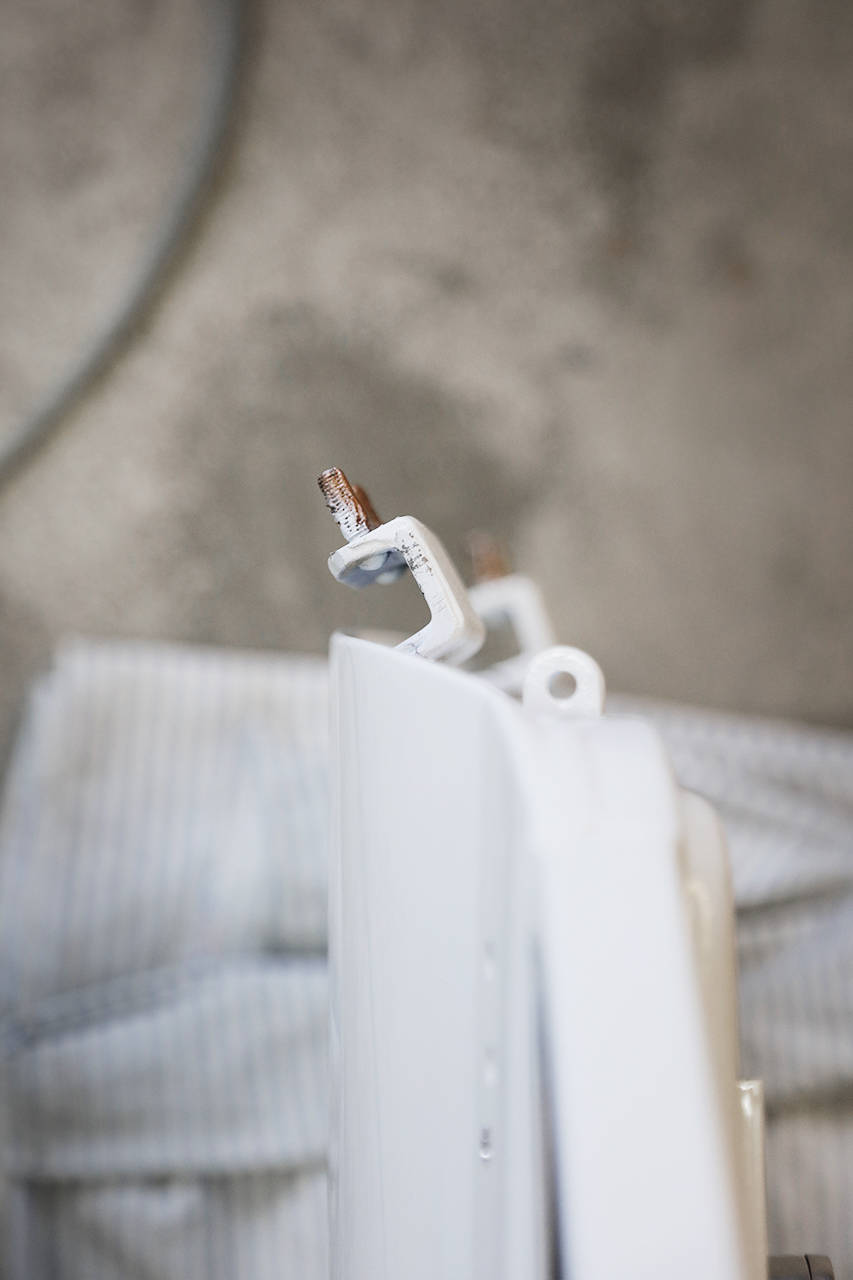
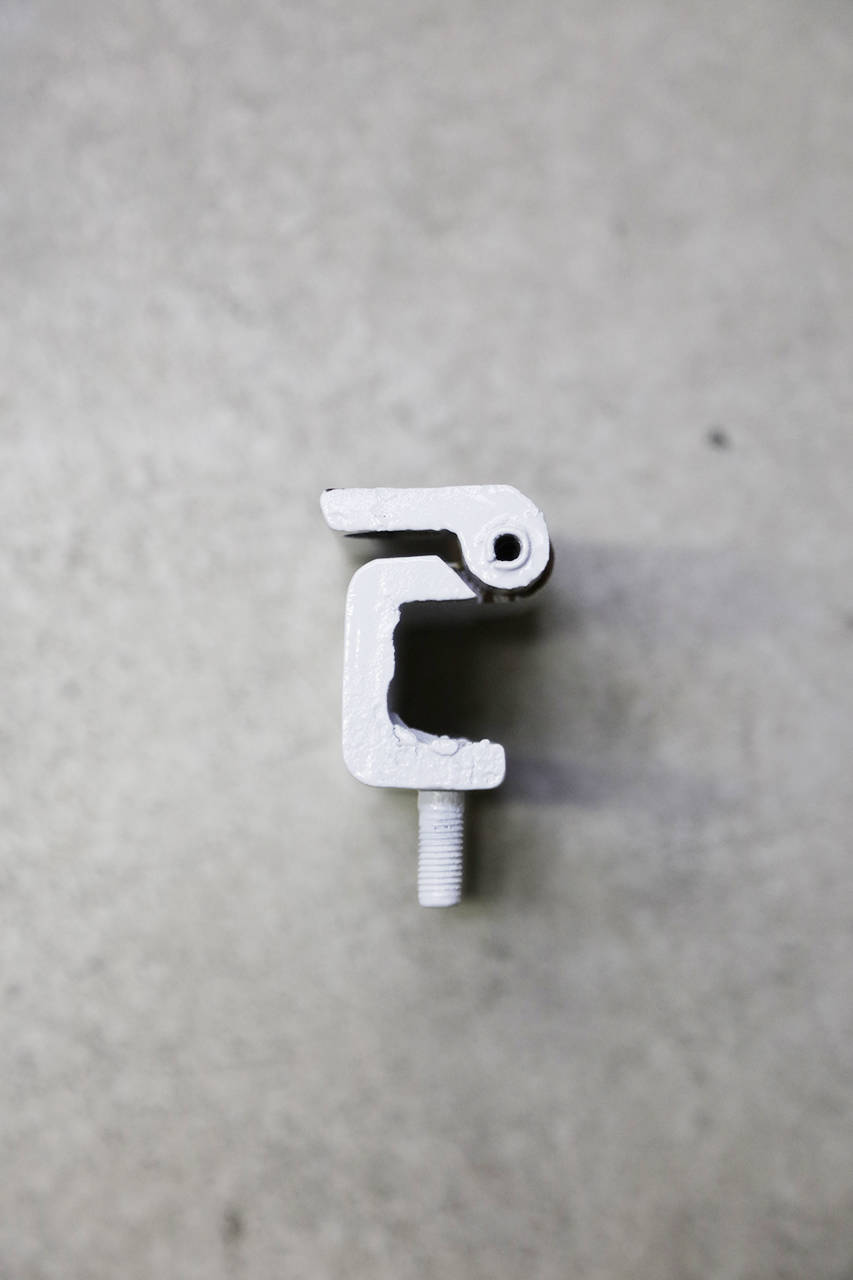
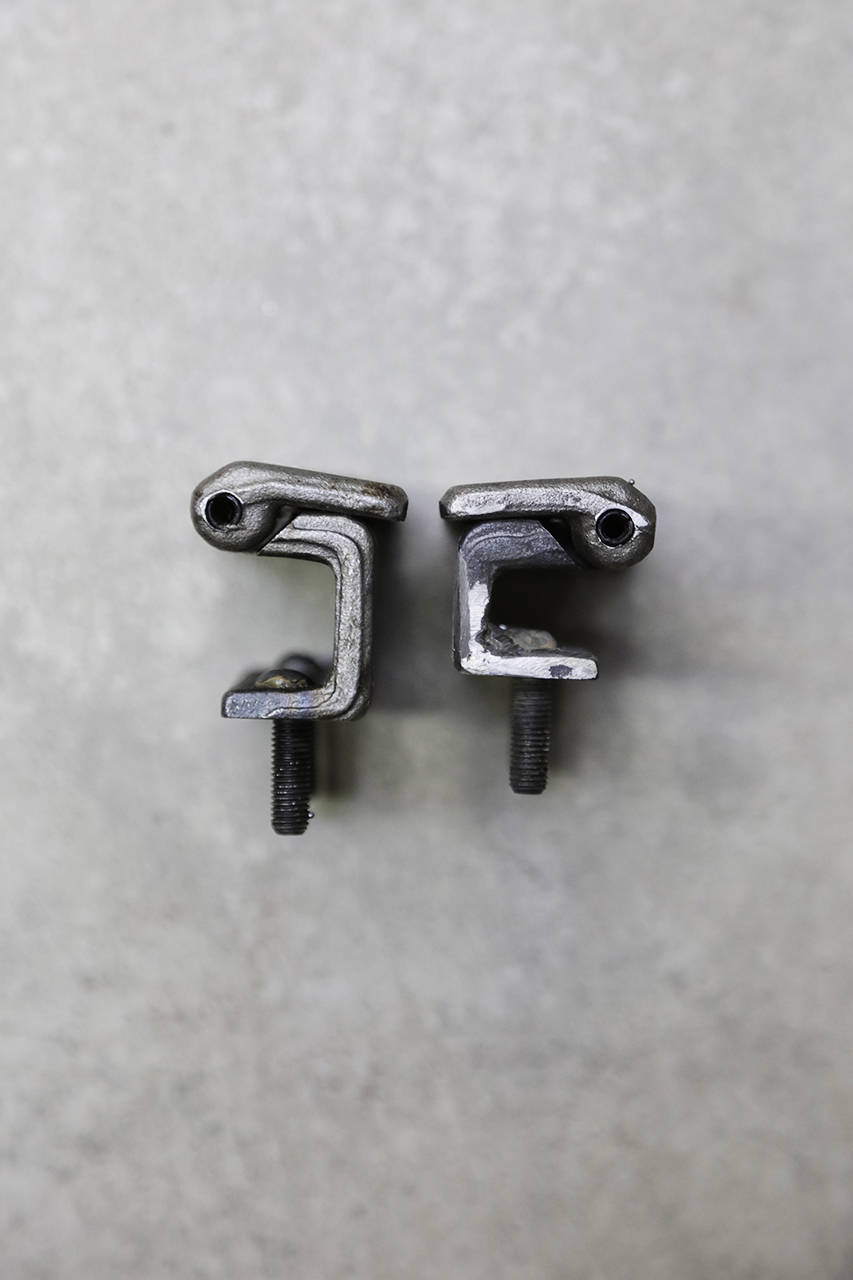
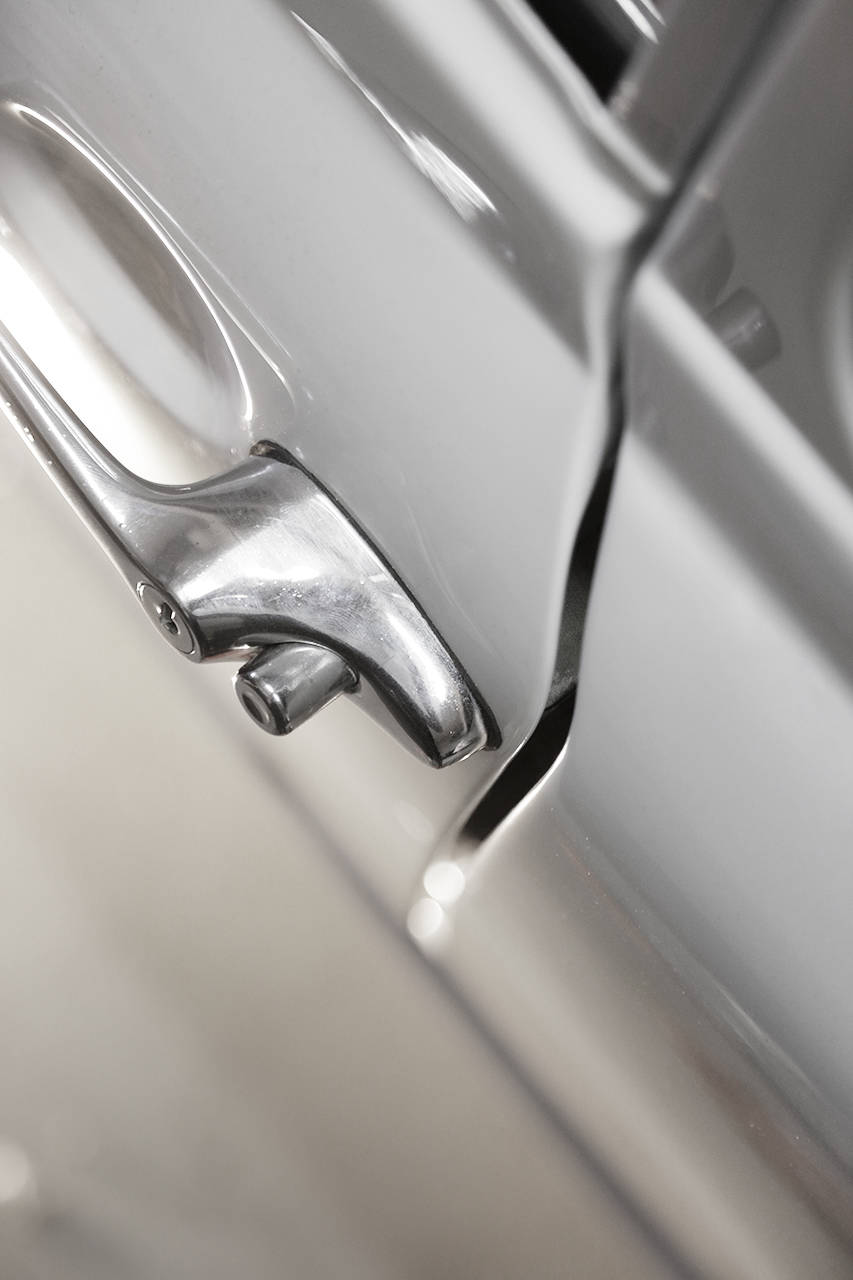
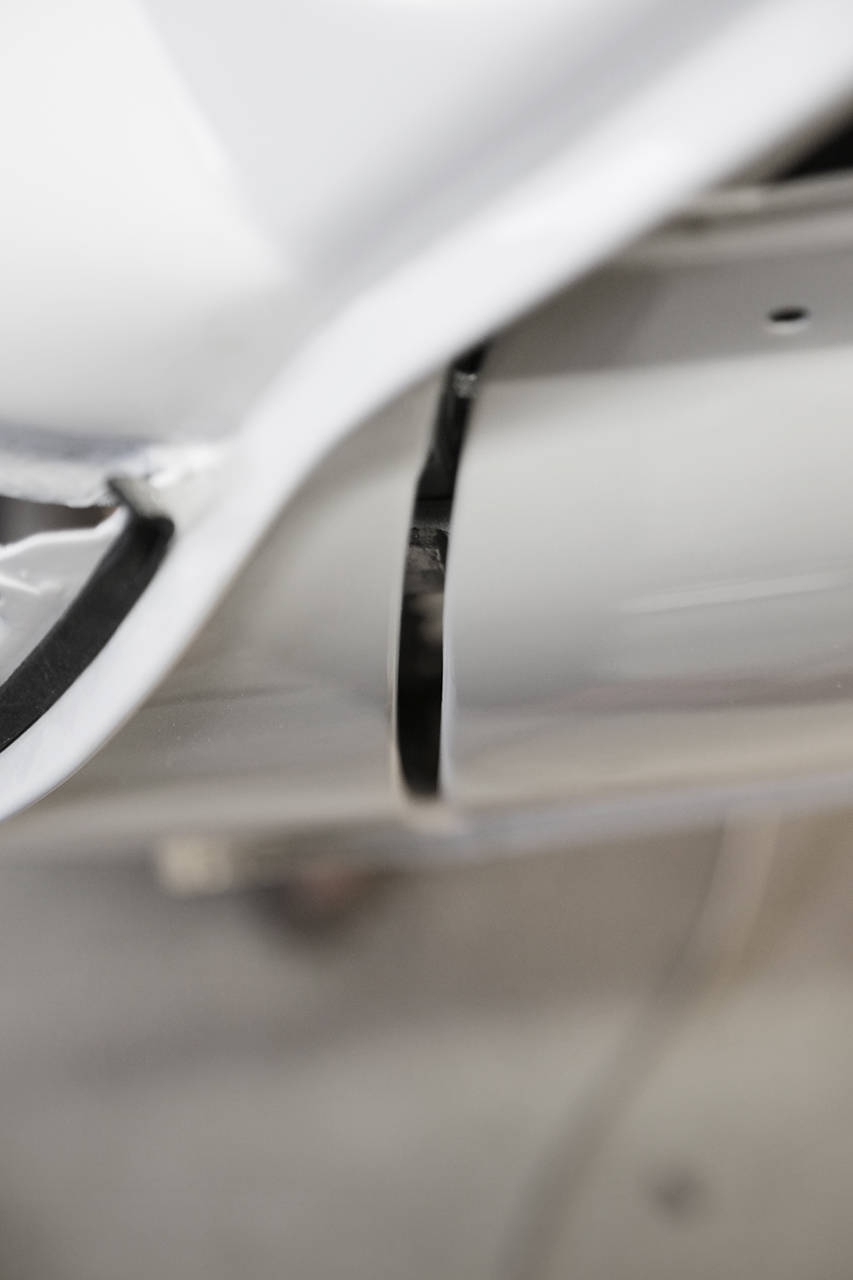
Två vuxna människor står och kliar hårbotten. Ehh. Vad gör vi nu? Dörren satt ju perfekt innan lackering. Sen insåg vi att det måste ha varit det nedre gångjärnet som ställde till det. Vi hade ju inte de nya när vi passade in dörren innan lackering och originalgångjärnet hade ett rejält glapp, inte mindre än 4 mm (se bilder). Inte konstigt att passformen inte stämde. Det nya gångjärnet skjuter alltså dörren för långt bak i nederkant vilket får hela dörren att tippa uppåt.
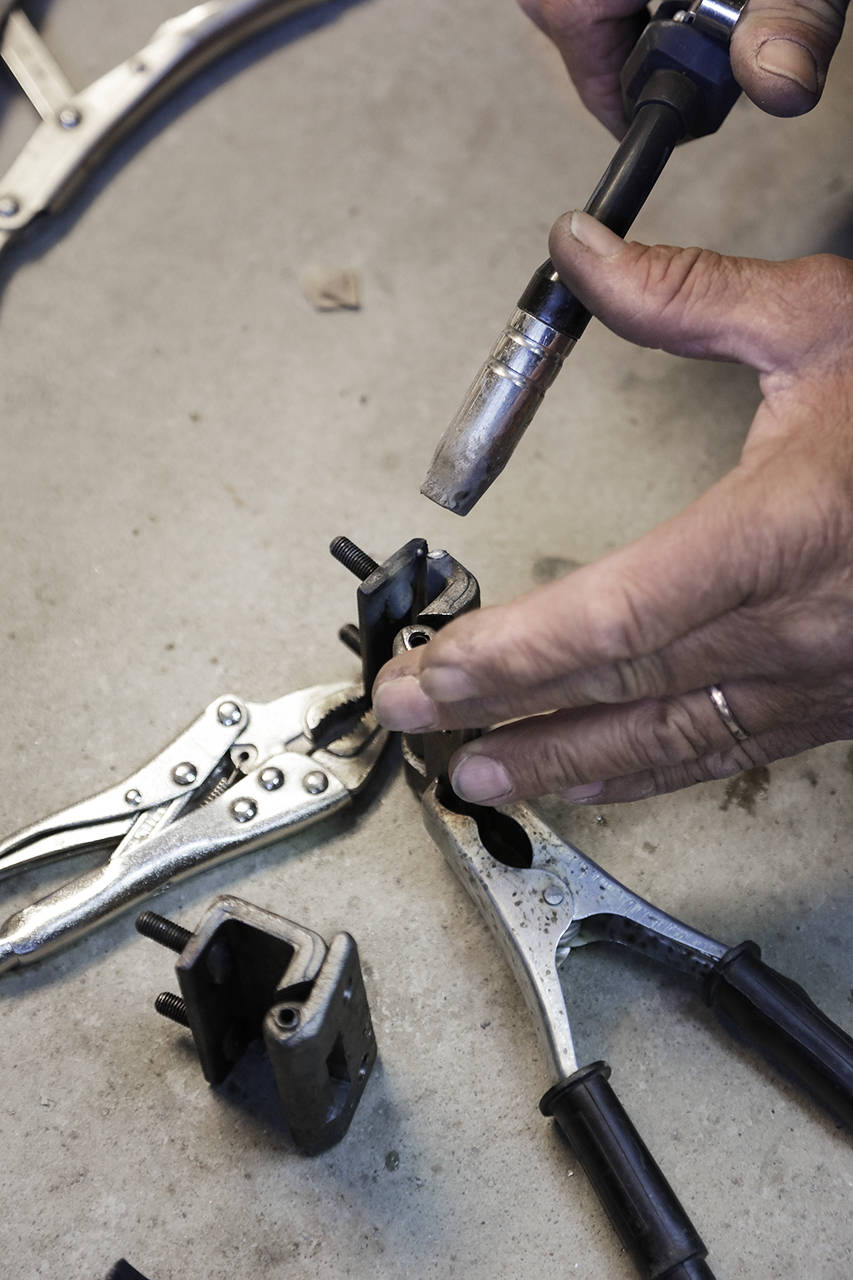
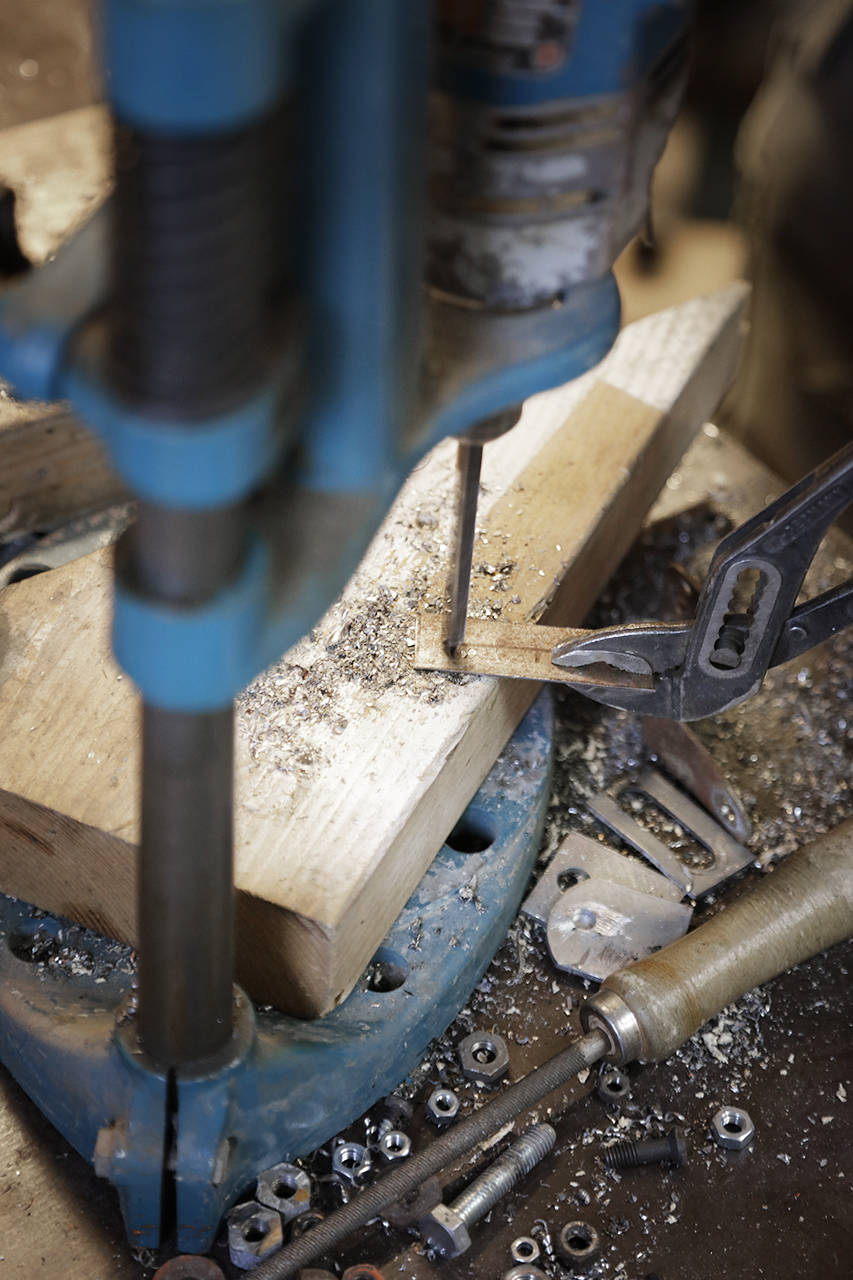
Hur gick det sen? Jo, vi tillverkade shims. En, två, tre, fyra och fem distanser. Japp. Vi provade att distansera det övre gångjärnet, men nix, funkade ändå inte. Vi insåg då att vi var tvungna att kapa av 9 mm av det nya gångjärnet och svetsa ihop det igen. Smack. Nu då? Njet. Det lutade bra mycket mindre nu men nu tog de nya bultarna med rundade skallar i gångjärnet så att det inte gick att stänga helt. Bytte till de gamla bultarna. Men nope, gick inte att stänga ändå. Något spökar. Då var det dörren som tog i A-stolpen. Därav kunde vi inte få igen dörren. Den stod öppen 10 cm i bakkant och helt omöjlig att pressa igen. Aha, det var det kortade gångjärnet som gjort att dörren förskjutits framåt och därmed tog i A-stolpen. Hmm. Så vi tillverkade fler shims. Och först nu kunde vi stänga dörren. Nu skulle vi bara finjustera passformen. Fler shims. Och nu äntligen satt den på plats med jämnt fördelade glipor runtom dörren.
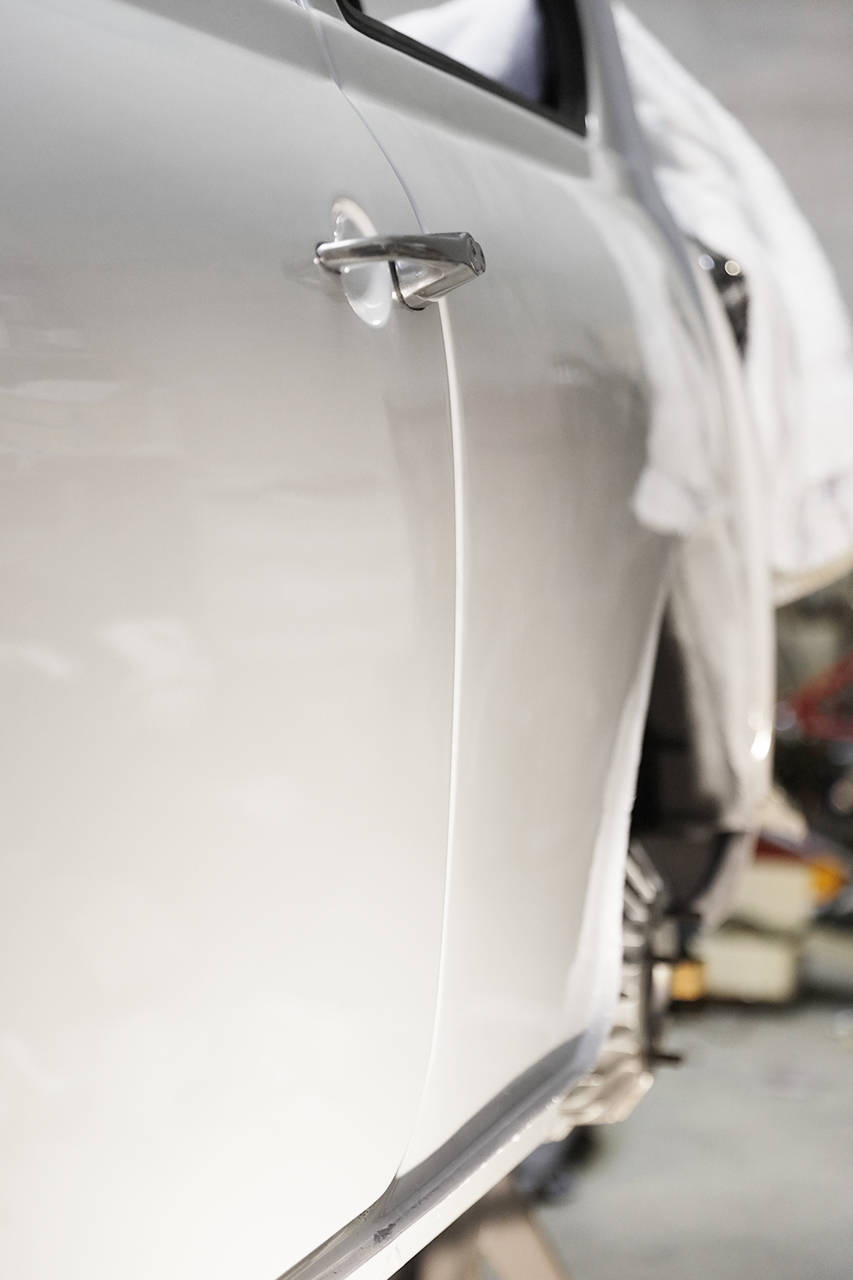
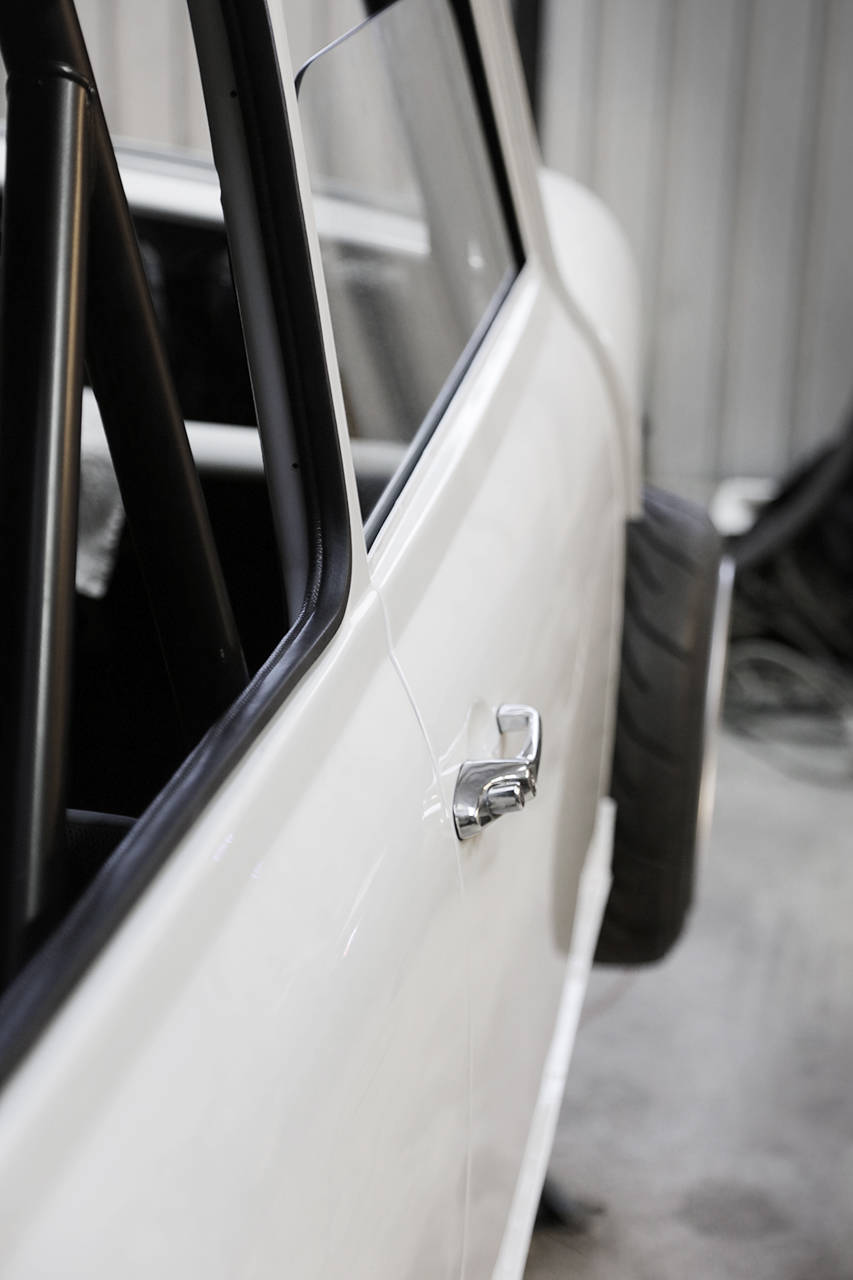
Dörrlåsets placering justerades och när dörren nu är stängd så ser det jämnt och fint ut mellan dörr och övrig kaross. Färdiga! Det tog oss 4 timmar att montera/demontera högerdörren tre gånger och vänsterdörren blev inte klockren förrän efter sex försök. Jösses. -Se upp för dårarna, dårarna stängs!. Så sant så, dårarna slet sitt hår men dörrarna stängdes knappt till en början, haha!
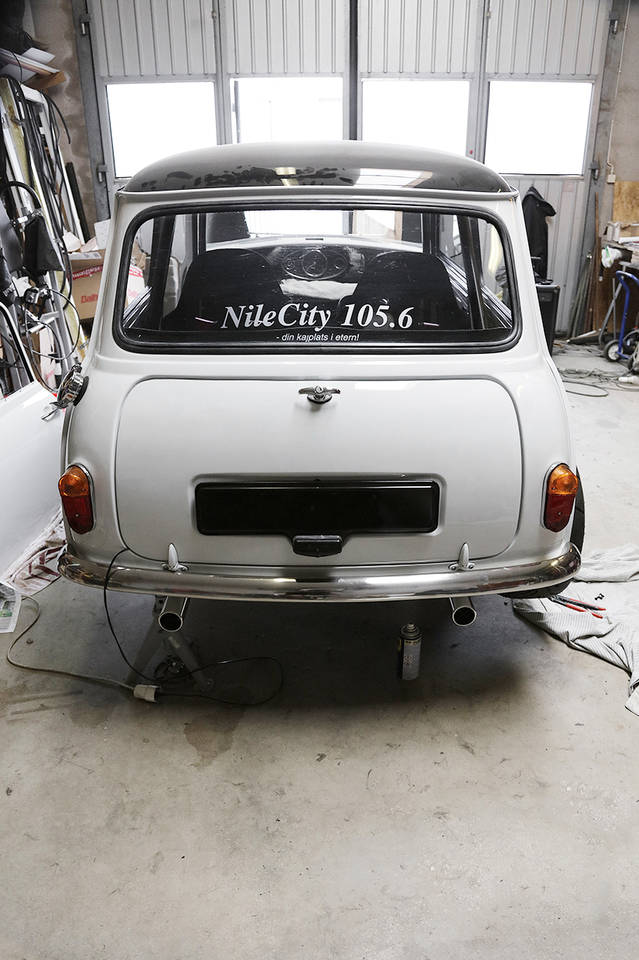
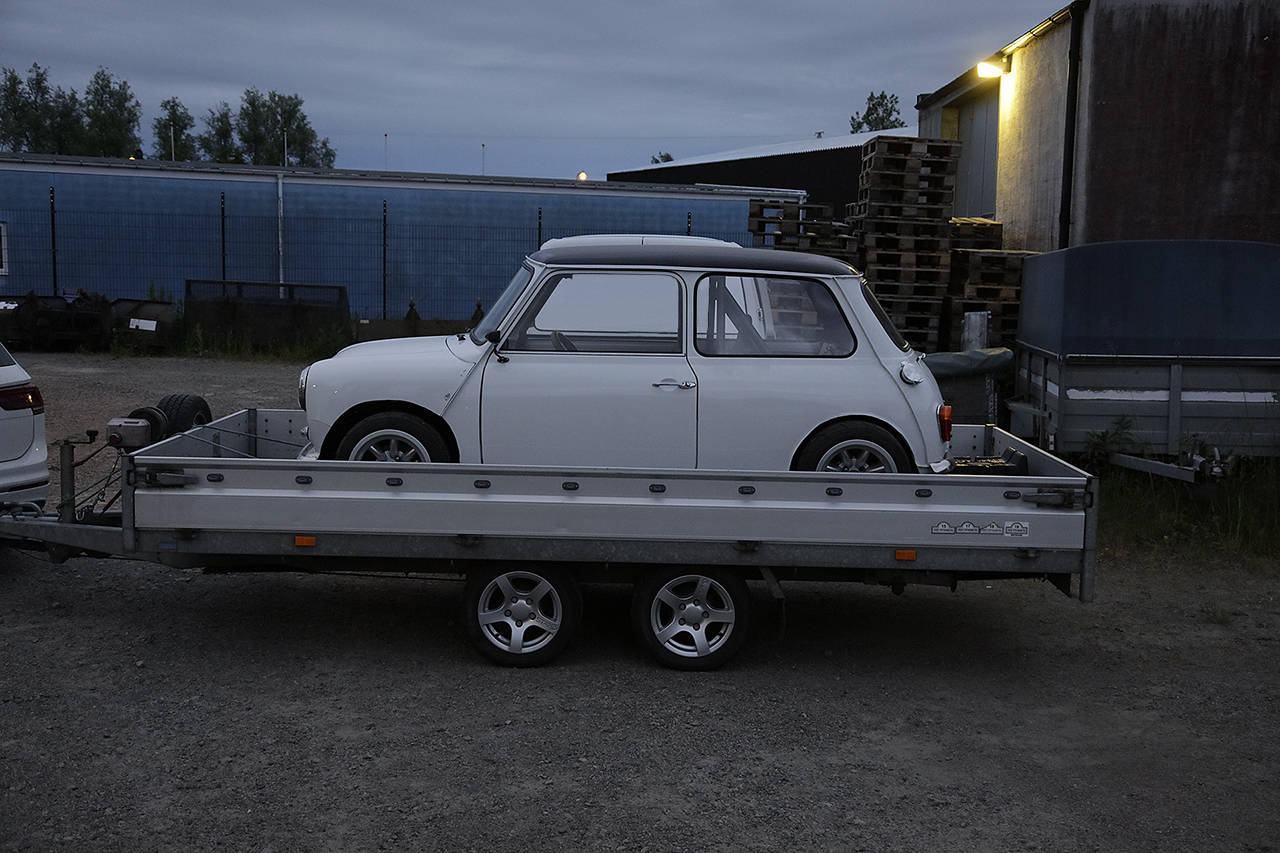
Slutligen var jag ju bara tvungen att fälla ner flipfronten och skruva på hjulen för att se helhetsbilden, and I like it! Däcken hänger förvisso ner litegrann trots våra stopp, så bilen blir nog 10 cm lägre när den sänkts ner på marken.
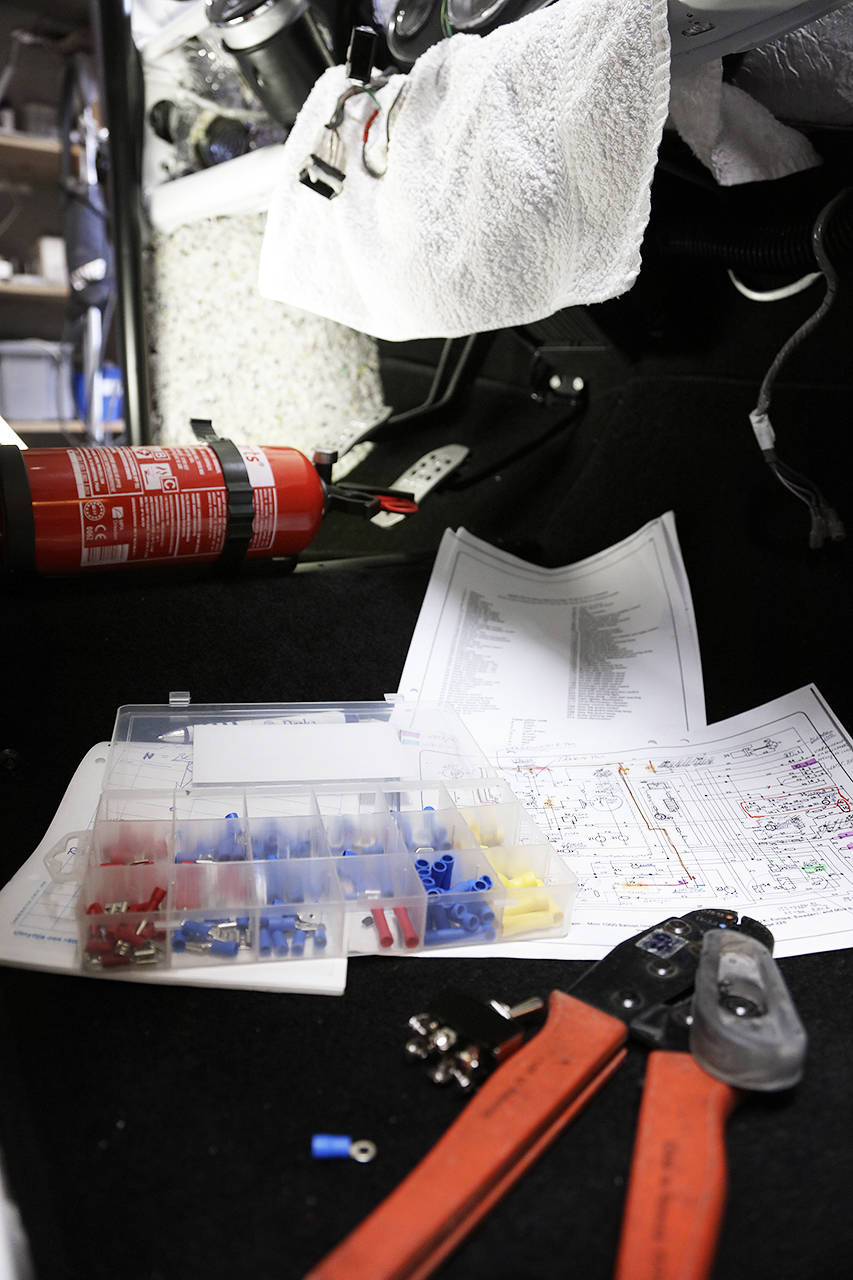
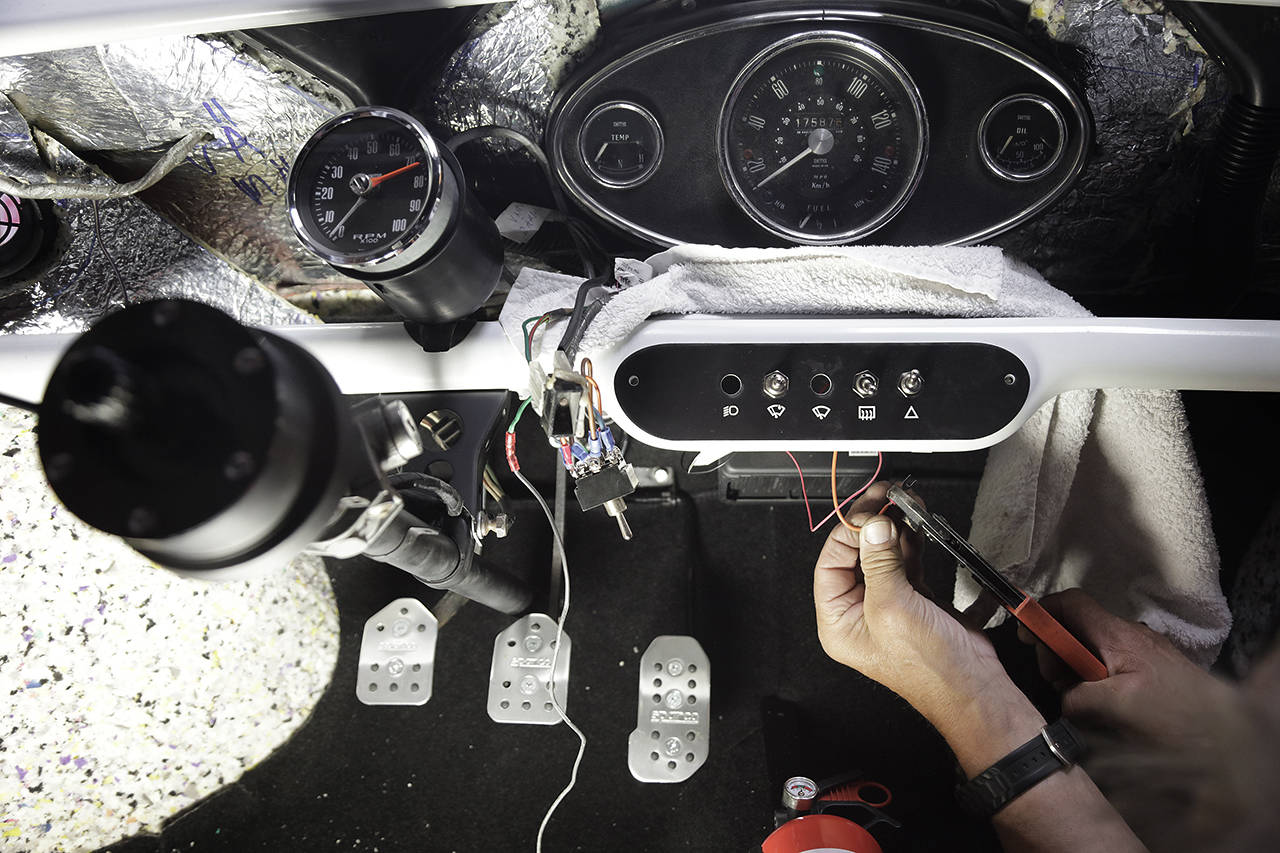
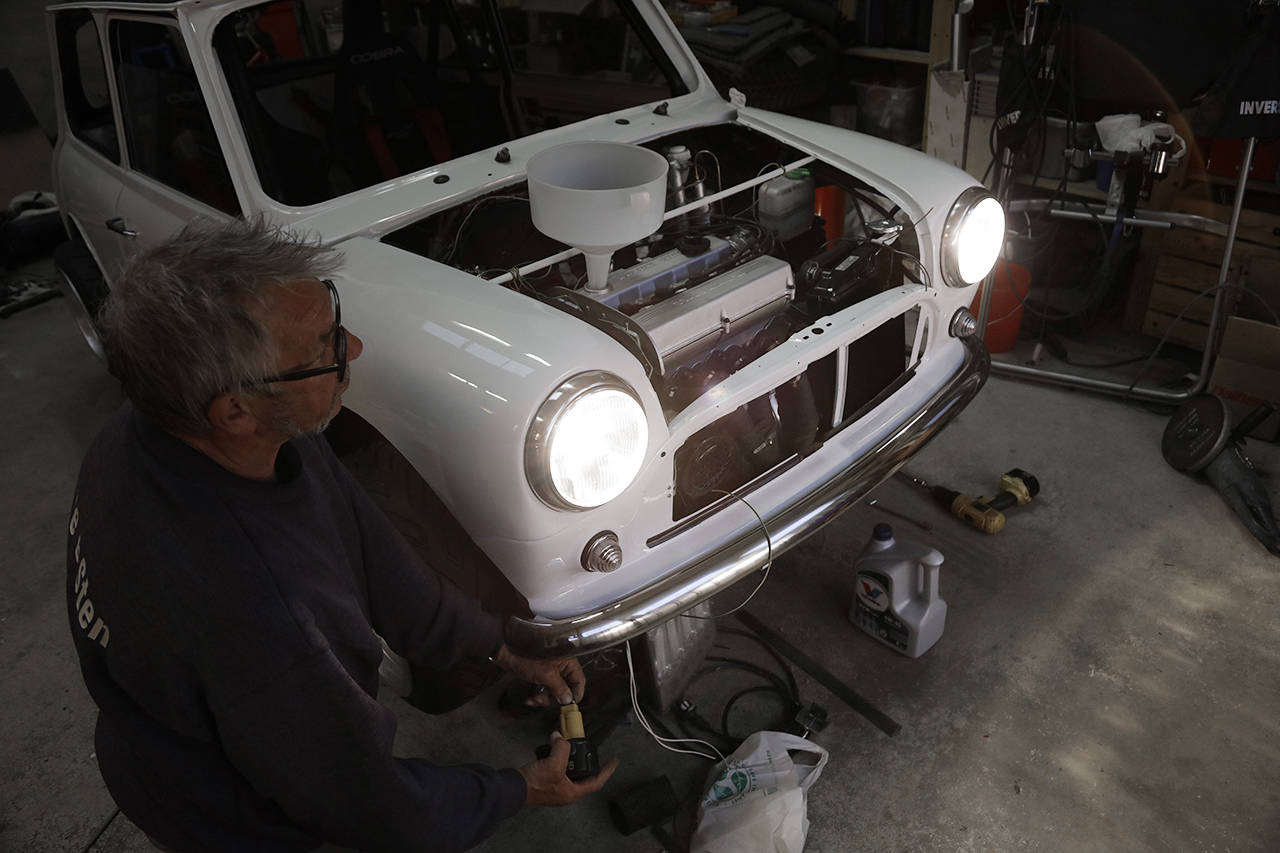
Klockan var strax 19 men det kliade i farsans fingrar medan jag städade undan. Han hällde i motorolja och vi såg inget omedelbart oljeläckage vilket vi var tacksamma för. Han kopplade diverse sladdar till ett batteri och testade halvljus och blinkers. Wehej!
Nästa besök görs inom kort igen för att bocka av ännu fler saker och därmed närma sig uppstart.
TRANSLATION
Reply to post: The idea behind a modification is precisely to require changes to make things work. That is, picking parts from the same model series is rarely approved, even if the function is different from what the car originally had.
As a classic example, directly fitting a multilink from a Volvo 960 onto a 940 is almost never approved because it's considered to require too little modification.
Of course, there are exceptions, and it depends a lot on how much the rest of the car has been modified.
Unfortunately, SFRO doesn't have the final say; it's the Swedish Transport Agency and the inspection that do. And we can probably figure out with the little toe how much they care about how things work, smiling.
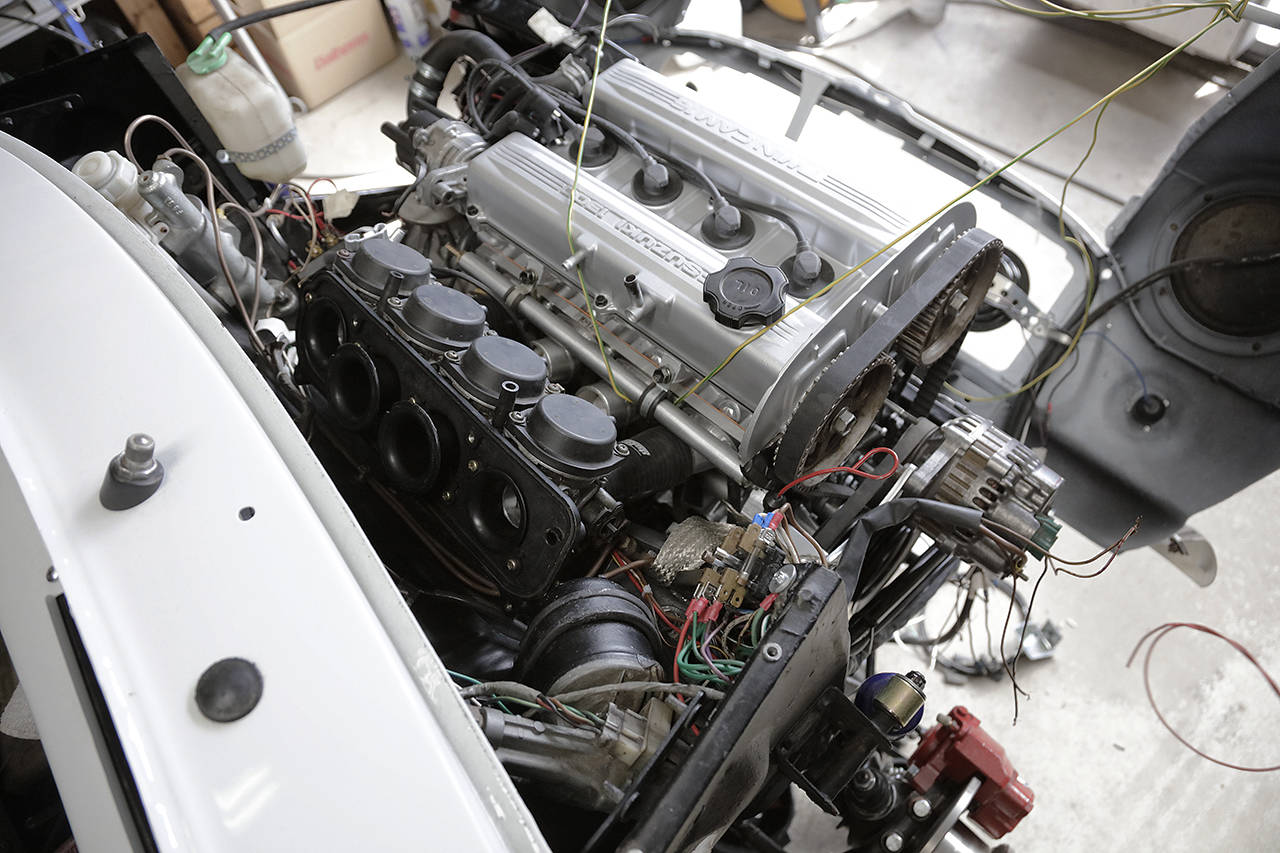
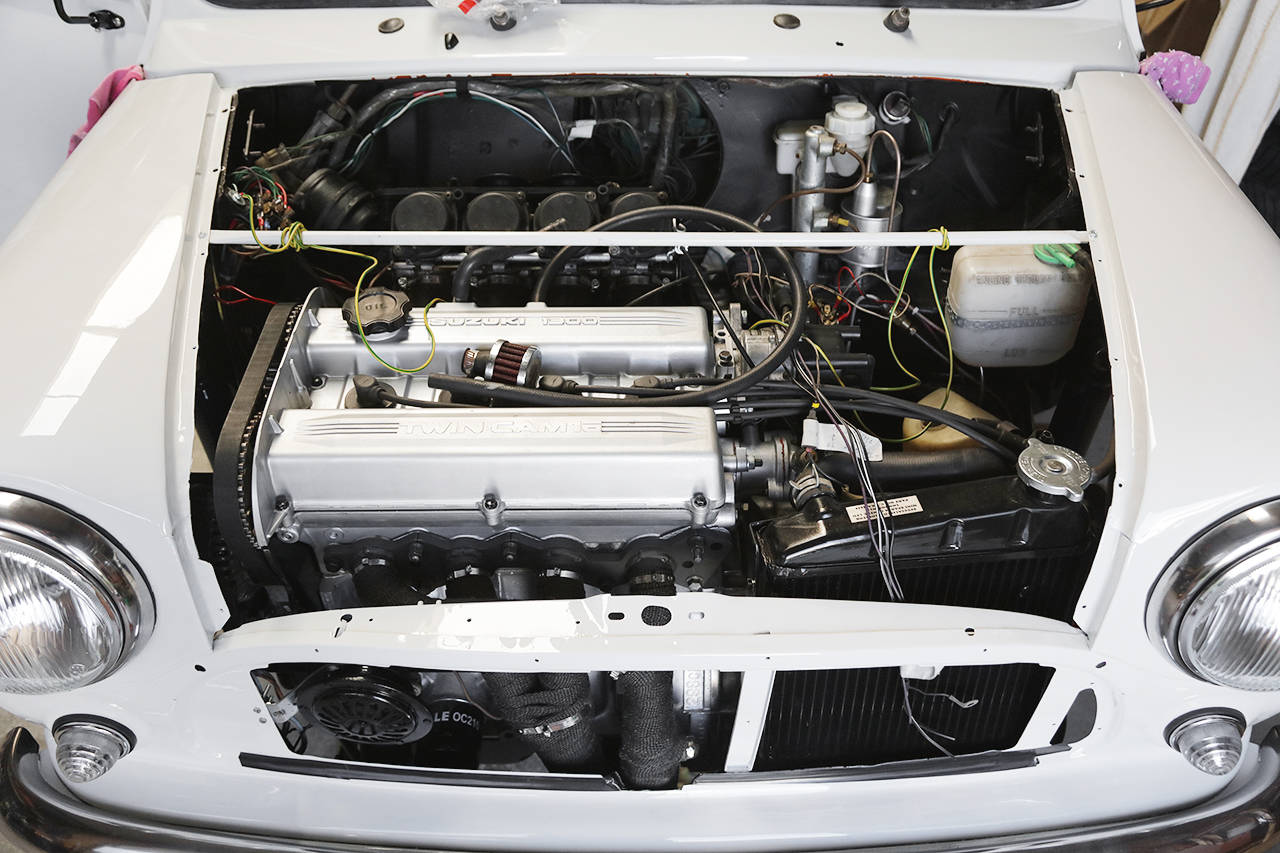
Impressive build, by the way. It doesn't seem like a small job to swap an engine in a Mini, big_smile. Requires 'a bit' more work than dropping a T5a or T6a into a Volvo 2/7/900 series.
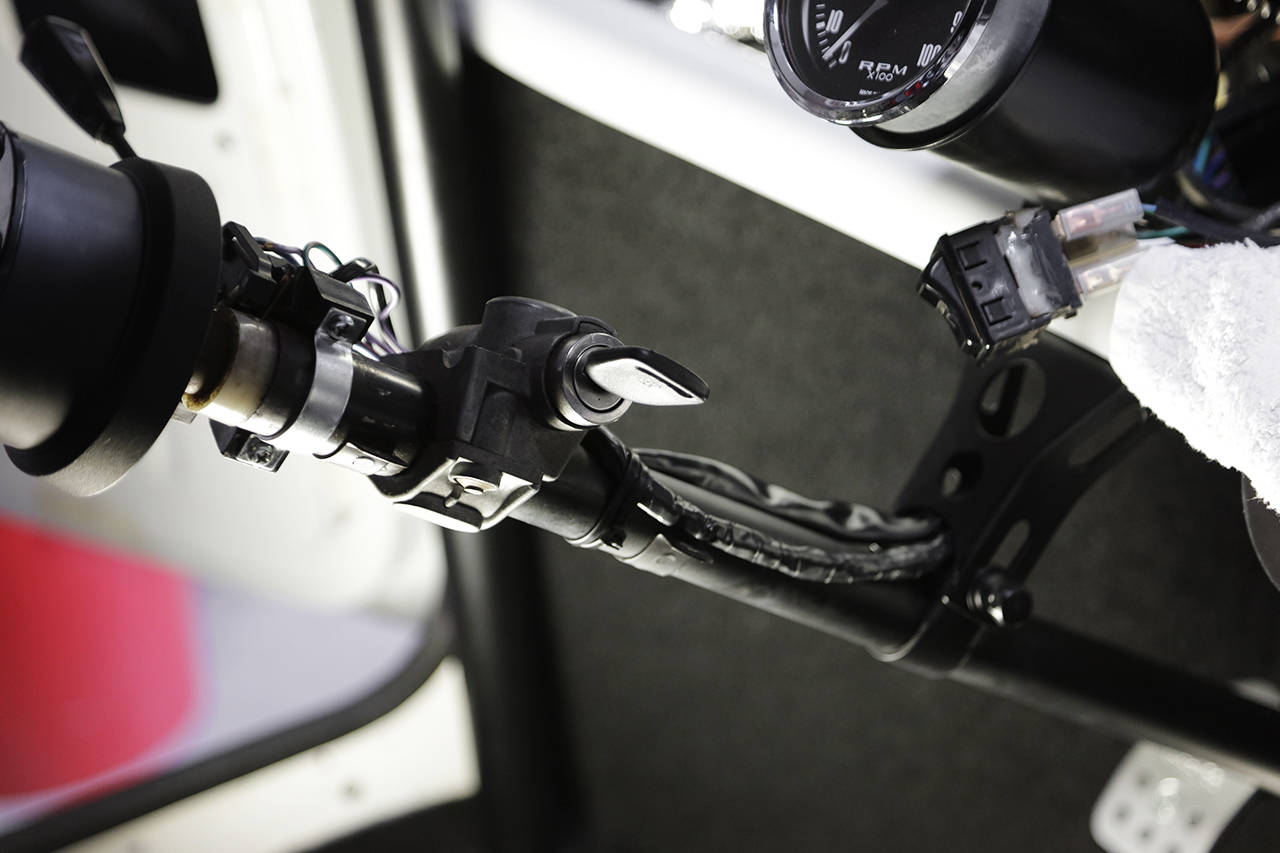
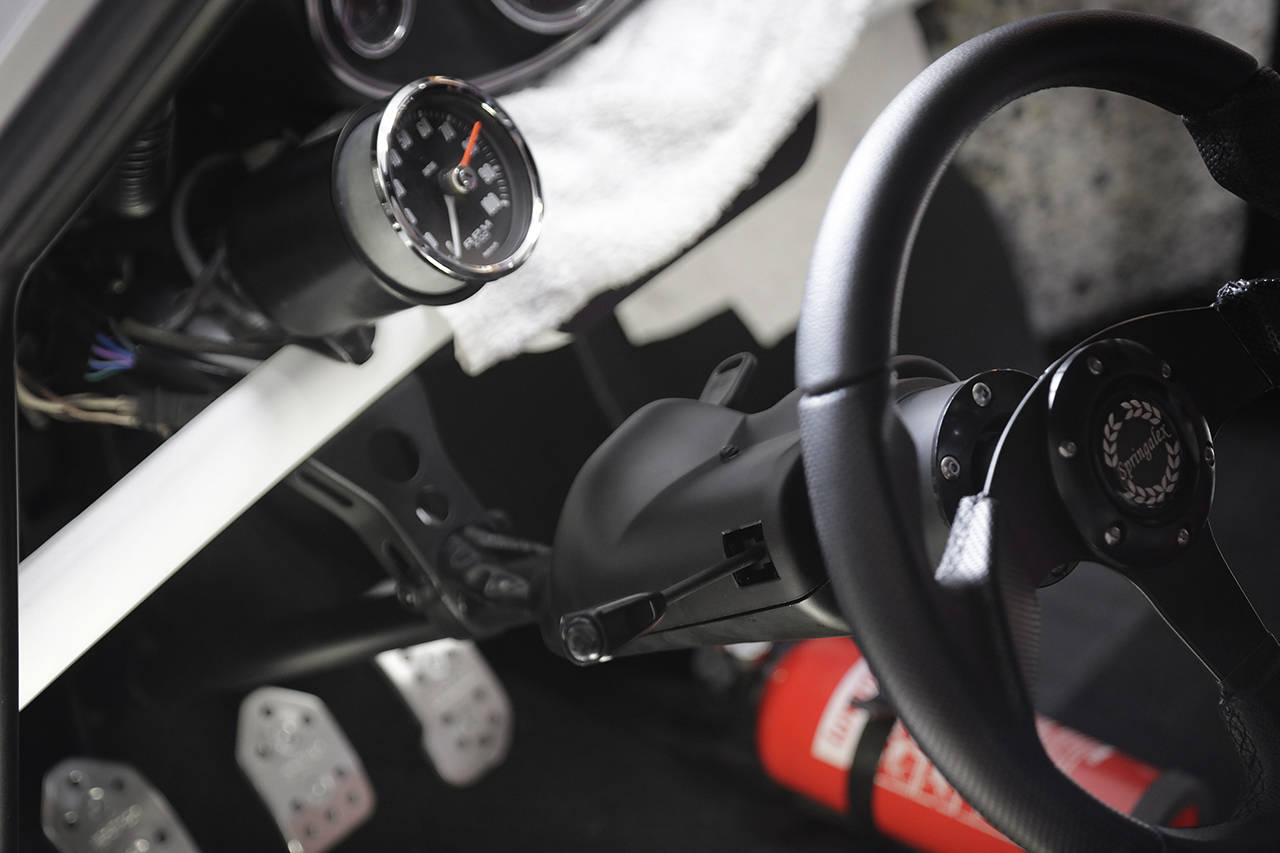
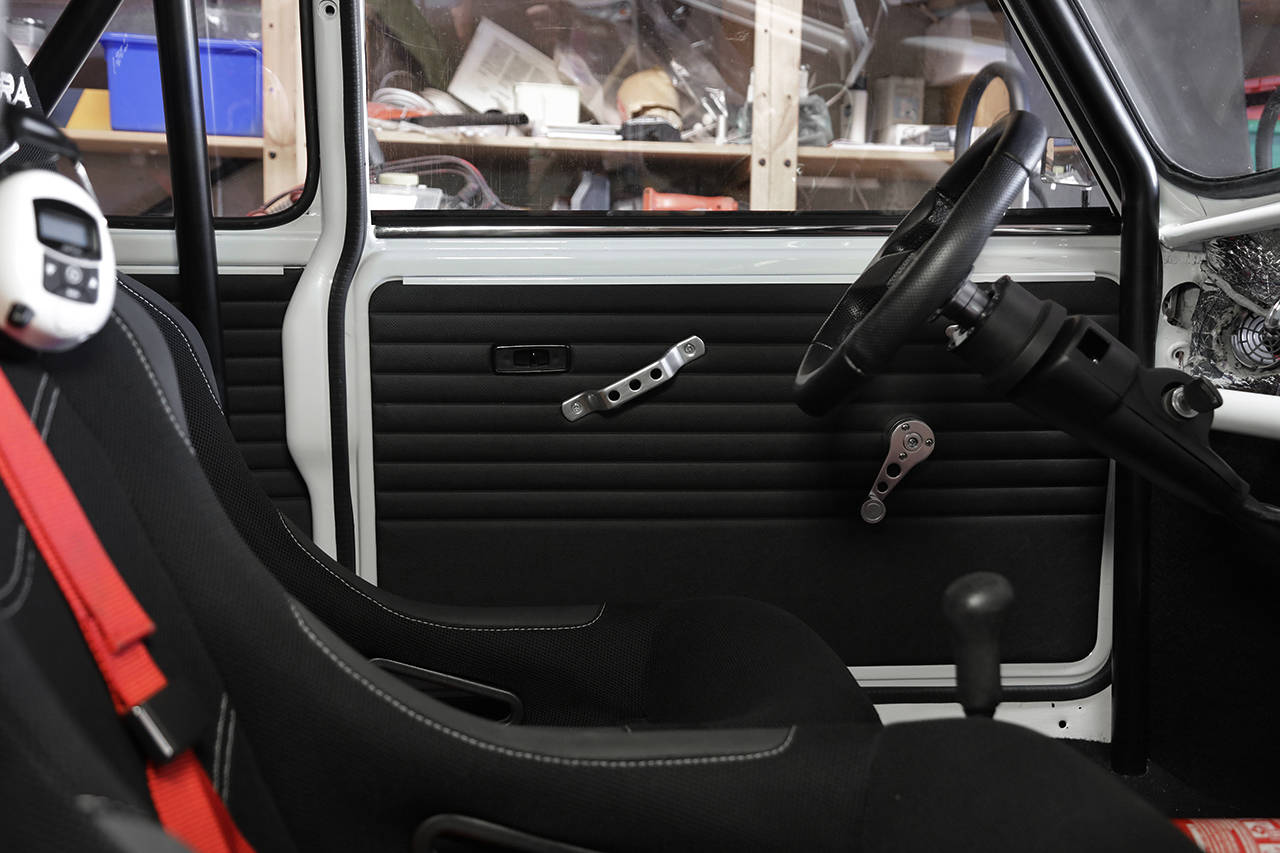
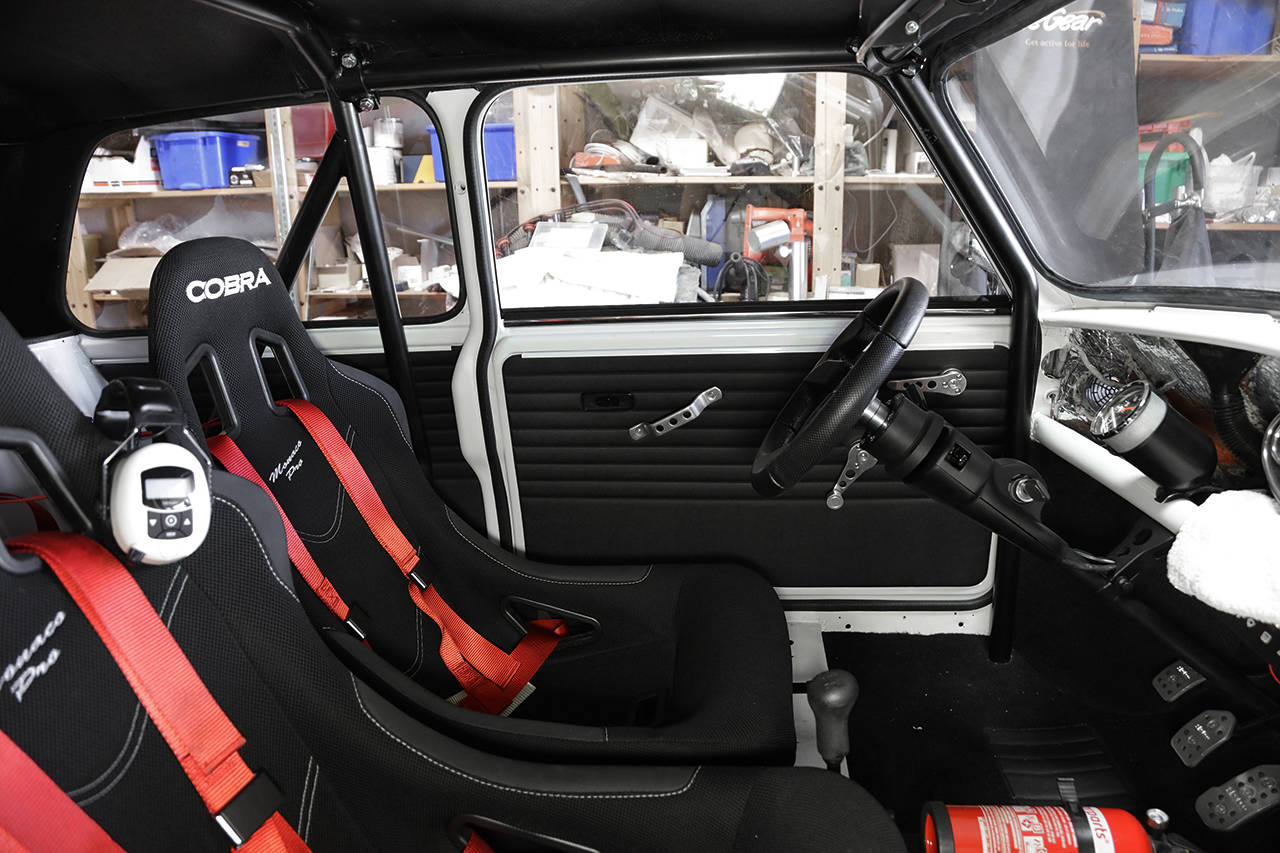
Reply to post: Hello Martin. Regarding the picture with the steering column, it might have been nice to install power steering from an Opel Corsa B? A really smooth electric power steering that comes with a pre-built potentiometer control on eBay at a low cost.
Sometimes you're lucky that the neighbor's slide is banging against the wall in the fresh winds at 4:40 AM. That way, you wake up earlier and can drive to the garage to work by 6:45.
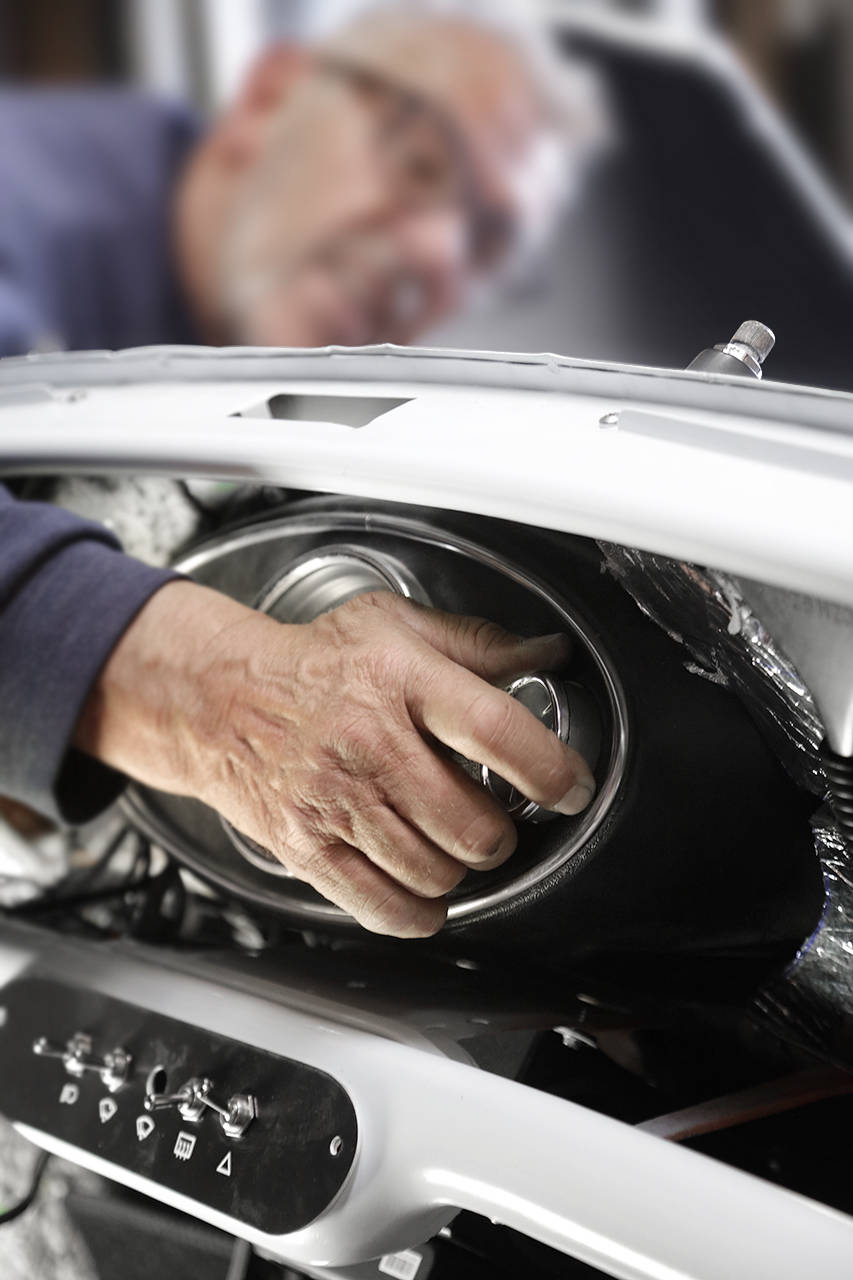
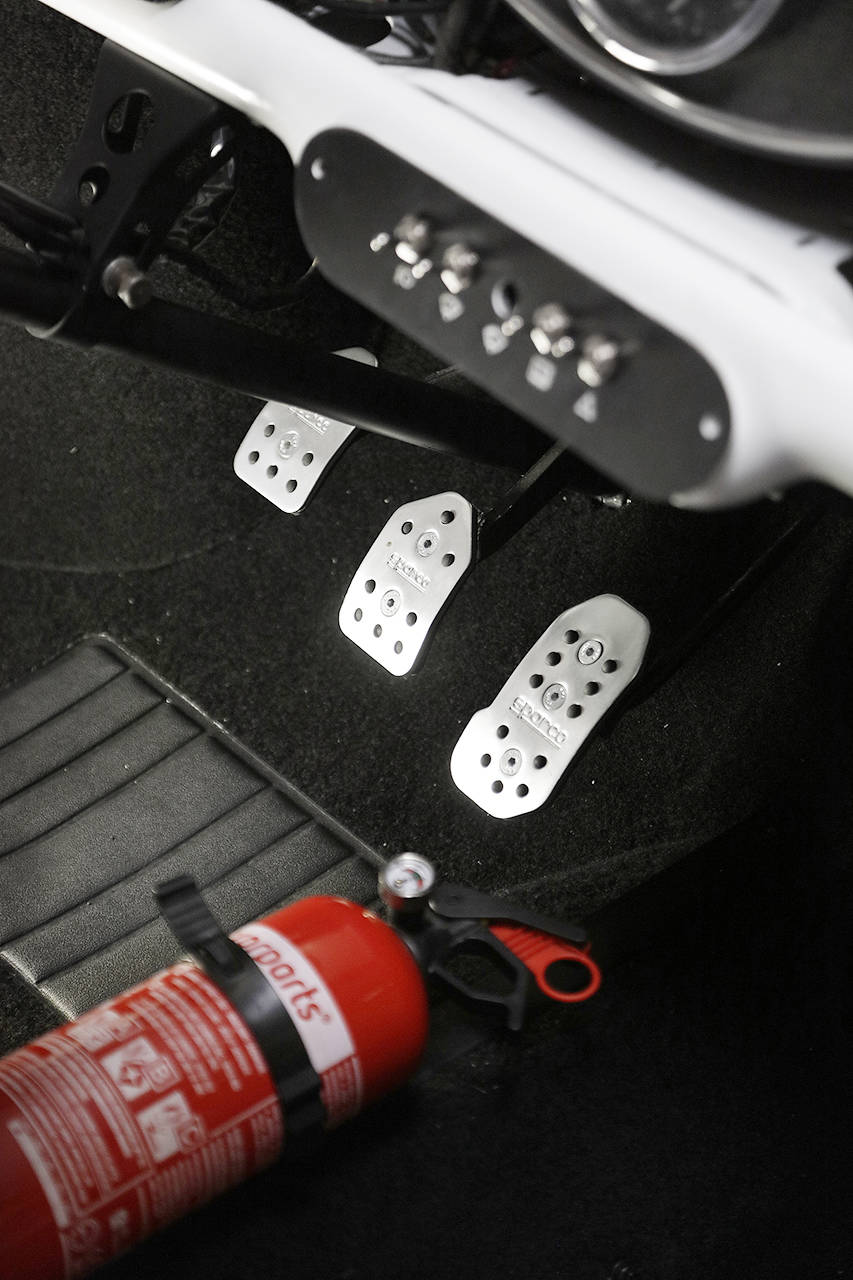
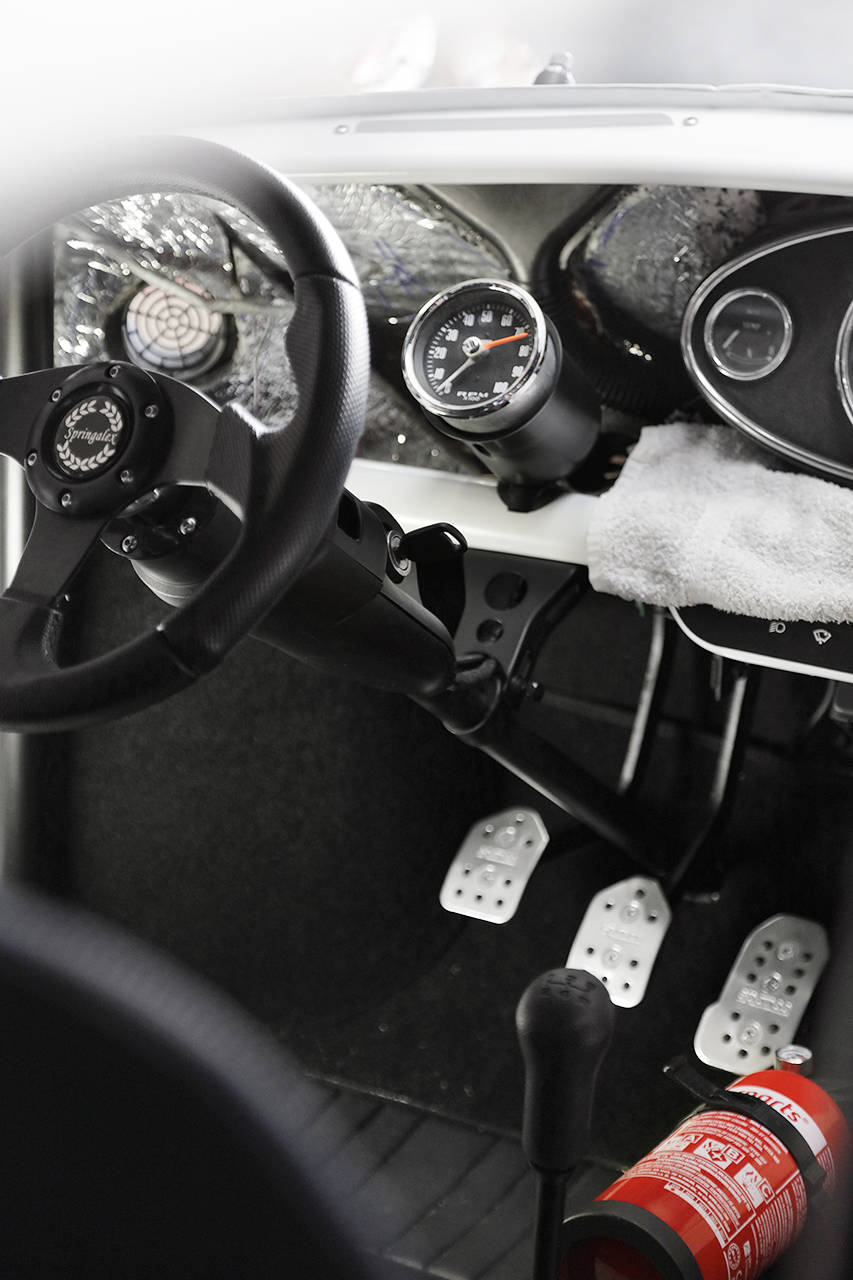
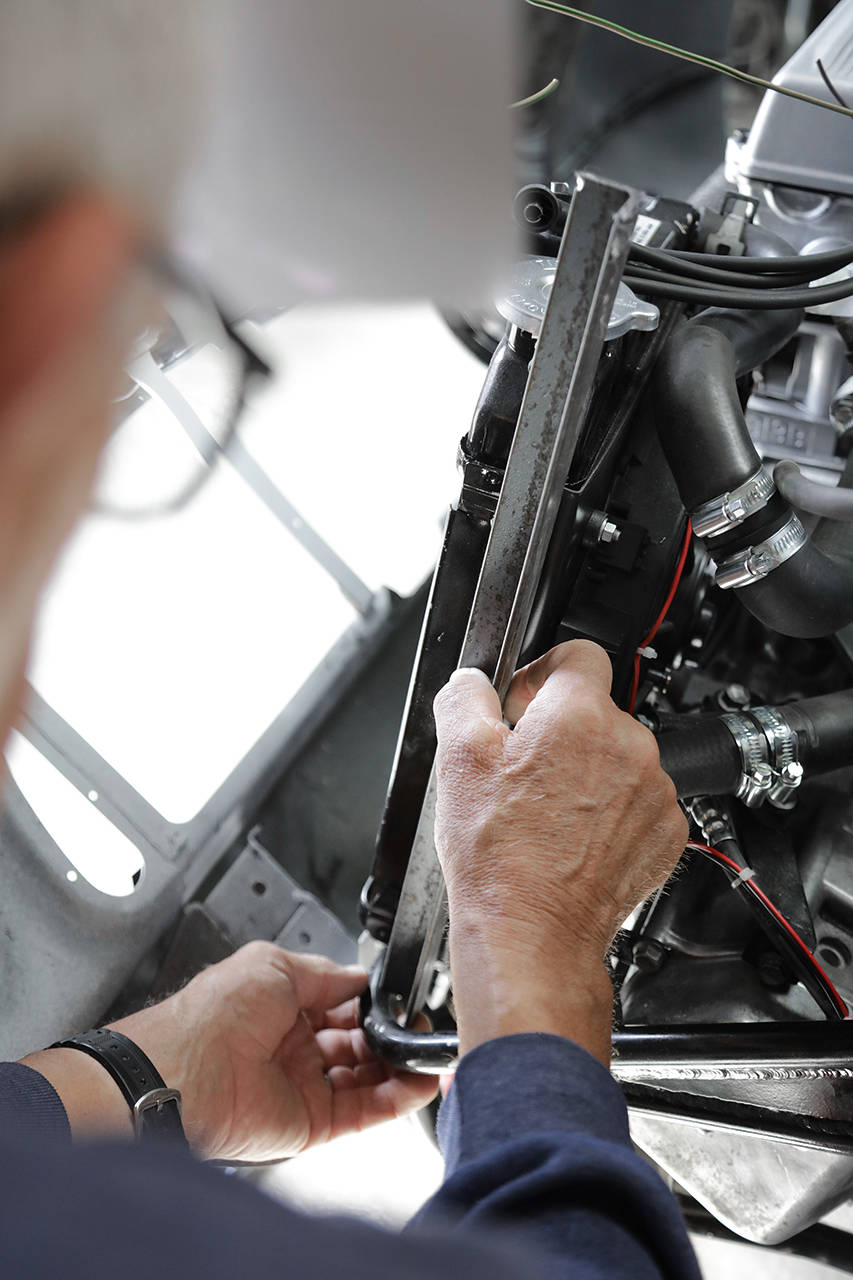
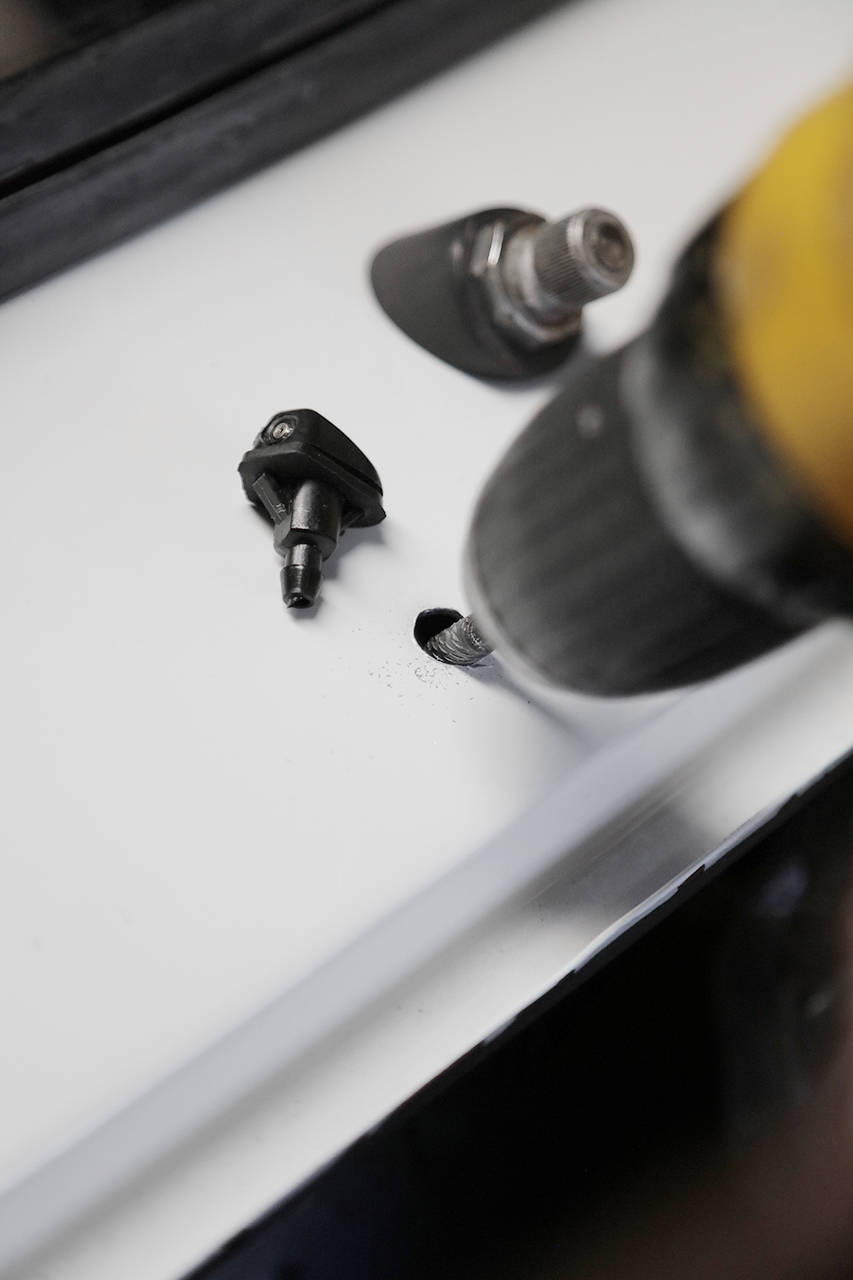
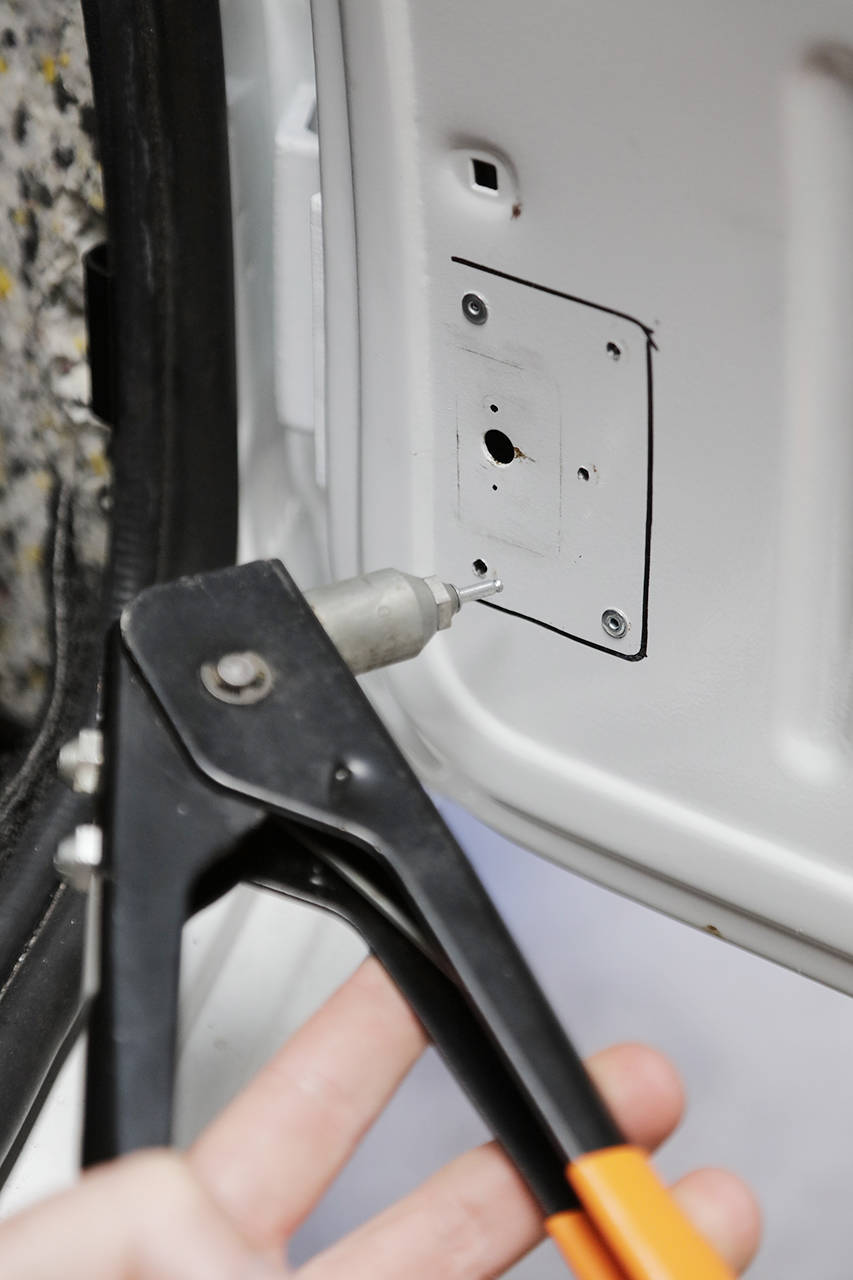
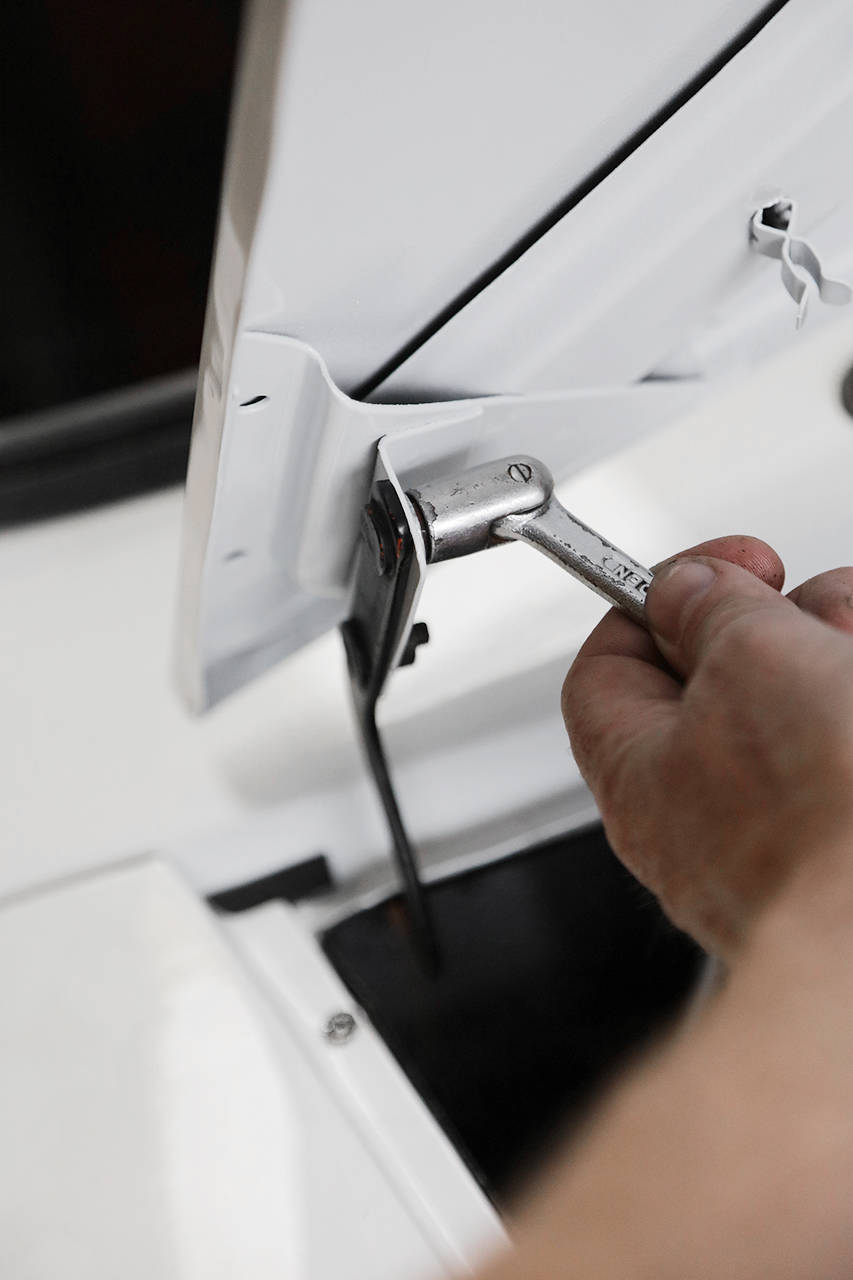
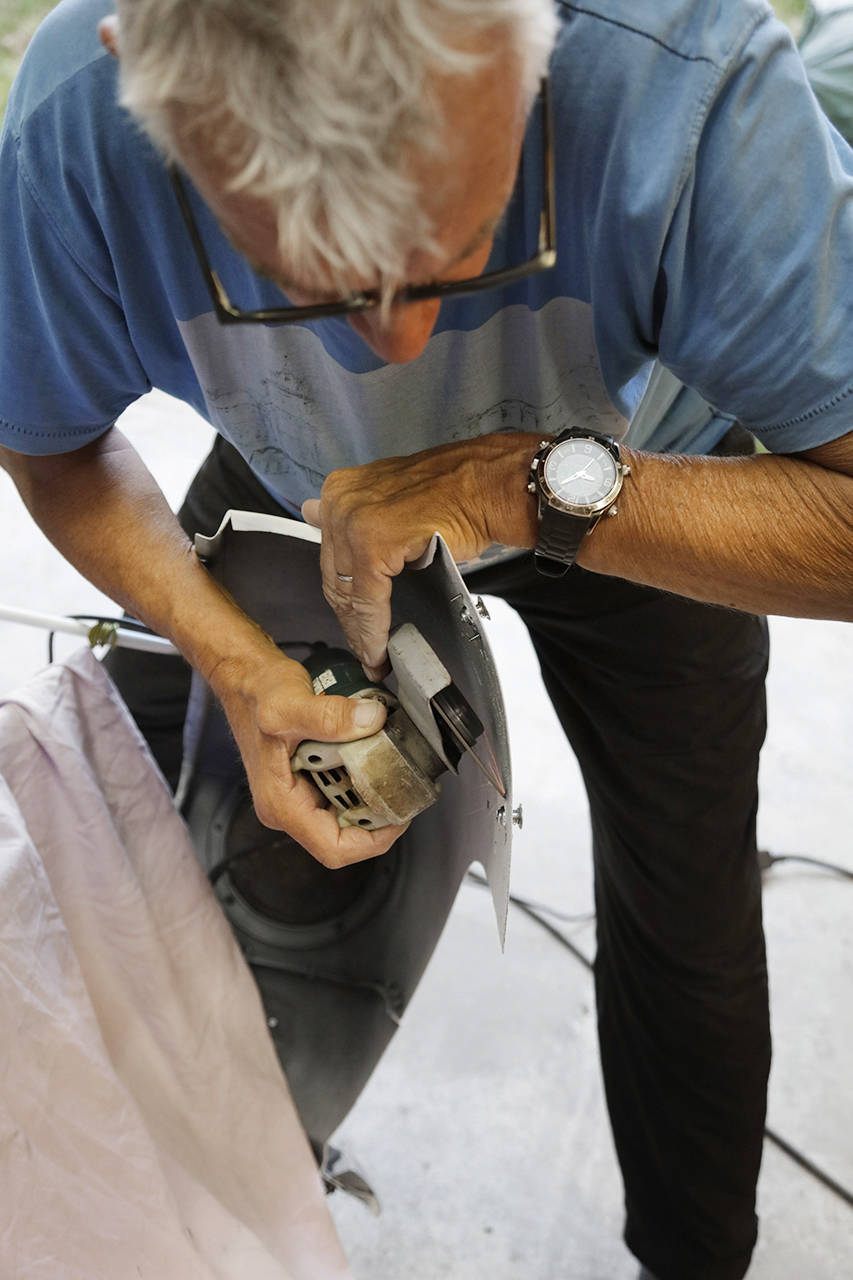
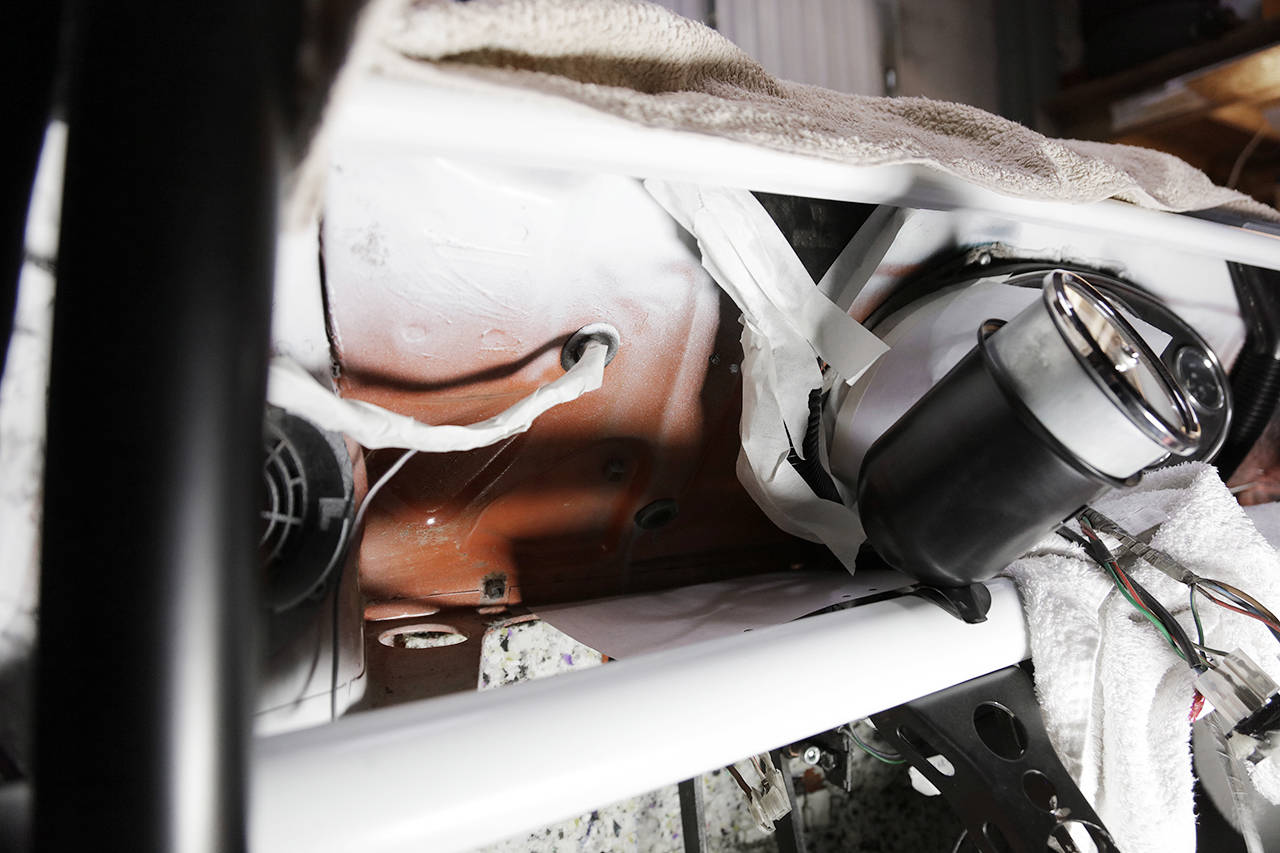
Once there, the new hinges went on immediately. After that, I started fine-tuning the last bits of soundproofing mats in the upper part of the instrument panel. It's a bit tricky to get it right, and that spray adhesive sticks incredibly fast and well.
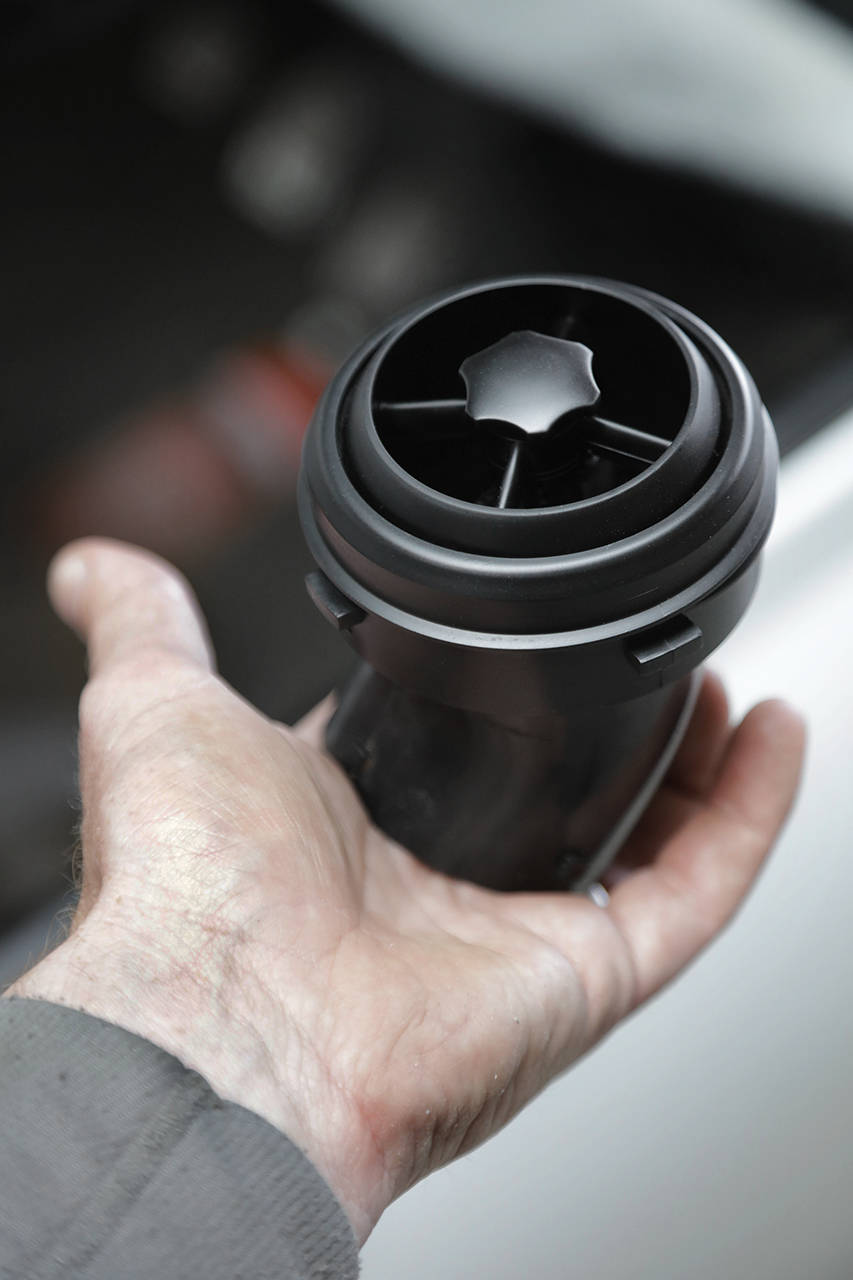
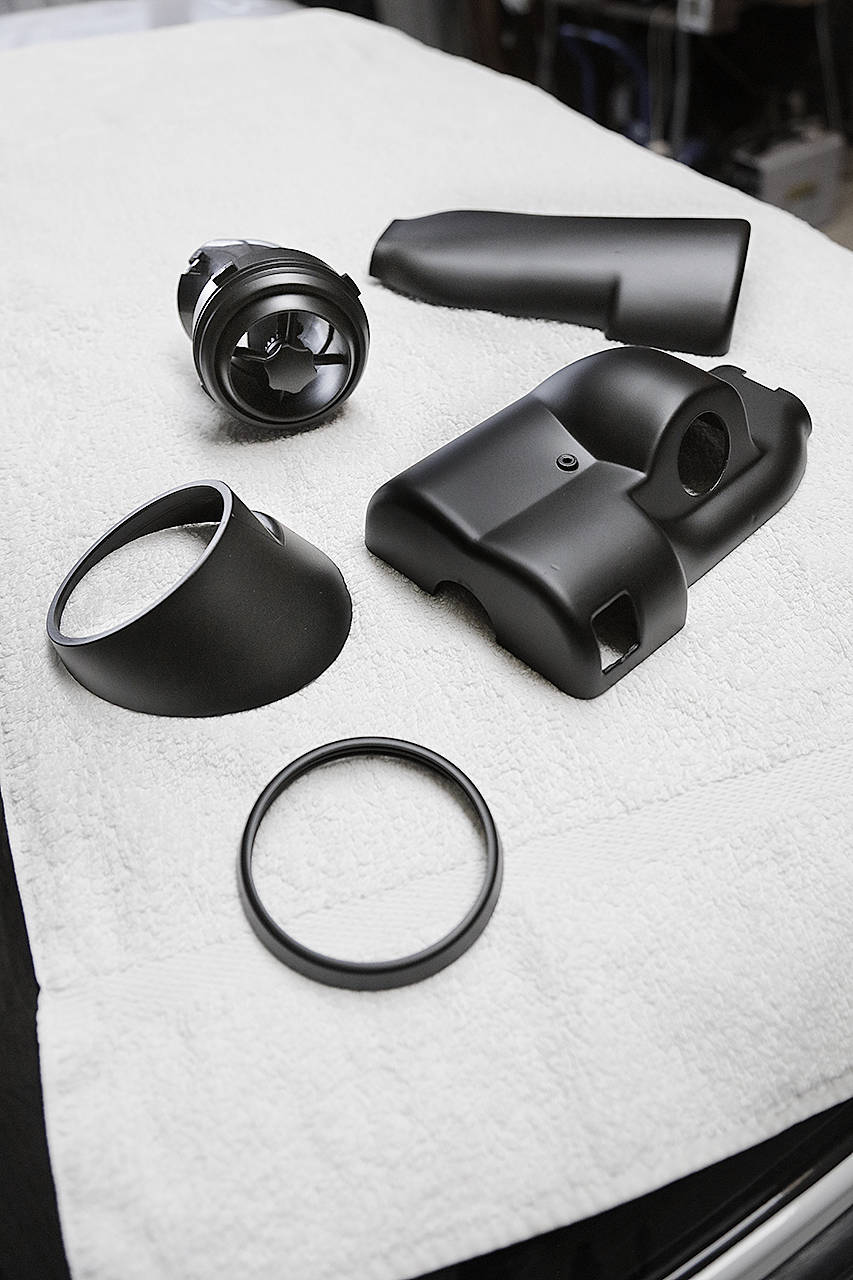
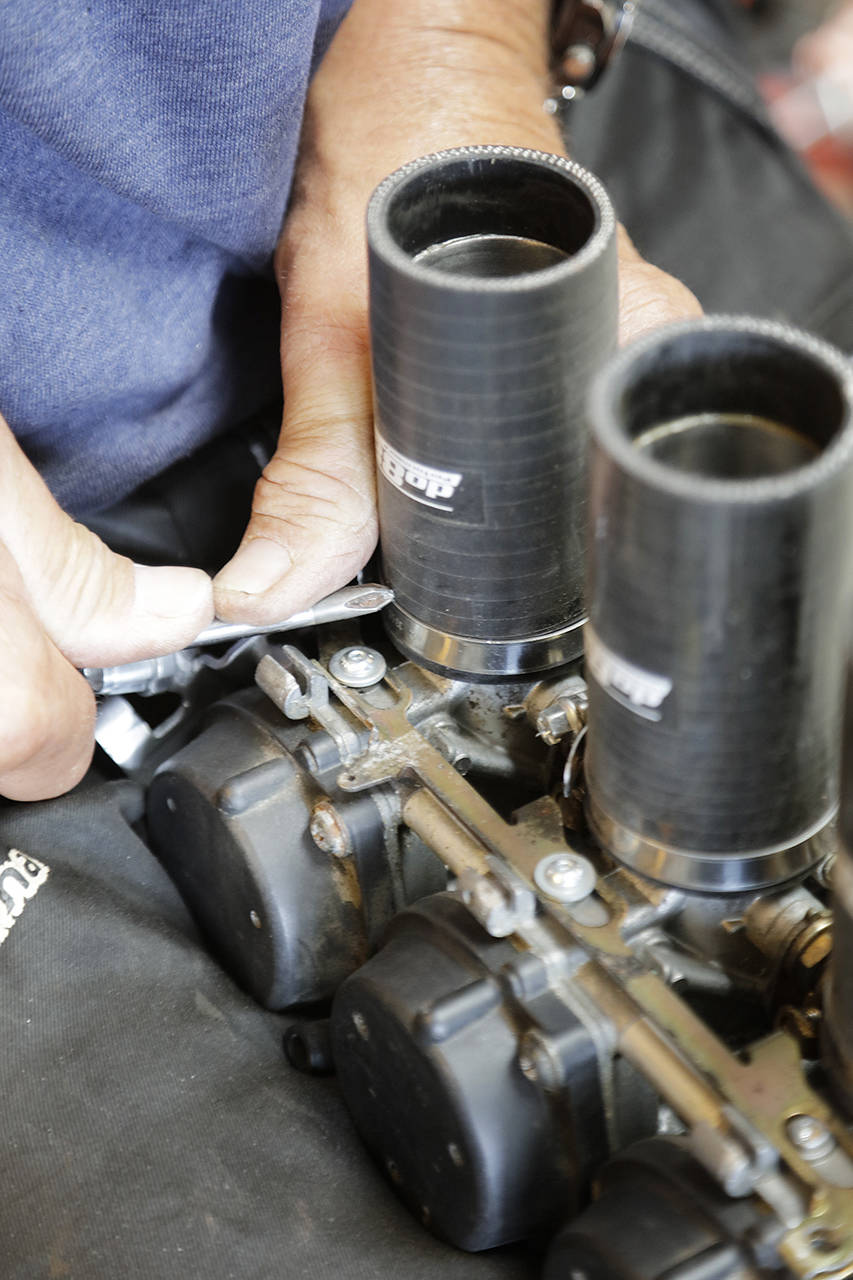
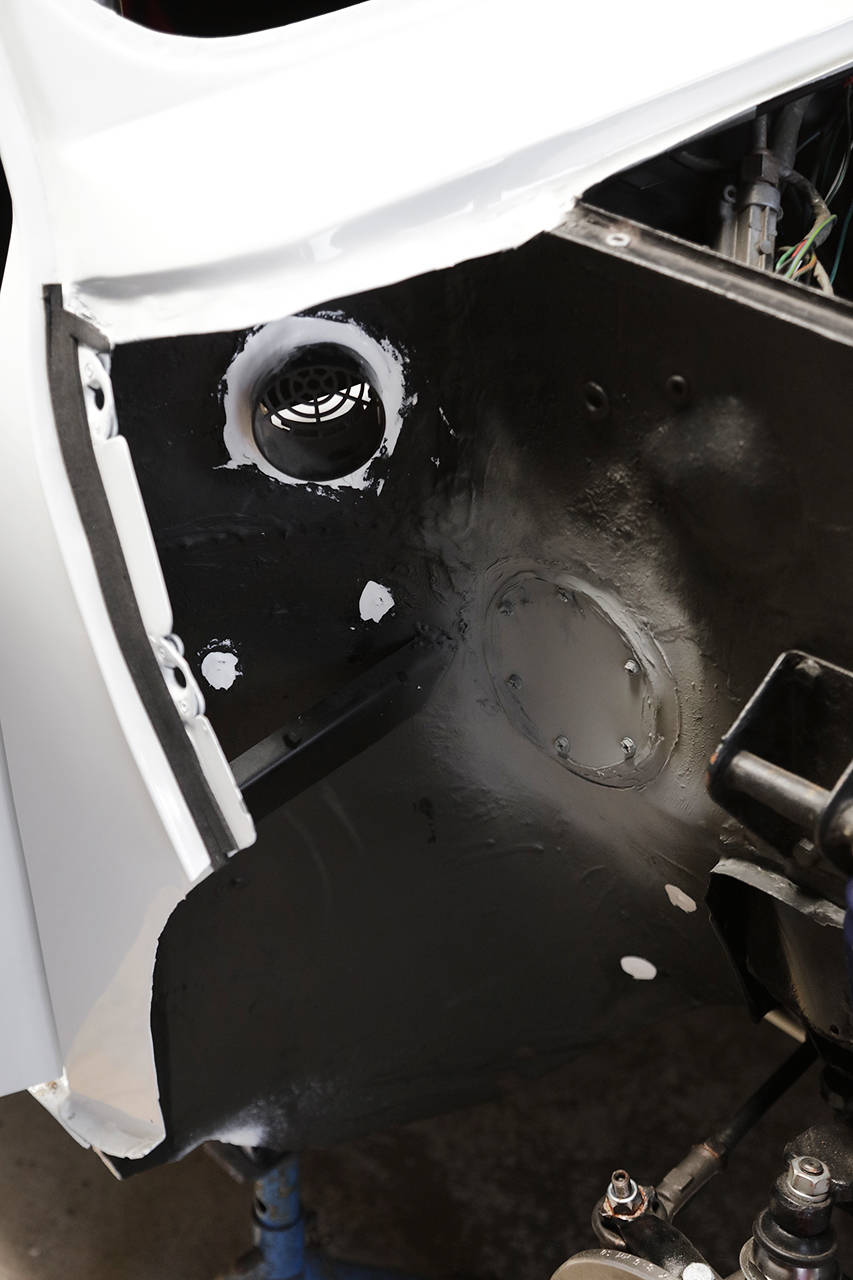
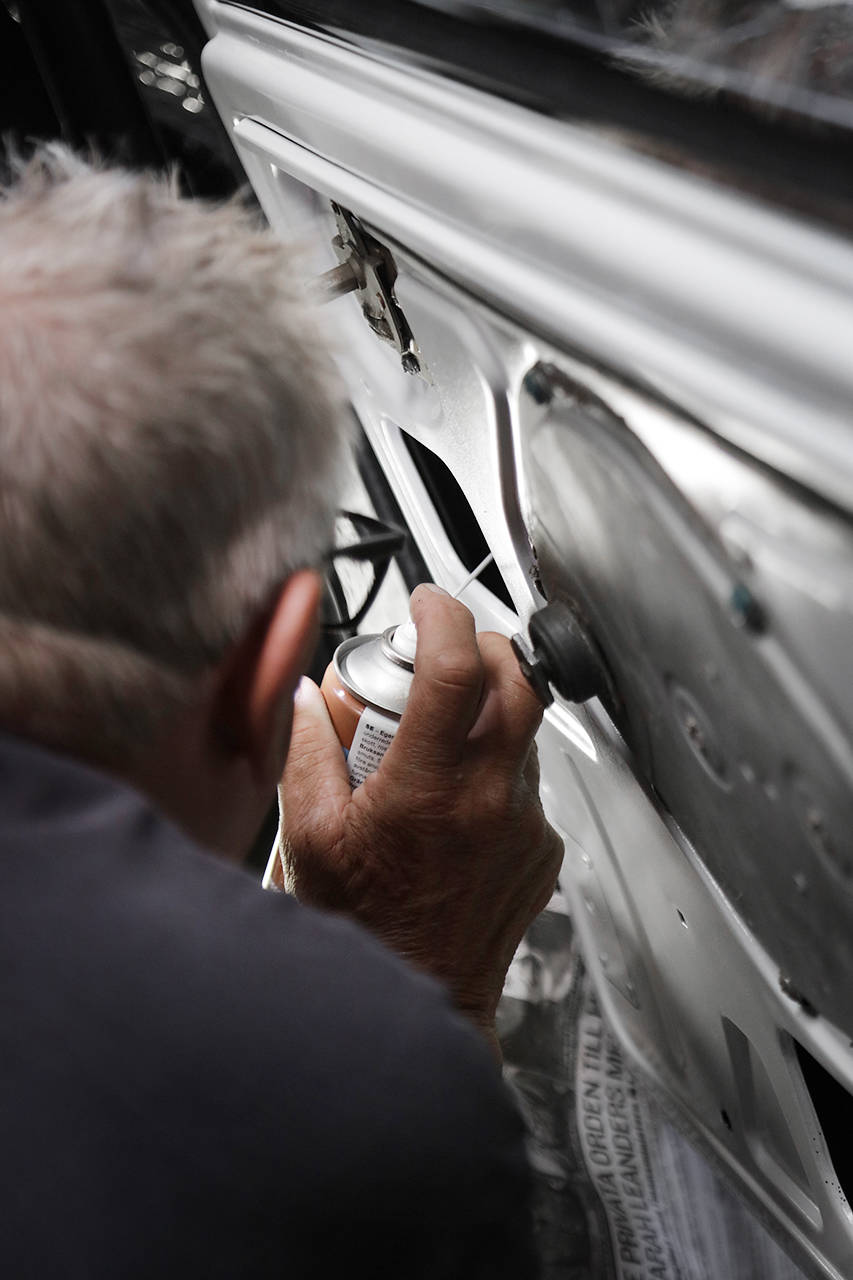
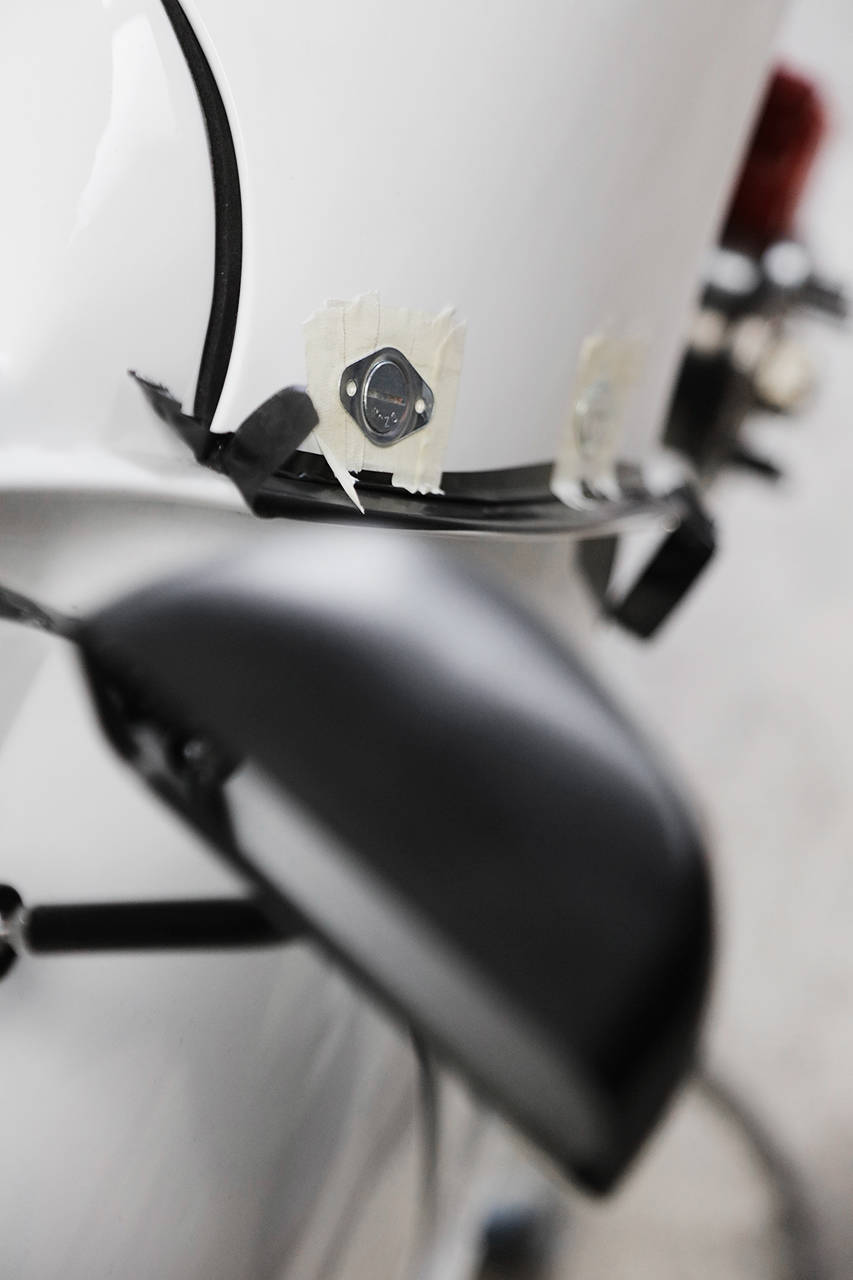
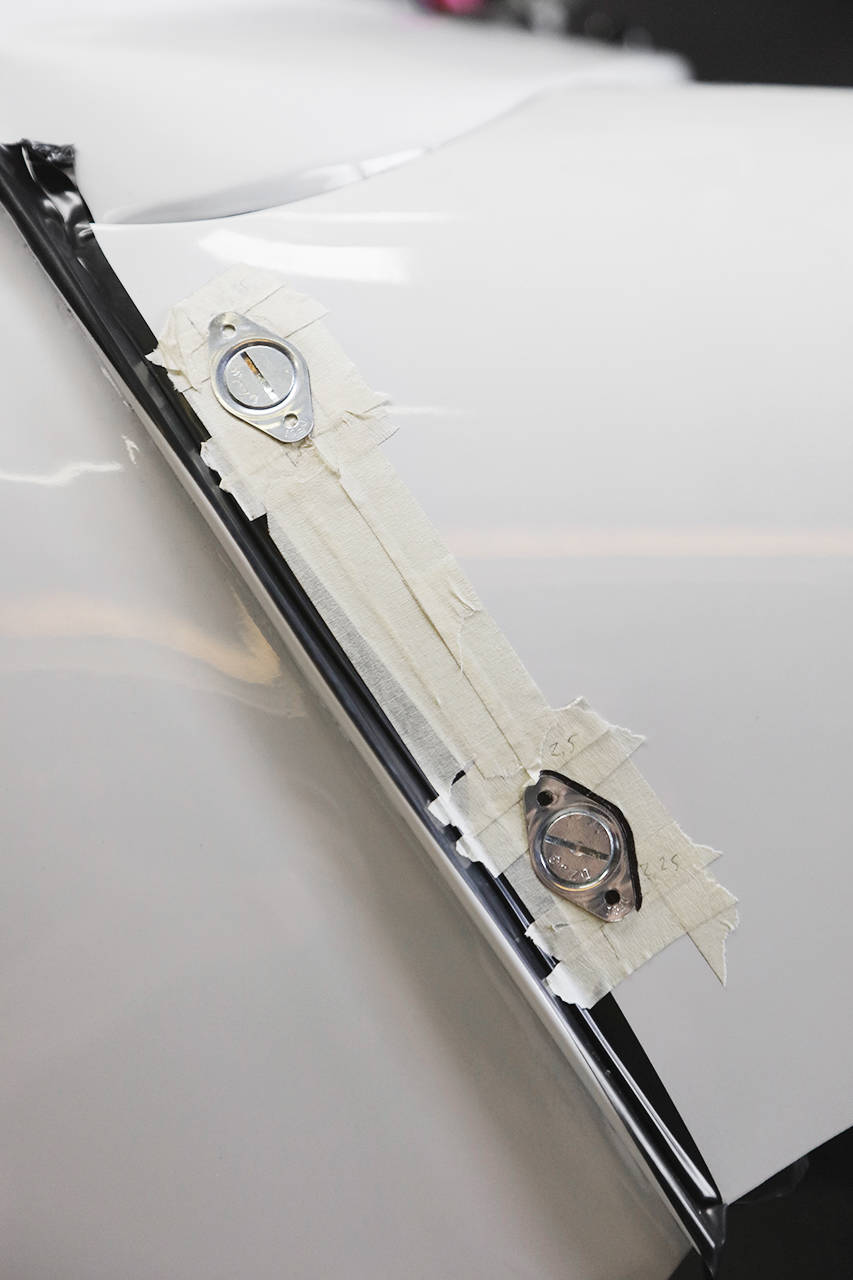
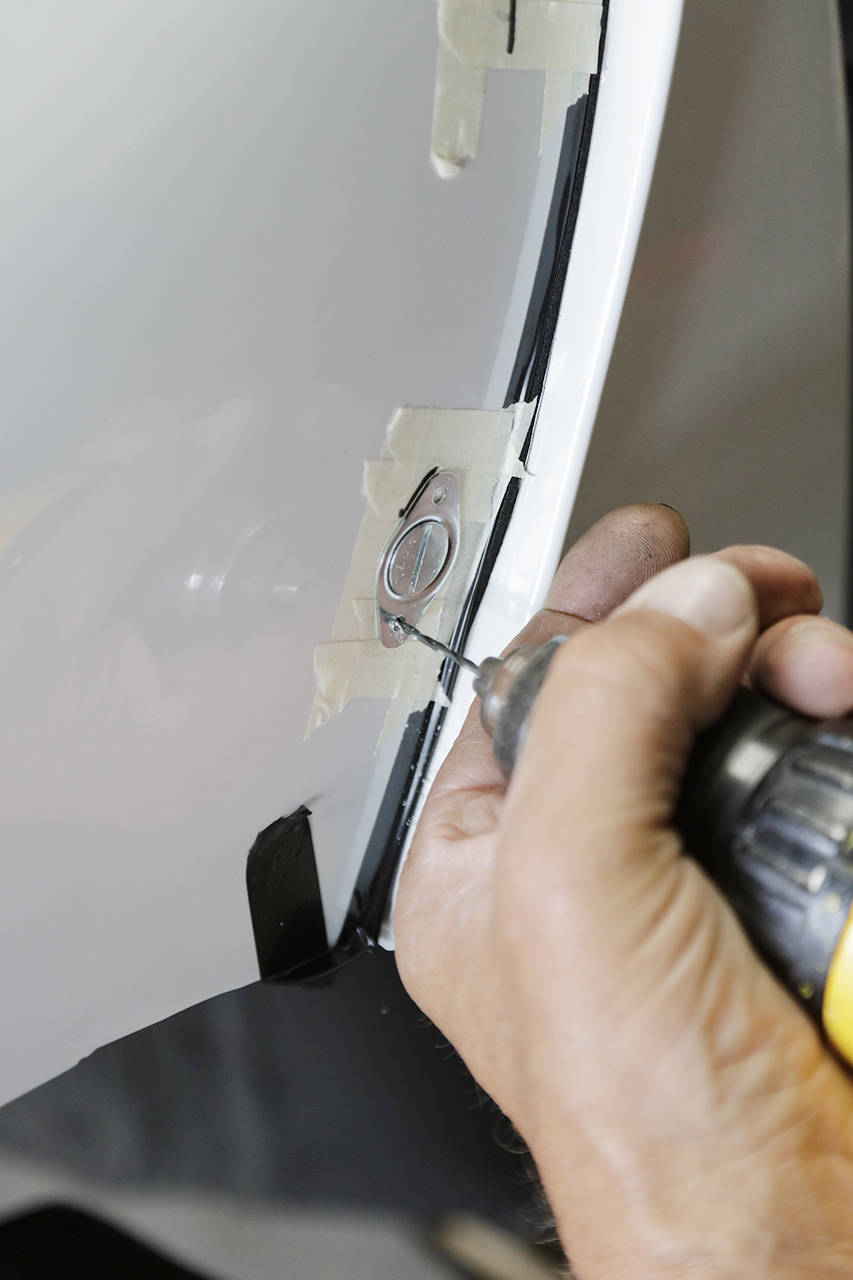
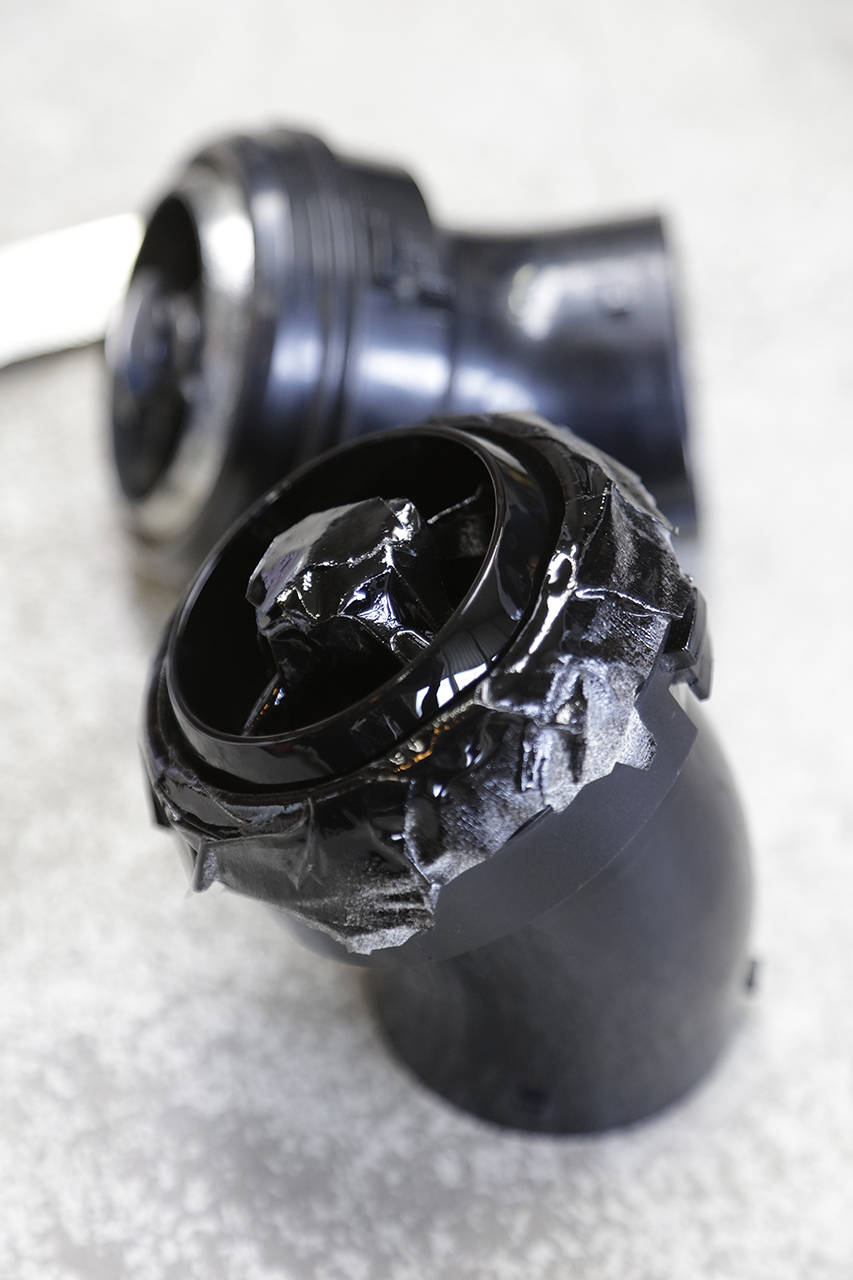
The fresh air intakes looked a bit worn as the chrome had worn off due to many years of use. After masking and a quick spray, they looked almost new again.
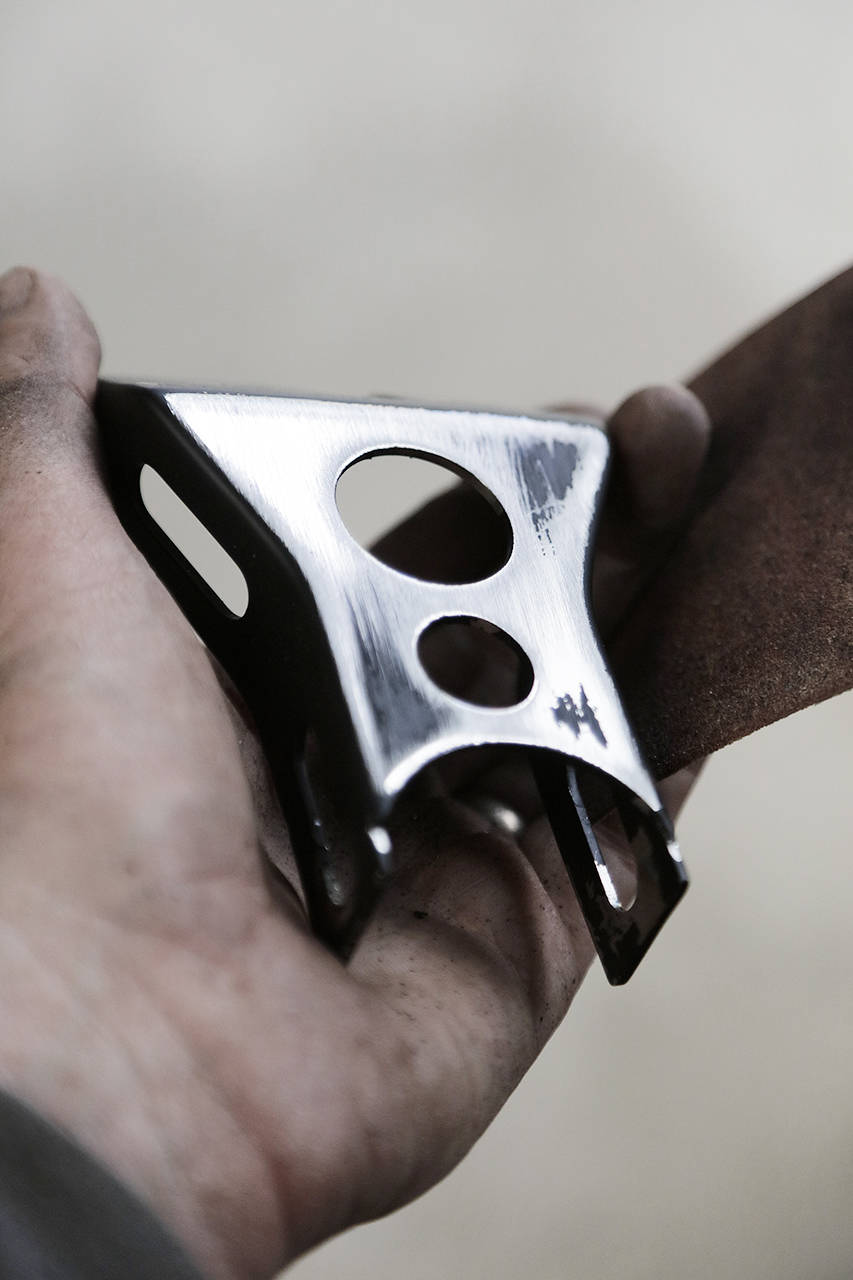
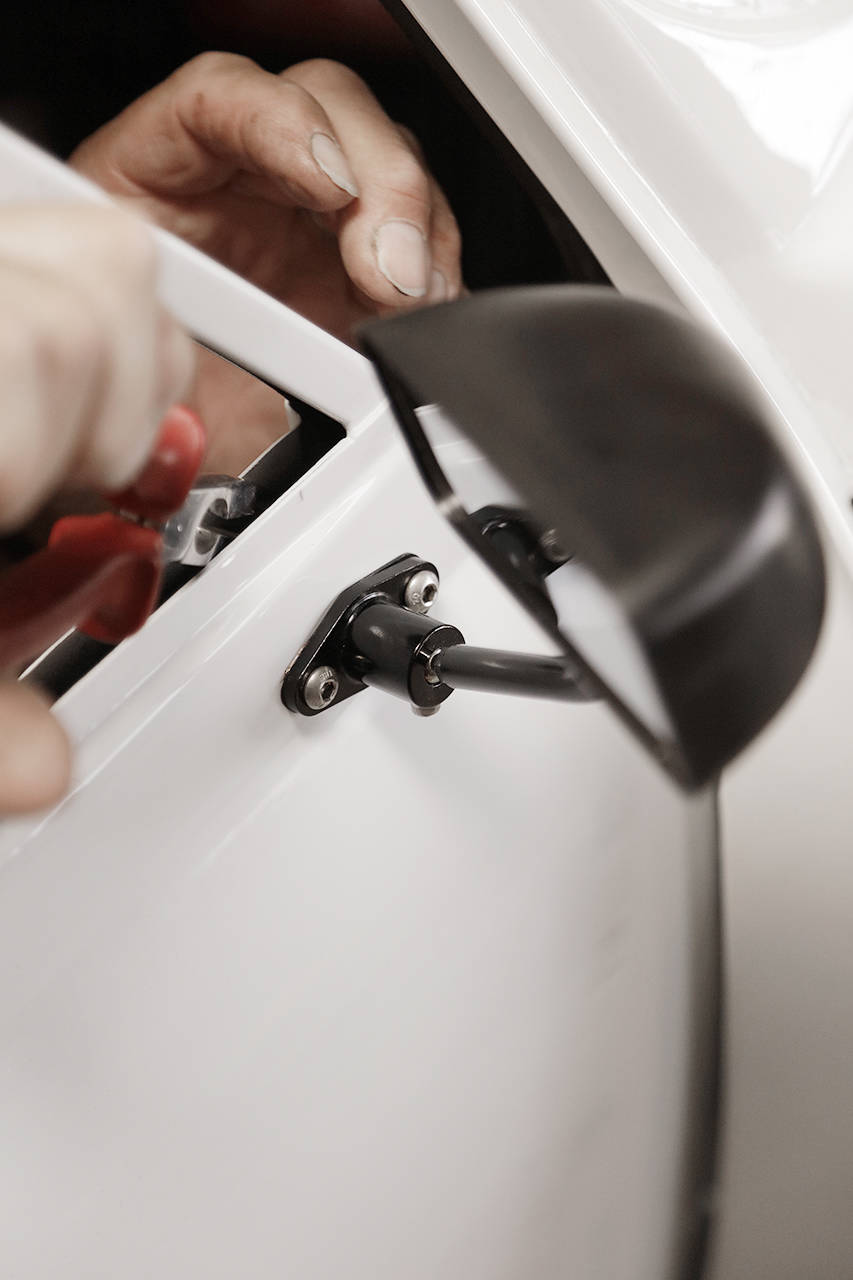
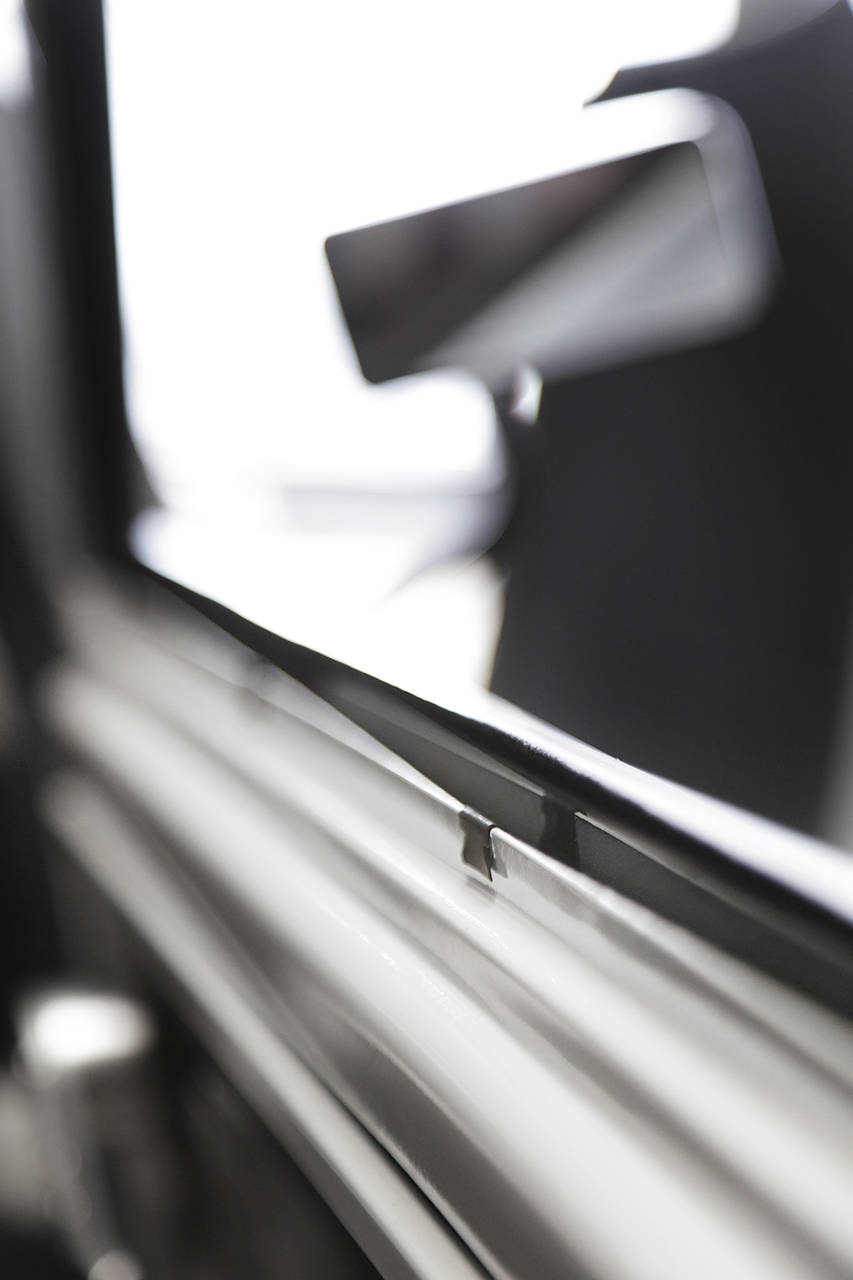
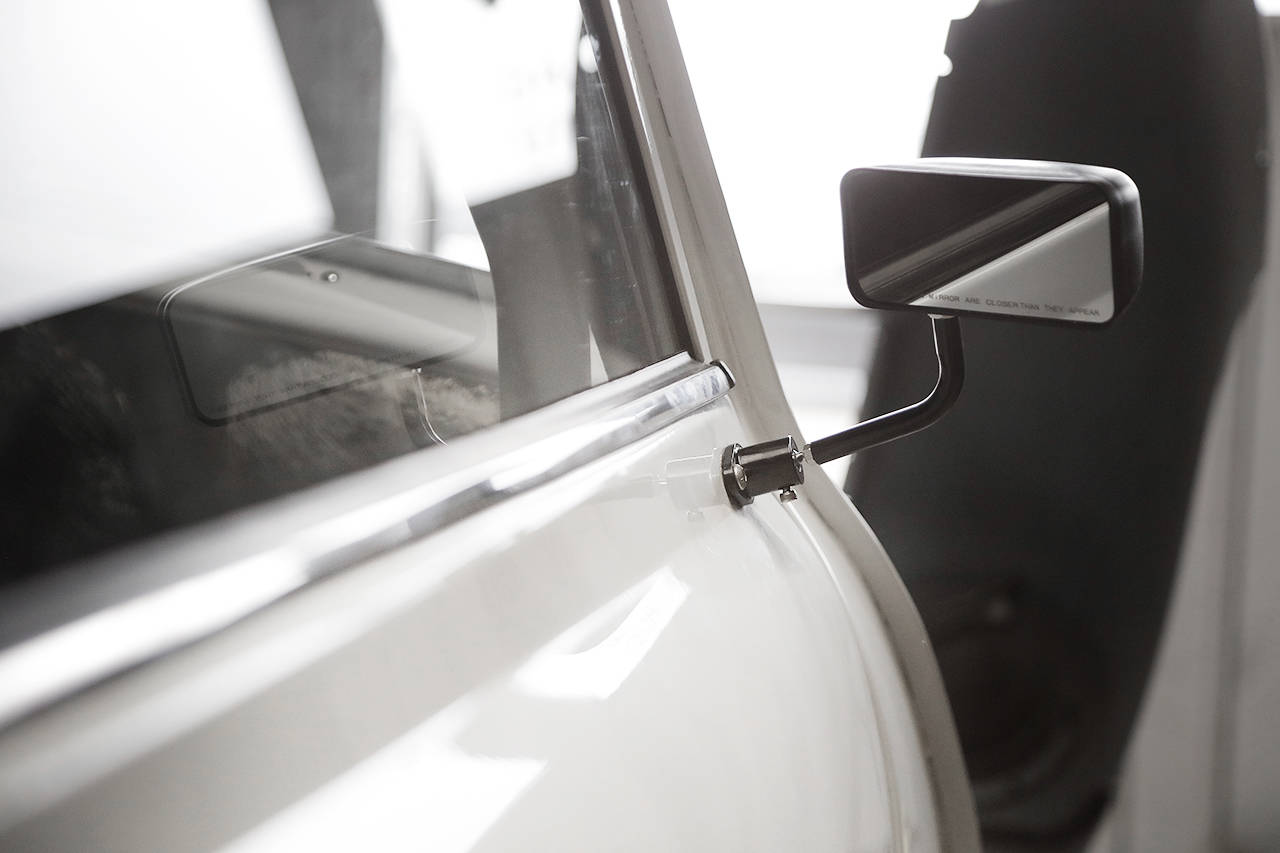
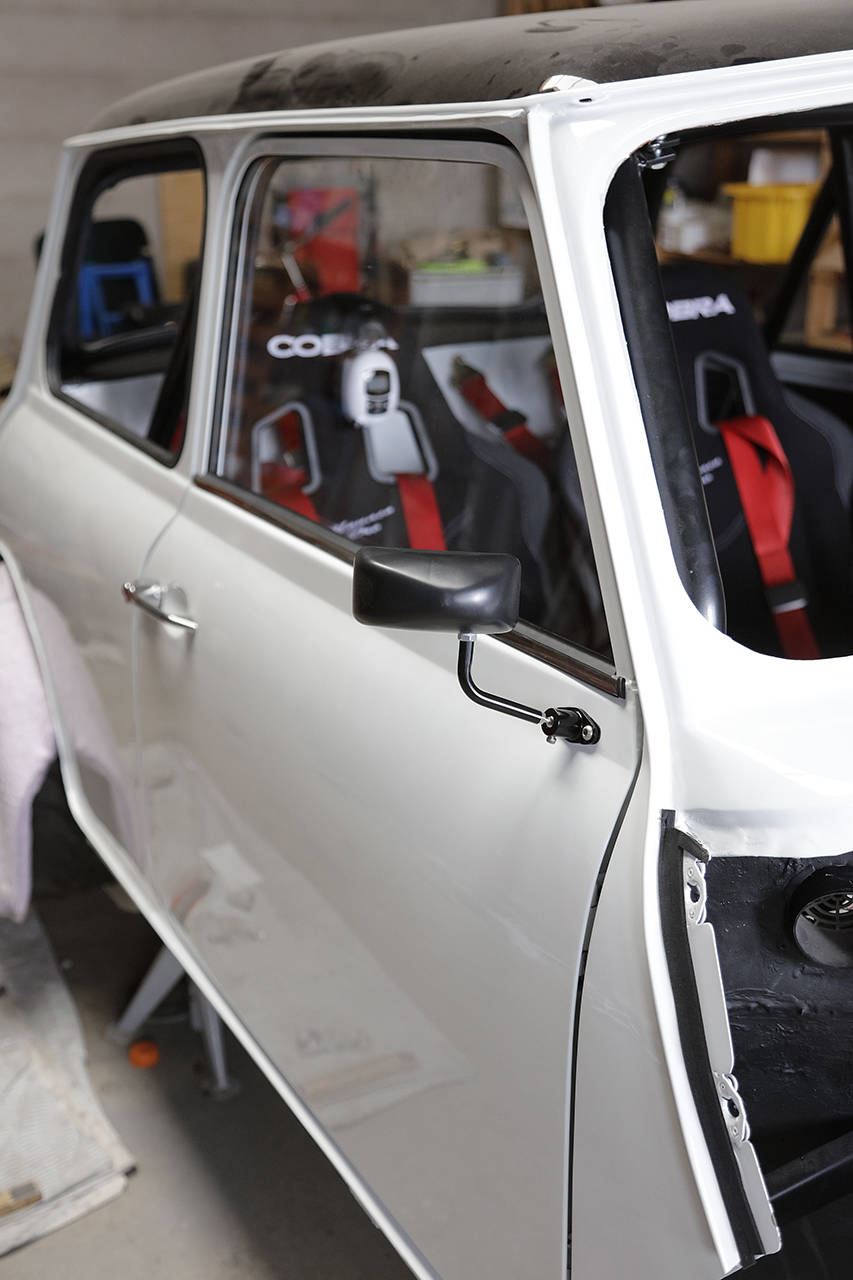
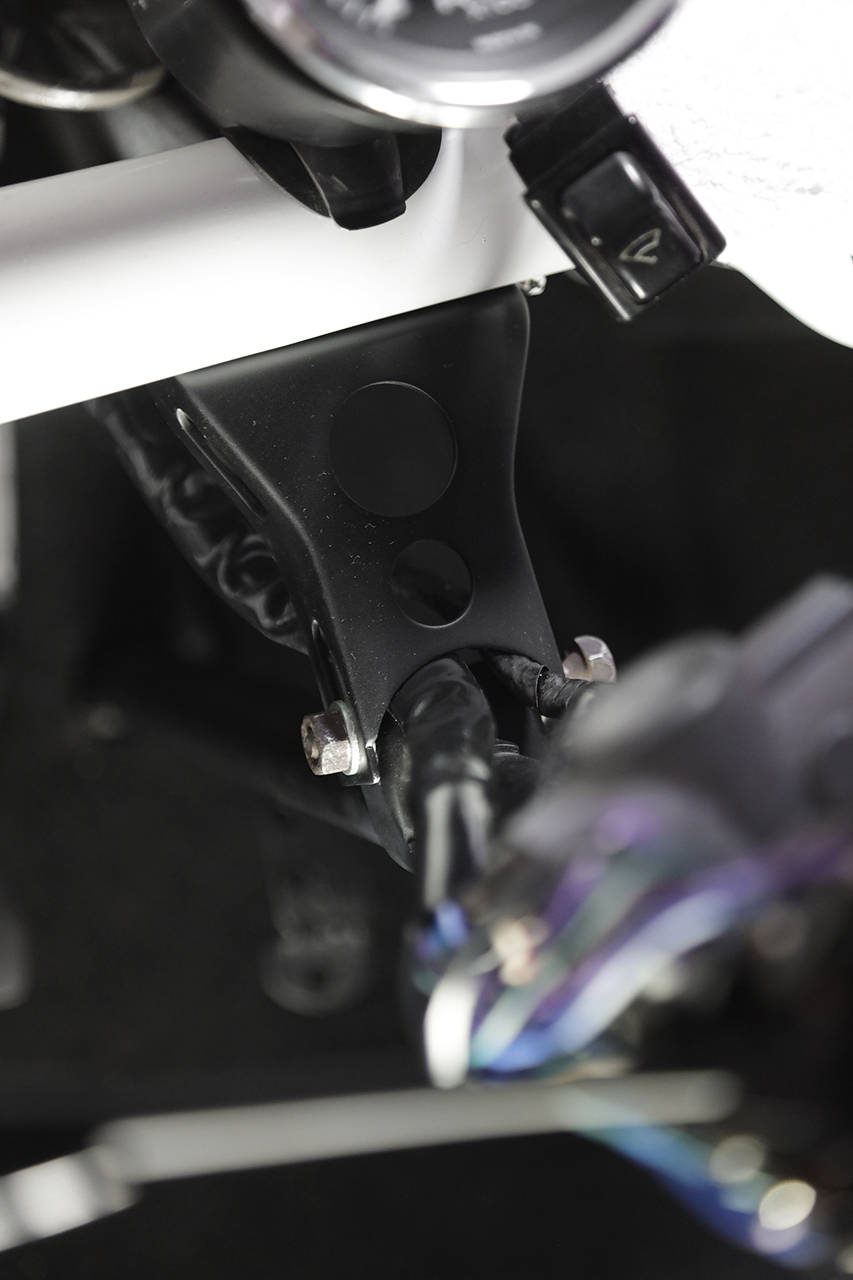
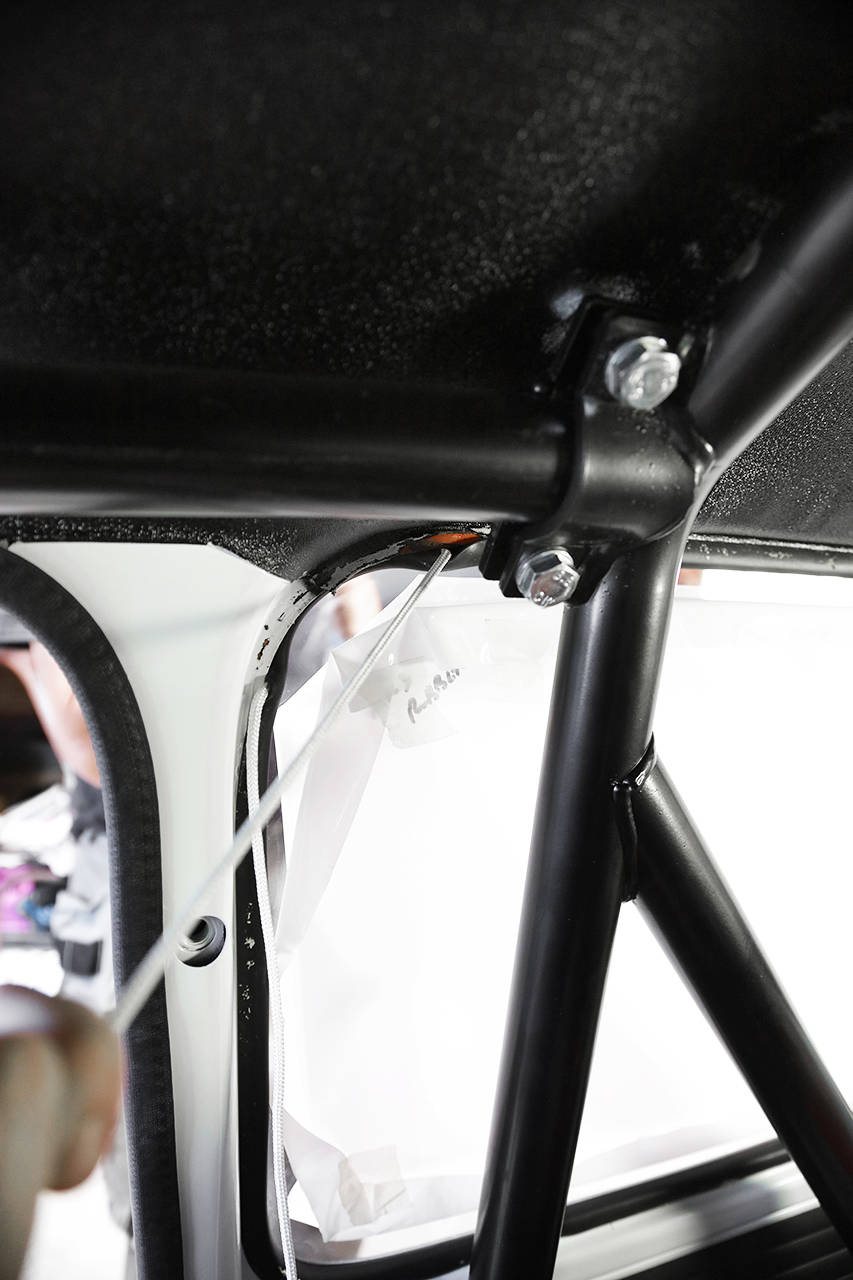
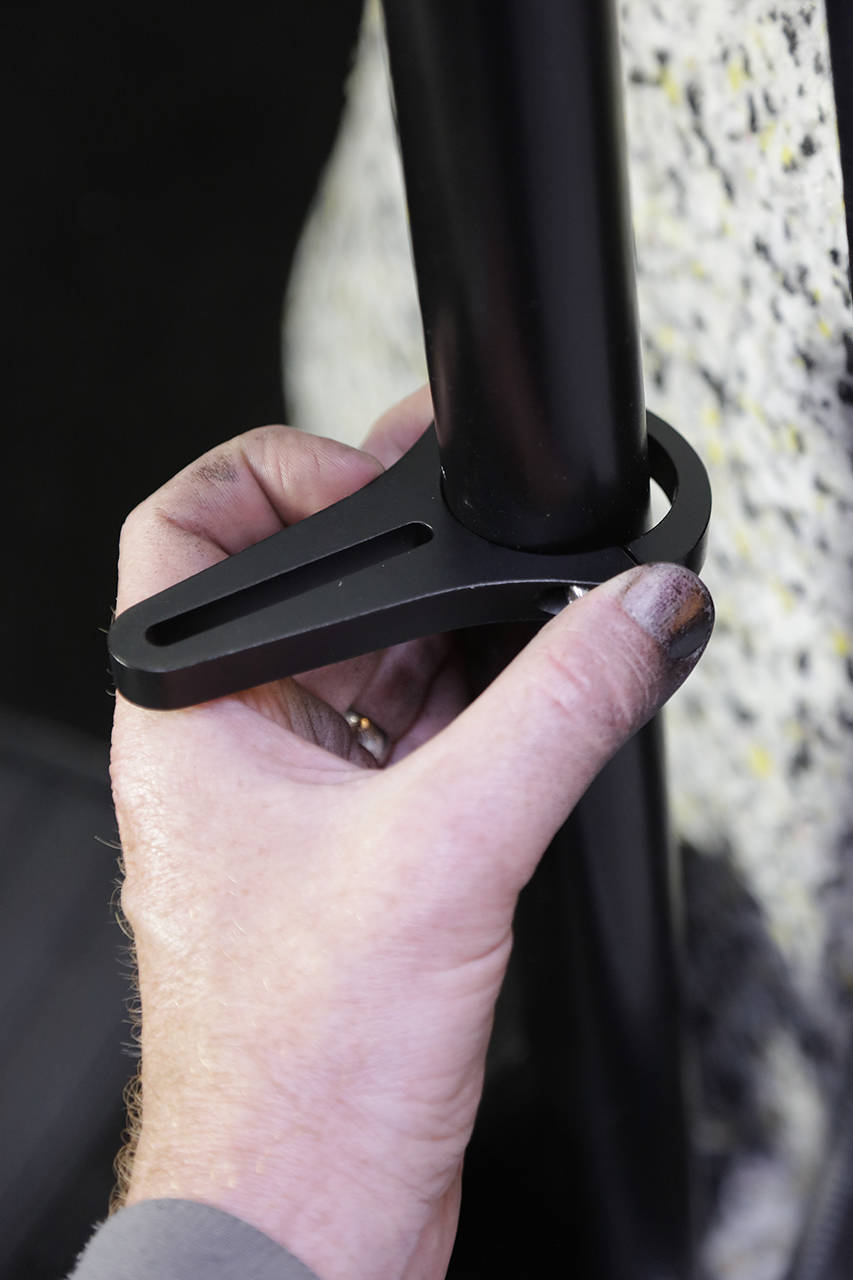
The brackets for the new mirror, which will be mounted on the upper part of the roll cage (between the A-pillars), needed adjustment with spacers since the diameters of the roll bars and the brackets unfortunately didn't match.
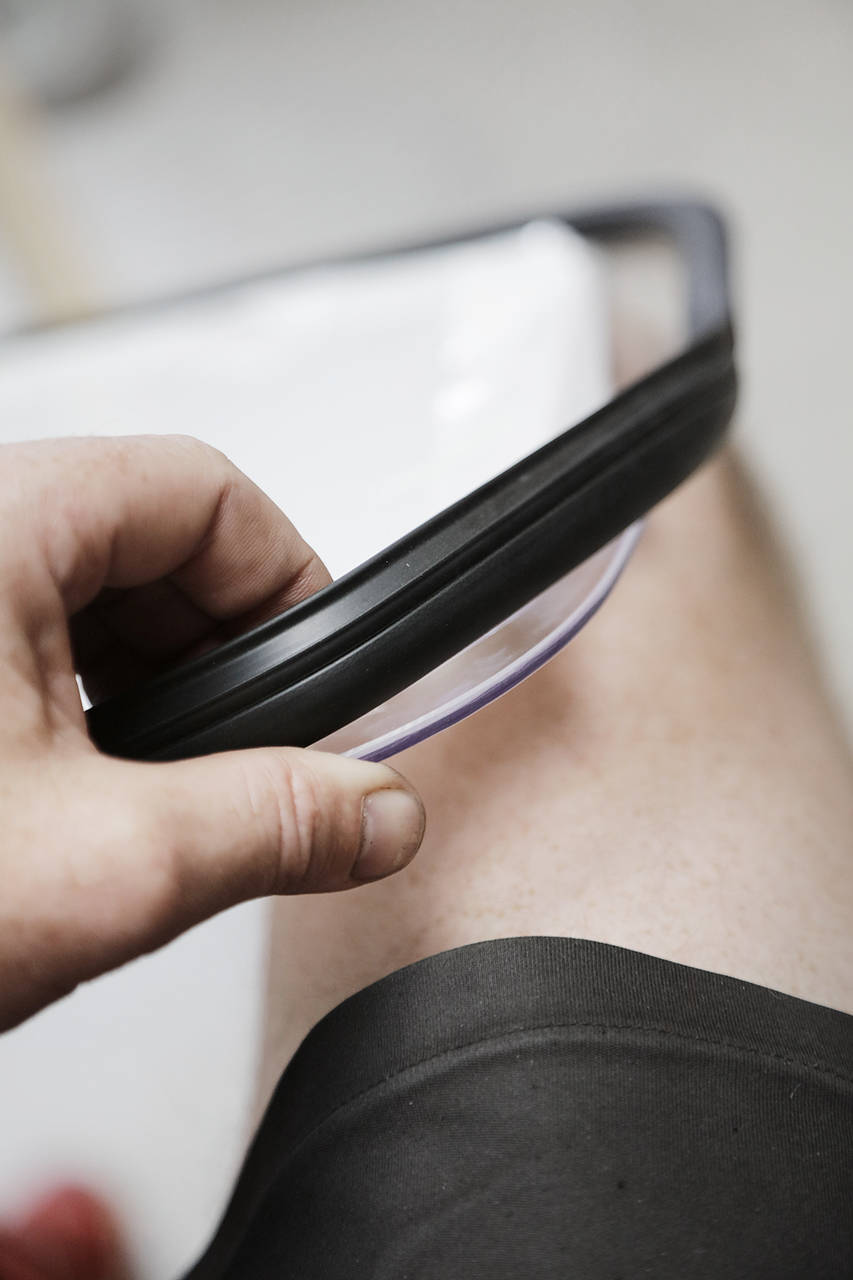
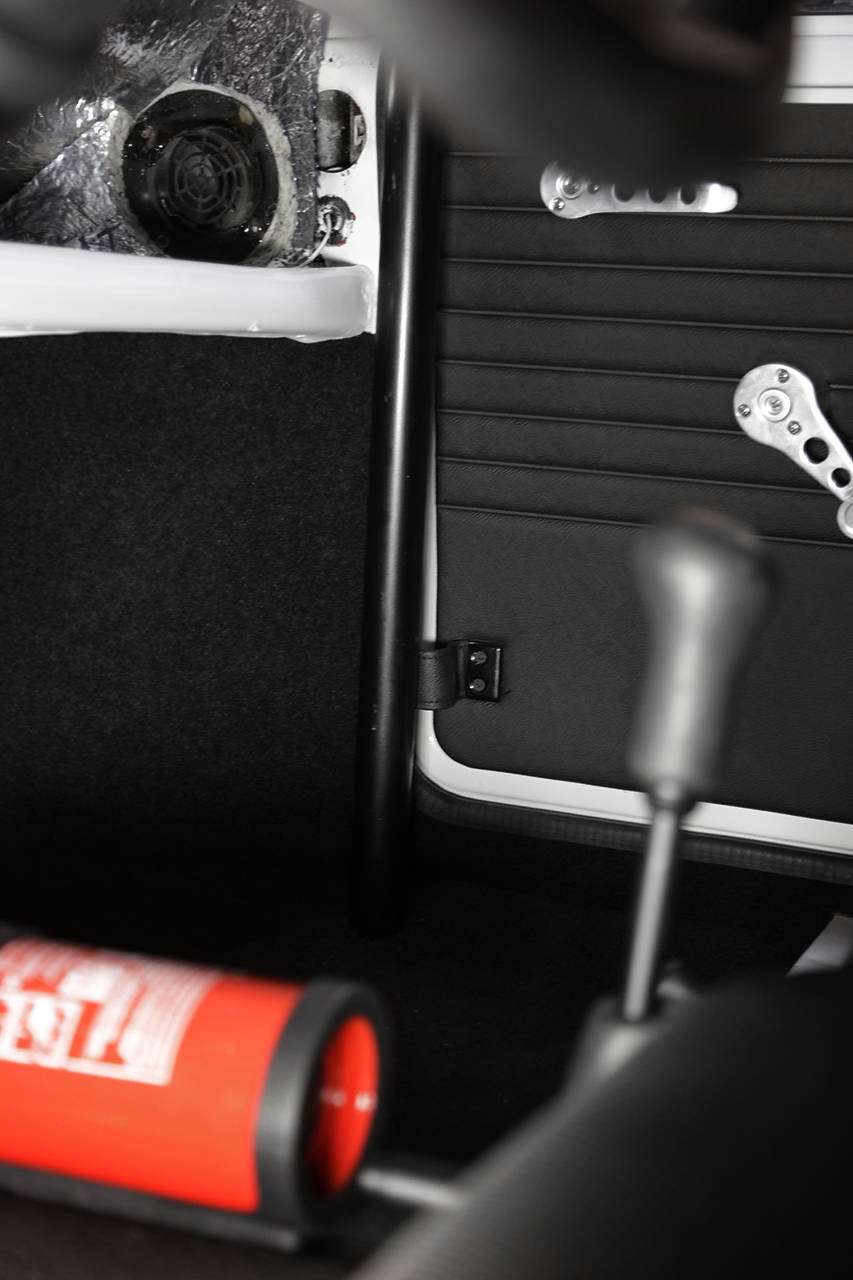
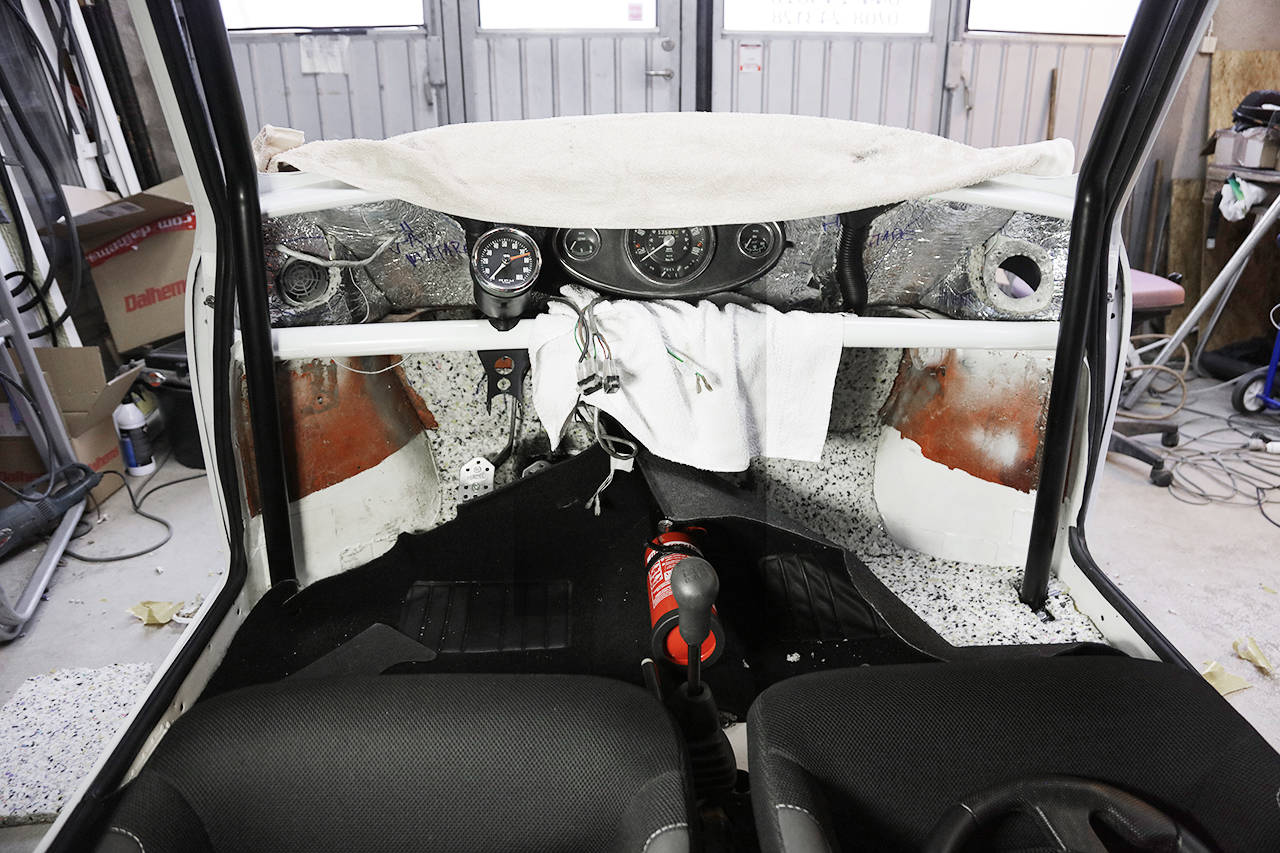
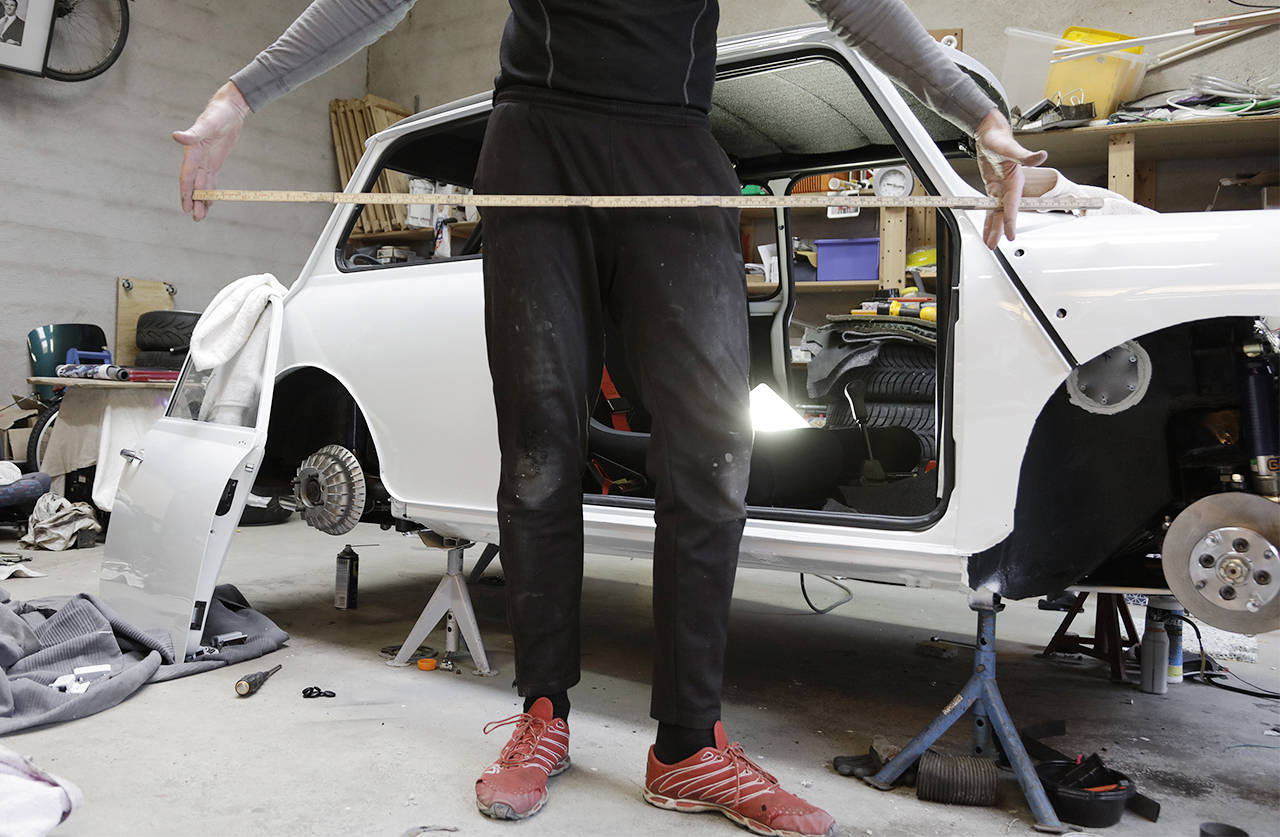
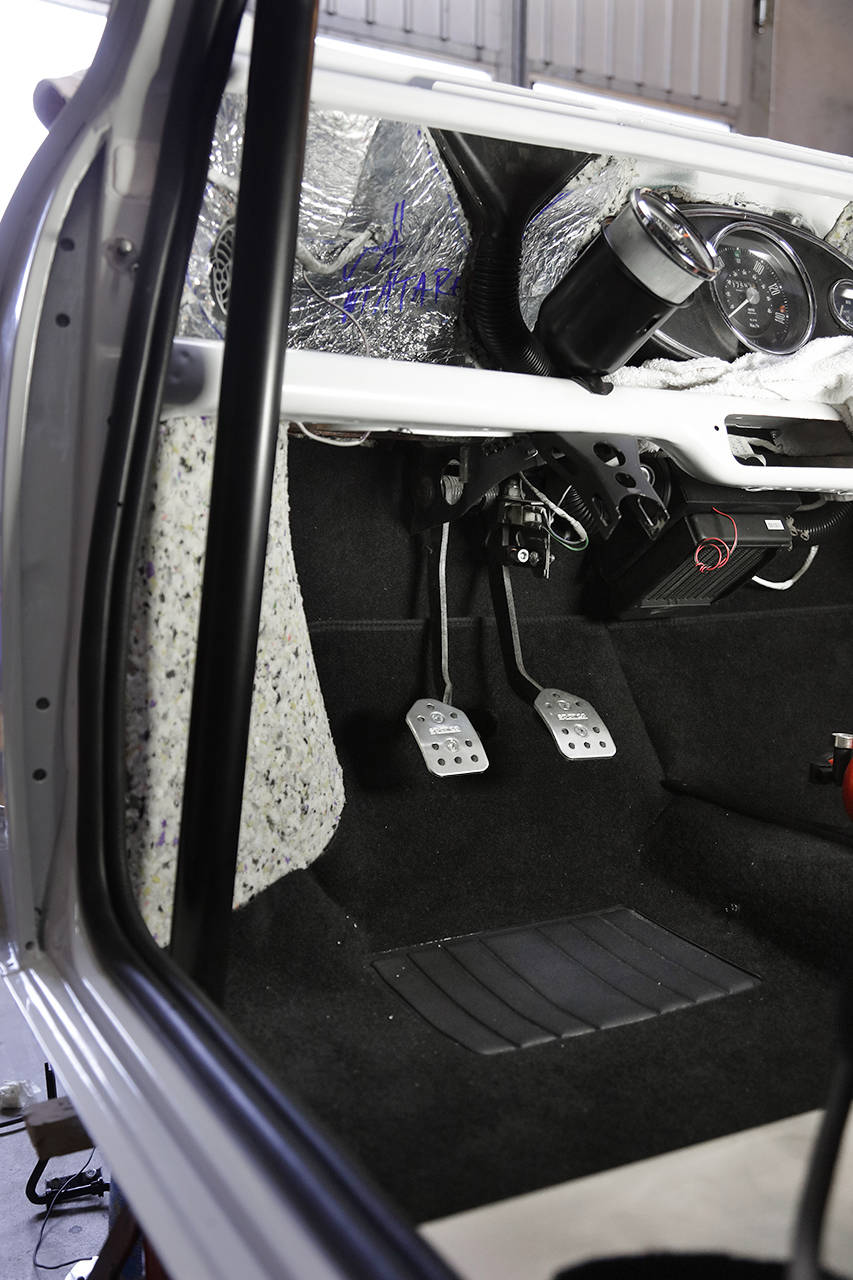
And last weekend, I had the pleasure of reliving memories when I got to ride in the neighbor's '98 Mini (still the old design). 'Plenty' of space in the cabin. I noted that there's a whopping 126 cm (50") between the sills (as shown in the picture) and 113 cm (45") between the B-pillars at shoulder height. But strangely, the cabin still feels spacious.
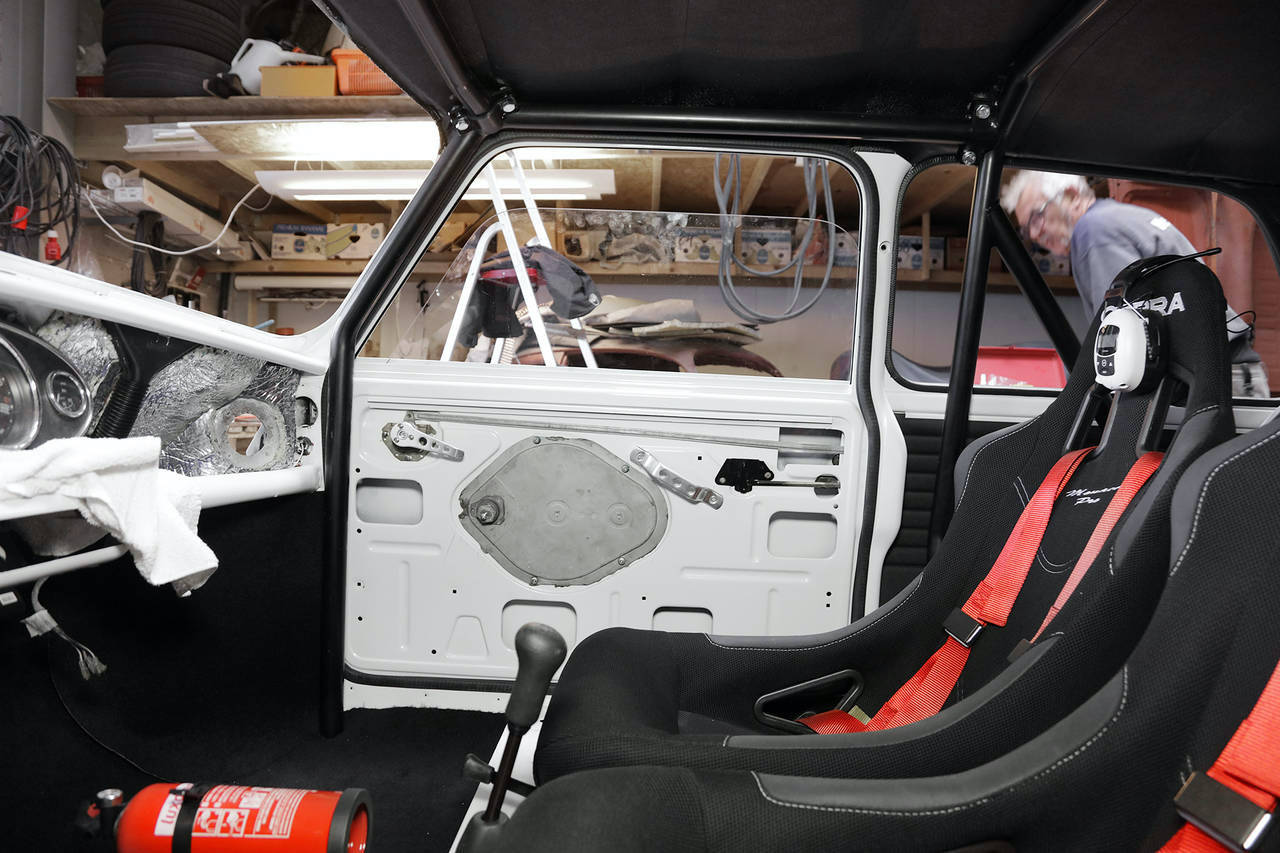
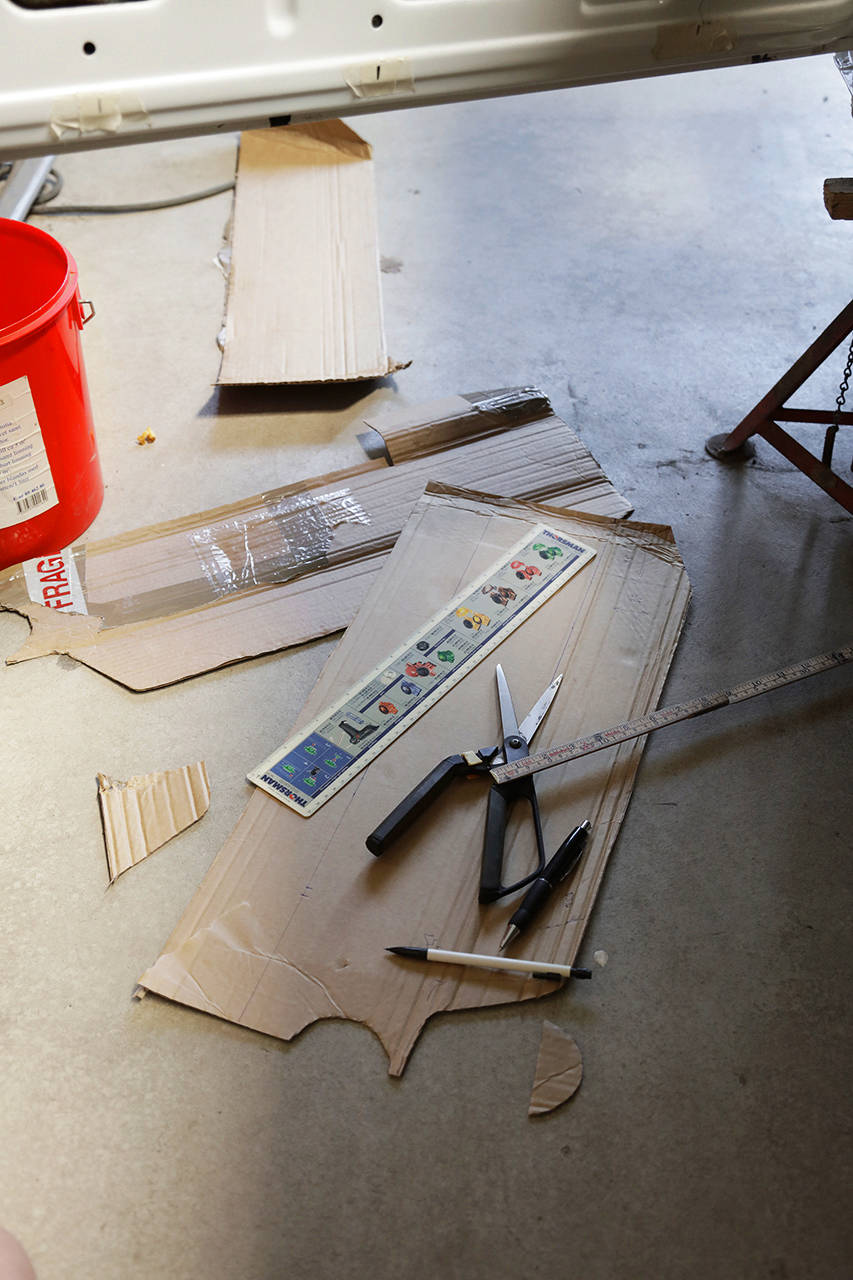
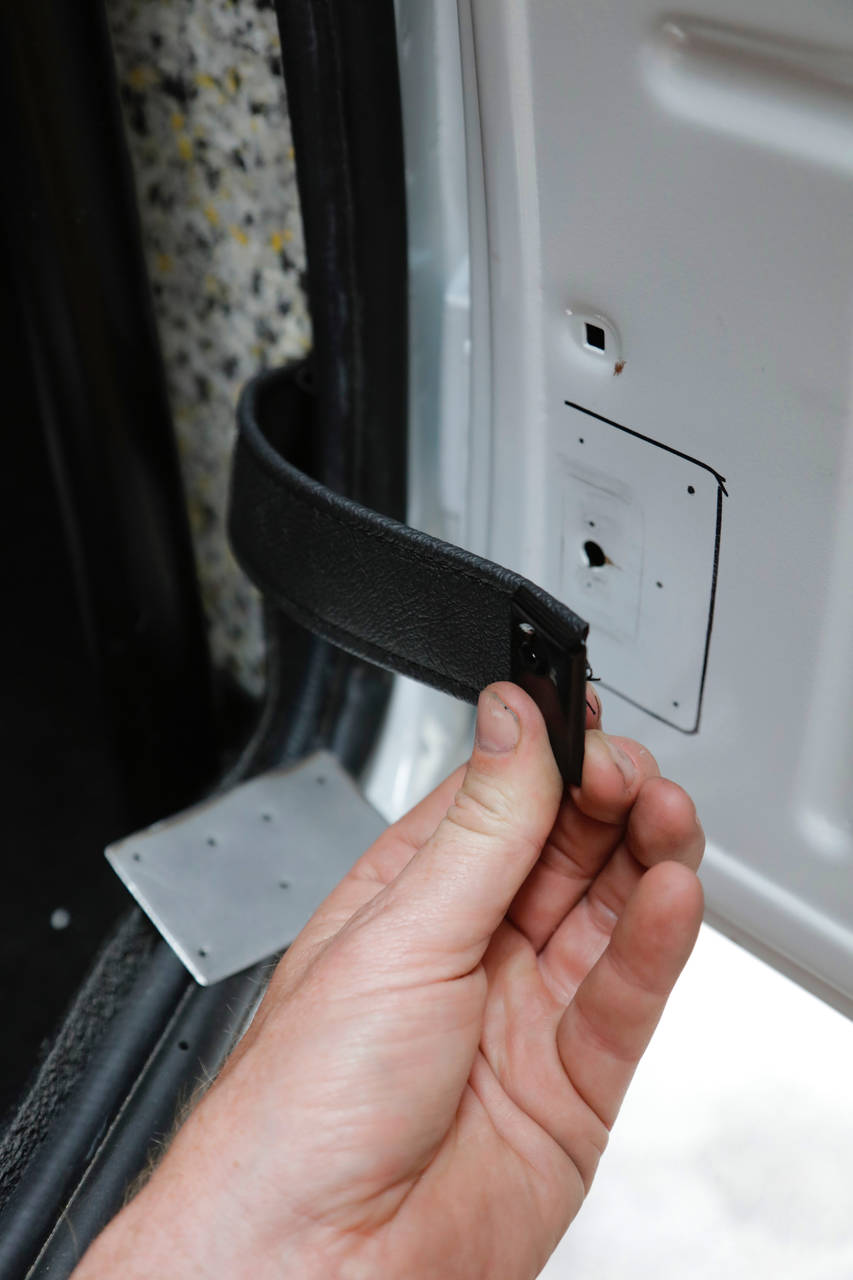
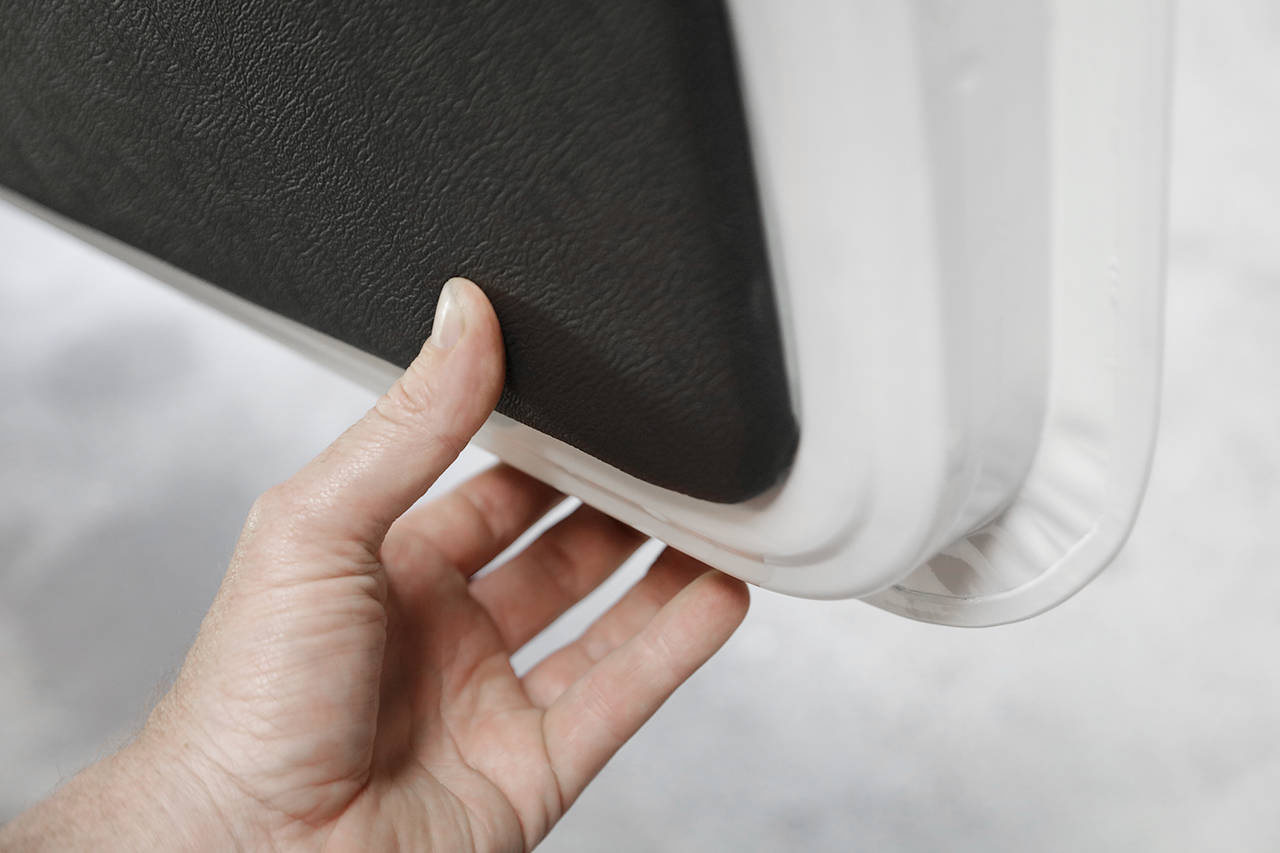
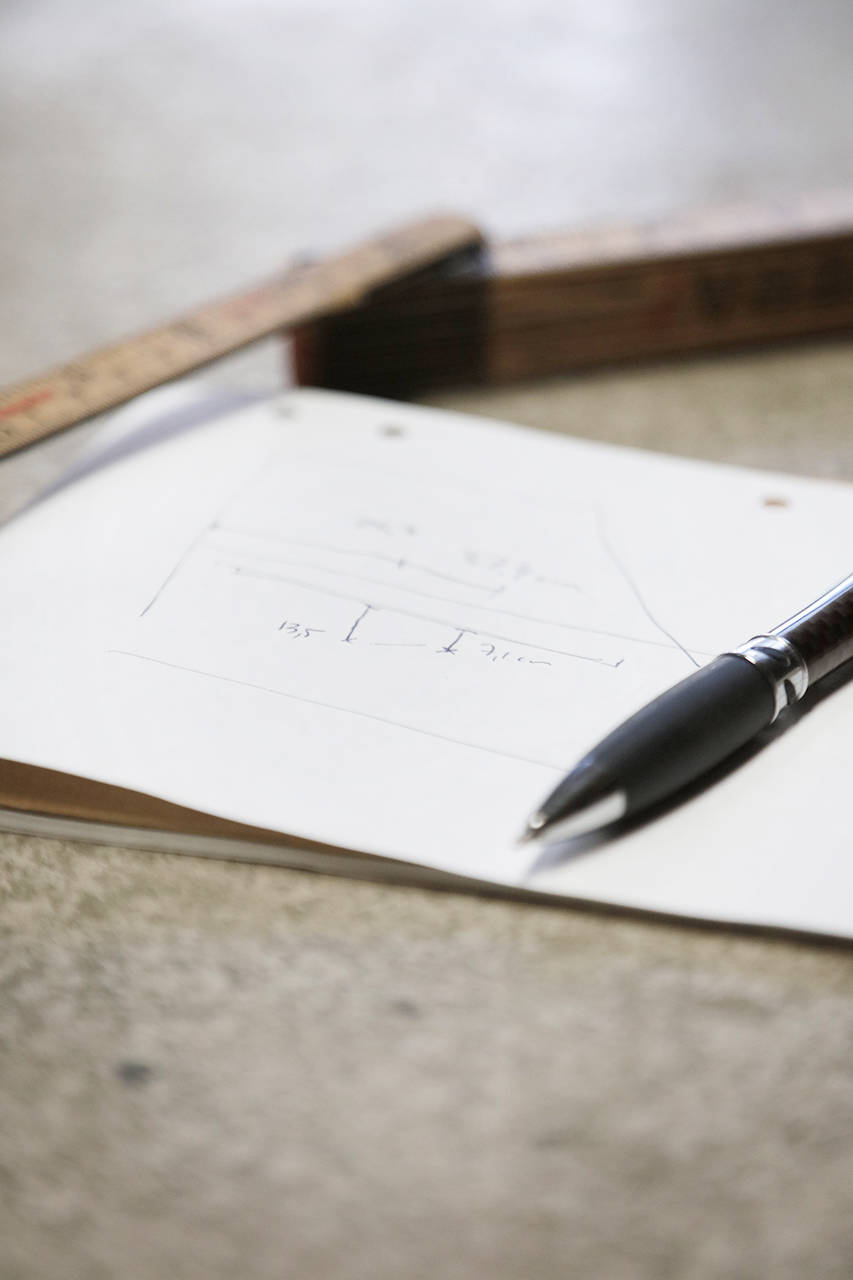
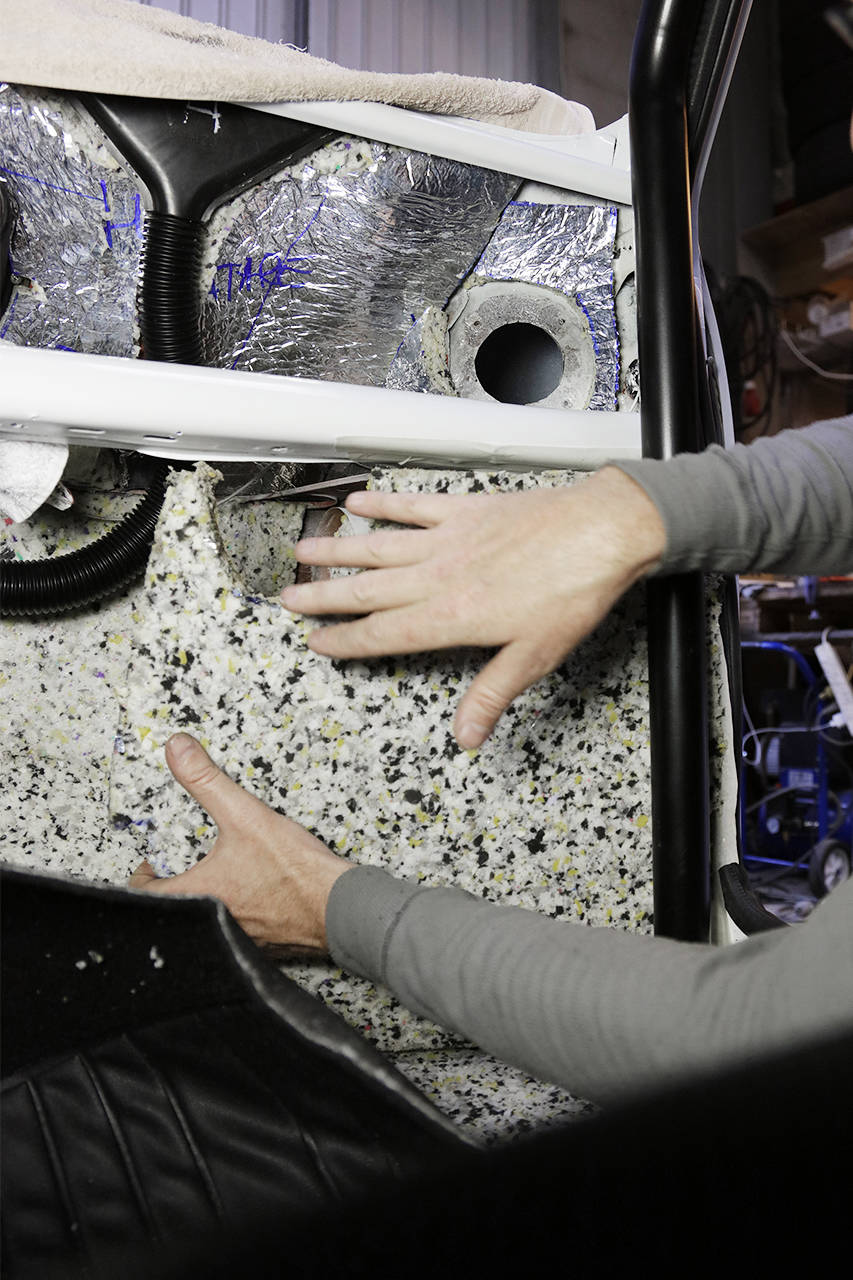
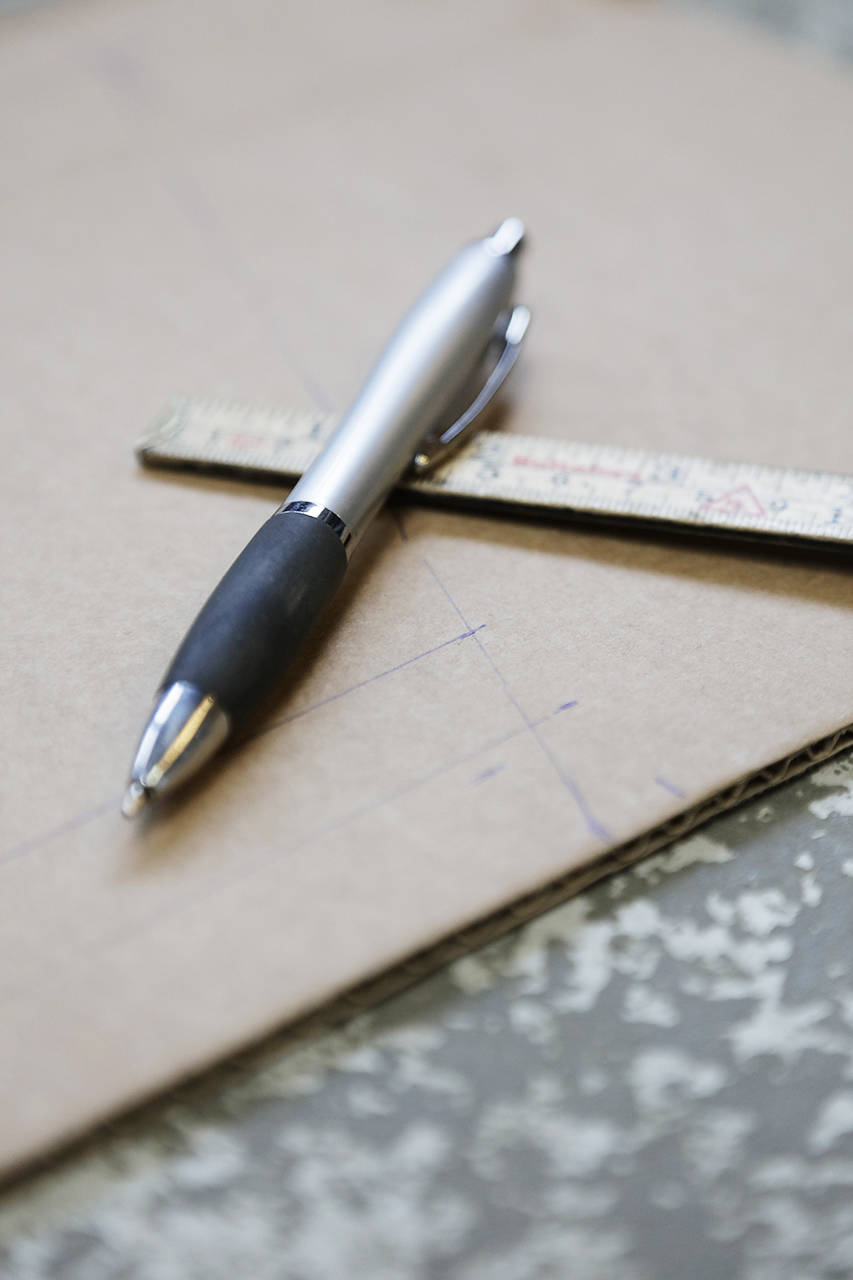
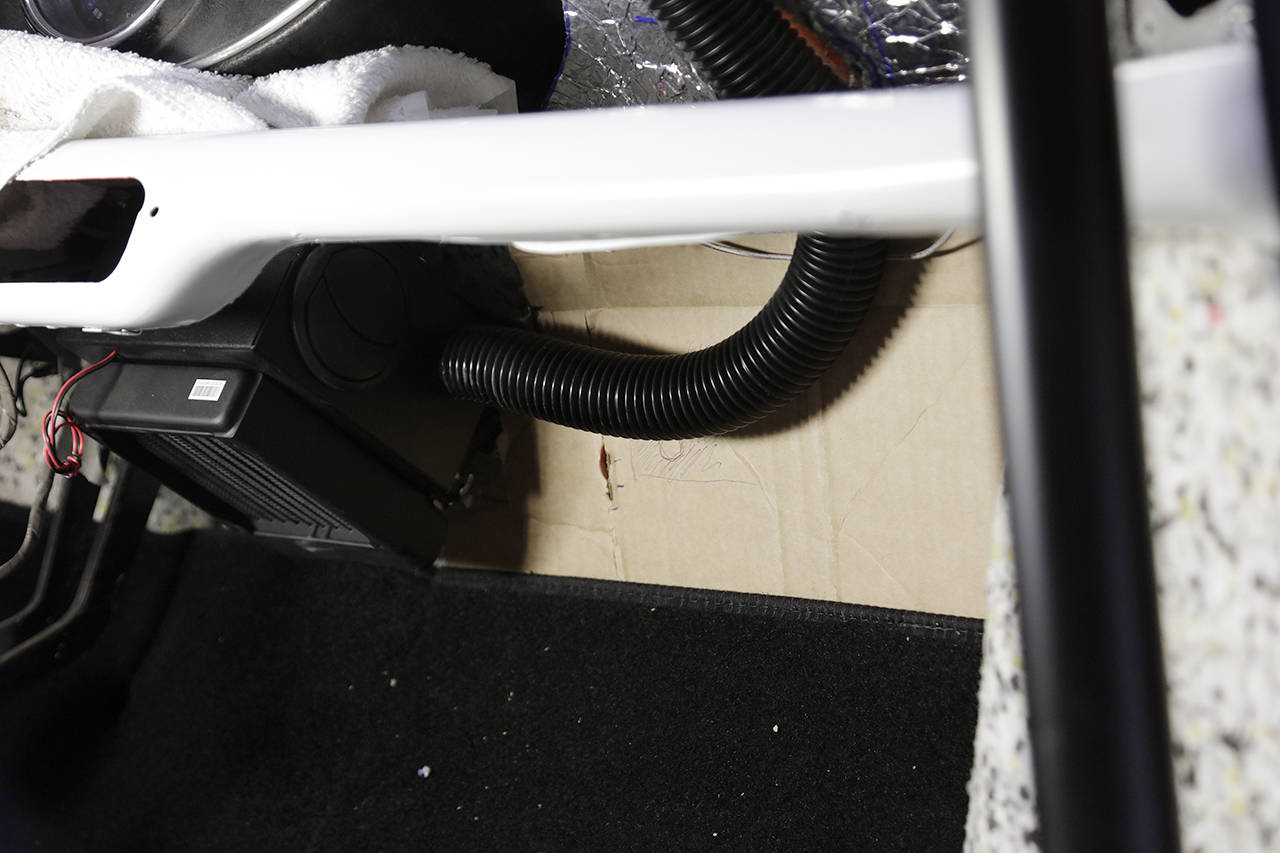
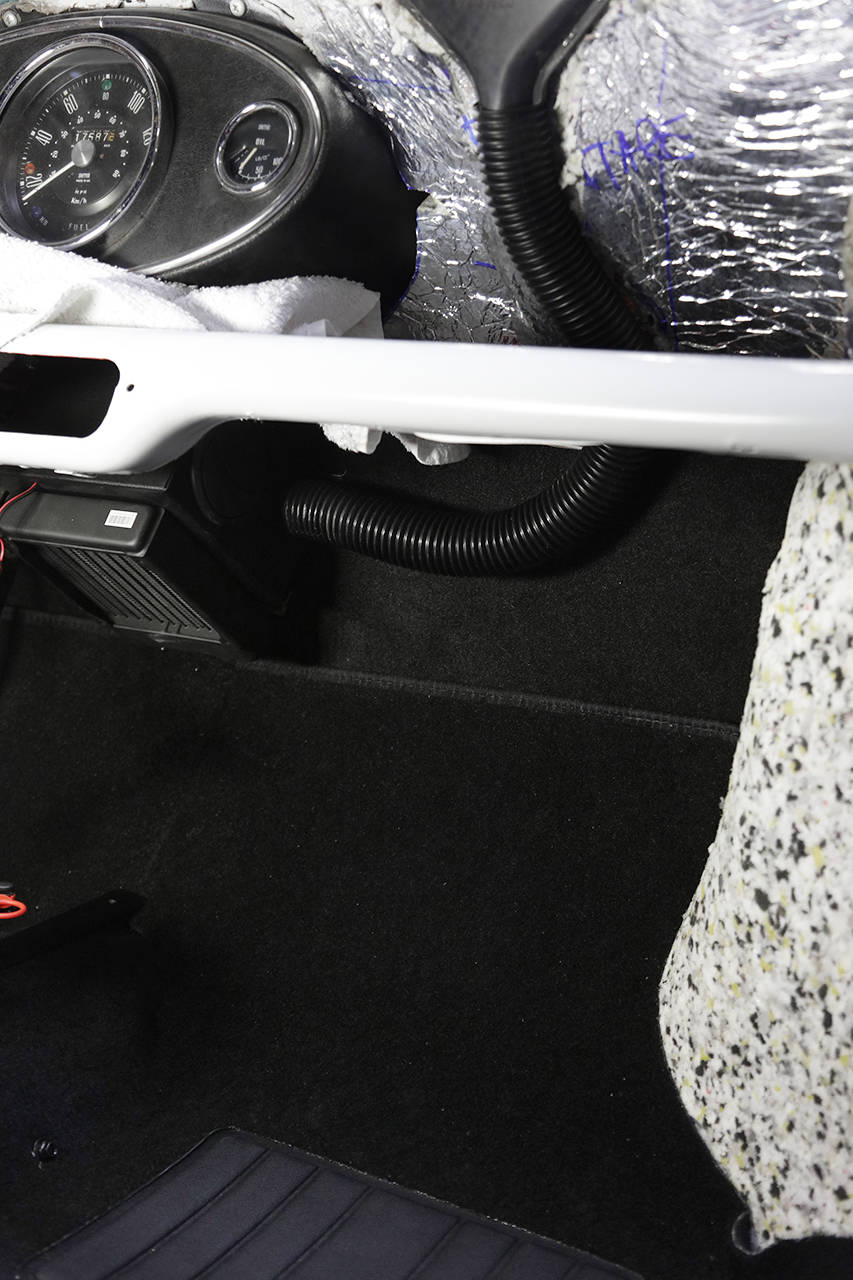
The mat doesn't go all the way up to the instrument panel in the regular design because the enormous fan obstructs it. Now that this has been replaced, you can see the soundproofing mat. So, I had to cut and fine-tune a piece of cardboard and then cut out the corresponding piece of mat. Not entirely easy since the last piece of mat I had was just too small. I twisted and turned the cardboard pieces in a brave attempt to get two pieces out. I had to sacrifice a small corner on one of the pieces, but fortunately, the new fan conveniently covers it.
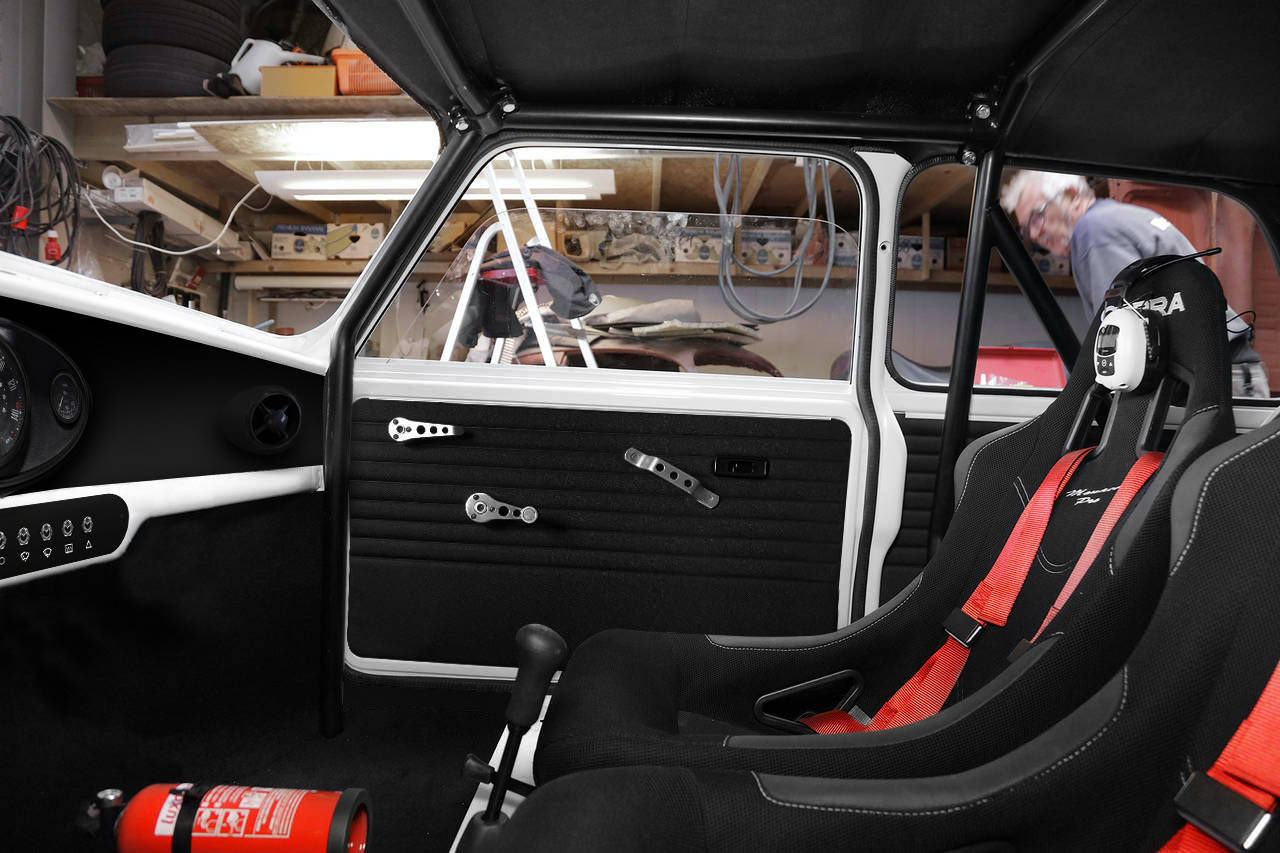
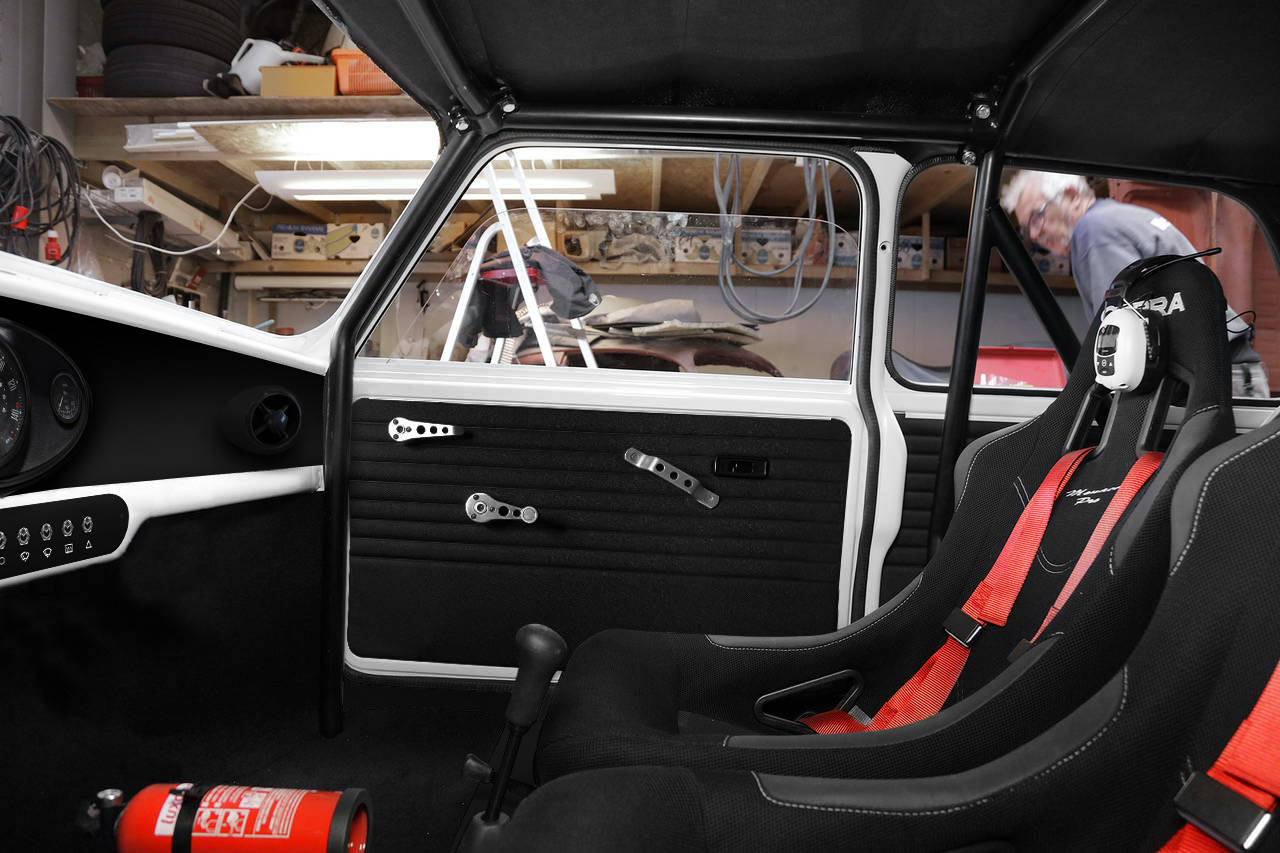
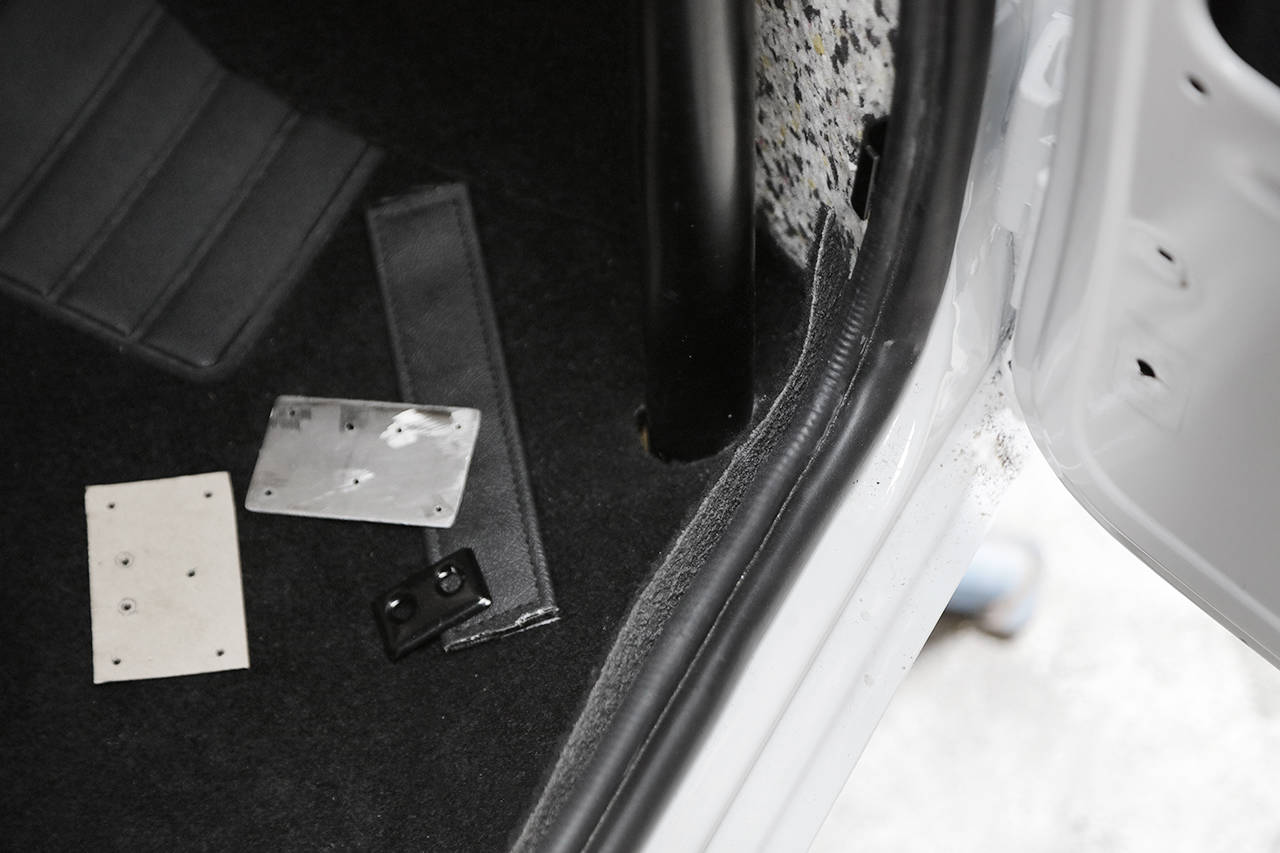
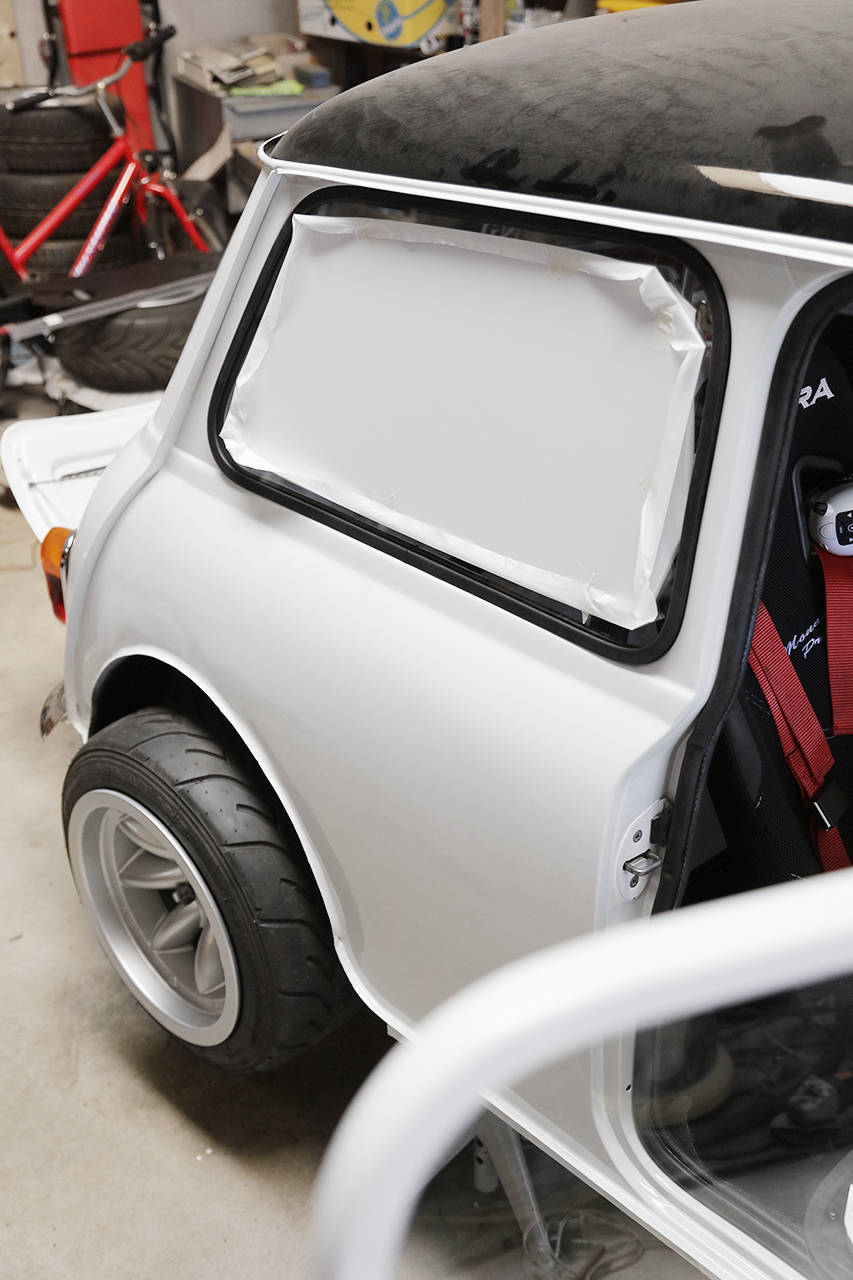
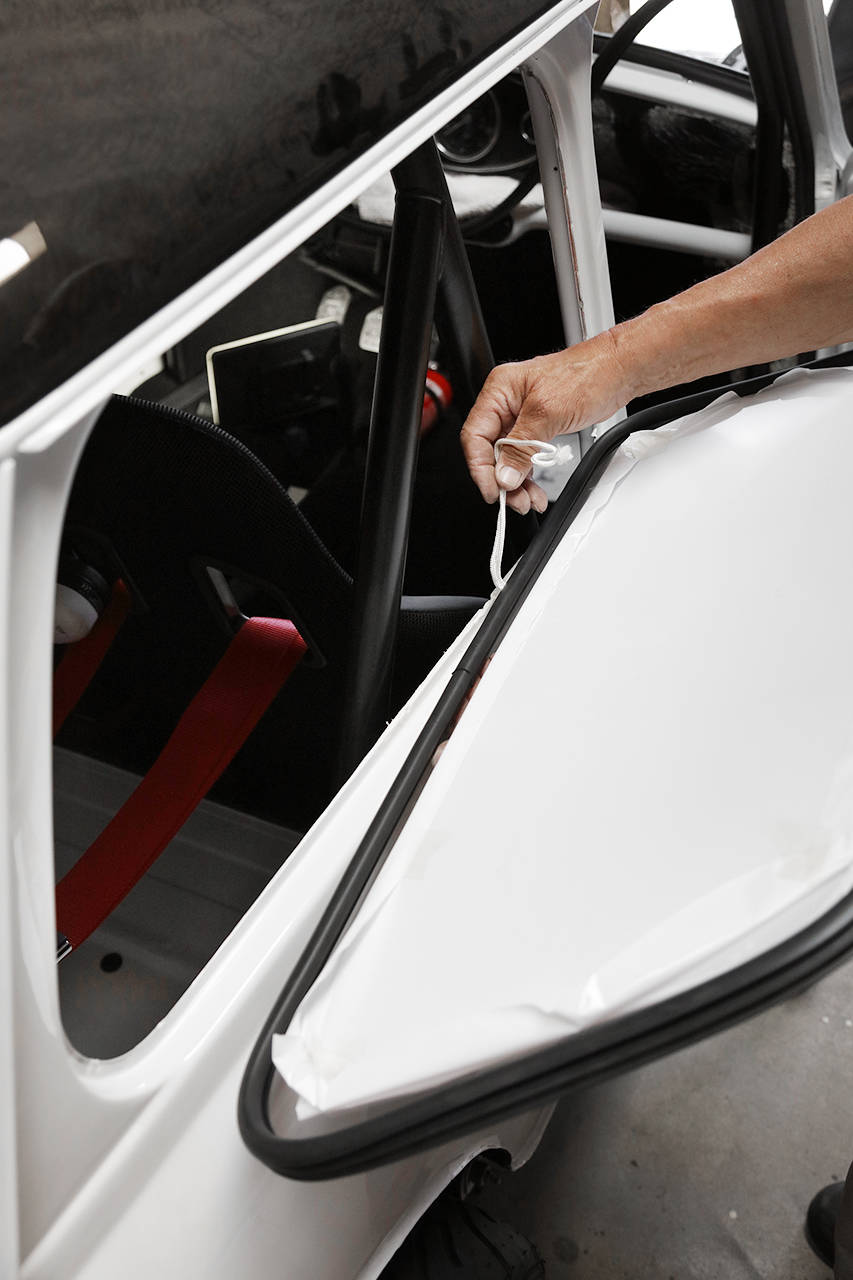
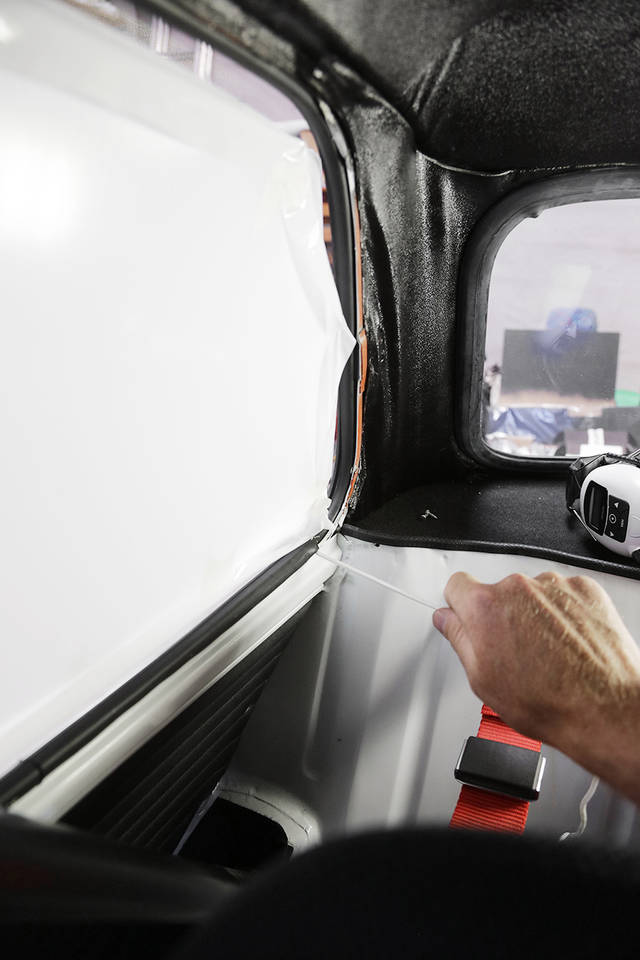
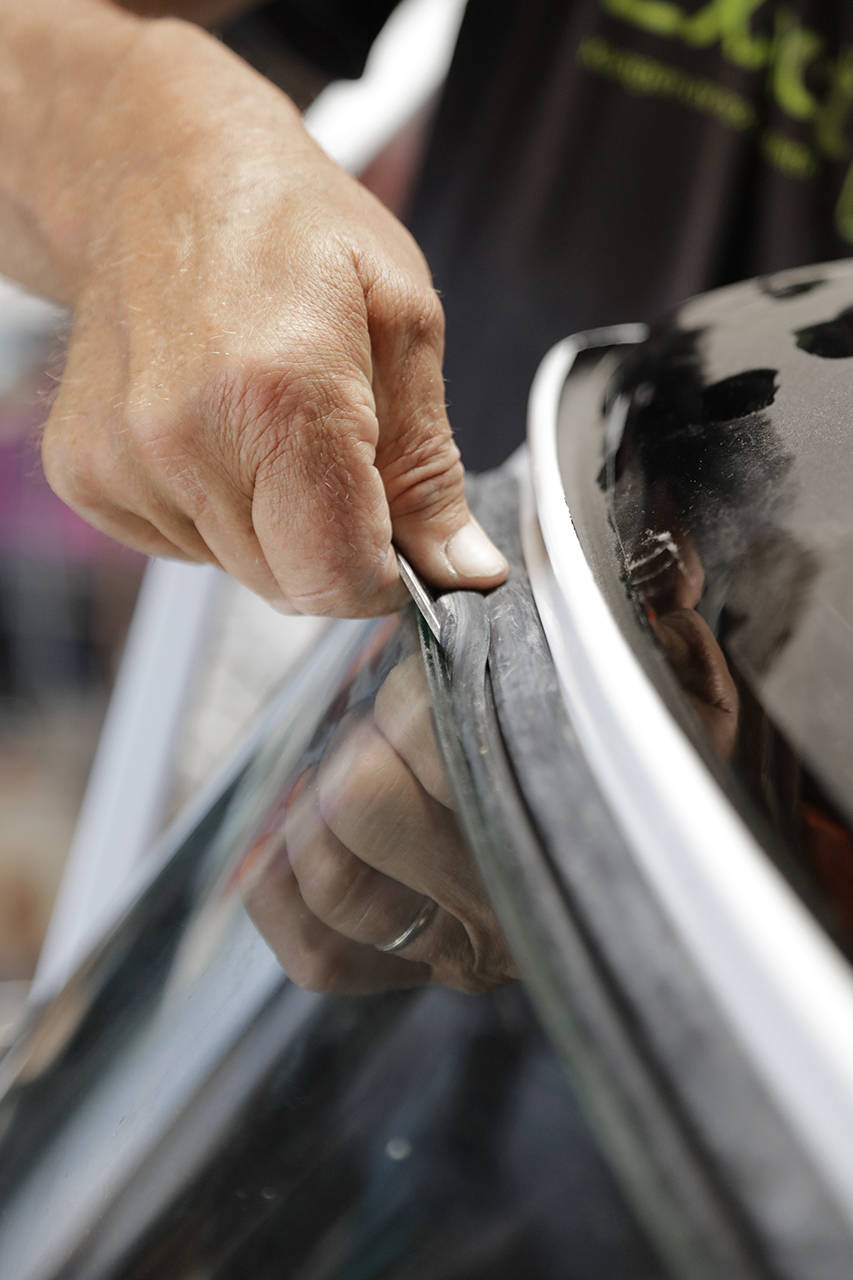
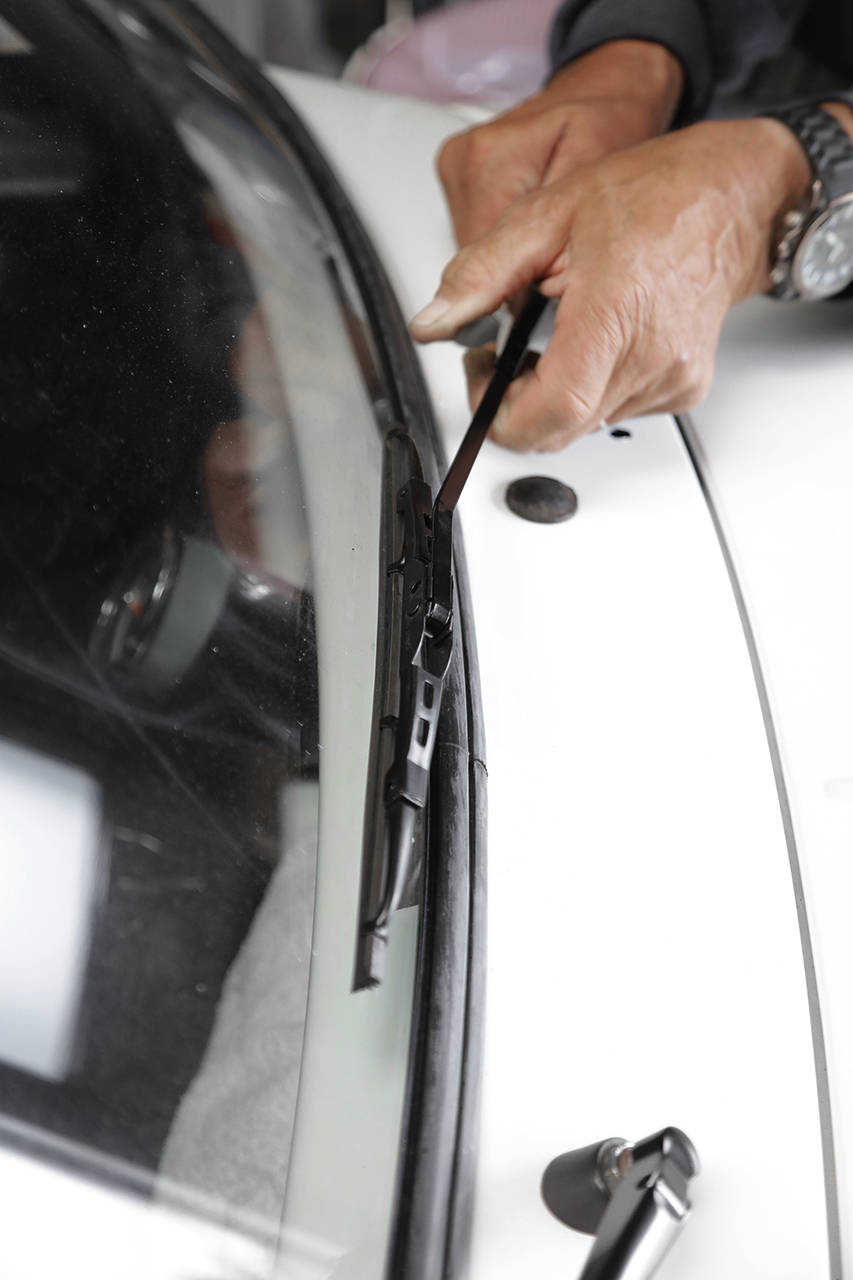
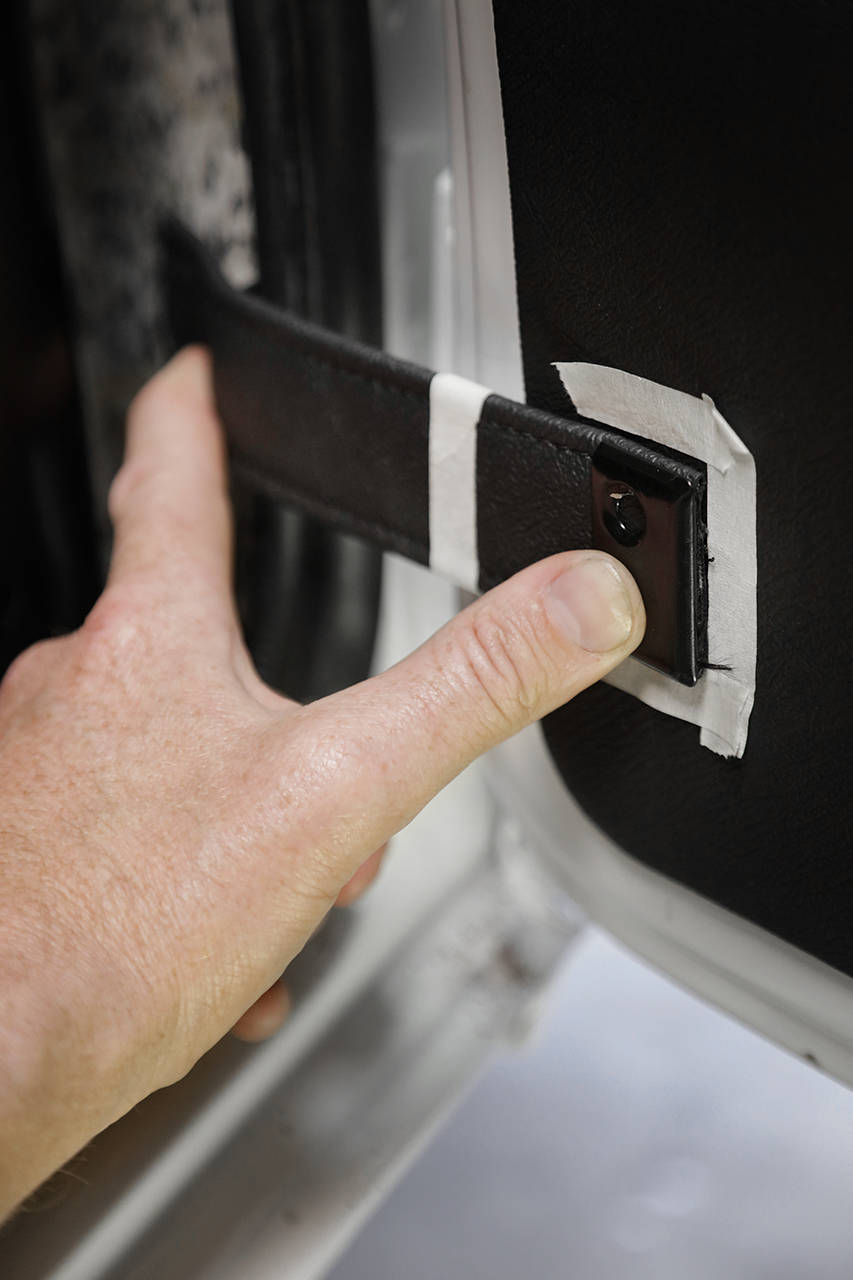
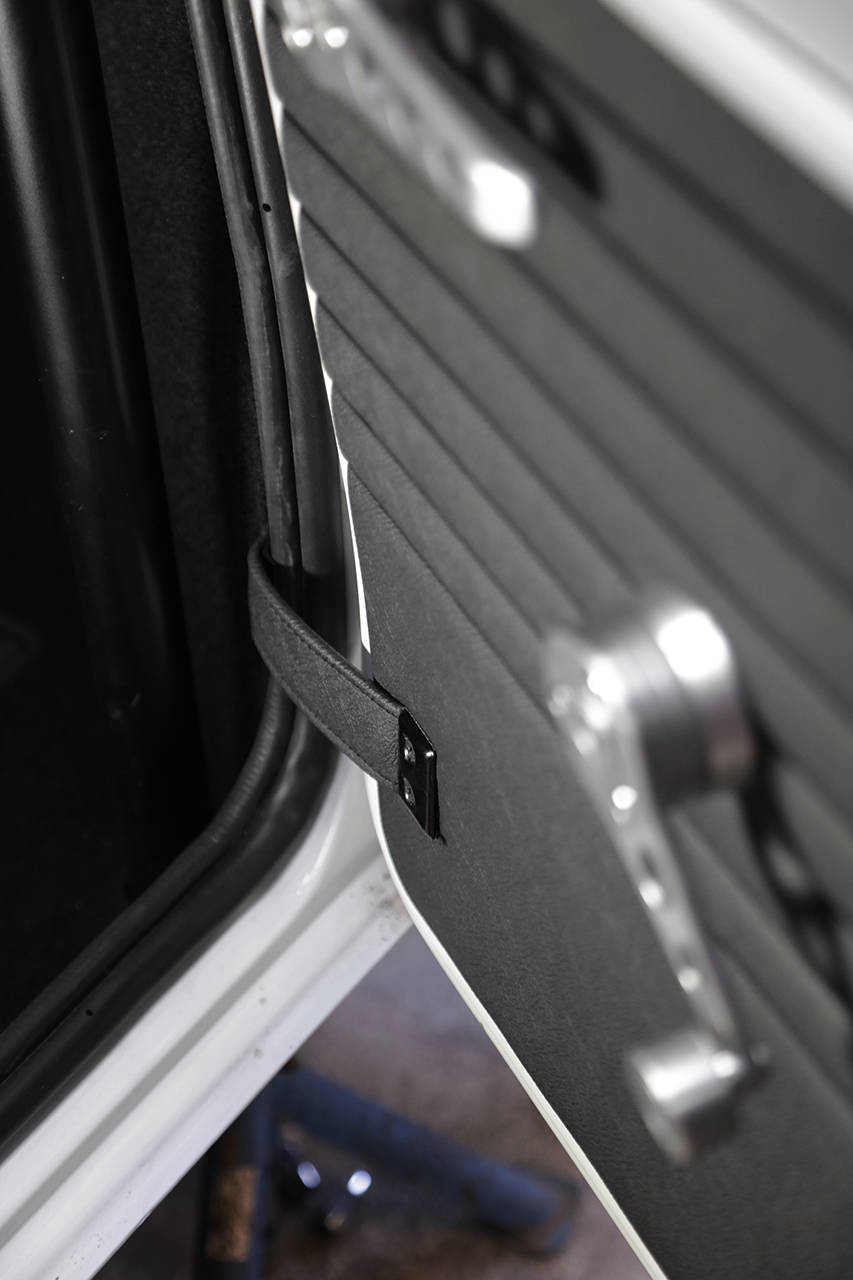
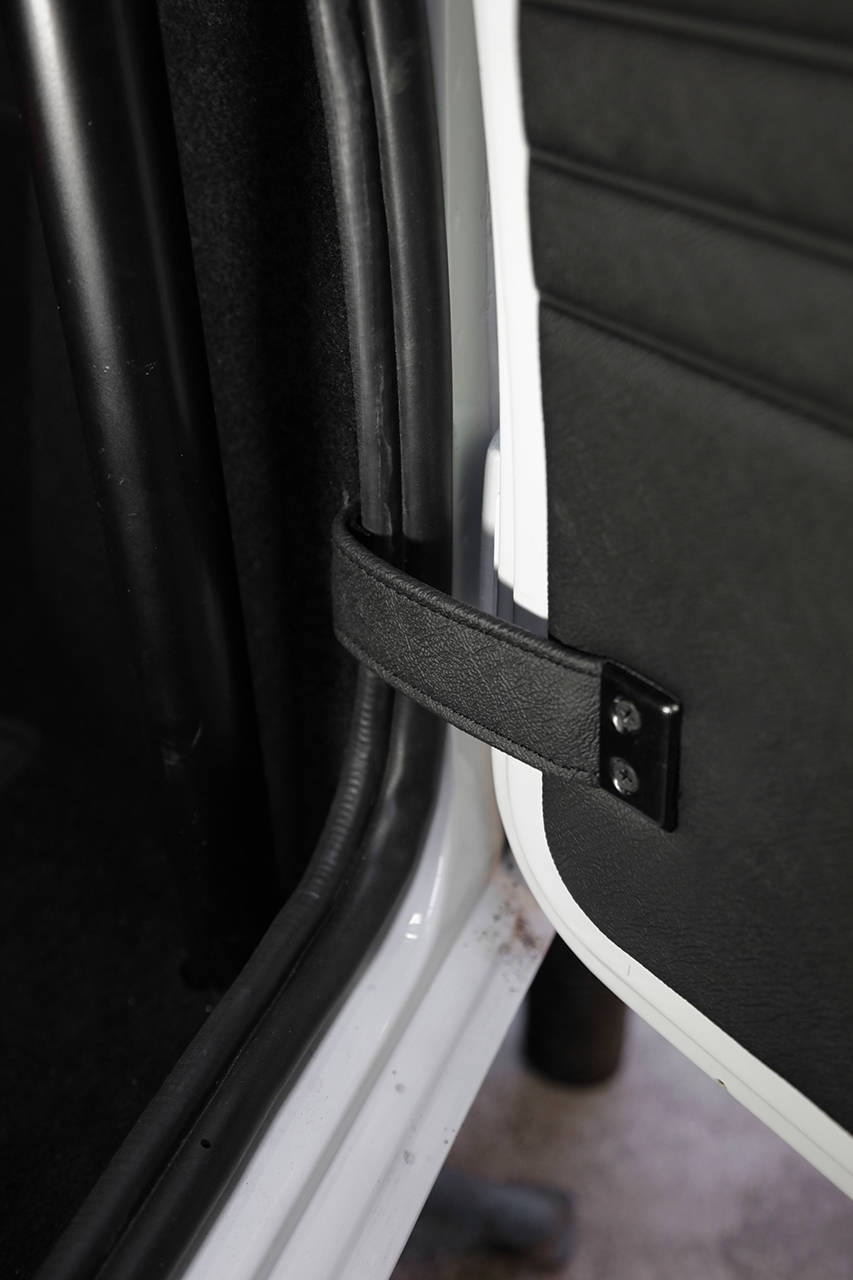
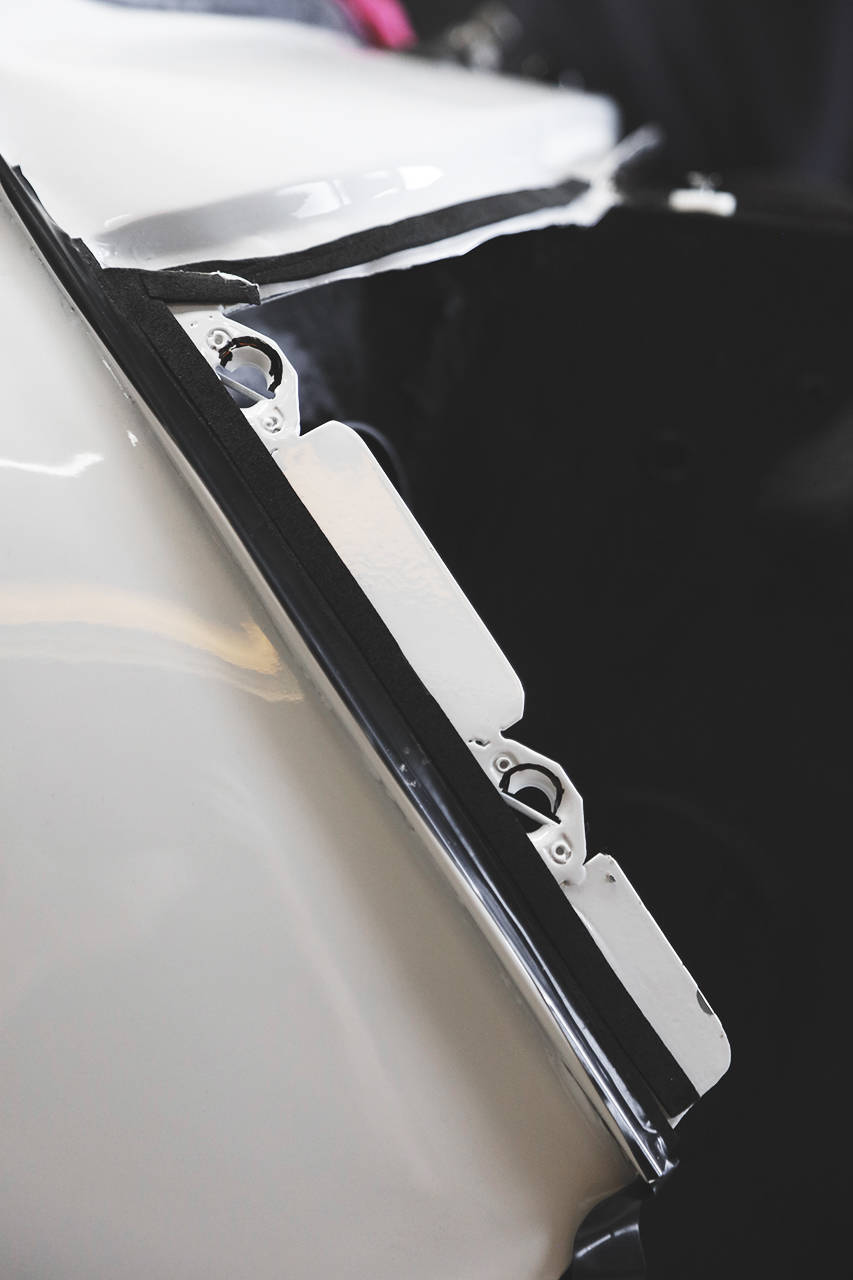
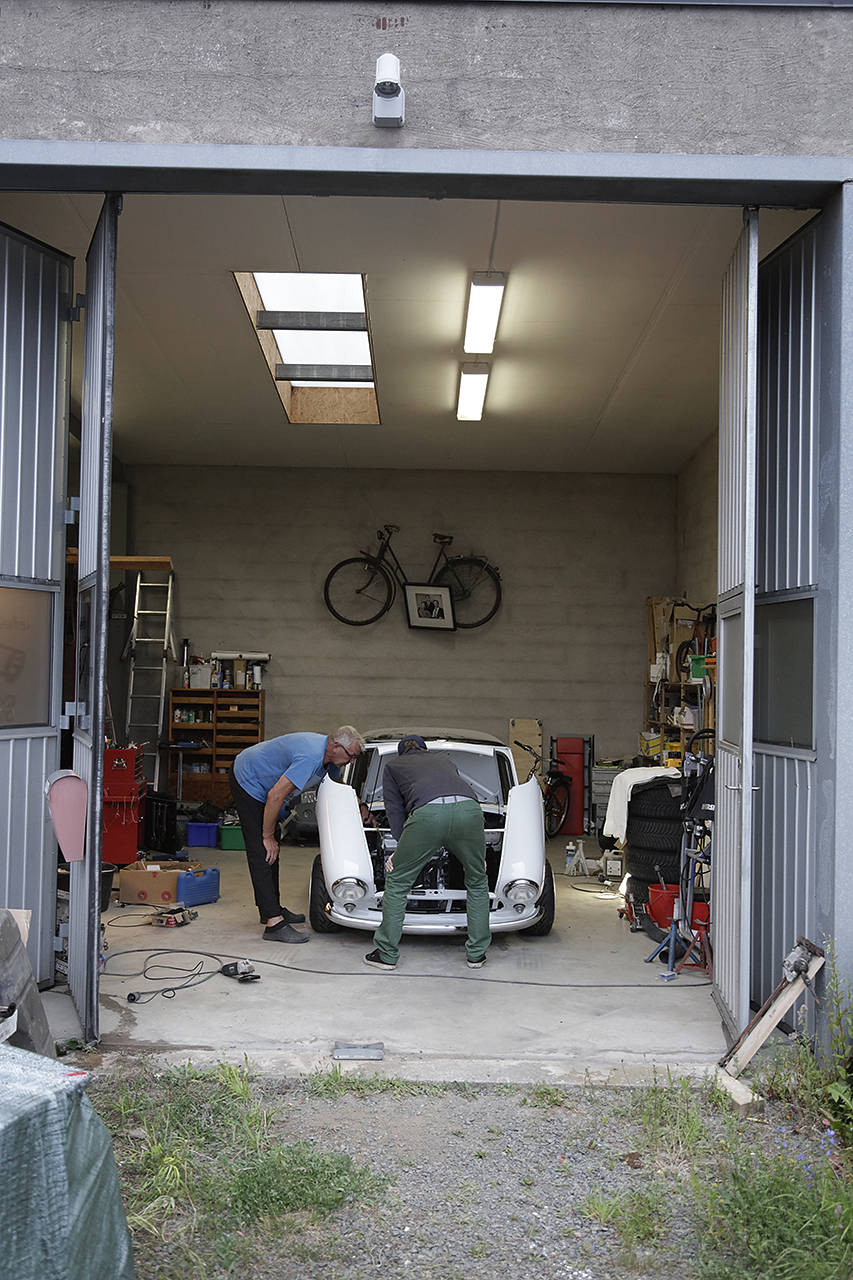
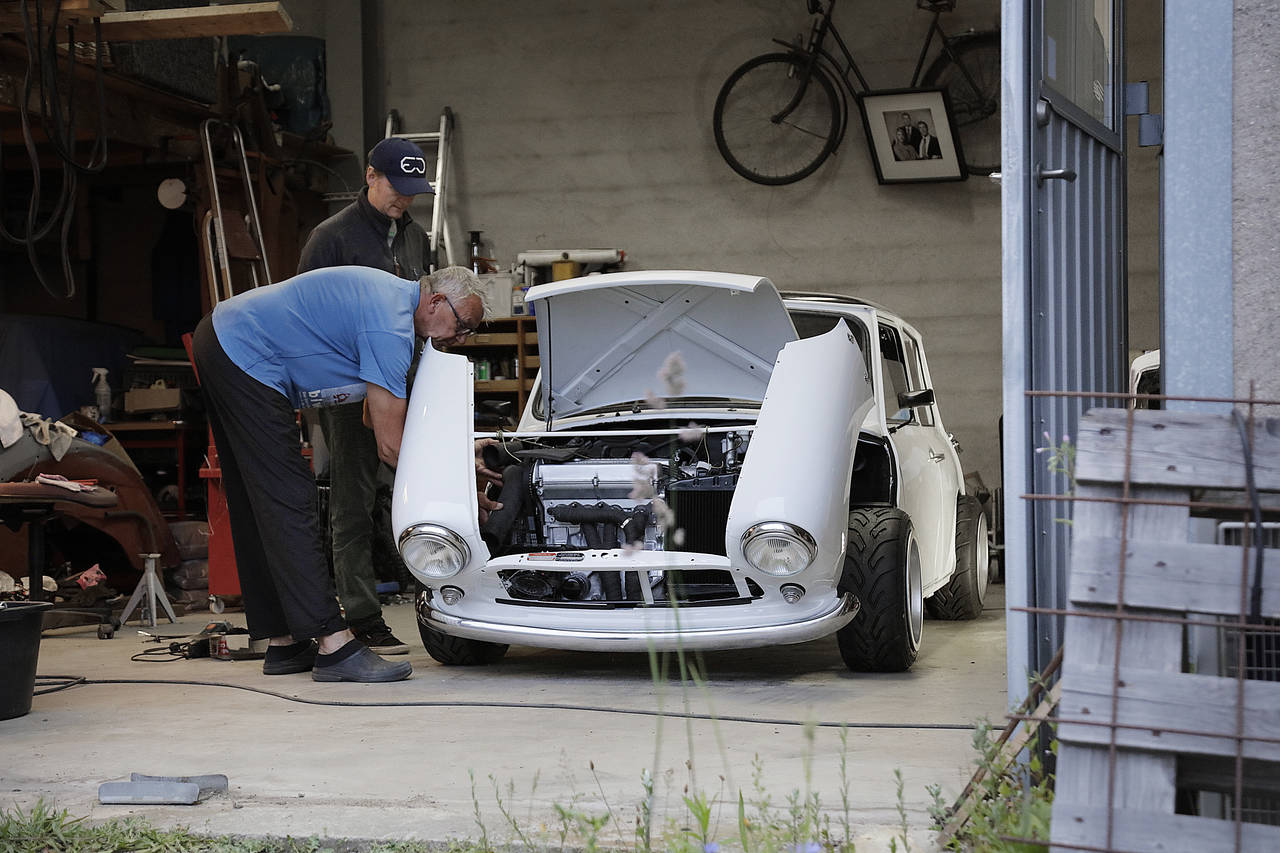
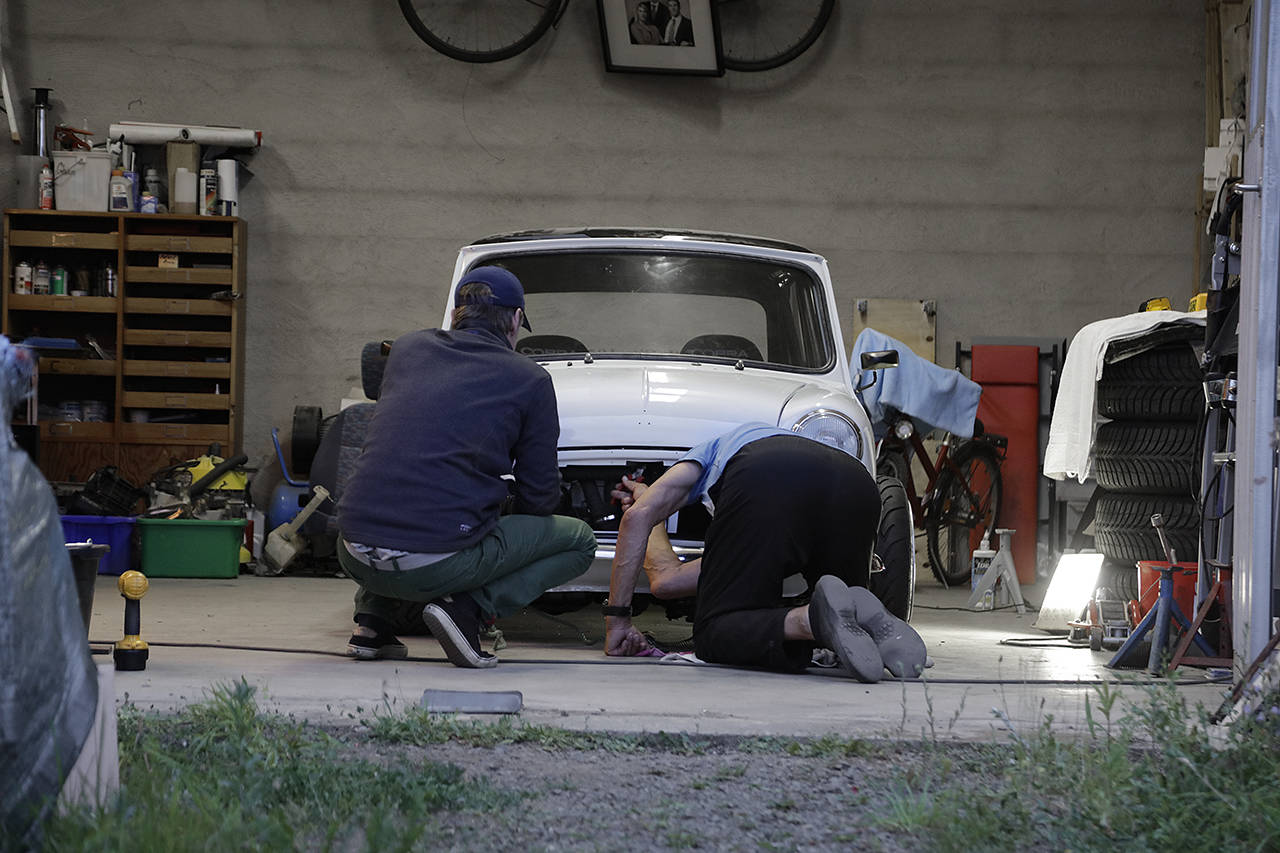
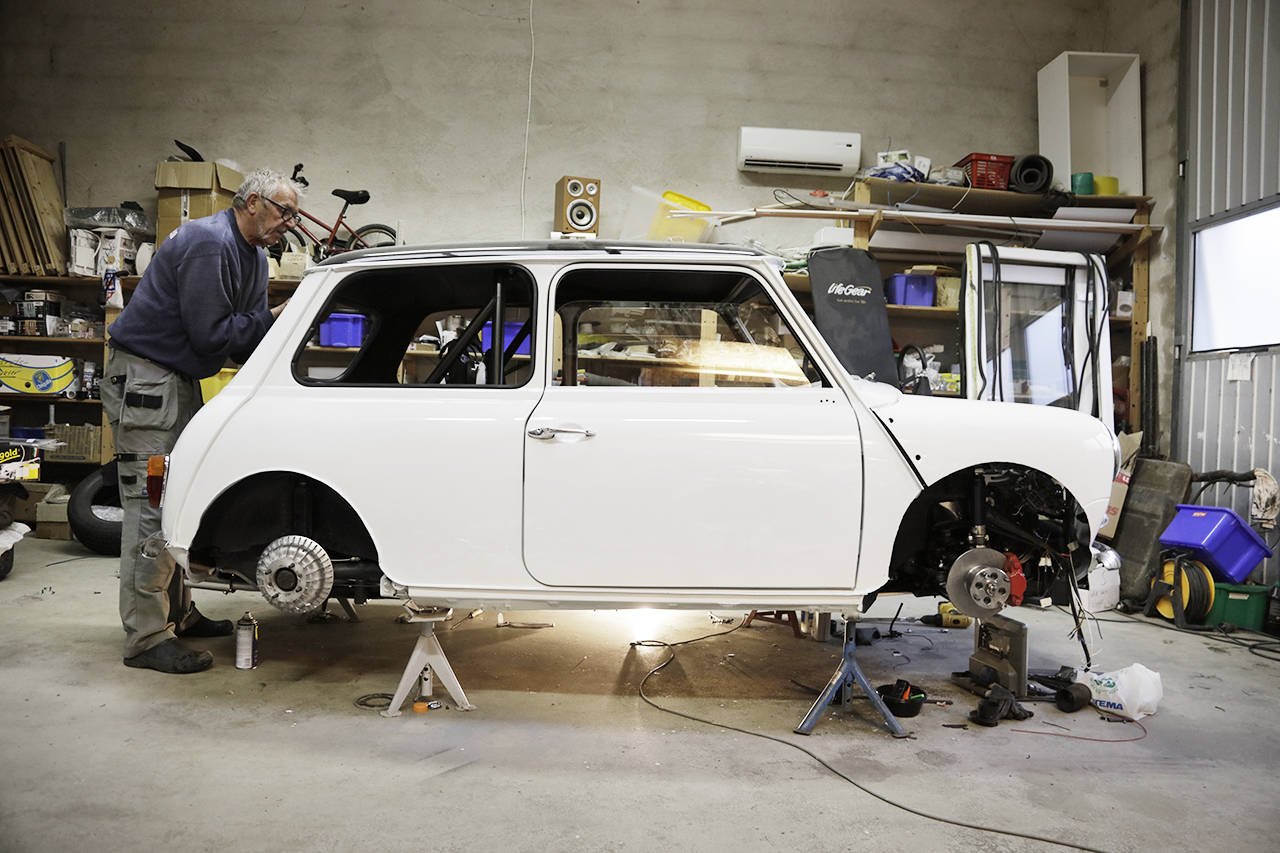
By now, it was around lunch, and my dad had returned from a trip with the camper northward. It was delightful since we were now two and could proceed to install the doors. Just a reminder that the new doors were installed and adjusted/aligned in the door openings before painting, with an excellent fit. However, with the old hinges since the newly ordered ones were on backorder from the UK. I also believe that the doors are the second heaviest component after the engine on the car. Goodness. And I can't claim that it's the side impact guards that weigh a lot since there is no such thing. No fancy side airbags either, for that matter. But when the passenger door was in place, uh, hmm... it didn't fit well. Uneven gaps, and it was crooked. But we had resources. We had spacers in the form of rectangular pieces of metal. After many trials and tribulations, we were forced to use all spacers to get the fit right on the passenger door. We had to lift it on and off three times, though. A patience-testing fitting. But if I remembered correctly, the driver's door should fit really well ('snug fit' as the Brits would say) without any use of spacers.
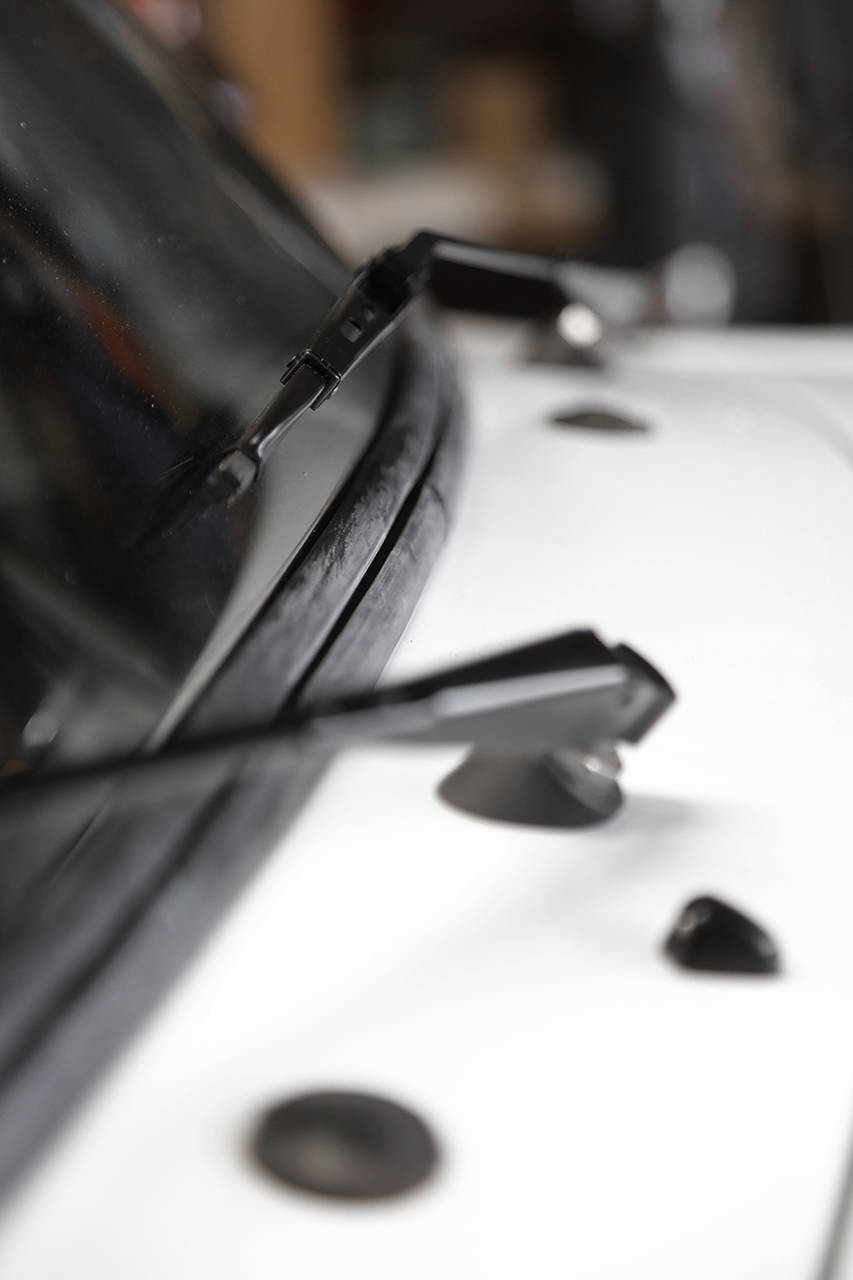
The door lock didn't quite sync with the 'latch' or whatever it's called, so we had to adjust the position of the latch slightly. Luckily, there was plenty of adjustment margin. But we had to adjust further. With a round file. And then the door fit perfectly.
Great. Now, it gets easier with the left door. Oh boy, we were so wrong. The new hinges had to be trimmed a bit in the corners to fit into the A-panel against the attachment points. Of course, it was a bit tricky, and we sanded them when they were in place. However, we protected the door paint.
Then it was easy to install the door, but when we tried to close it, uh... the door opening mechanism resembled that of the new Koenigsegg Gemera (Automated twisted synchrohelix actuation doors) as the door leaned about 10 degrees at the rear, making the upper side of the door even above the roof's drip rail. Crazy. How did this happen?
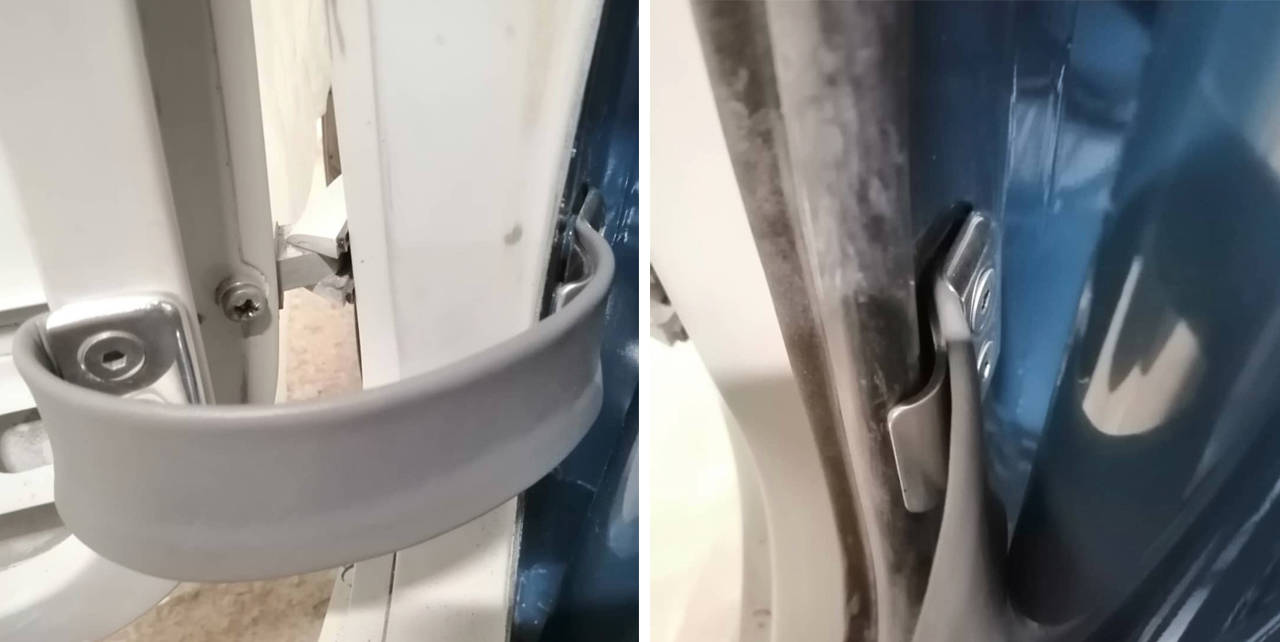
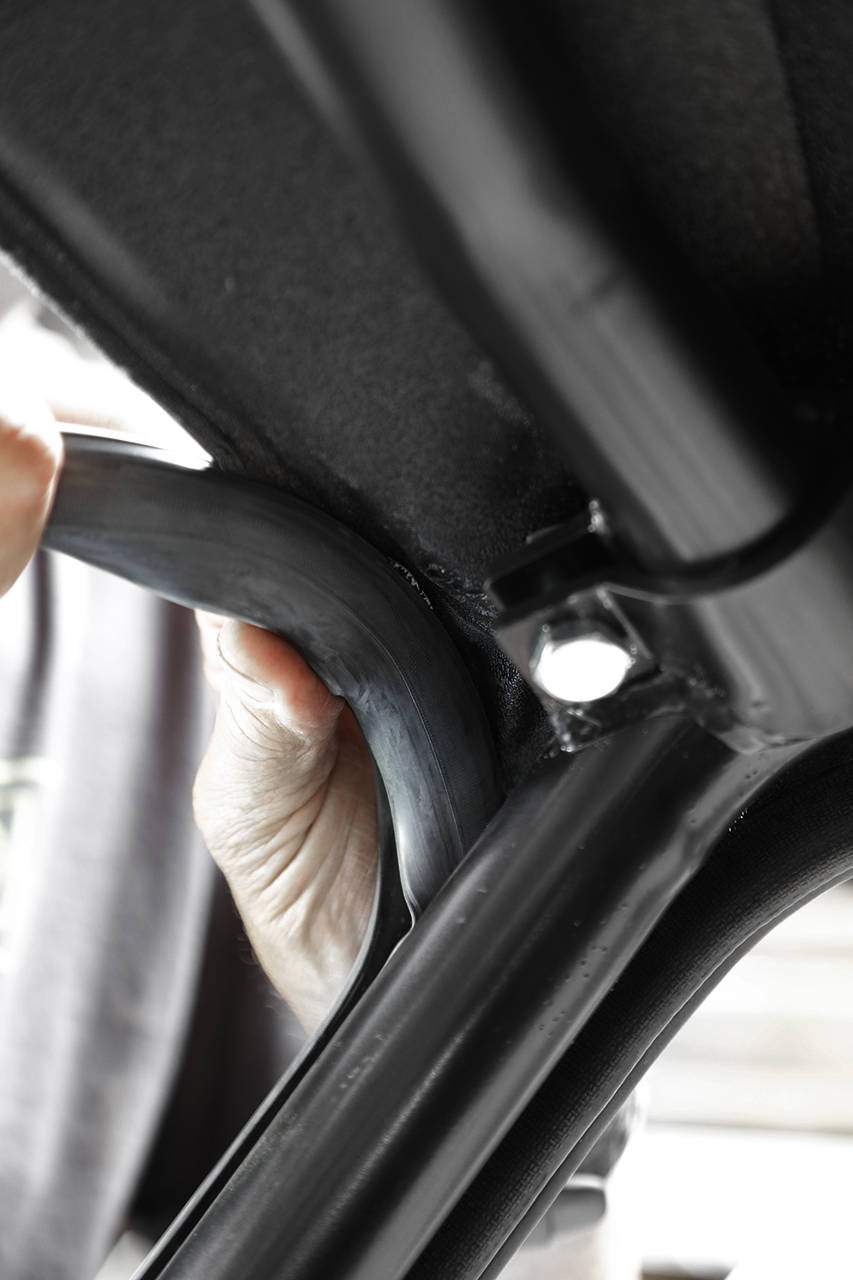
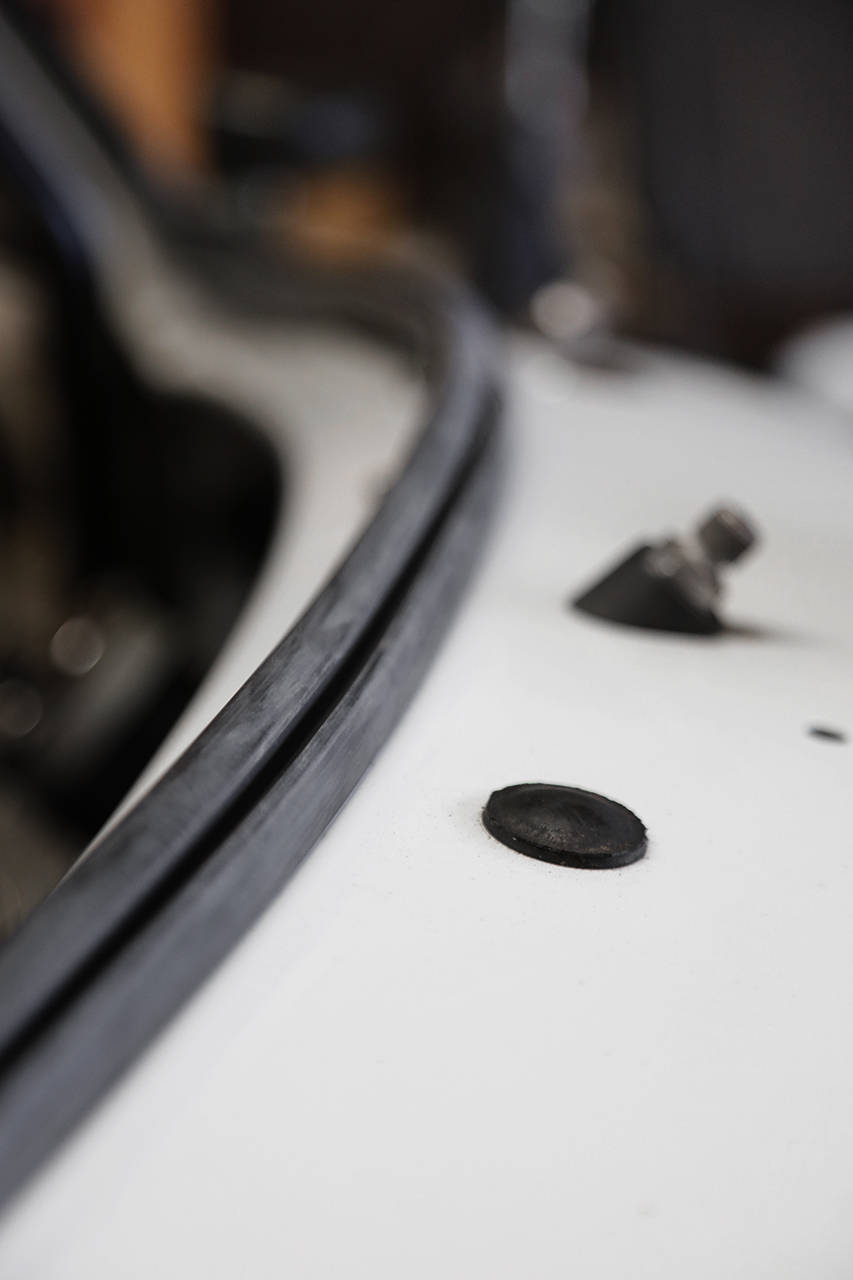
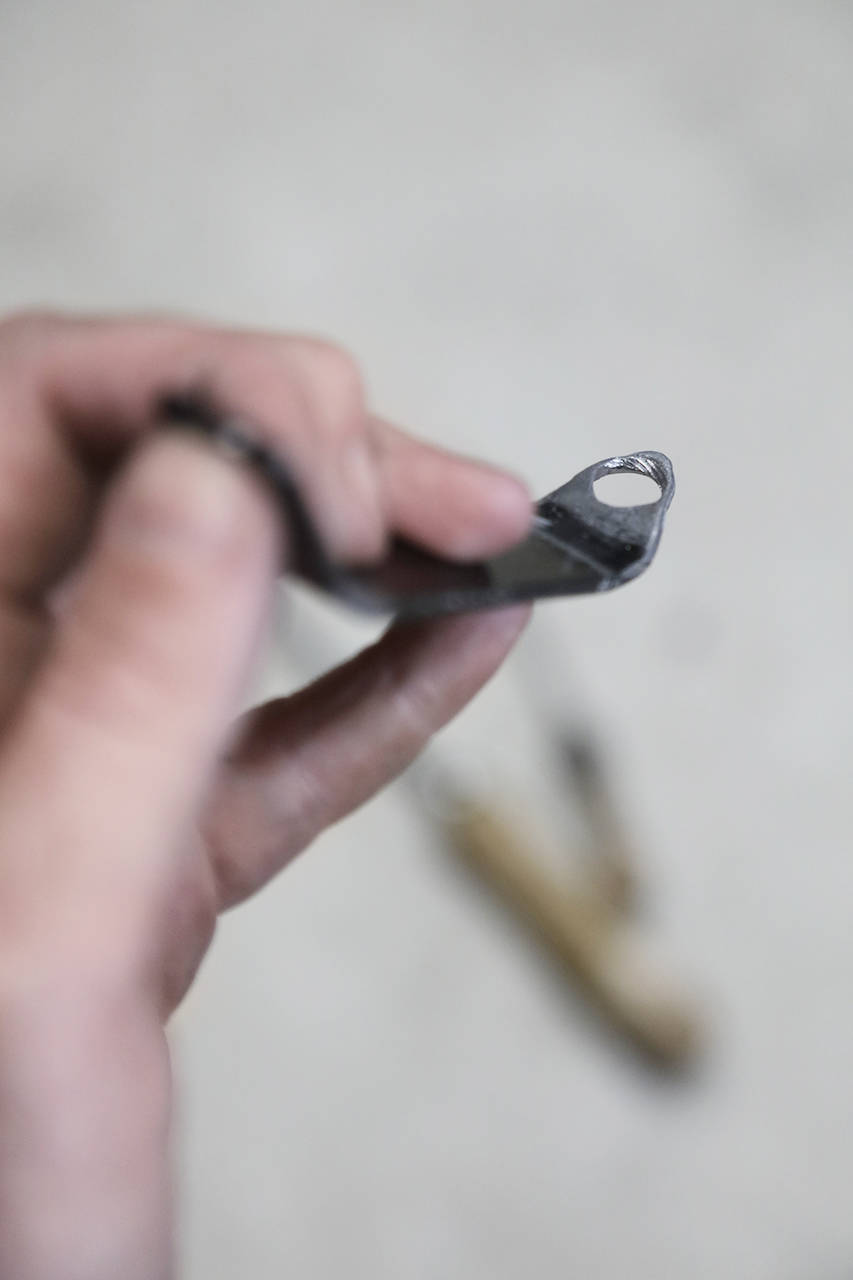
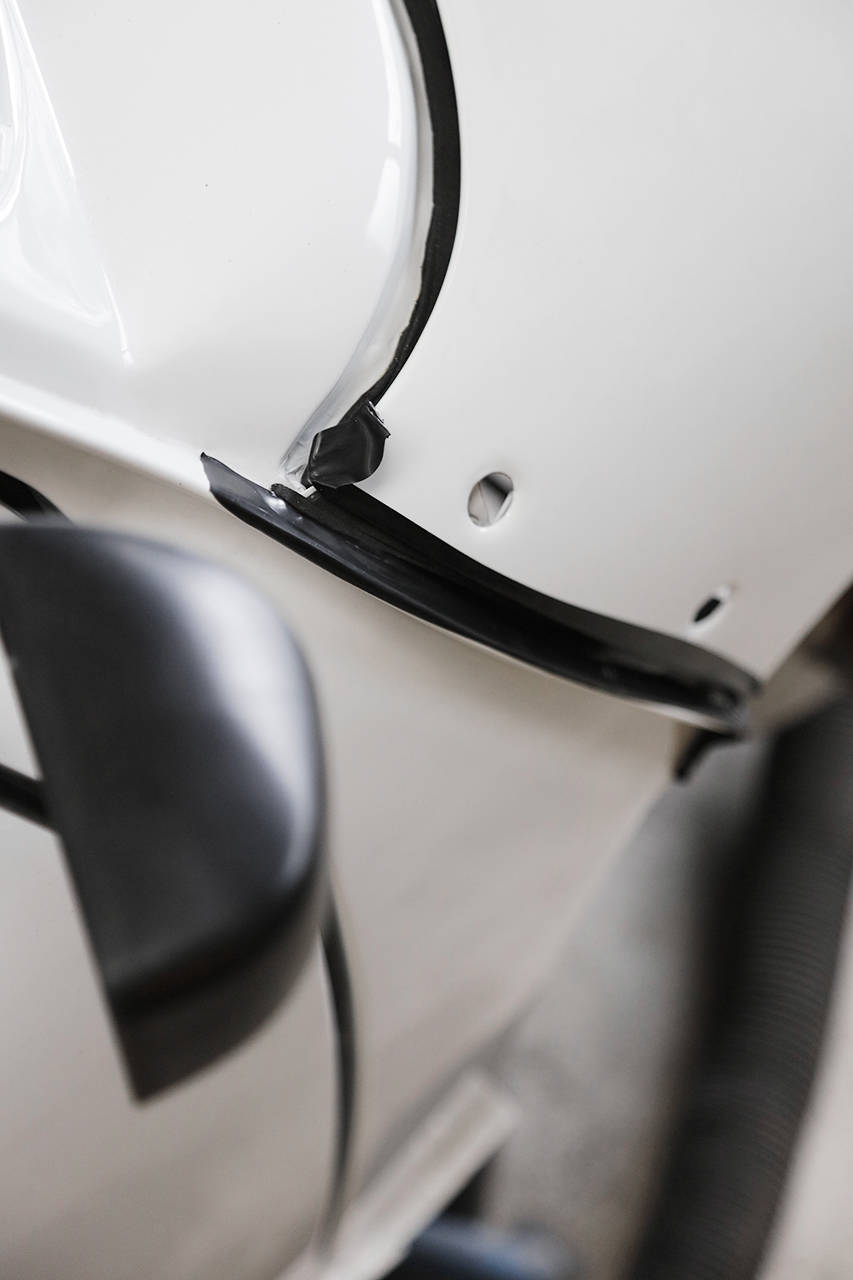
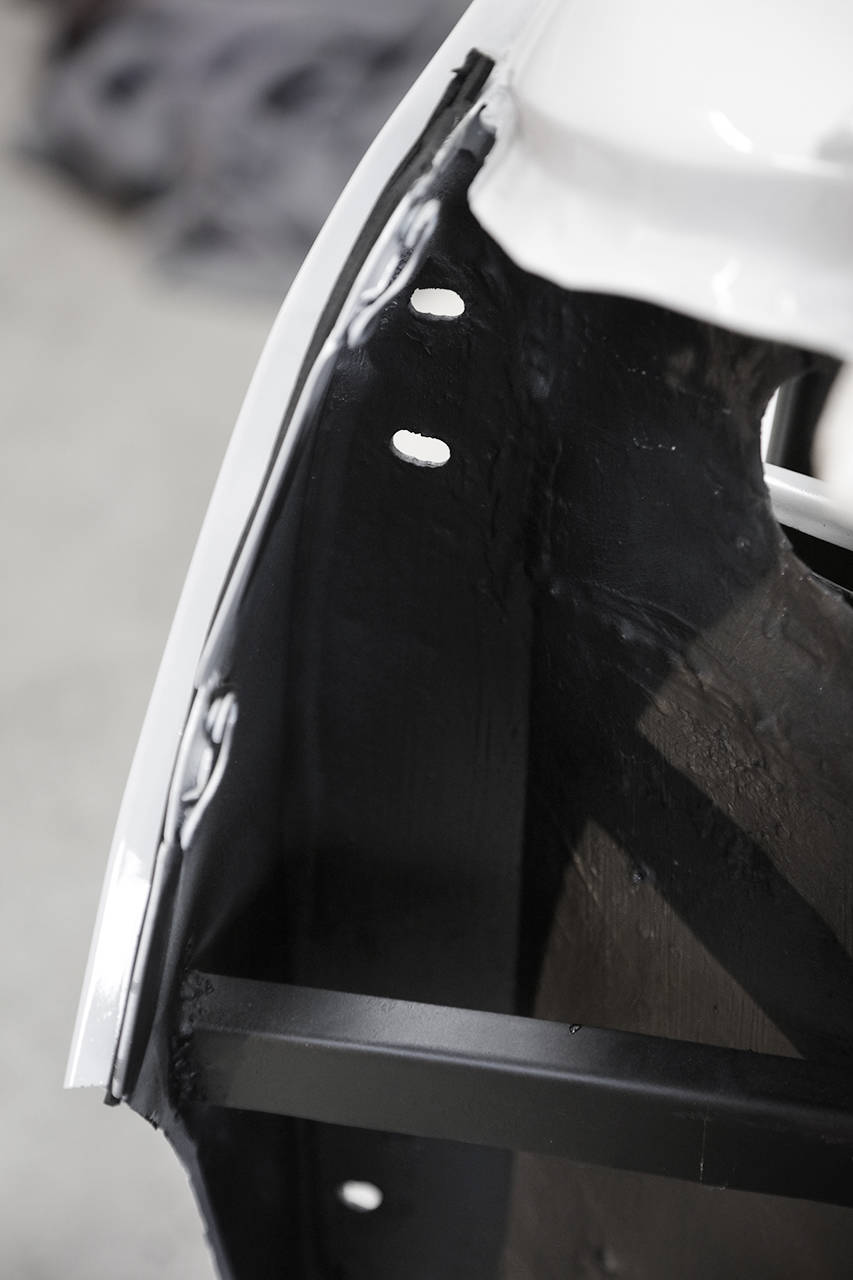
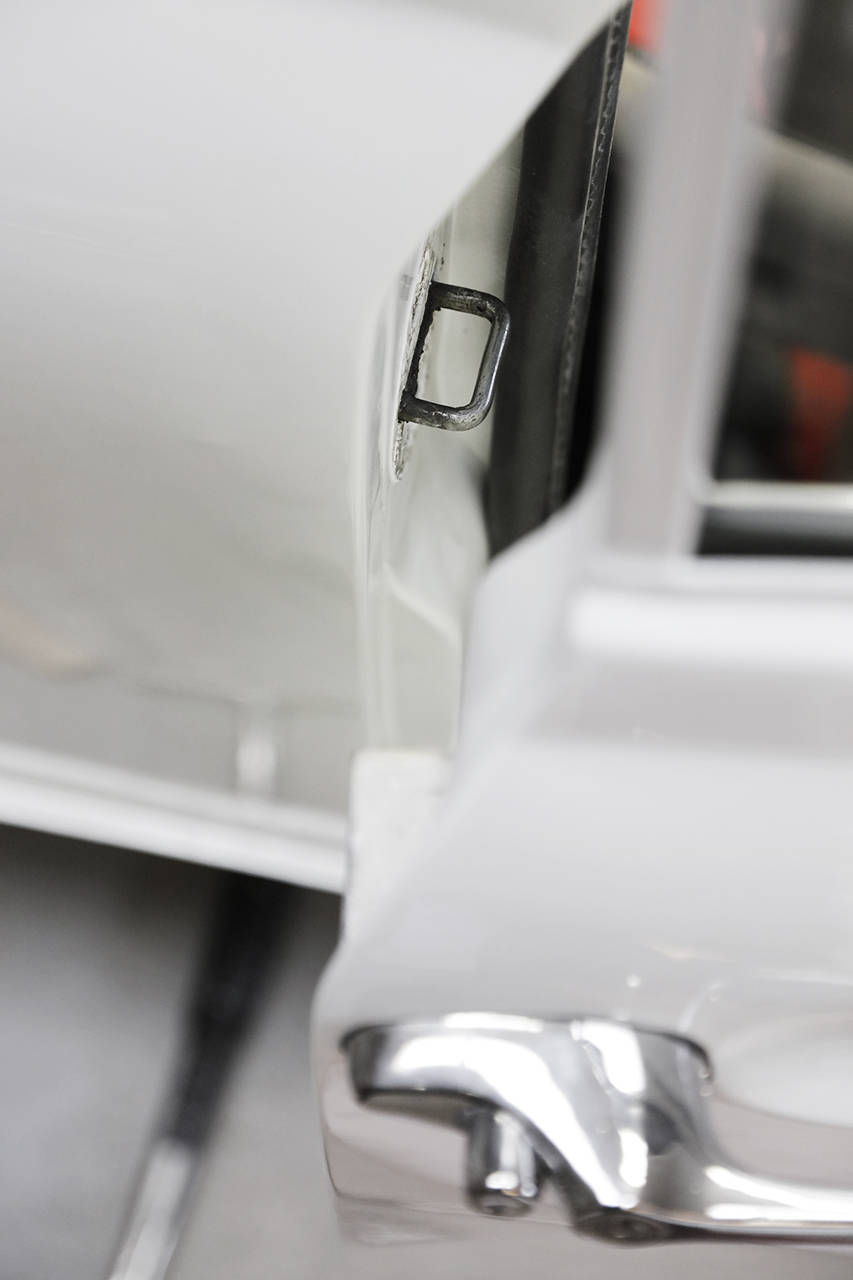
Two adult people standing and scratching their scalps. Uh. What do we do now? The door fit perfectly before painting. Then we realized that it must have been the lower hinge that caused the issue. We didn't have the new ones when we fitted the door before painting, and the original hinge had a significant play, no less than 4 mm (see pictures). No wonder the fit wasn't right. The new hinge pushes the door too far back at the bottom, causing the entire door to tilt upward.
What happened next? Well, we made 'shims.' One, two, three, four, and five spacers. Yep. We tried to space the upper hinge, but nope, still didn't work. We then realized that we had to cut off 9 mm of the new hinge and weld it back together. Smack. Now, what about now? No. It leaned much less now, but now the new bolts with rounded heads in the hinge caught, making it impossible to close completely. We switched to the old bolts. But nope, still couldn't close it. Something's wrong. Then it was the door hitting the A-pillar. Hmm. So we made more "shims." And only now could we close the door. Now we just needed to "fine-tune" the fit. More shims. And finally, it was in place with evenly distributed gaps all around the door.
The door lock's position was adjusted, and when the door is now closed, it looks even and nice between the door and the rest of the body. Finished! It took us 4 hours to install/remove the right door three times, and the left door wasn't spot on until after six attempts. Goodness. "-Beware of the madmen, the madmen are closing!" So true, the madmen were tearing their hair out, but the doors barely closed at first, haha!
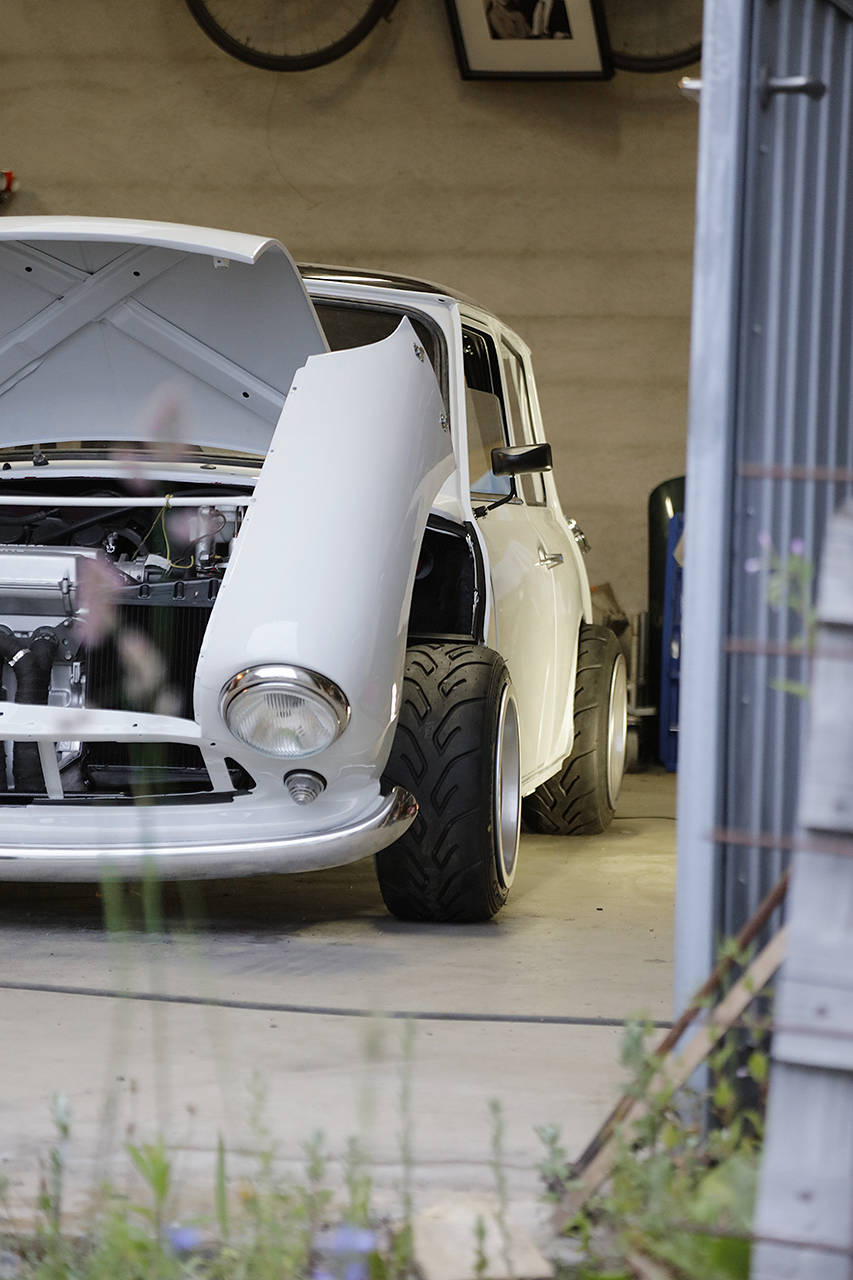
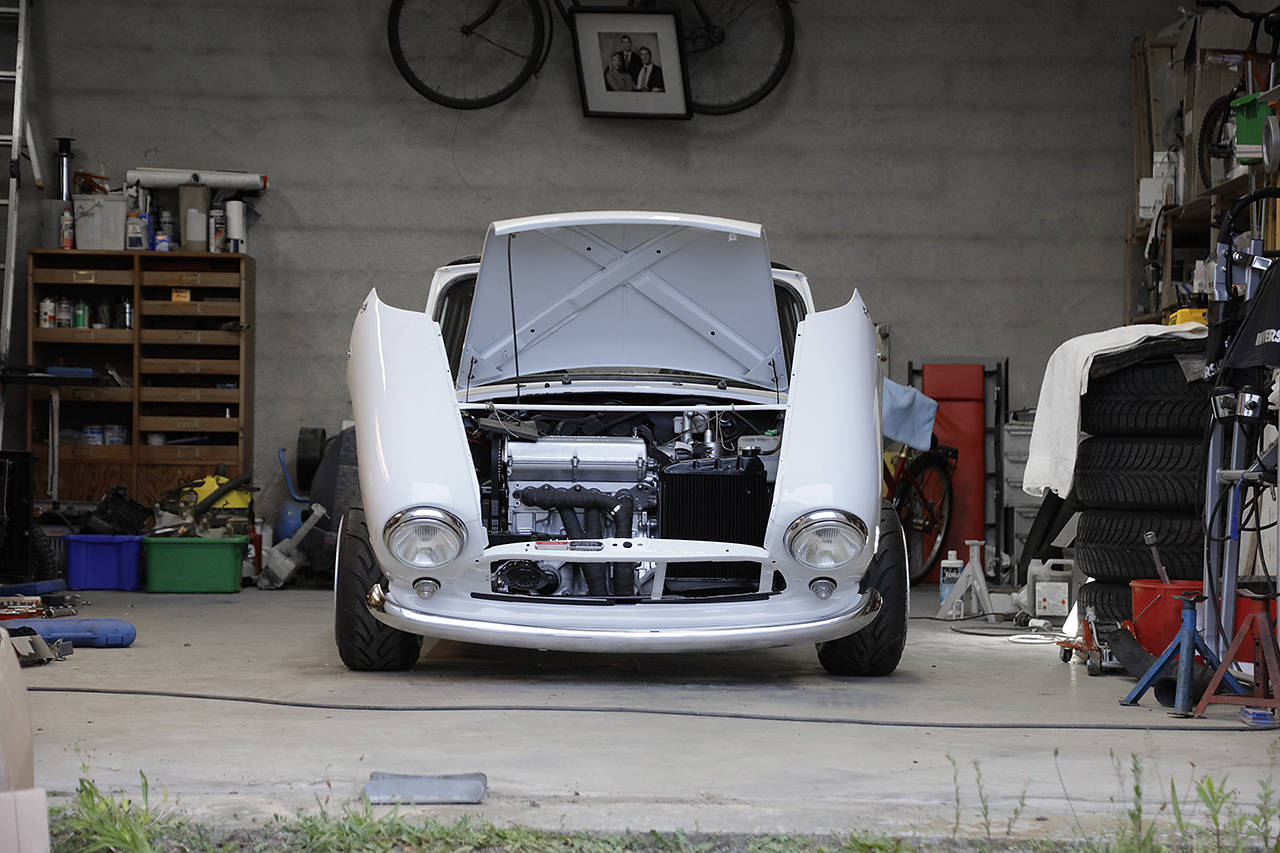
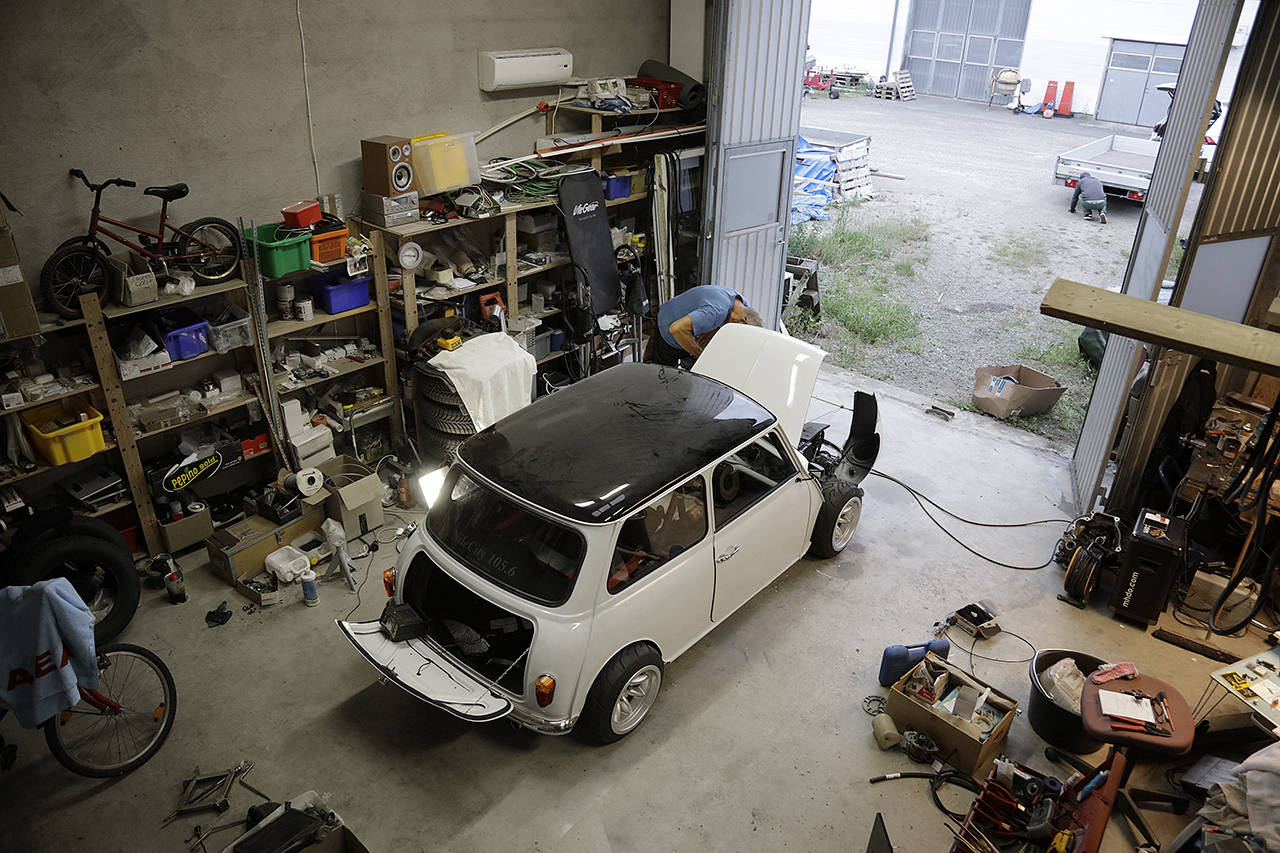
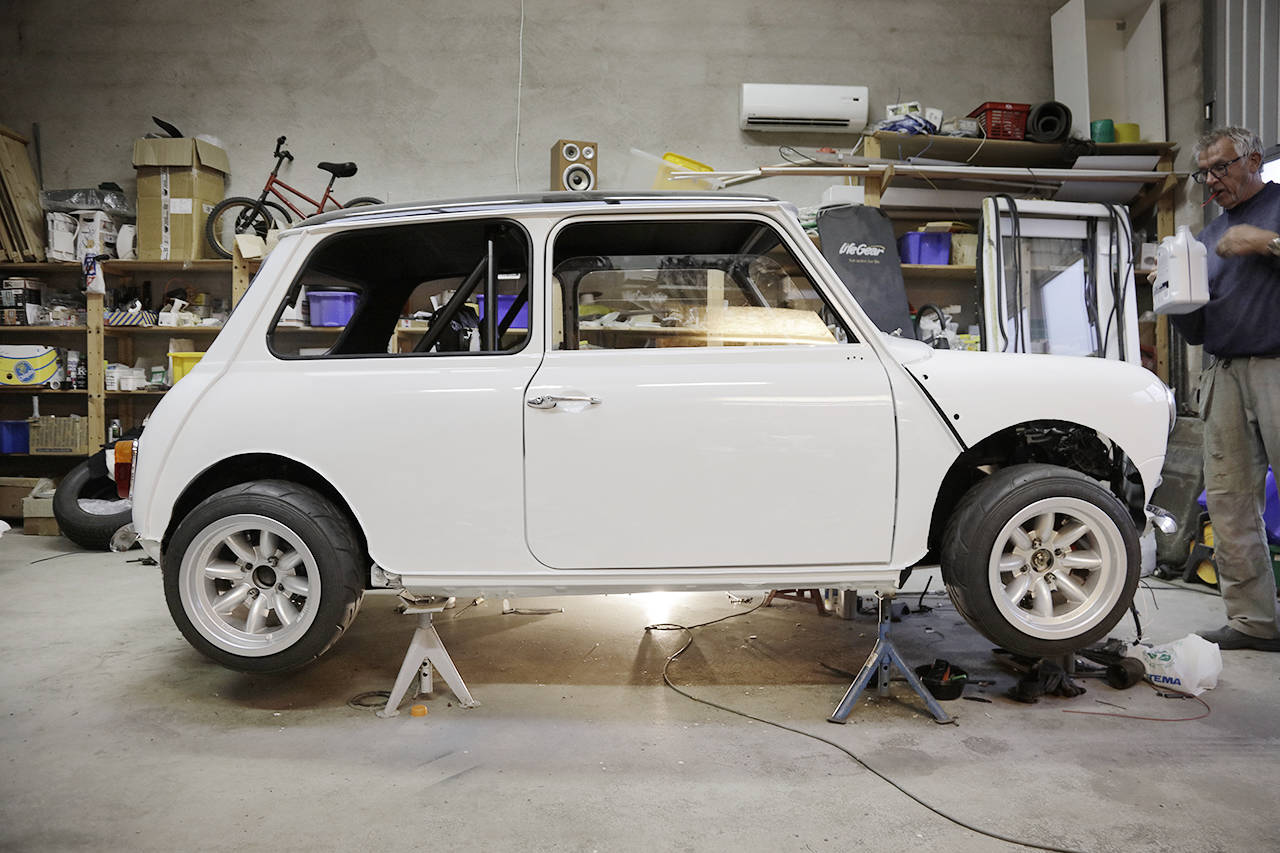
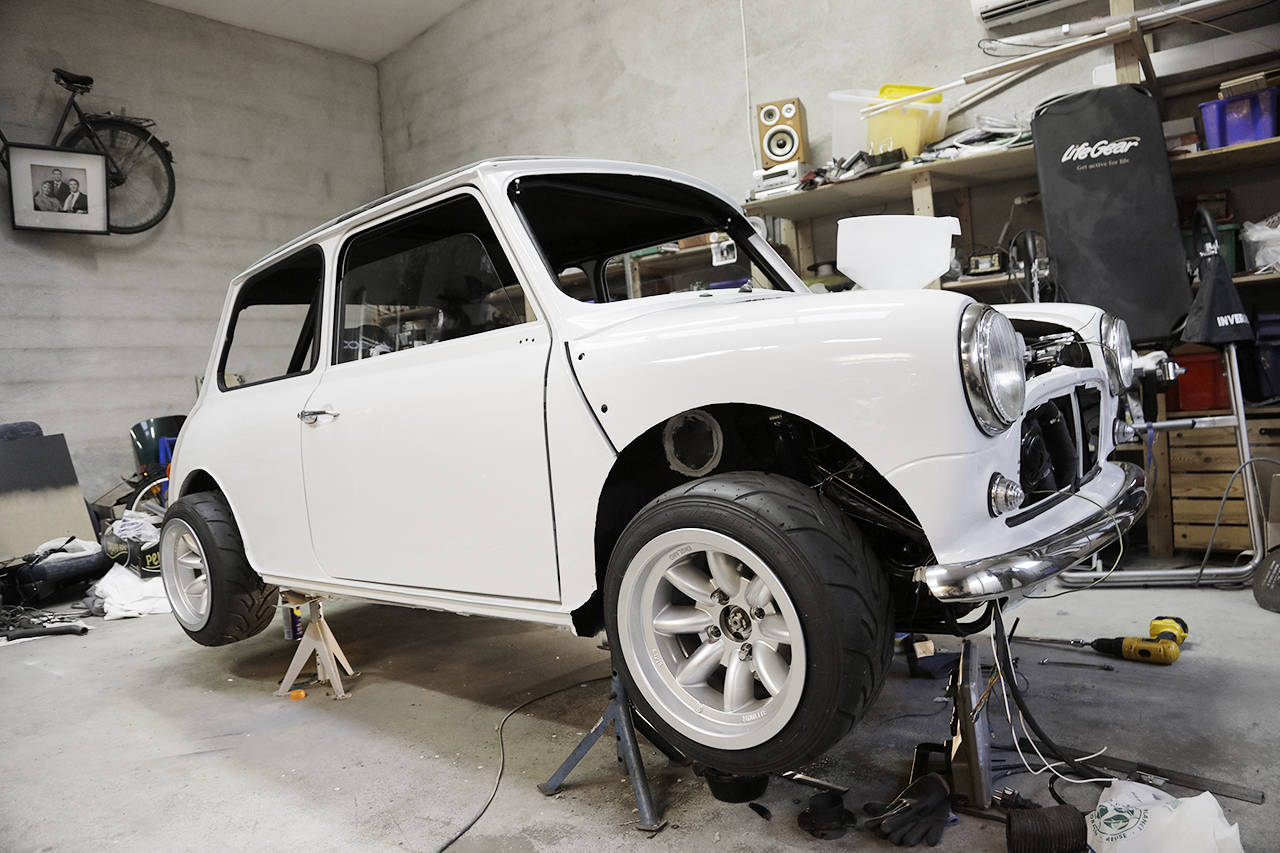
Finally, I just had to lower the flipfront and put on the wheels to see the big picture, and I like it! The tires do hang down a bit despite our "stops," so the car will probably be 10 cm (4") lower when lowered to the ground.
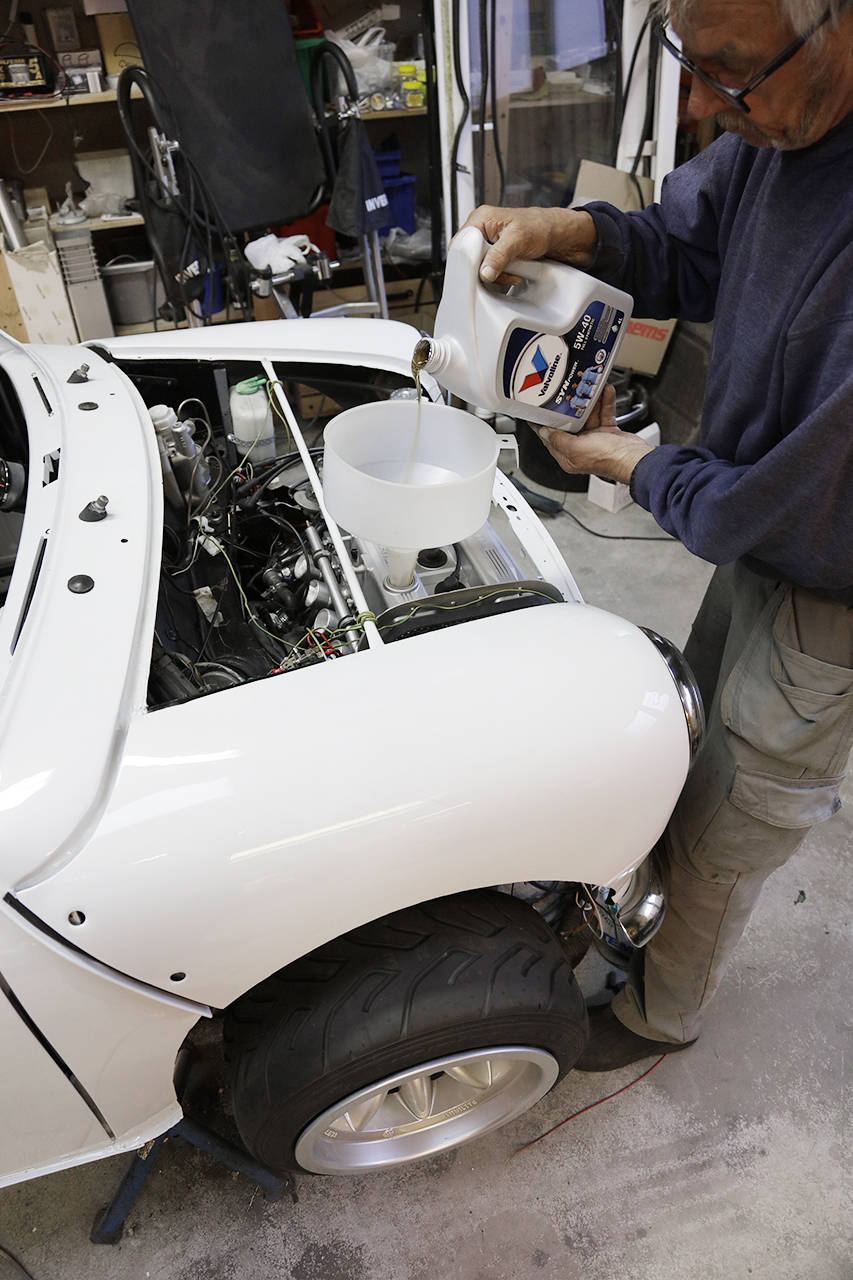
It was around 19:00, but my dad couldn't resist while I cleaned up. He poured in motor oil, and we didn't see any immediate oil leakage, which we were grateful for. He connected various wires to a battery and tested the headlights and turn signals. Hooray!
The next visit will be made shortly to check off even more items and thus approach the startup.
![https://www1.garaget.org/gallery/images/219/218366/218366-eead30a3f559f2265e791ac310dd8236.jpg]()
![https://www1.garaget.org/gallery/images/219/218366/218366-cb2b4c29416727e9dee74a5e1a460815.jpg]()
![https://www1.garaget.org/gallery/images/219/218366/218366-fd23bfe6c54ebc33316e5c25caa135cf.jpg]()
![https://www1.garaget.org/gallery/images/219/218366/218366-cf5ec39611075bf46d9dce4e22734d43.jpg]()
![https://www1.garaget.org/gallery/images/219/218366/218366-2cde9b67f1baab0db15d4fe77d1d6d4d.jpg]()
![https://www1.garaget.org/gallery/images/219/218366/218366-99ff1a07298def3c7608d5e58d2af00b.jpg]()
![https://www1.garaget.org/gallery/images/219/218366/218366-29ffe9caad7a123330756c51b04a569b.jpg]()
![https://www1.garaget.org/gallery/images/219/218366/218366-46fbb32fd2aa9e5d1398dcc0ddafcaf0.jpg]()
![https://www1.garaget.org/gallery/images/219/218366/218366-b7229742d6c63404813e7a6308aab963.jpg]()
![https://www1.garaget.org/gallery/images/219/218366/218366-4caa67df083496778c834f87dfd7b3e1.jpg]()
![https://www1.garaget.org/gallery/images/219/218366/218366-94f2a35c434b157c403b93a67be89be9.jpg]()
![https://www1.garaget.org/gallery/images/219/218366/218366-70d03dab2004286a460d465520844b83.jpg]()
![https://www1.garaget.org/gallery/images/219/218366/218366-feb5c59977b5902f612f31e015fde11b.jpg]()
![https://www1.garaget.org/gallery/images/219/218366/218366-33997e93d0e055a3181f927d2bc47707.jpg]()
![https://www1.garaget.org/gallery/images/219/218366/218366-9730c0451721501f276266af58d86f92.jpg]()
![https://www1.garaget.org/gallery/images/219/218366/218366-6f15619deeb4792abe411fbe9d5acc73.jpg]()
![https://www1.garaget.org/gallery/images/219/218366/218366-5b56c48cf35cc7795b859a3a6eb62cfc.jpg]()
![https://www1.garaget.org/gallery/images/219/218366/218366-b6417f4e9248c7a357aa1e0a8bbfcdc5.jpg]()
![https://www1.garaget.org/gallery/images/219/218366/218366-dcd4be1d369f1eca2c97c9ca5f035ec4.jpg]()
![https://www1.garaget.org/gallery/images/219/218366/218366-a38a1f4d4299a5c91dd0abdd62ce18a2.jpg]()
![https://www1.garaget.org/gallery/images/219/218366/218366-365f7f38d2d7d514412d2775884e332b.jpg]()
![https://www1.garaget.org/gallery/images/219/218366/218366-f5e0a3dd057c54c88364da4f3dfdbd69.jpg]()
![https://www1.garaget.org/gallery/images/219/218366/218366-b5c61a79b1dca7a9e7f1dd28b522775a.jpg]()
![https://www1.garaget.org/gallery/images/219/218366/218366-2bda26f992745cfa5ef04ff6c9132b19.jpg]()
![https://www1.garaget.org/gallery/images/219/218366/218366-29ef8dbde13499ff0dc1d6e0492a75ba.jpg]()
![https://www1.garaget.org/gallery/images/219/218366/218366-0d265fb5b3044630b197723e492545c5.jpg]()
![https://www1.garaget.org/gallery/images/219/218366/218366-e5392b56be269ec301c4b1b559d0f025.jpg]()
![https://www1.garaget.org/gallery/images/219/218366/218366-50cbdbe093f0f81fdcd6013a0e569be6.jpg]()
![https://www1.garaget.org/gallery/images/219/218366/218366-a2e0fe9f89a0893d04c5dc64e3bc33ae.jpg]()
![https://www1.garaget.org/gallery/images/219/218366/218366-ffb4d0329587e7fc9c8abc26f7ee973c.jpg]()
![https://www1.garaget.org/gallery/images/219/218366/218366-ecc8b84dfc083ffa609682561a7d9e7f.jpg]()
![https://www1.garaget.org/gallery/images/219/218366/218366-93d8ae059bb5d8302af208ca688a72f1.jpg]()
![https://www1.garaget.org/gallery/images/219/218366/218366-2d8af93c182434754b50f017b9a593d0.jpg]()
![https://www1.garaget.org/gallery/images/219/218366/218366-52a88e860b6b3ecae44426499e5878be.jpg]()
![https://www1.garaget.org/gallery/images/219/218366/218366-24e314df2fe6f6e05faf3f644fa95c82.jpg]()
![https://www1.garaget.org/gallery/images/219/218366/218366-ea8d30d2a8e5ebdcd946b48f6ad5ef47.jpg]()
![https://www1.garaget.org/gallery/images/219/218366/218366-a8d93f15424f6d7e14393456eba3ed91.jpg]()
![https://www1.garaget.org/gallery/images/219/218366/218366-3b262f6db8d18a4095a686904dc7d04e.jpg]()
![https://www1.garaget.org/gallery/images/219/218366/218366-238f1869638b7193080357305e7c571d.jpg]()
![https://www1.garaget.org/gallery/images/219/218366/218366-f9e306a9779a032971f4415a4b7d4bf1.jpg]()
![https://www1.garaget.org/gallery/images/219/218366/218366-94d0f764b587b86f62558d1303ff1ab7.jpg]()
![https://www1.garaget.org/gallery/images/219/218366/218366-6deee93d0d13e700e3ba0d04637778b3.jpg]()
![https://www1.garaget.org/gallery/images/219/218366/218366-6331a8292c6ecb8ea3c511666a40e0dd.jpg]()
![https://www1.garaget.org/gallery/images/219/218366/218366-045d4f4c1fe27eafcae637fad9584257.jpg]()
![https://www1.garaget.org/gallery/images/219/218366/218366-348feb036b21bea9356ff7058abd3934.jpg]()
![https://www1.garaget.org/gallery/images/219/218366/218366-7ee10953bb0600ab8d73ae2fa92cc053.jpg]()
![https://www1.garaget.org/gallery/images/219/218366/218366-bdd6729b18e1b99f6fd8553f6b60f26a.jpg]()
![https://www1.garaget.org/gallery/images/219/218366/218366-1c12e63b82916149cac805a1aec6db18.jpg]()
![https://www1.garaget.org/gallery/images/219/218366/218366-fe94936afef29143d64895ed516b6262.jpg]()
![https://www1.garaget.org/gallery/images/219/218366/218366-38170e64be80bf8655a797d55a9544e9.jpg]()
![https://www1.garaget.org/gallery/images/219/218366/218366-501cd0b2b01c9c7b4e6ddf70f4069f94.jpg]()
![https://www1.garaget.org/gallery/images/219/218366/218366-3ba5ecae8f5723003501874b277a5377.jpg]()
![https://www1.garaget.org/gallery/images/219/218366/218366-0c7401e93fe4df930630ea26f85aa15c.jpg]()
![https://www1.garaget.org/gallery/images/219/218366/218366-d0f67faac2b43bd8f21a33c38353270c.jpg]()
![https://www1.garaget.org/gallery/images/219/218366/218366-a7df11dad15983f23ce29408524e6a85.jpg]()
![https://www1.garaget.org/gallery/images/219/218366/218366-3d3e4577f3404e32888dcdd8a894e265.jpg]()
![https://www1.garaget.org/gallery/images/219/218366/218366-4ca33e8775e212daa772f0db4a27ee44.jpg]()
![https://www1.garaget.org/gallery/images/219/218366/218366-55f3e98675df20824ec28f098f48cef9.jpg]()
![https://www1.garaget.org/gallery/images/219/218366/218366-1226d3a1b81a44fd101a4405df10ce77.jpg]()
![https://www1.garaget.org/gallery/images/219/218366/218366-f8e82bbcb8b26c09e0c7c0b1c585e883.jpg]()
Väl på plats så åkte nya gångjärnen på plats med en gång. Därefter satte jag igång med att finjustera de sista bitarna dämpmattor i den övre delen av instrumentpanelen. Är ju lite trixigt att få rätt på och det där spraylimmet fäster ruggigt snabbt och bra.
Friskluftsintagen såg lite risiga ut då kromet hade släppt av många års slitage. Efter maskering och snabb sprayning så var de nästan som nya igen.
Fästena till den nya backspegeln som ska sitta på övre delen av buren (delen mellan A-stolparna) måste justeras med distanser då diametrarna på burrör och fästena dessvärre inte stämde.
Och förra helgen fick jag ju nöjet att återuppleva minnen när jag fick åka med i grannens koja från 1998 (fortfarande den gamla designen). Gott om plats i kupén. Konstaterade att det är hela 126 cm mellan trösklarna (som visas på bilden) och 113 cm mellan B-stolparna i axelhöjd. Men av någon konstig händelse så känns kupén ändå rymlig.
Mattan går inte hela vägen upp till instrumentpanelen i ordinarie utförande eftersom den enorma fläkten skymmer. När nu denna har ersatts så ser man dämpmattan. Så det blev till att skära ut och finjustera en kartongbit och sen skära ut motsvarande mattbit. Inte helt lätt då den sista mattbiten jag hade var precis för liten så jag vände och vred på kartongbitarna i ett tappert försök att få ut två bitar. Fick offra en liten hörna på en av bitarna men den nya fläkten skymmer turligt nog detta.
Nu var klockan runt lunch och farsan hade kommit tillbaka från en tur med husbilen norröver. Glädjande då vi numera var två och kunde gå vidare med att montera dörrarna. Ska bara påminna att de nya dörrarna monterades och injusterades/riktades i dörrhålen innan lackering med utmärkt passform. Dock med de gamla gångjärnen eftersom de nybeställda var restade i UK. Jag tror också att dörrarna är det näst tyngsta efter motorn på bilen. Jösses. Och jag kan inte påstå att det är sidokrockskydden som väger en massa då något sådant inte finns. Inga fancy sidokrockkuddar heller för den delen. Men när passagerardörren väl var på plats så, ehh, hmm... satt den inte bra. Ojämna glipor och så satt den snett. Men vi hade resurser. Vi hade distanser i form av rektangelformade plåtbitar. Efter många om och men tvingades vi använda alla distanser för att få rätt på passformen på passagerardörren. Vi fick lyfta på och av den tre gånger dock. Tålamodsprövande inpassning. Men om jag inte mindes fel så skulle förardörren sitta riktigt bra (snug fit som britterna hade sagt) utan några som helst användning av distanser.
Dörrlåset synkade inte riktigt med haspen eller vad det heter så vi fick justera placeringen av haspen något. Som tur fanns det gott om justeringsmån. Men vi tvingades justera ytterligare. Med en rundfil. Och så satt dörren perfekt.
Bra. Nu blir det lättare med vänsterdörren. Oh boy, we were so wrong. De nya gångjärnen var tvungna att kapas lite i hörnen för att kunna klämmas in vid A-panelen mot fästpunkterna. Det var ju förstås lite bökigt och vi slipade dem när de satt på plats. Skyddade dörrlacken dock.
Sen gick det lätt att montera dörren men när vi skulle stänga den så... ehh... liknade dörröppningsmekanismen på nya Koenigsegg Gemera (Automated twisted synchrohelix actuation doors) då dörren lutade ca 10 grader i bakkant vilket gjorde att dörrens ovansida till och med var ovanför takets dropplist. Galet. Hur kunde det bli så här?
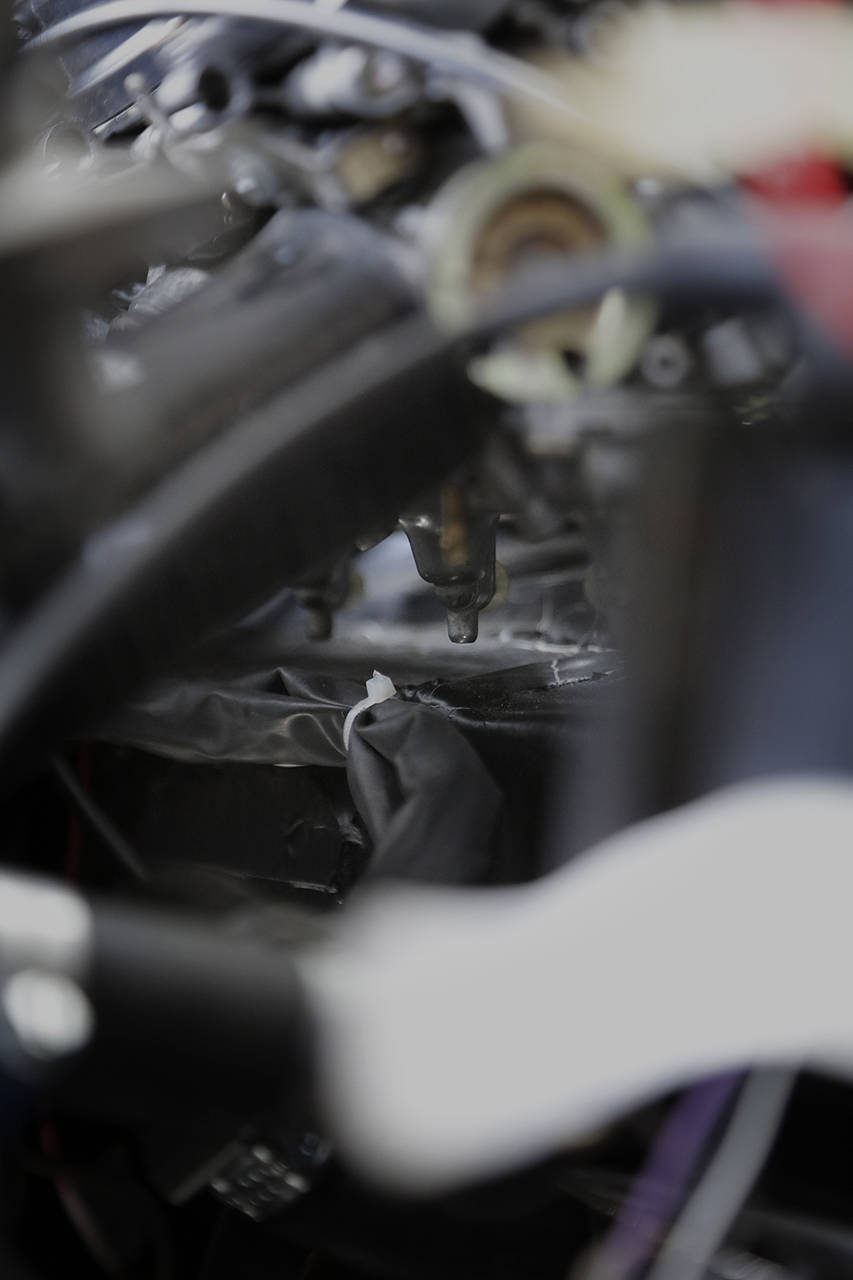
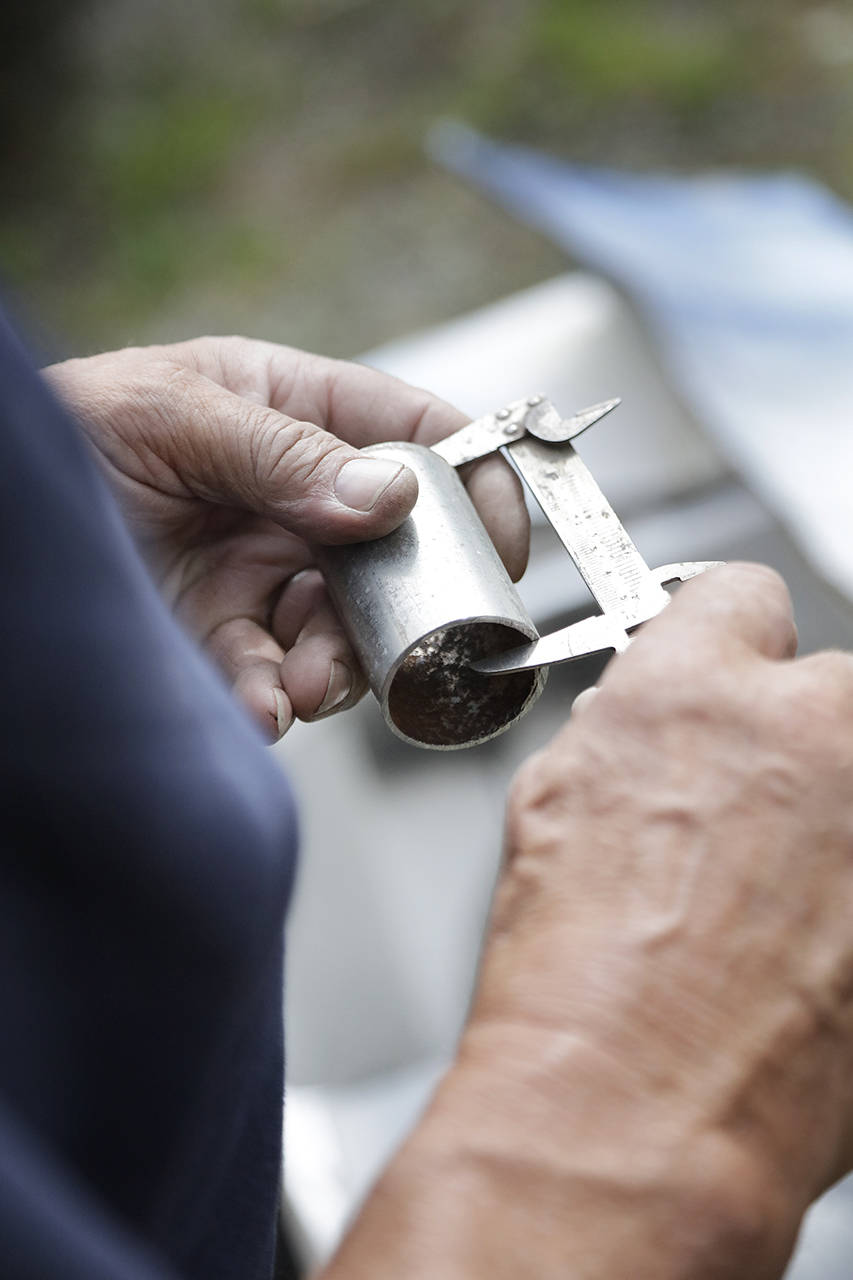
Två vuxna människor står och kliar hårbotten. Ehh. Vad gör vi nu? Dörren satt ju perfekt innan lackering. Sen insåg vi att det måste ha varit det nedre gångjärnet som ställde till det. Vi hade ju inte de nya när vi passade in dörren innan lackering och originalgångjärnet hade ett rejält glapp, inte mindre än 4 mm (se bilder). Inte konstigt att passformen inte stämde. Det nya gångjärnet skjuter alltså dörren för långt bak i nederkant vilket får hela dörren att tippa uppåt.
Hur gick det sen? Jo, vi tillverkade shims. En, två, tre, fyra och fem distanser. Japp. Vi provade att distansera det övre gångjärnet, men nix, funkade ändå inte. Vi insåg då att vi var tvungna att kapa av 9 mm av det nya gångjärnet och svetsa ihop det igen. Smack. Nu då? Njet. Det lutade bra mycket mindre nu men nu tog de nya bultarna med rundade skallar i gångjärnet så att det inte gick att stänga helt. Bytte till de gamla bultarna. Men nope, gick inte att stänga ändå. Något spökar. Då var det dörren som tog i A-stolpen. Därav kunde vi inte få igen dörren. Den stod öppen 10 cm i bakkant och helt omöjlig att pressa igen. Aha, det var det kortade gångjärnet som gjort att dörren förskjutits framåt och därmed tog i A-stolpen. Hmm. Så vi tillverkade fler shims. Och först nu kunde vi stänga dörren. Nu skulle vi bara finjustera passformen. Fler shims. Och nu äntligen satt den på plats med jämnt fördelade glipor runtom dörren.
Dörrlåsets placering justerades och när dörren nu är stängd så ser det jämnt och fint ut mellan dörr och övrig kaross. Färdiga! Det tog oss 4 timmar att montera/demontera högerdörren tre gånger och vänsterdörren blev inte klockren förrän efter sex försök. Jösses. -Se upp för dårarna, dårarna stängs!. Så sant så, dårarna slet sitt hår men dörrarna stängdes knappt till en början, haha!
Slutligen var jag ju bara tvungen att fälla ner flipfronten och skruva på hjulen för att se helhetsbilden, and I like it! Däcken hänger förvisso ner litegrann trots våra stopp, så bilen blir nog 10 cm lägre när den sänkts ner på marken.
Klockan var strax 19 men det kliade i farsans fingrar medan jag städade undan. Han hällde i motorolja och vi såg inget omedelbart oljeläckage vilket vi var tacksamma för. Han kopplade diverse sladdar till ett batteri och testade halvljus och blinkers. Wehej!
Nästa besök görs inom kort igen för att bocka av ännu fler saker och därmed närma sig uppstart.
TRANSLATION
Reply to post: The idea behind a modification is precisely to require changes to make things work. That is, picking parts from the same model series is rarely approved, even if the function is different from what the car originally had.
As a classic example, directly fitting a multilink from a Volvo 960 onto a 940 is almost never approved because it's considered to require too little modification.
Of course, there are exceptions, and it depends a lot on how much the rest of the car has been modified.
Unfortunately, SFRO doesn't have the final say; it's the Swedish Transport Agency and the inspection that do. And we can probably figure out with the little toe how much they care about how things work, smiling.
Impressive build, by the way. It doesn't seem like a small job to swap an engine in a Mini, big_smile. Requires 'a bit' more work than dropping a T5a or T6a into a Volvo 2/7/900 series.
Reply to post: Hello Martin. Regarding the picture with the steering column, it might have been nice to install power steering from an Opel Corsa B? A really smooth electric power steering that comes with a pre-built potentiometer control on eBay at a low cost.
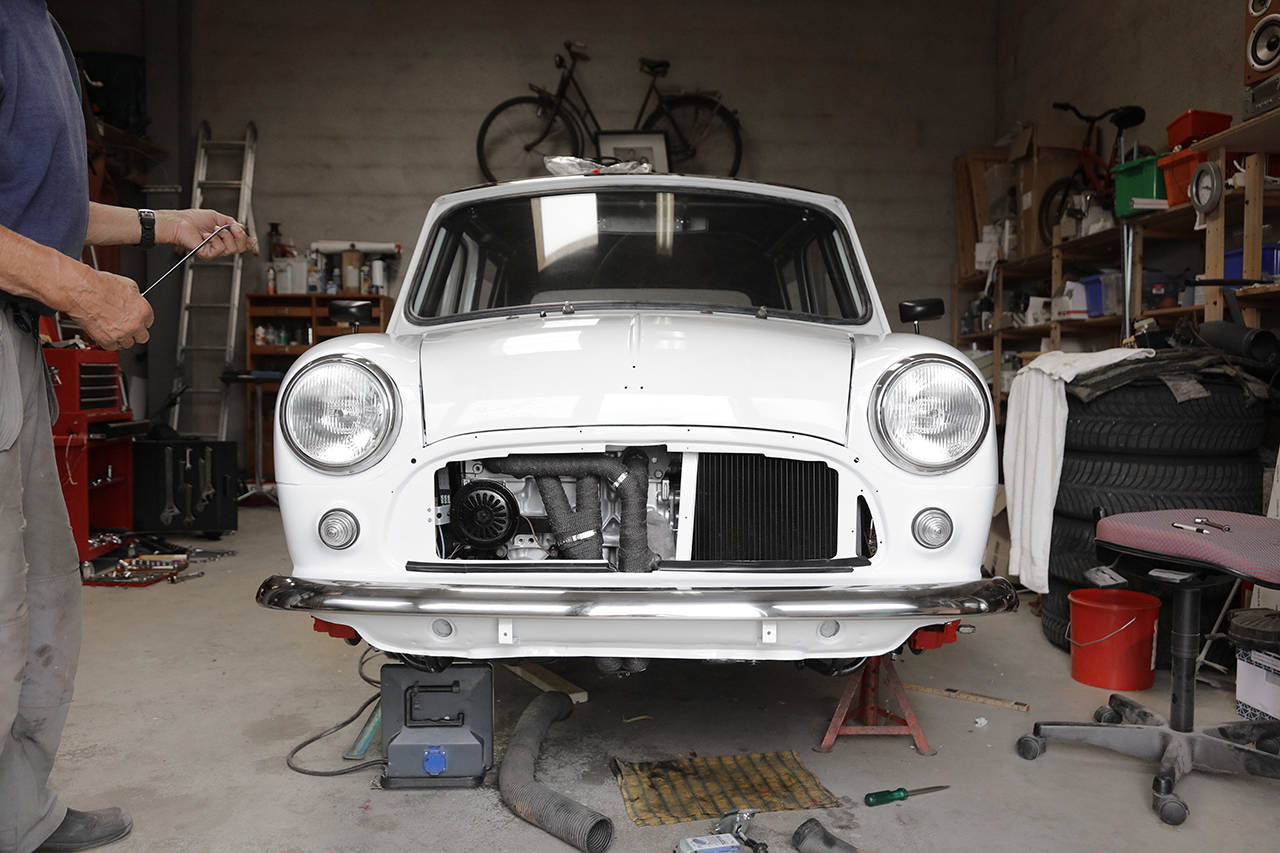
Sometimes you're lucky that the neighbor's slide is banging against the wall in the fresh winds at 4:40 AM. That way, you wake up earlier and can drive to the garage to work by 6:45.
Once there, the new hinges went on immediately. After that, I started fine-tuning the last bits of soundproofing mats in the upper part of the instrument panel. It's a bit tricky to get it right, and that spray adhesive sticks incredibly fast and well.
The fresh air intakes looked a bit worn as the chrome had worn off due to many years of use. After masking and a quick spray, they looked almost new again.
The brackets for the new mirror, which will be mounted on the upper part of the roll cage (between the A-pillars), needed adjustment with spacers since the diameters of the roll bars and the brackets unfortunately didn't match.
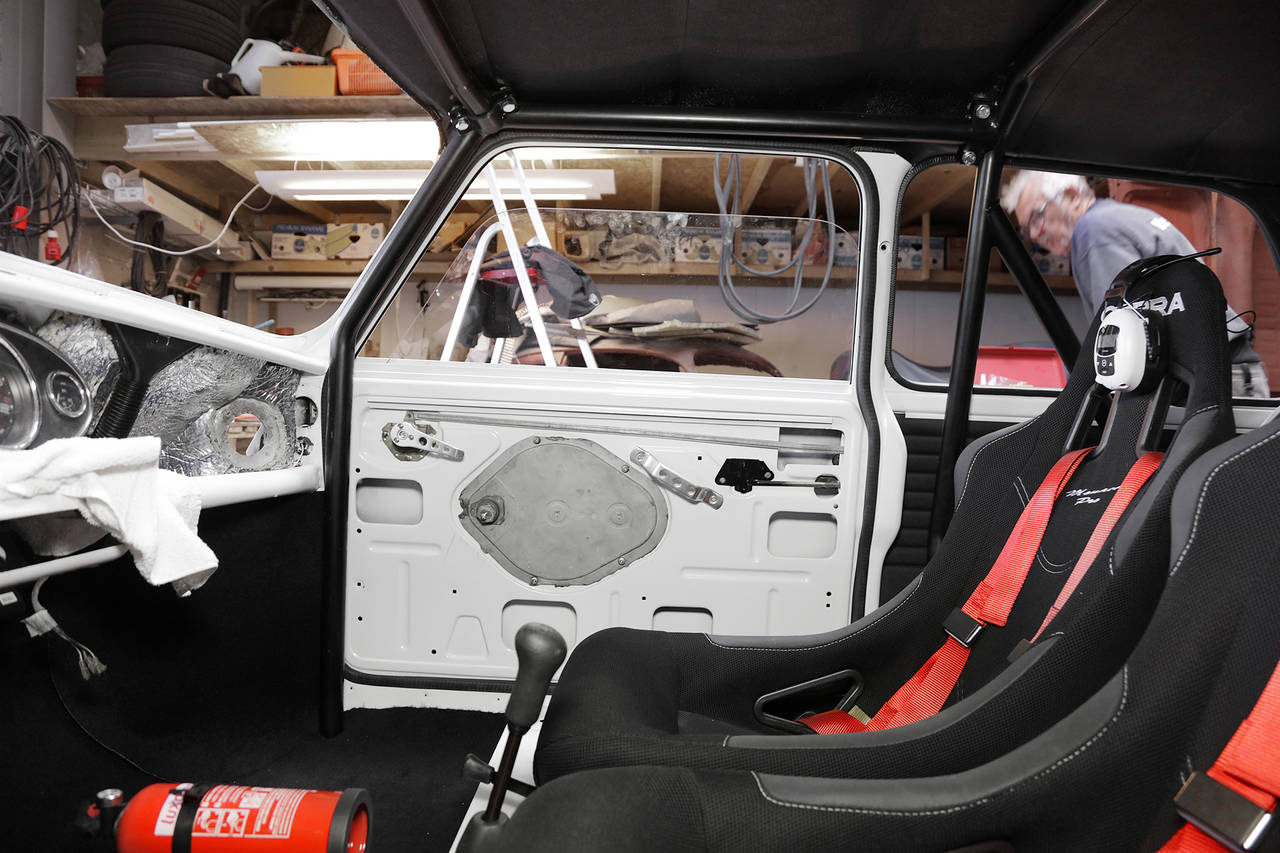
And last weekend, I had the pleasure of reliving memories when I got to ride in the neighbor's '98 Mini (still the old design). 'Plenty' of space in the cabin. I noted that there's a whopping 126 cm (50") between the sills (as shown in the picture) and 113 cm (45") between the B-pillars at shoulder height. But strangely, the cabin still feels spacious.
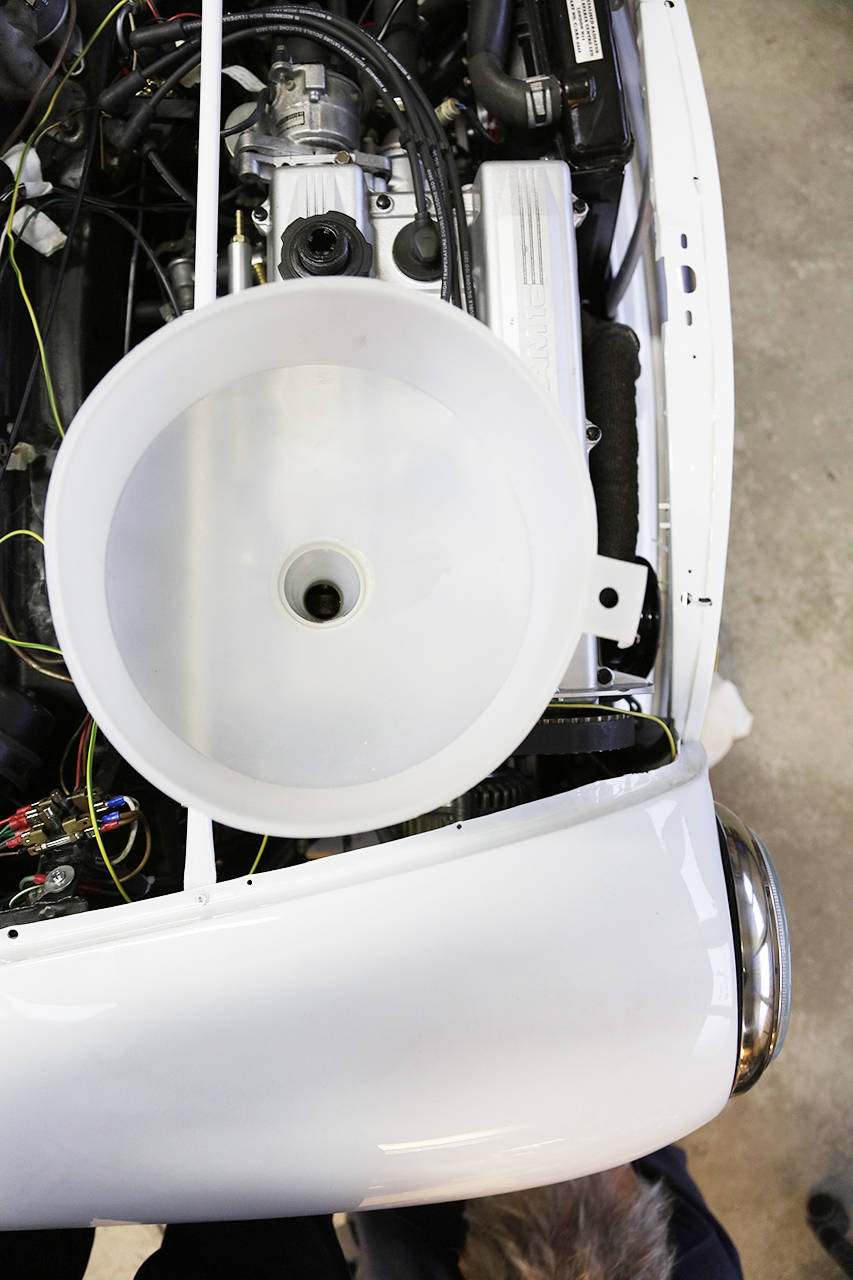
The mat doesn't go all the way up to the instrument panel in the regular design because the enormous fan obstructs it. Now that this has been replaced, you can see the soundproofing mat. So, I had to cut and fine-tune a piece of cardboard and then cut out the corresponding piece of mat. Not entirely easy since the last piece of mat I had was just too small. I twisted and turned the cardboard pieces in a brave attempt to get two pieces out. I had to sacrifice a small corner on one of the pieces, but fortunately, the new fan conveniently covers it.
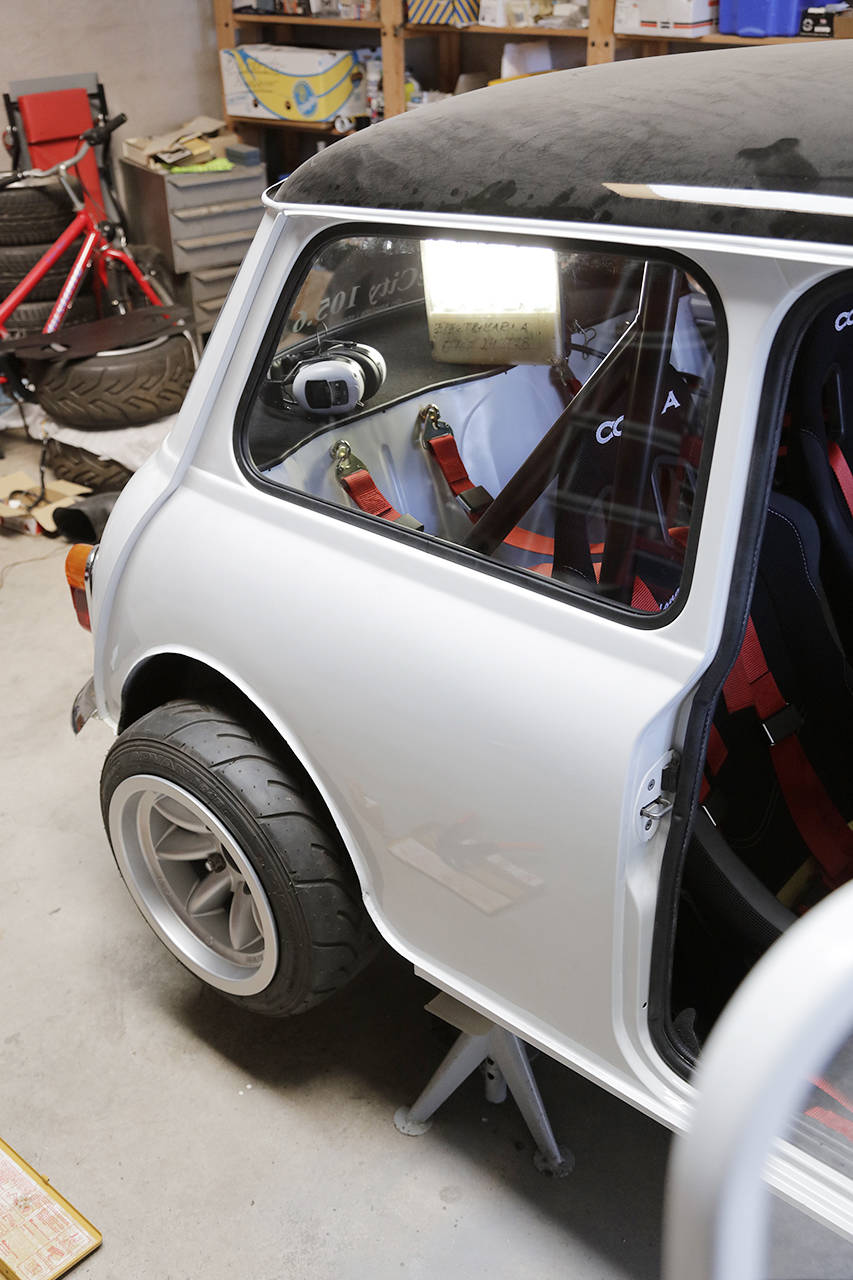
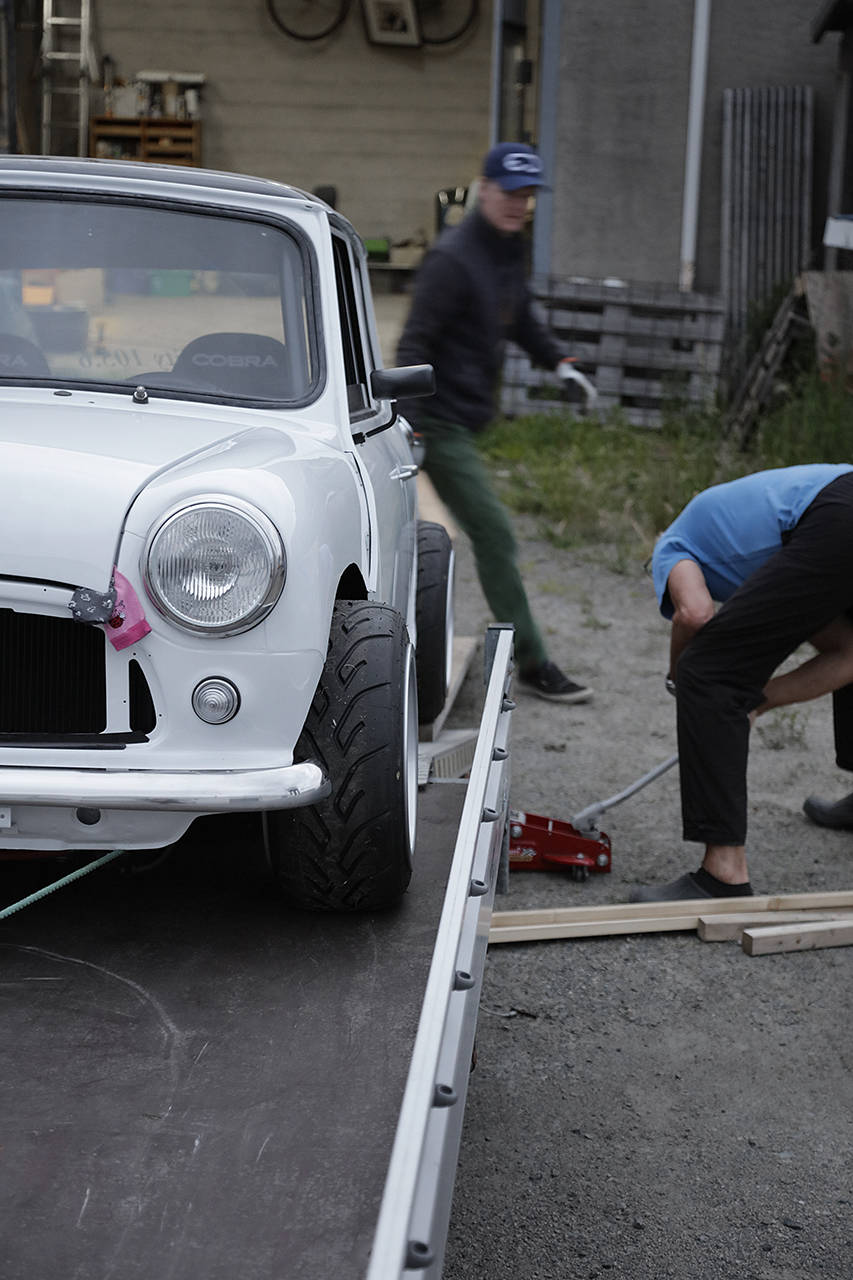
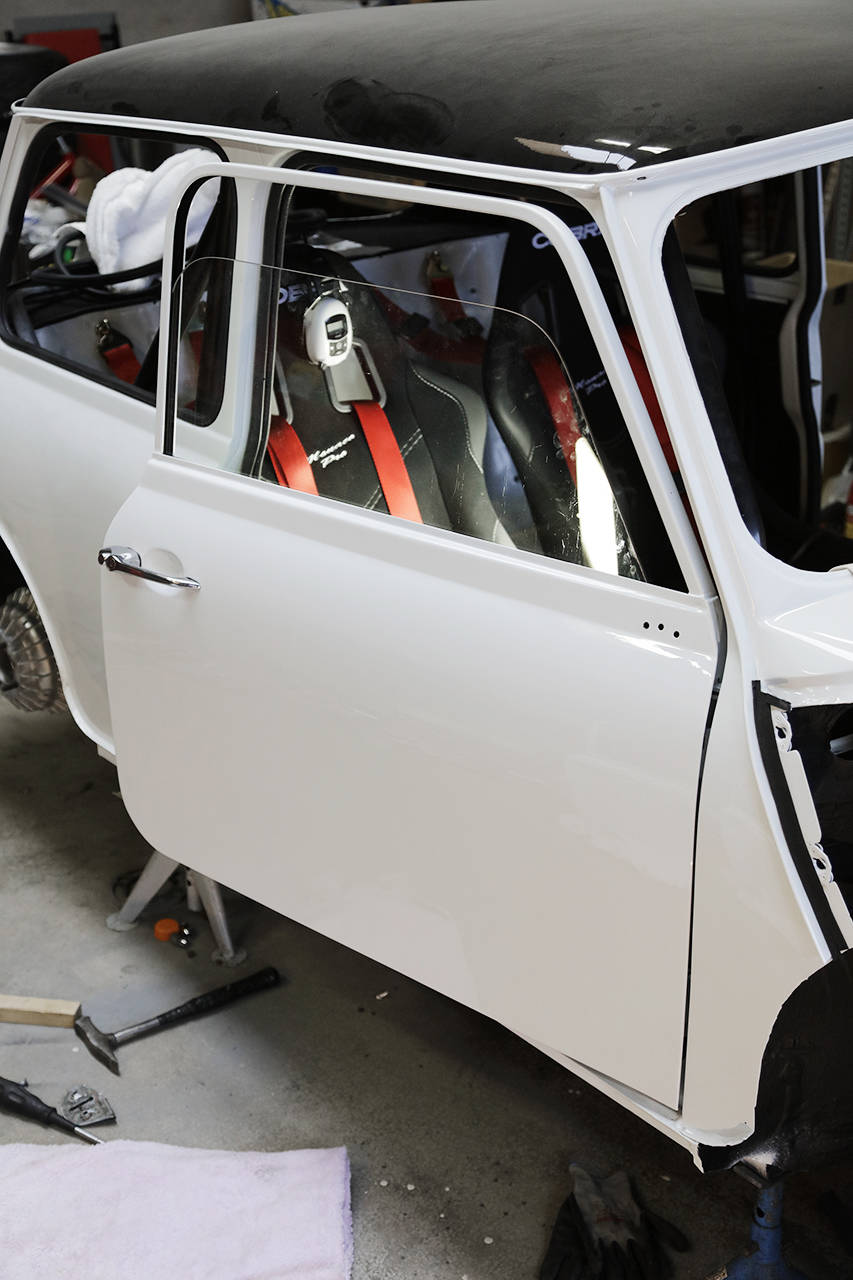
By now, it was around lunch, and my dad had returned from a trip with the camper northward. It was delightful since we were now two and could proceed to install the doors. Just a reminder that the new doors were installed and adjusted/aligned in the door openings before painting, with an excellent fit. However, with the old hinges since the newly ordered ones were on backorder from the UK. I also believe that the doors are the second heaviest component after the engine on the car. Goodness. And I can't claim that it's the side impact guards that weigh a lot since there is no such thing. No fancy side airbags either, for that matter. But when the passenger door was in place, uh, hmm... it didn't fit well. Uneven gaps, and it was crooked. But we had resources. We had spacers in the form of rectangular pieces of metal. After many trials and tribulations, we were forced to use all spacers to get the fit right on the passenger door. We had to lift it on and off three times, though. A patience-testing fitting. But if I remembered correctly, the driver's door should fit really well ('snug fit' as the Brits would say) without any use of spacers.
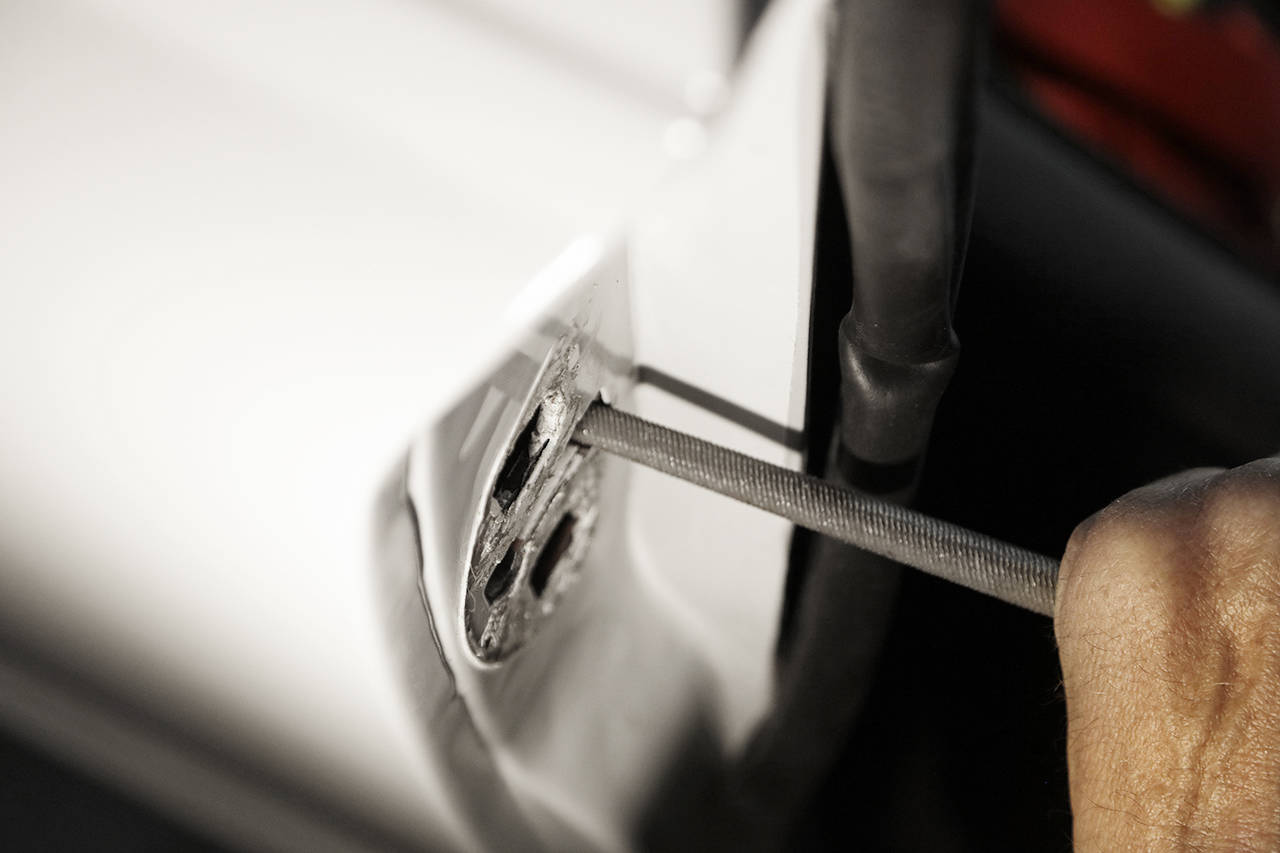
The door lock didn't quite sync with the 'latch' or whatever it's called, so we had to adjust the position of the latch slightly. Luckily, there was plenty of adjustment margin. But we had to adjust further. With a round file. And then the door fit perfectly.
Great. Now, it gets easier with the left door. Oh boy, we were so wrong. The new hinges had to be trimmed a bit in the corners to fit into the A-panel against the attachment points. Of course, it was a bit tricky, and we sanded them when they were in place. However, we protected the door paint.
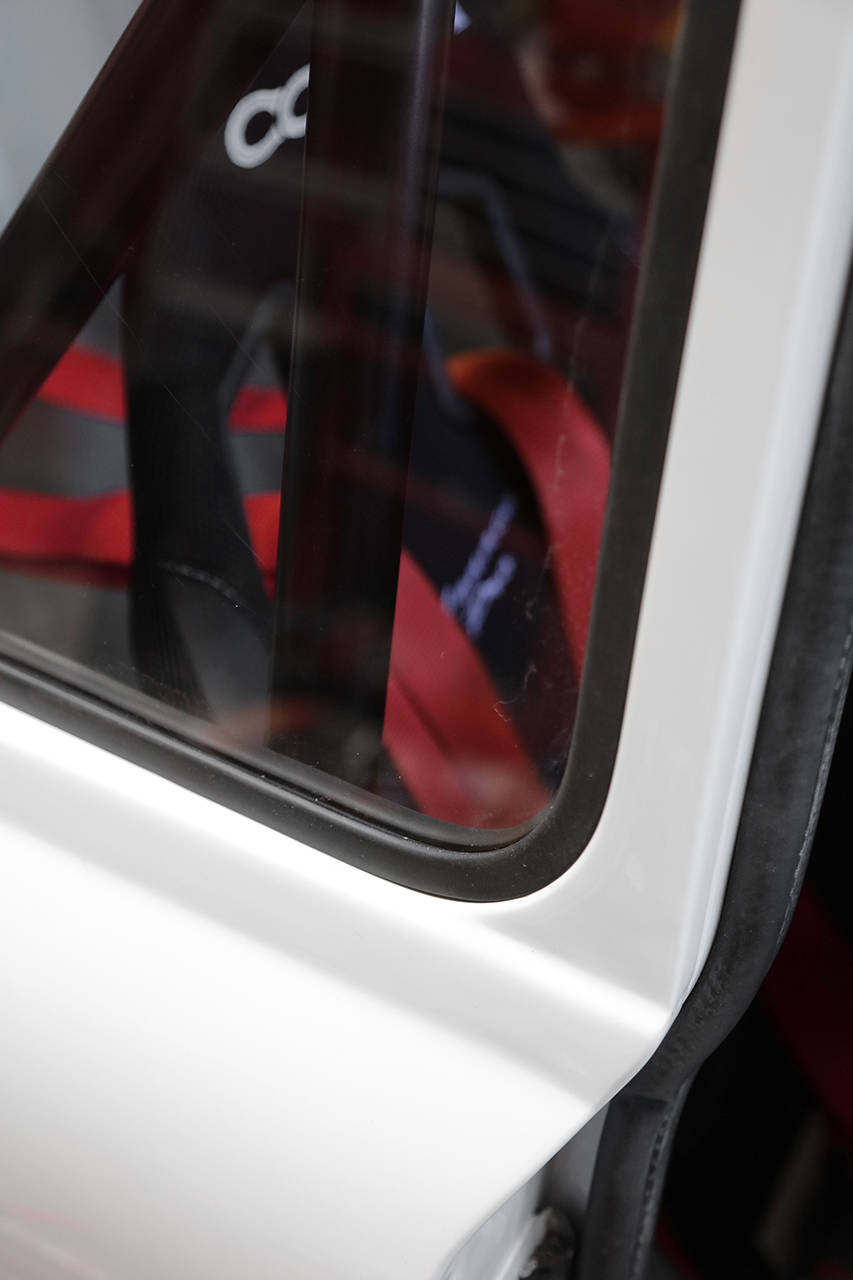
Then it was easy to install the door, but when we tried to close it, uh... the door opening mechanism resembled that of the new Koenigsegg Gemera (Automated twisted synchrohelix actuation doors) as the door leaned about 10 degrees at the rear, making the upper side of the door even above the roof's drip rail. Crazy. How did this happen?
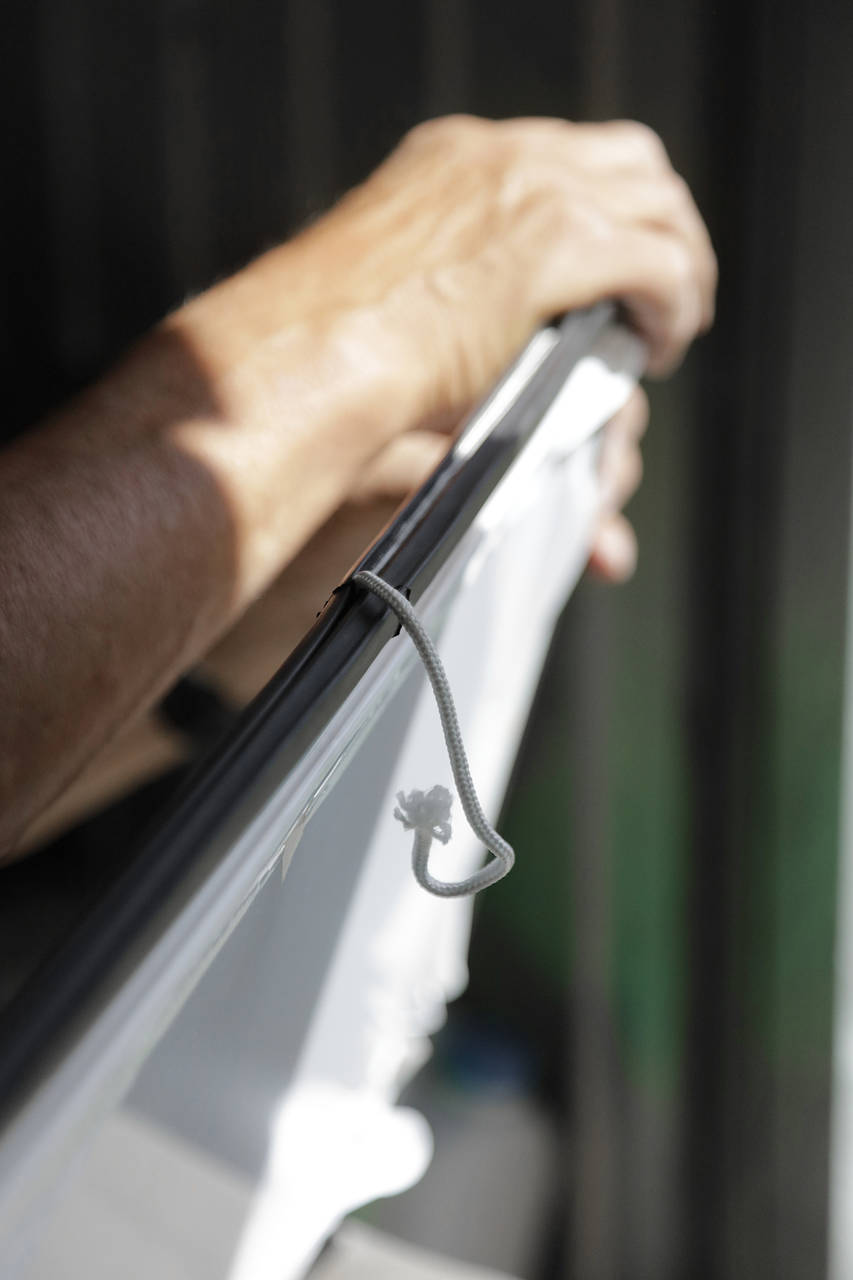
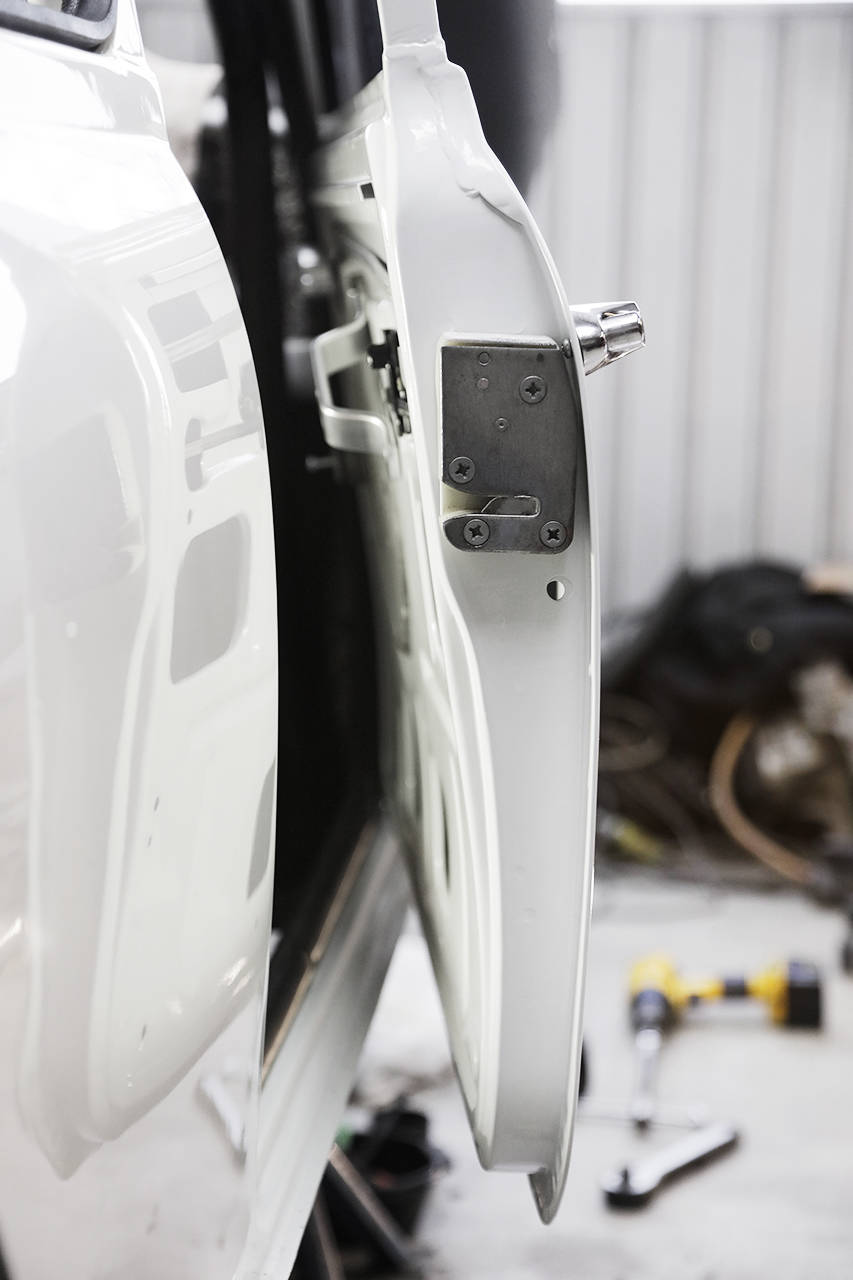
Two adult people standing and scratching their scalps. Uh. What do we do now? The door fit perfectly before painting. Then we realized that it must have been the lower hinge that caused the issue. We didn't have the new ones when we fitted the door before painting, and the original hinge had a significant play, no less than 4 mm (see pictures). No wonder the fit wasn't right. The new hinge pushes the door too far back at the bottom, causing the entire door to tilt upward.
What happened next? Well, we made 'shims.' One, two, three, four, and five spacers. Yep. We tried to space the upper hinge, but nope, still didn't work. We then realized that we had to cut off 9 mm of the new hinge and weld it back together. Smack. Now, what about now? No. It leaned much less now, but now the new bolts with rounded heads in the hinge caught, making it impossible to close completely. We switched to the old bolts. But nope, still couldn't close it. Something's wrong. Then it was the door hitting the A-pillar. Hmm. So we made more "shims." And only now could we close the door. Now we just needed to "fine-tune" the fit. More shims. And finally, it was in place with evenly distributed gaps all around the door.
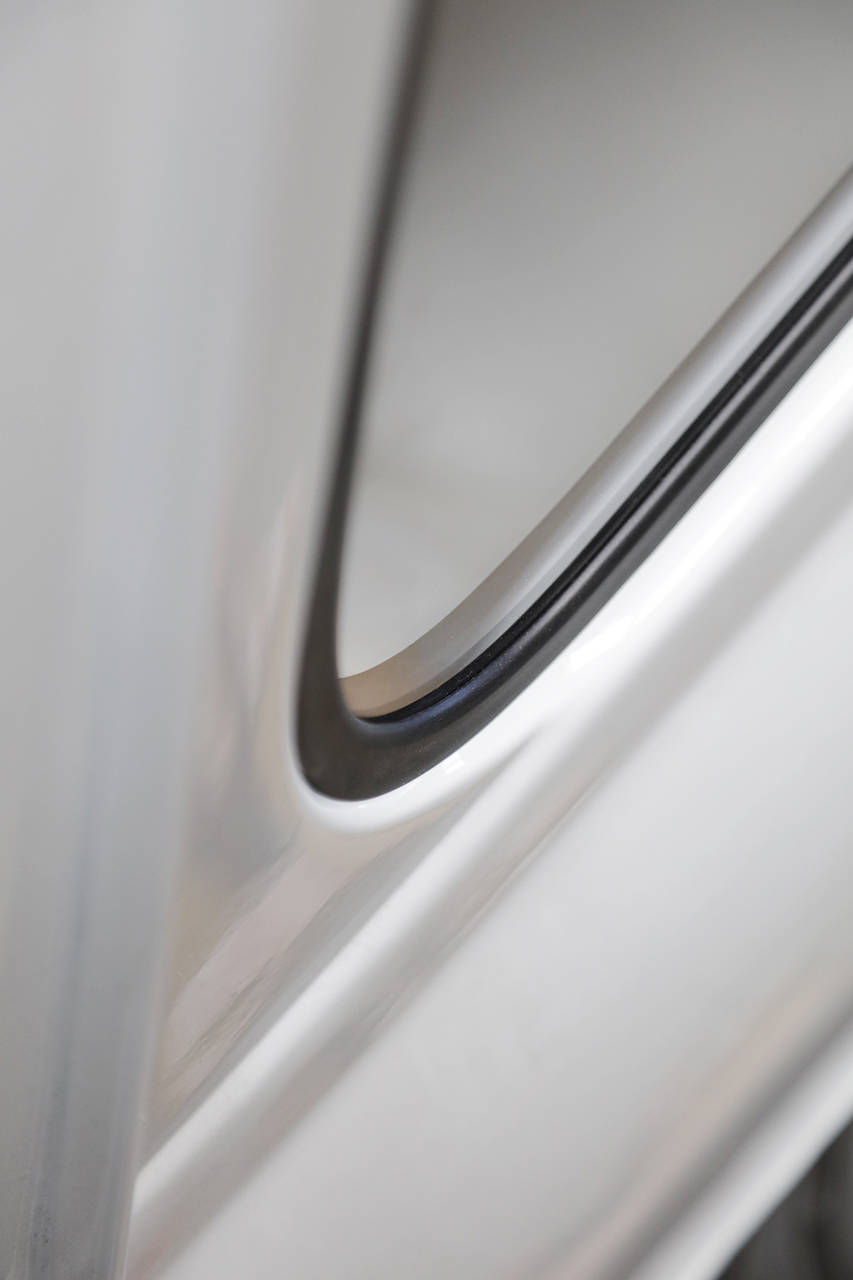
The door lock's position was adjusted, and when the door is now closed, it looks even and nice between the door and the rest of the body. Finished! It took us 4 hours to install/remove the right door three times, and the left door wasn't spot on until after six attempts. Goodness. "-Beware of the madmen, the madmen are closing!" So true, the madmen were tearing their hair out, but the doors barely closed at first, haha!
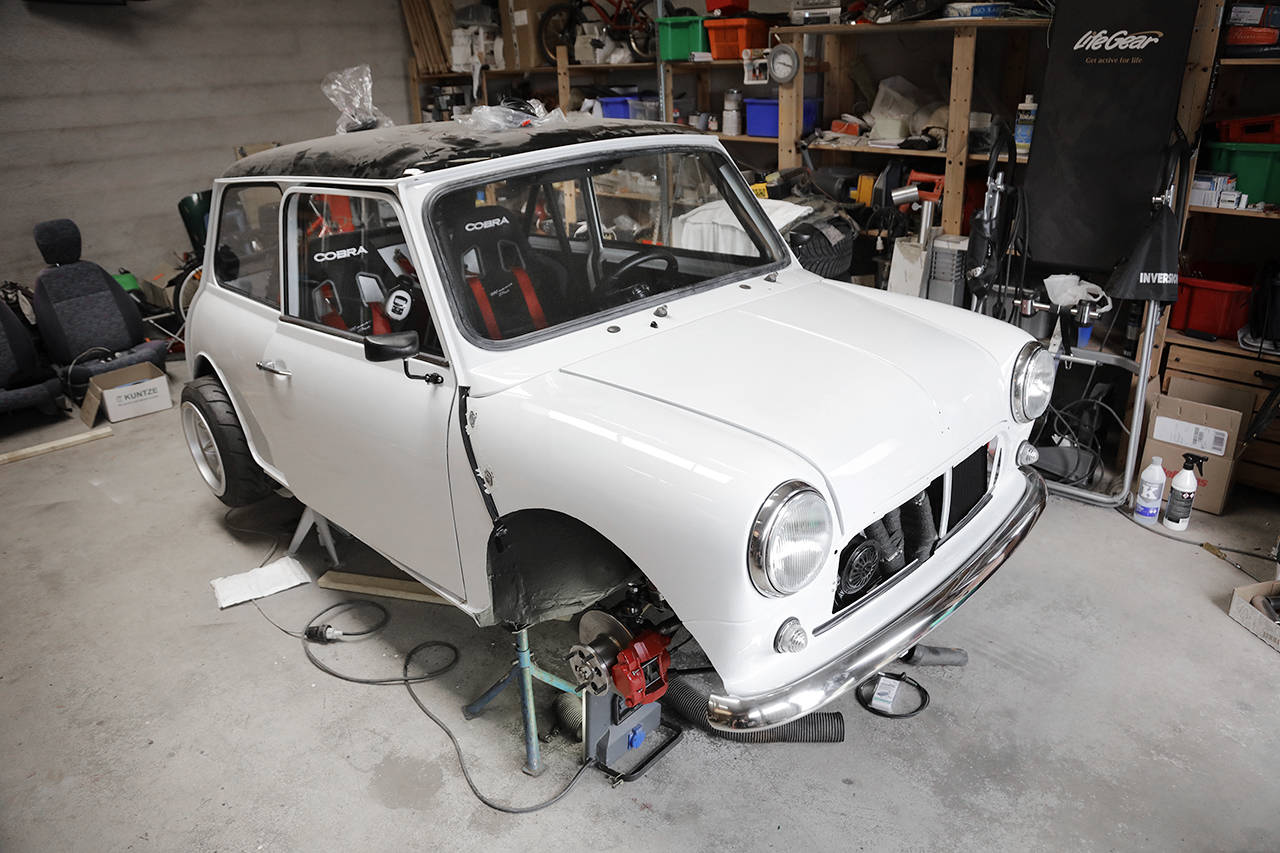
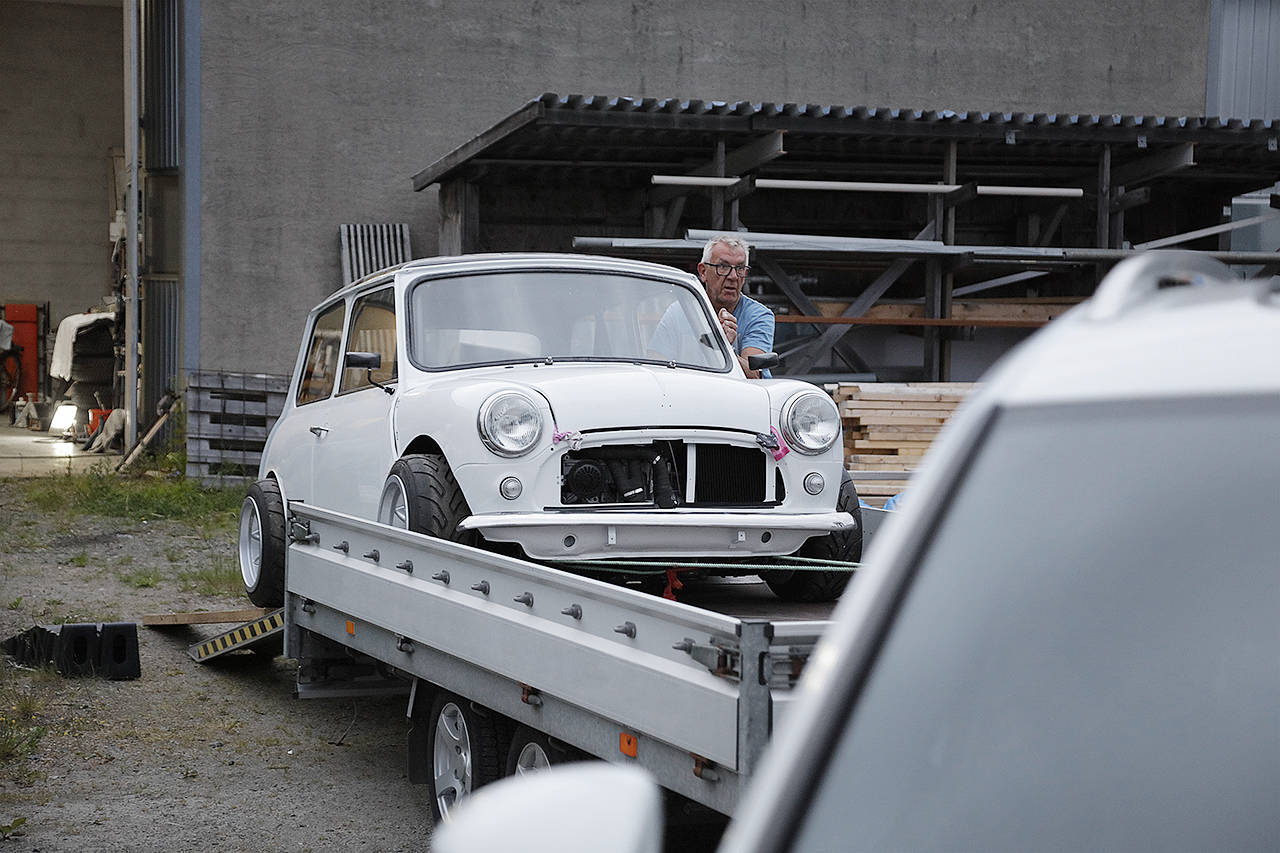
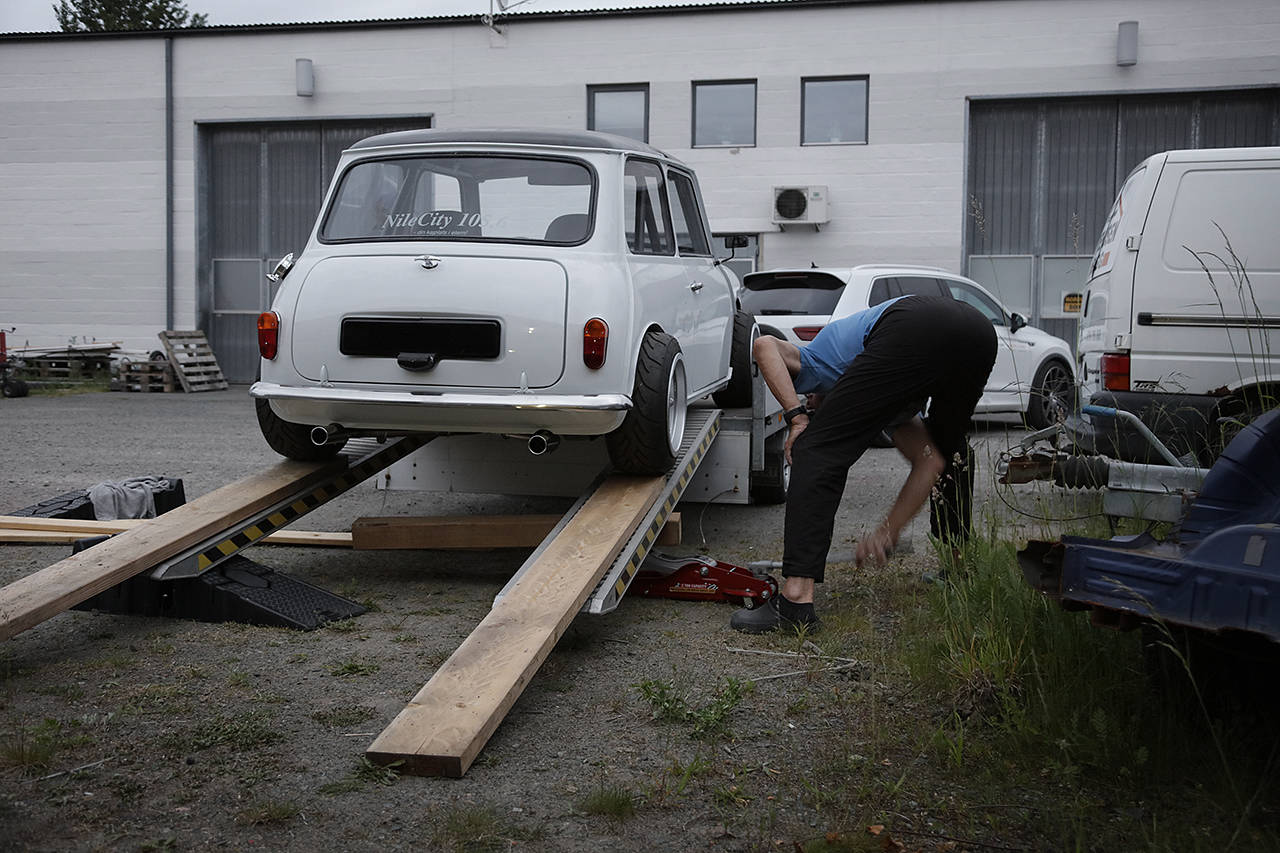
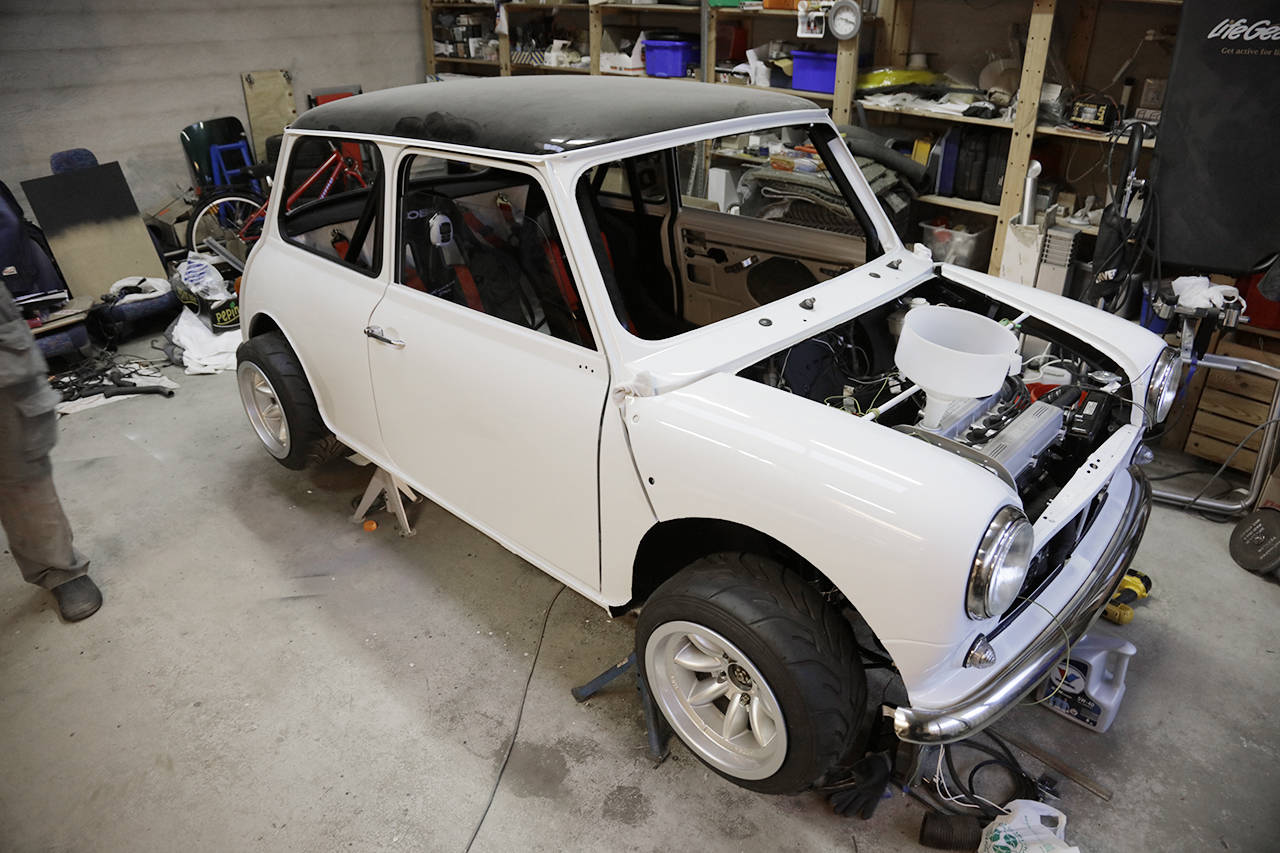
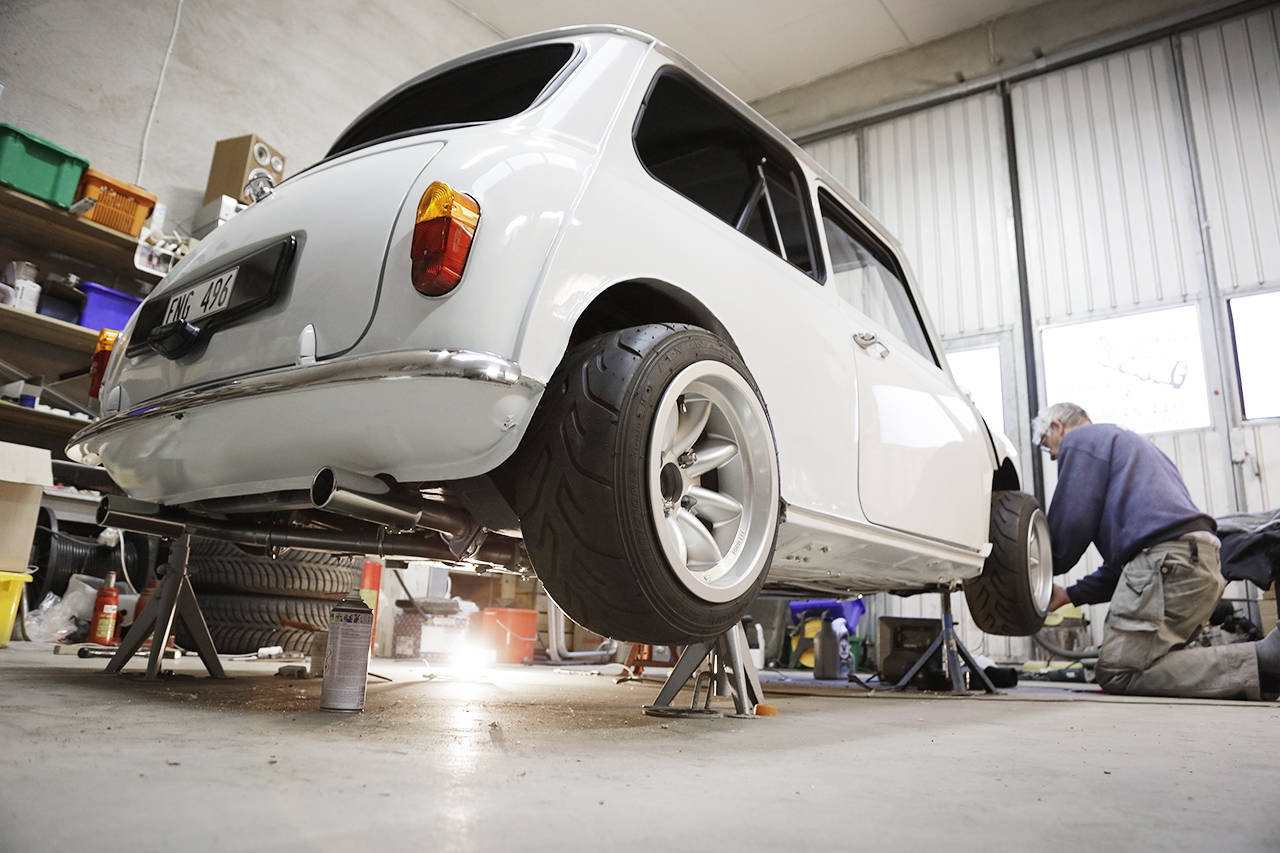
Finally, I just had to lower the flipfront and put on the wheels to see the big picture, and I like it! The tires do hang down a bit despite our "stops," so the car will probably be 10 cm (4") lower when lowered to the ground.
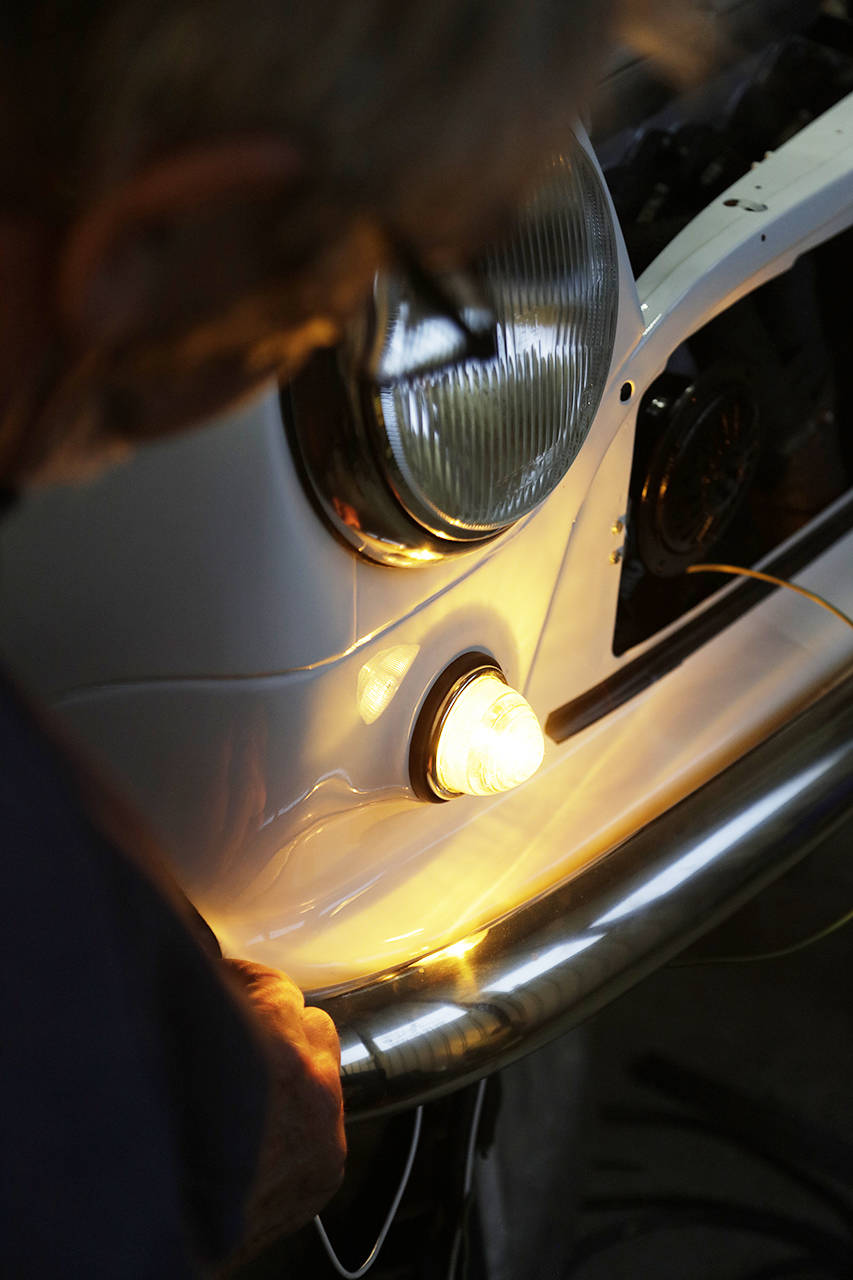
It was around 19:00, but my dad couldn't resist while I cleaned up. He poured in motor oil, and we didn't see any immediate oil leakage, which we were grateful for. He connected various wires to a battery and tested the headlights and turn signals. Hooray!
The next visit will be made shortly to check off even more items and thus approach the startup.


Senast redigerat av martinhejdesten (28 december 2023)
0
0
0
0