Torsdag... kontrasternas dag. Det började med regn och kyla, sedan sol och värme och därefter storm och regn. Och bra flow till bakslag. Och Tuborg, vatten och glykol. Jo, en händelserik dag. På väg till garaget slutade dessutom vindrutetorkarna fungera på bruksbilen. Jo, tjena, ser bra på motorvägen.
Kom till garaget trots allt. Nu sätter vi igång!
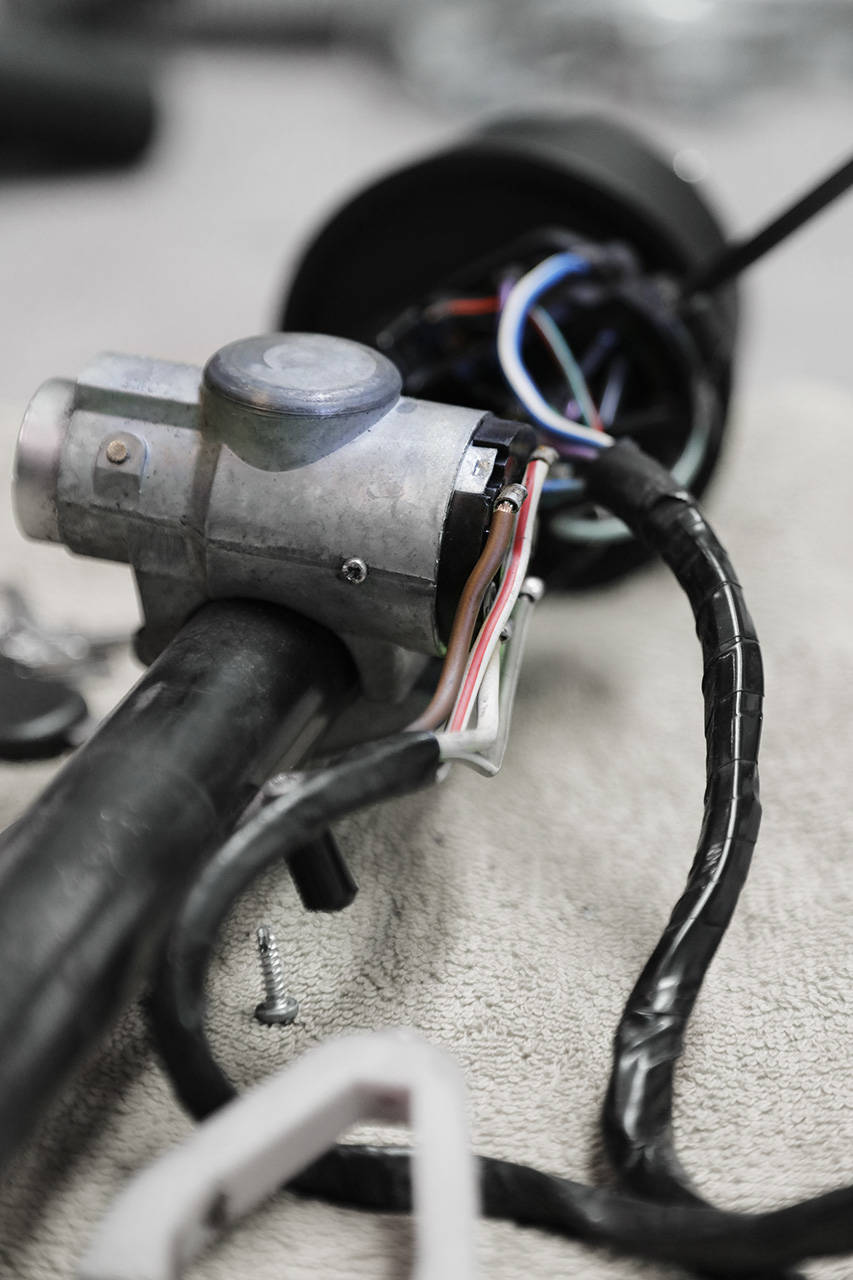
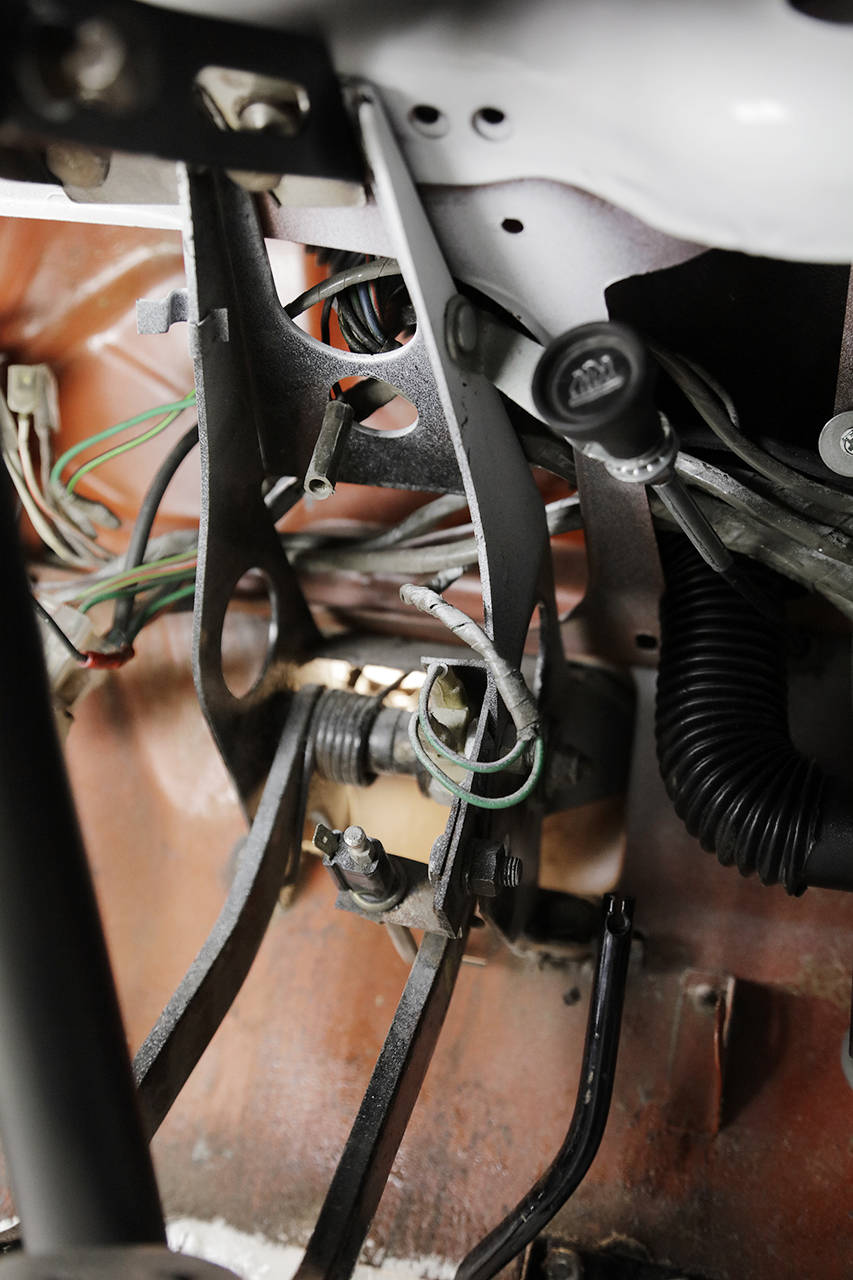
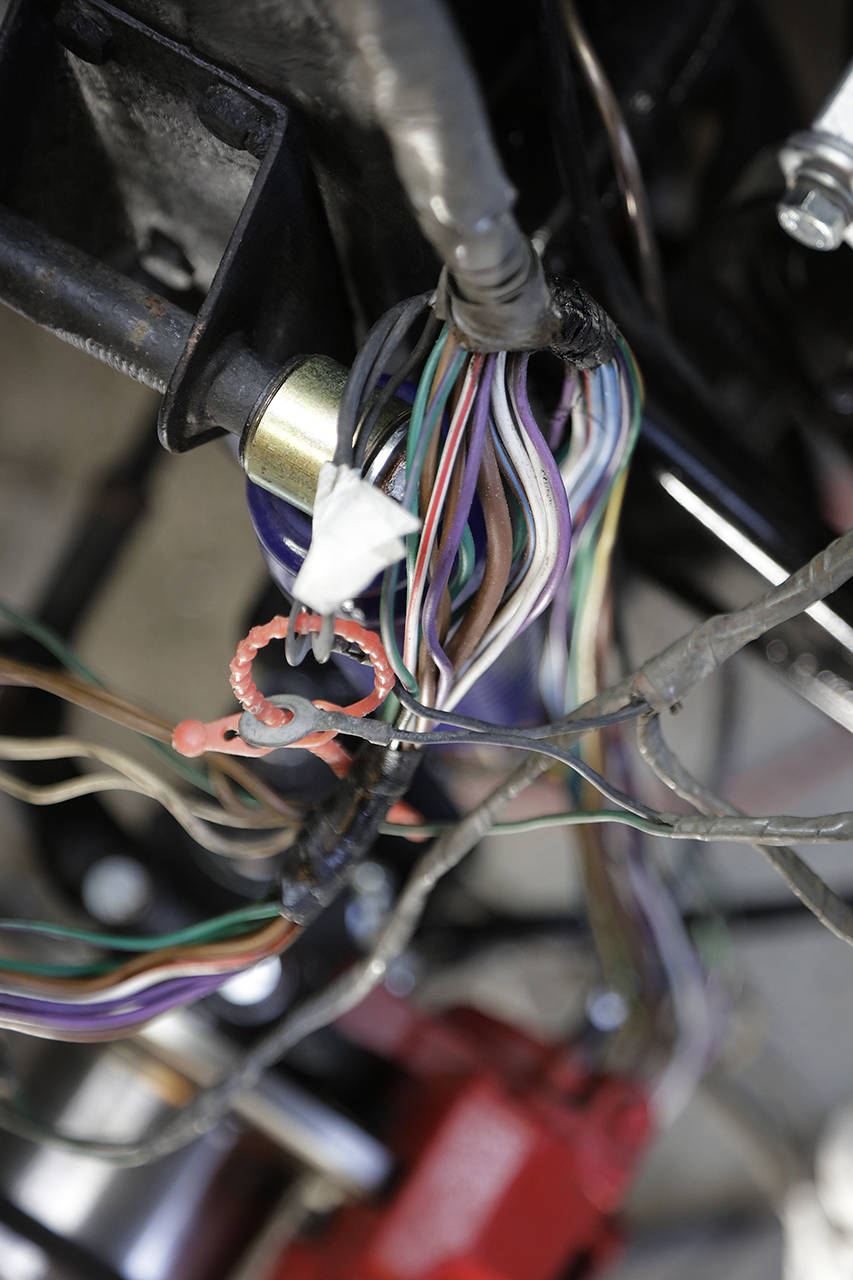
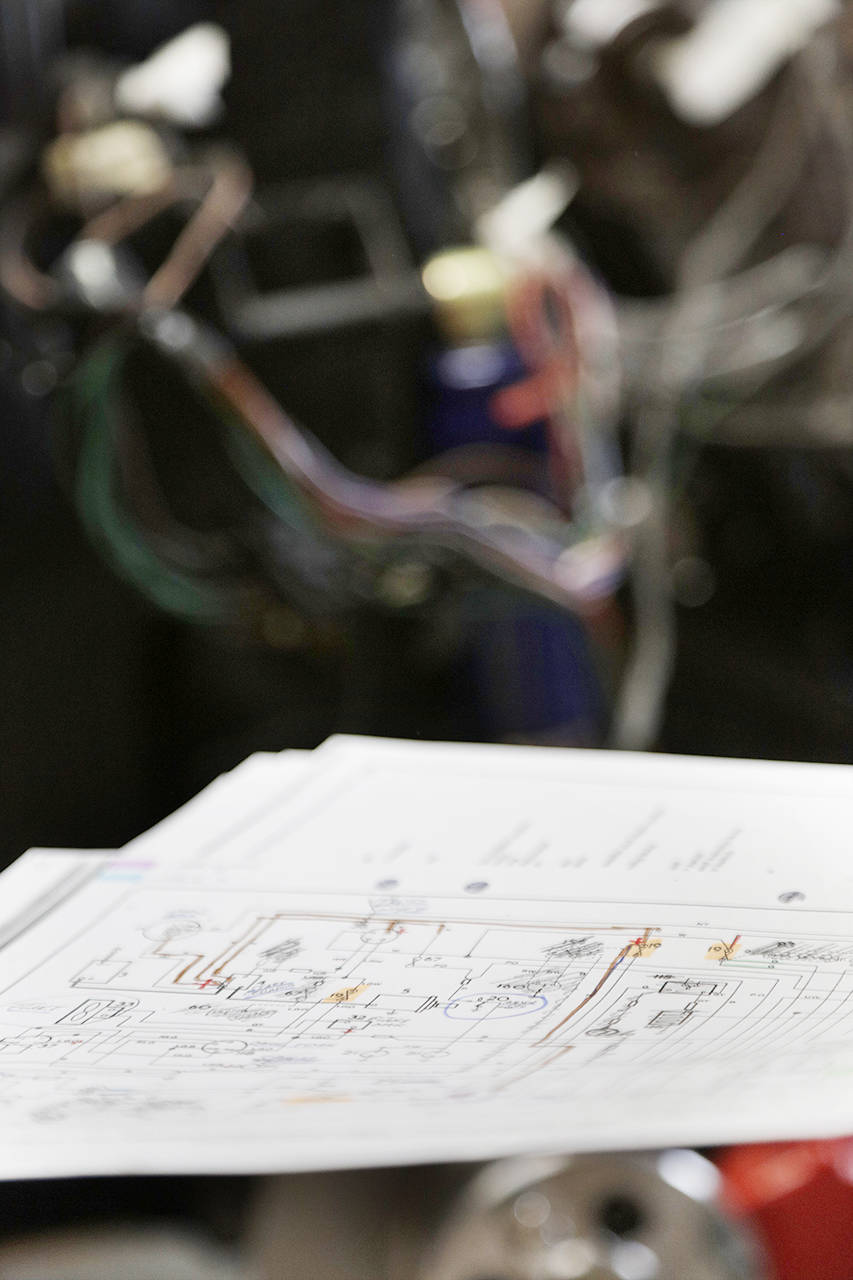
Farsan hade under senaste veckan klurat lite gällande elen och rotat rundor i sladdhärvorna. Men han har erfarenhet då han tidigare var elektriker.
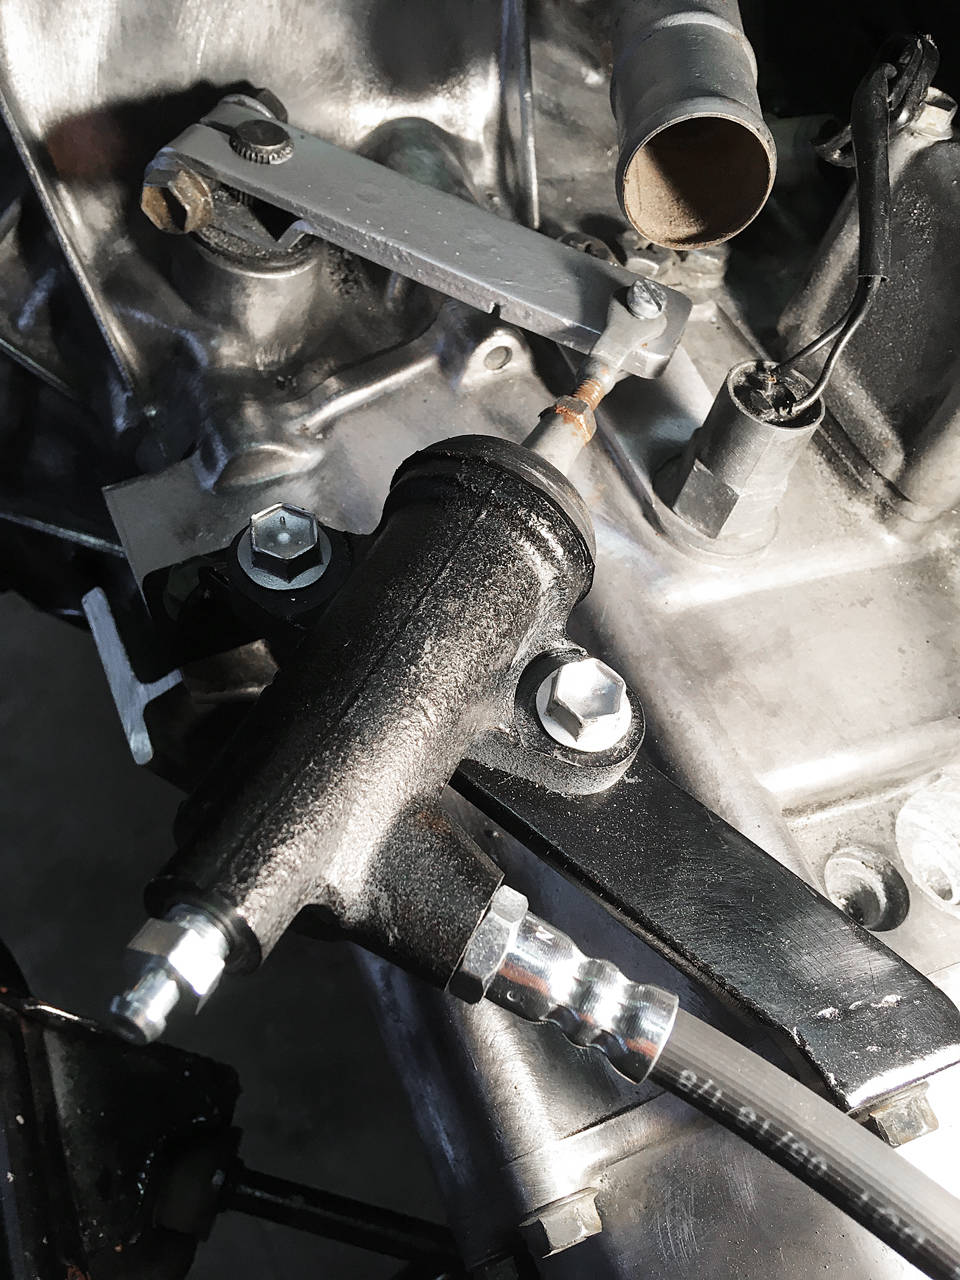
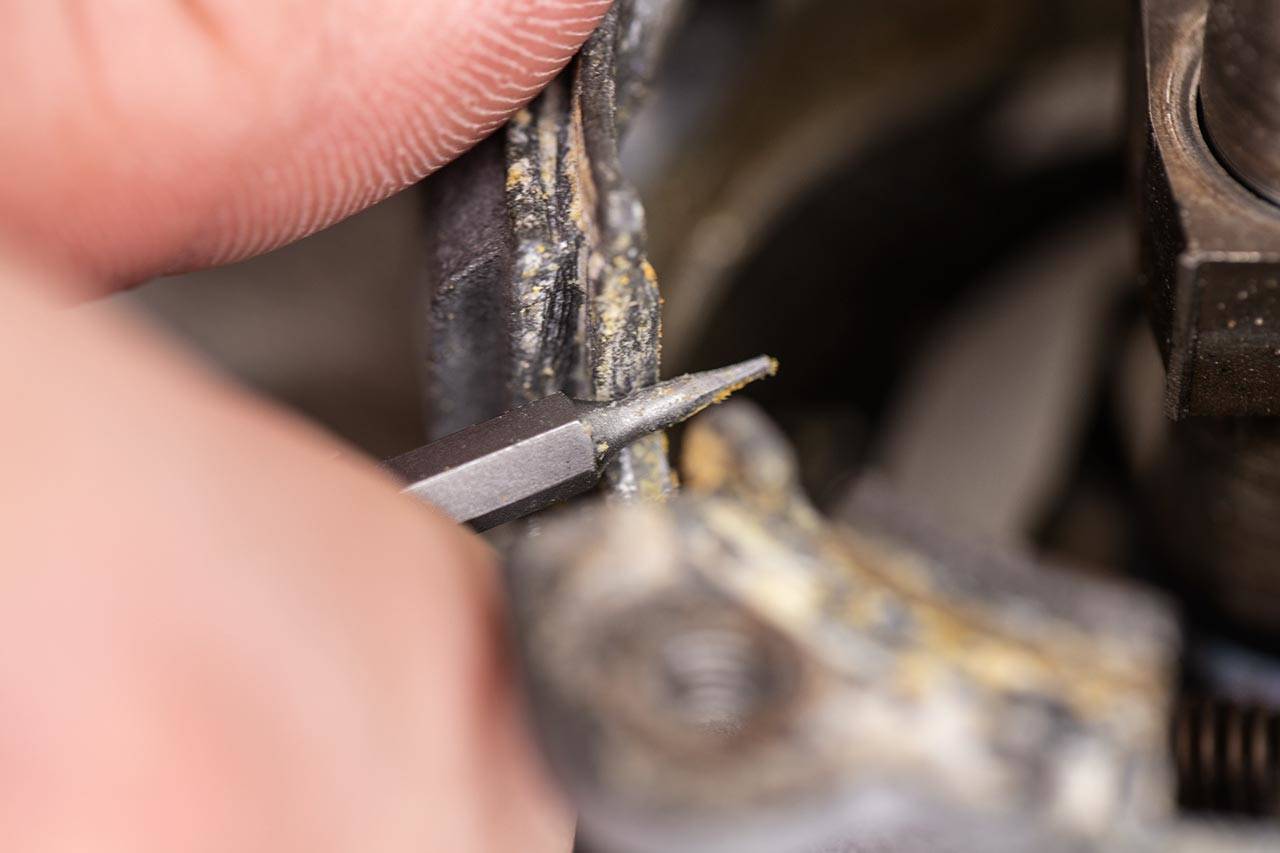
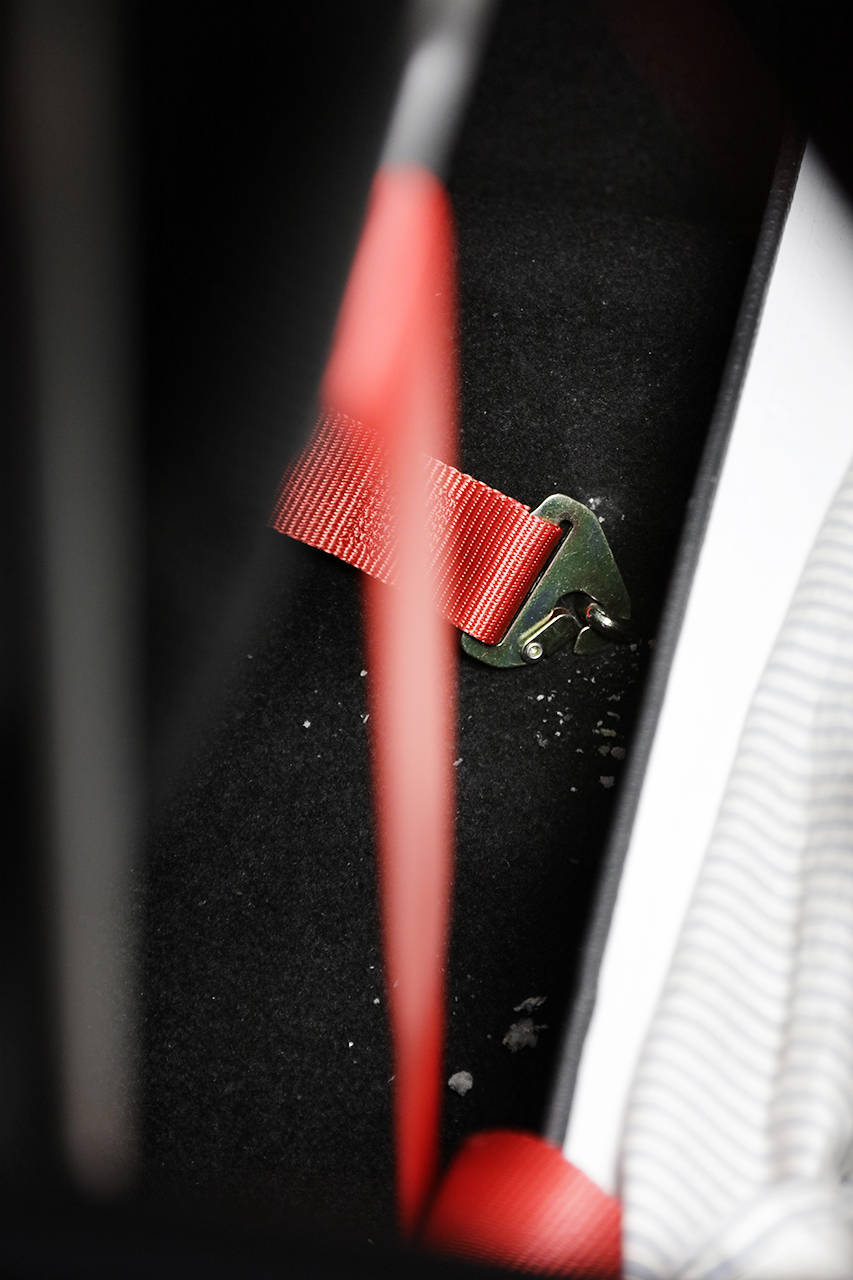
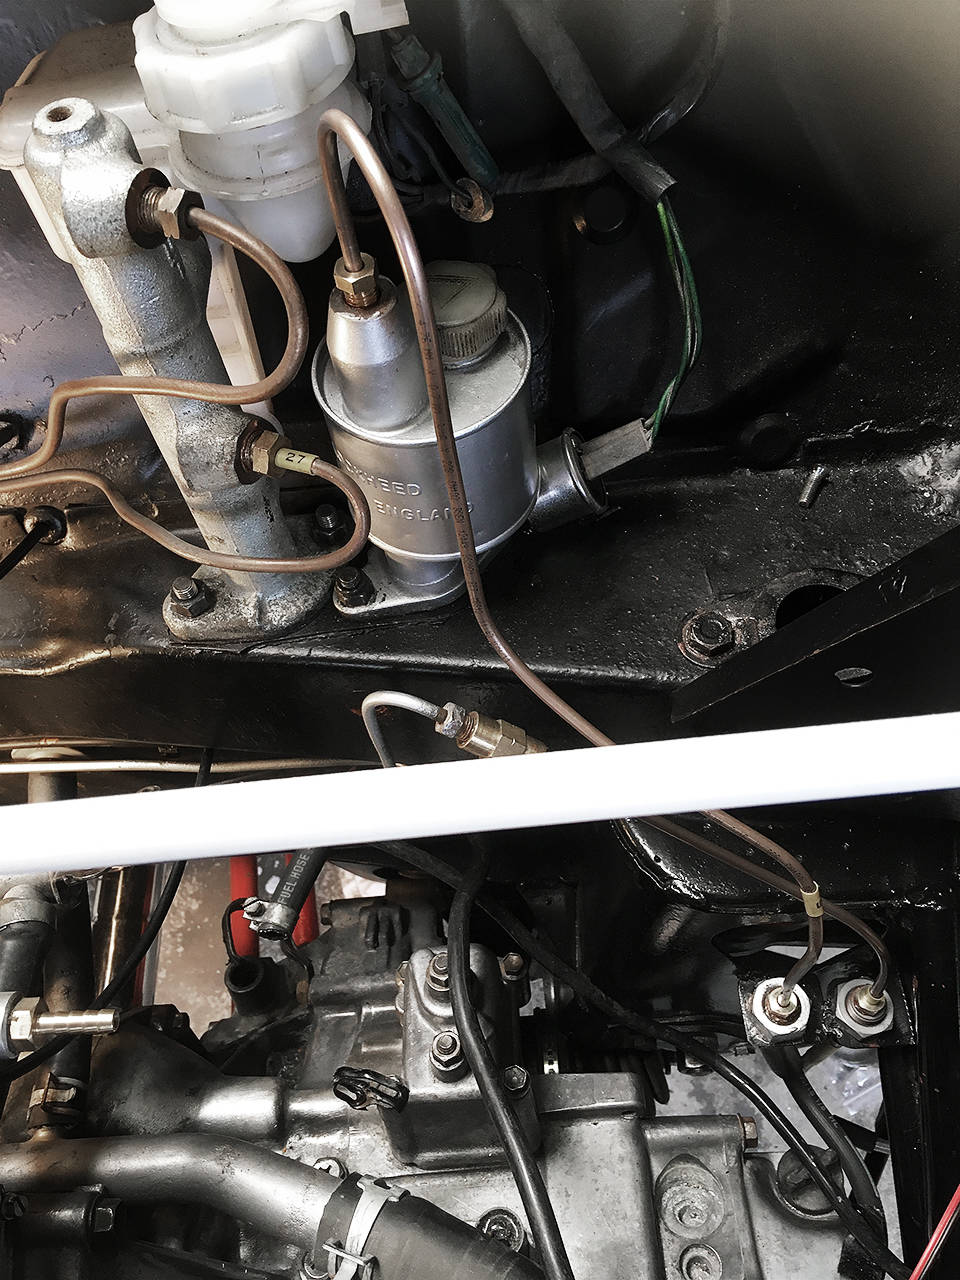
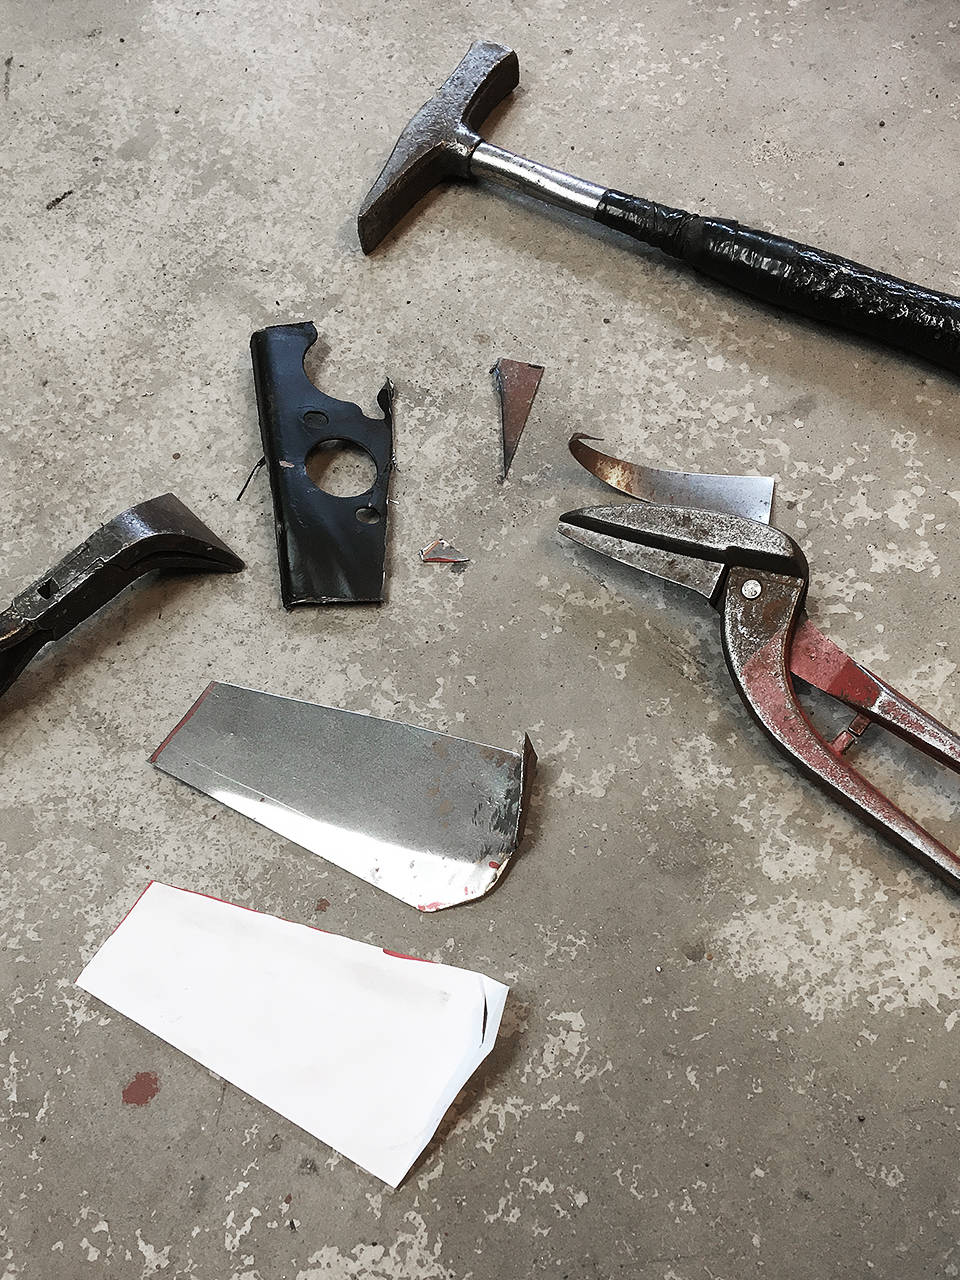
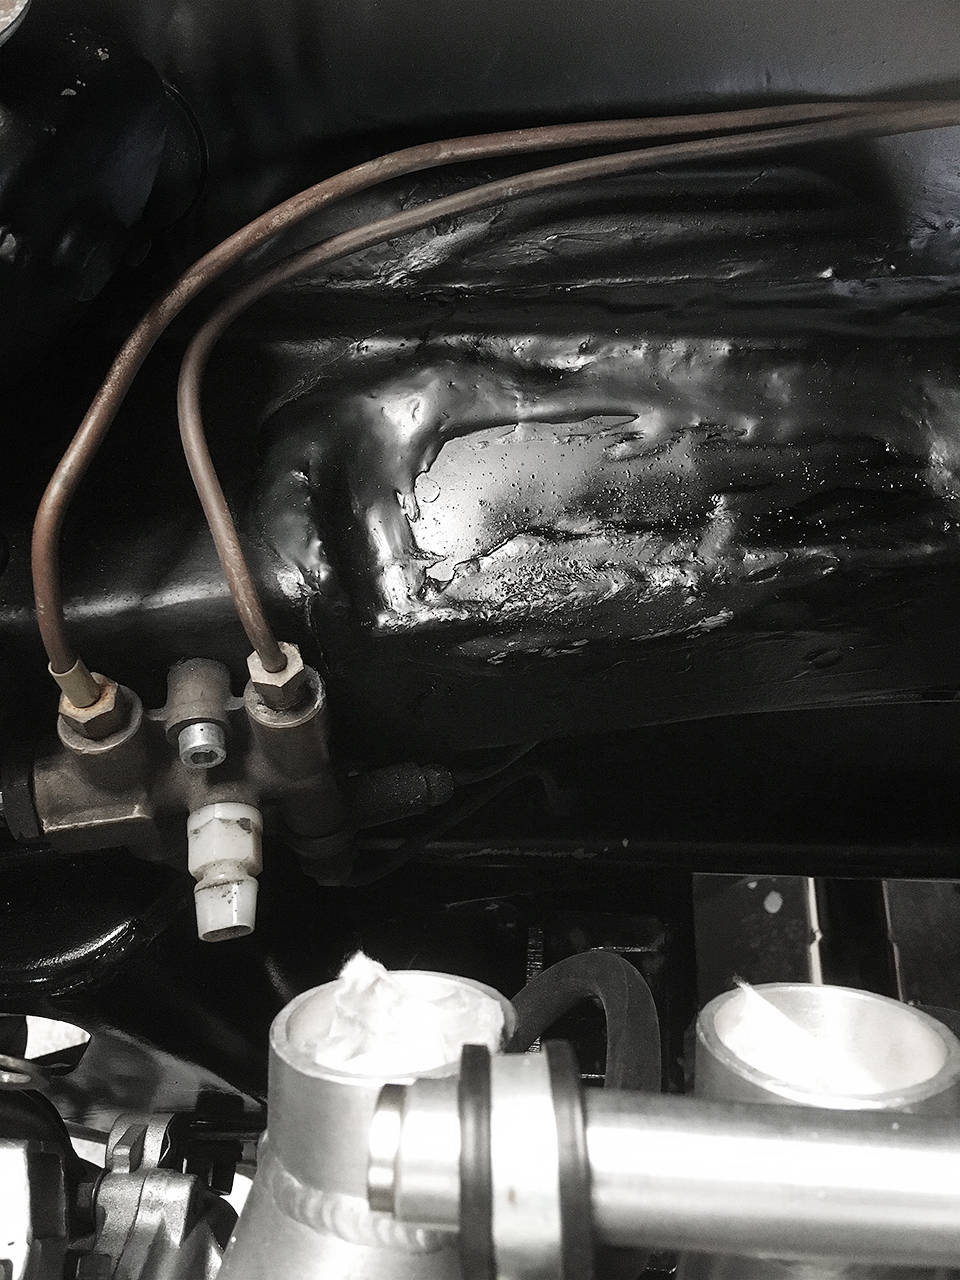
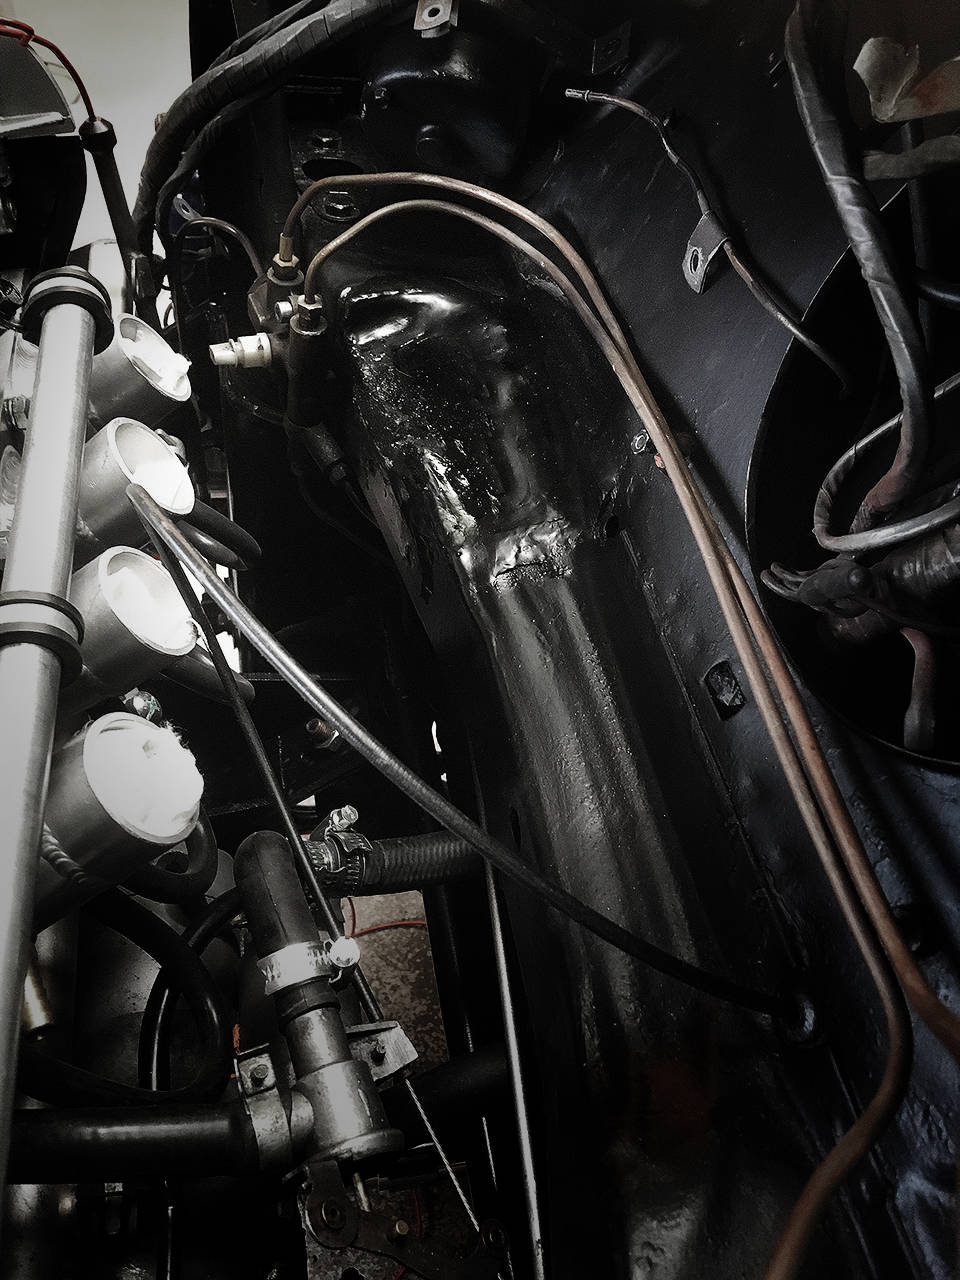
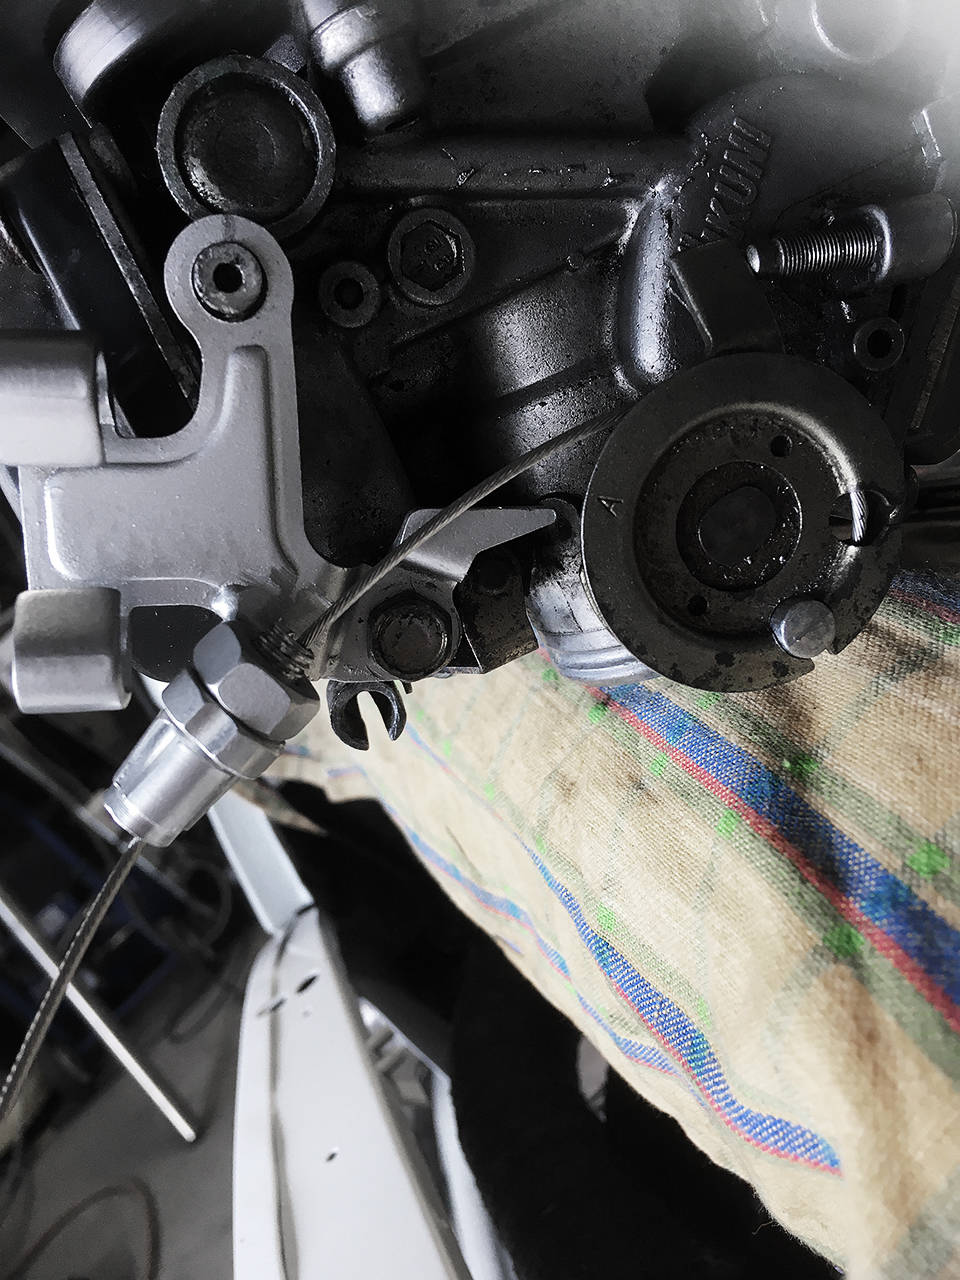
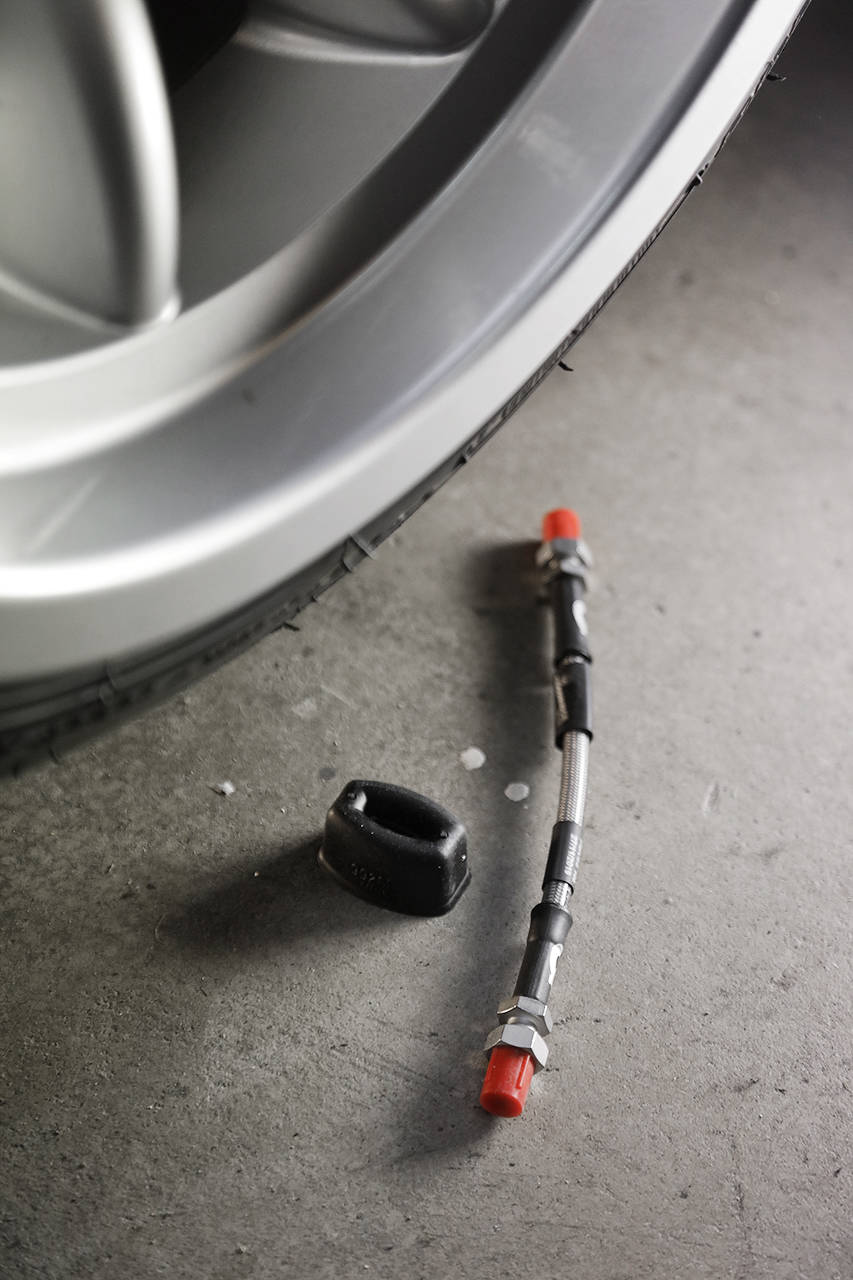
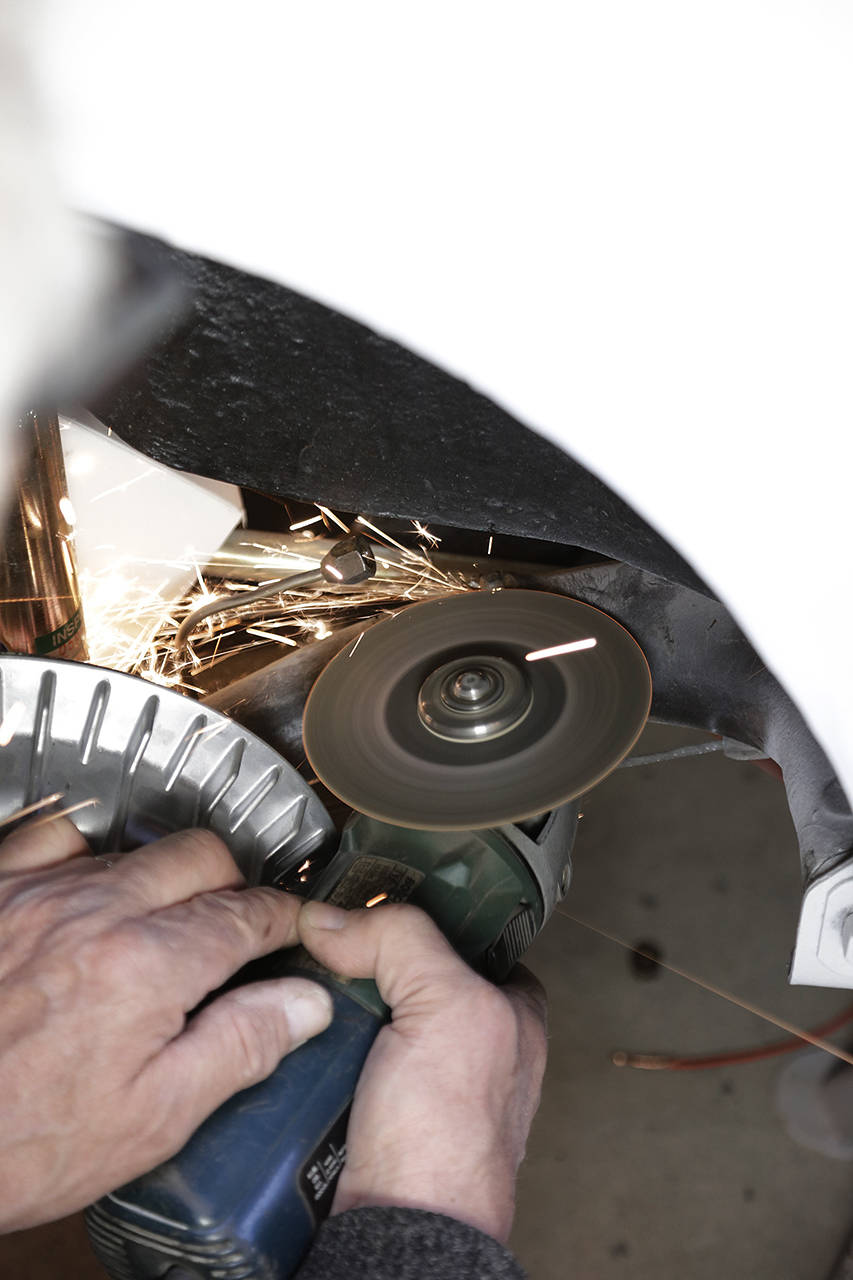
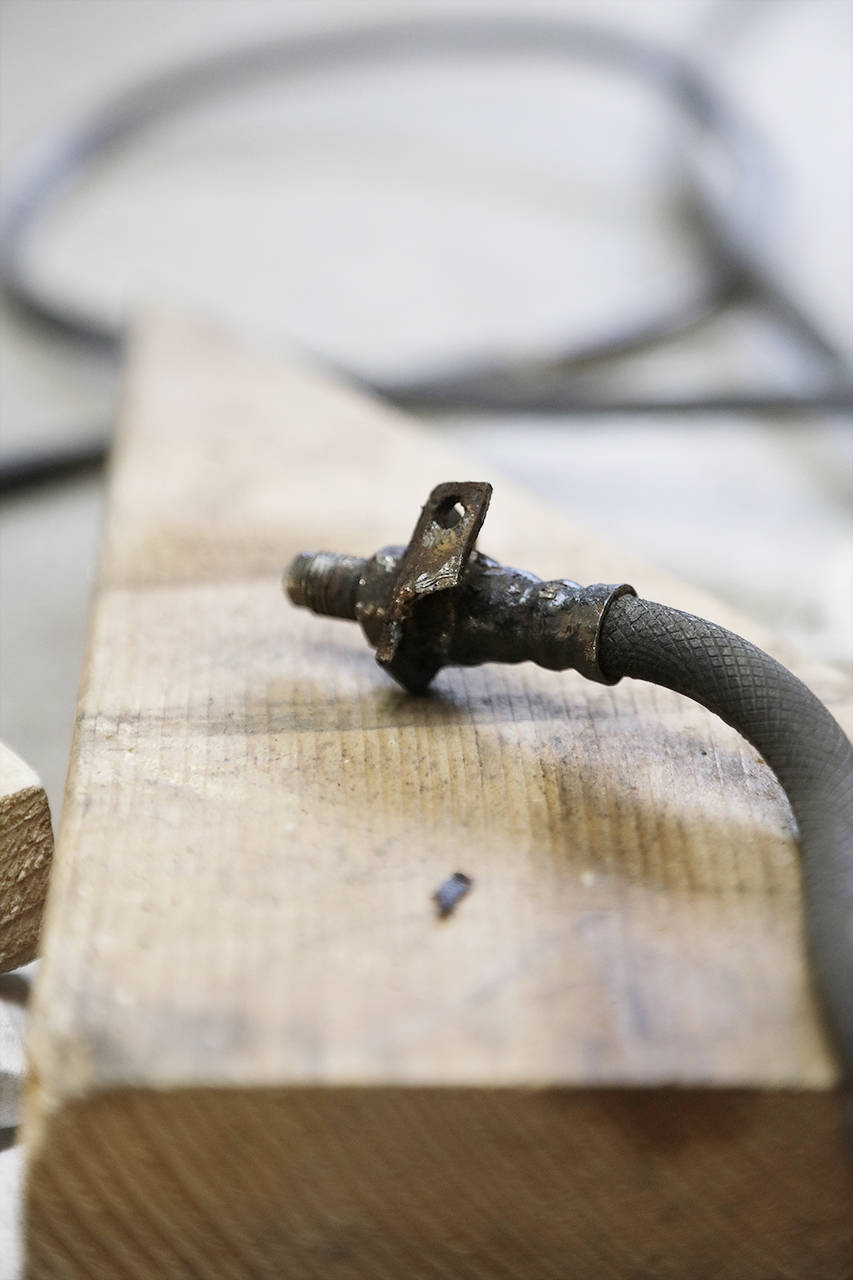
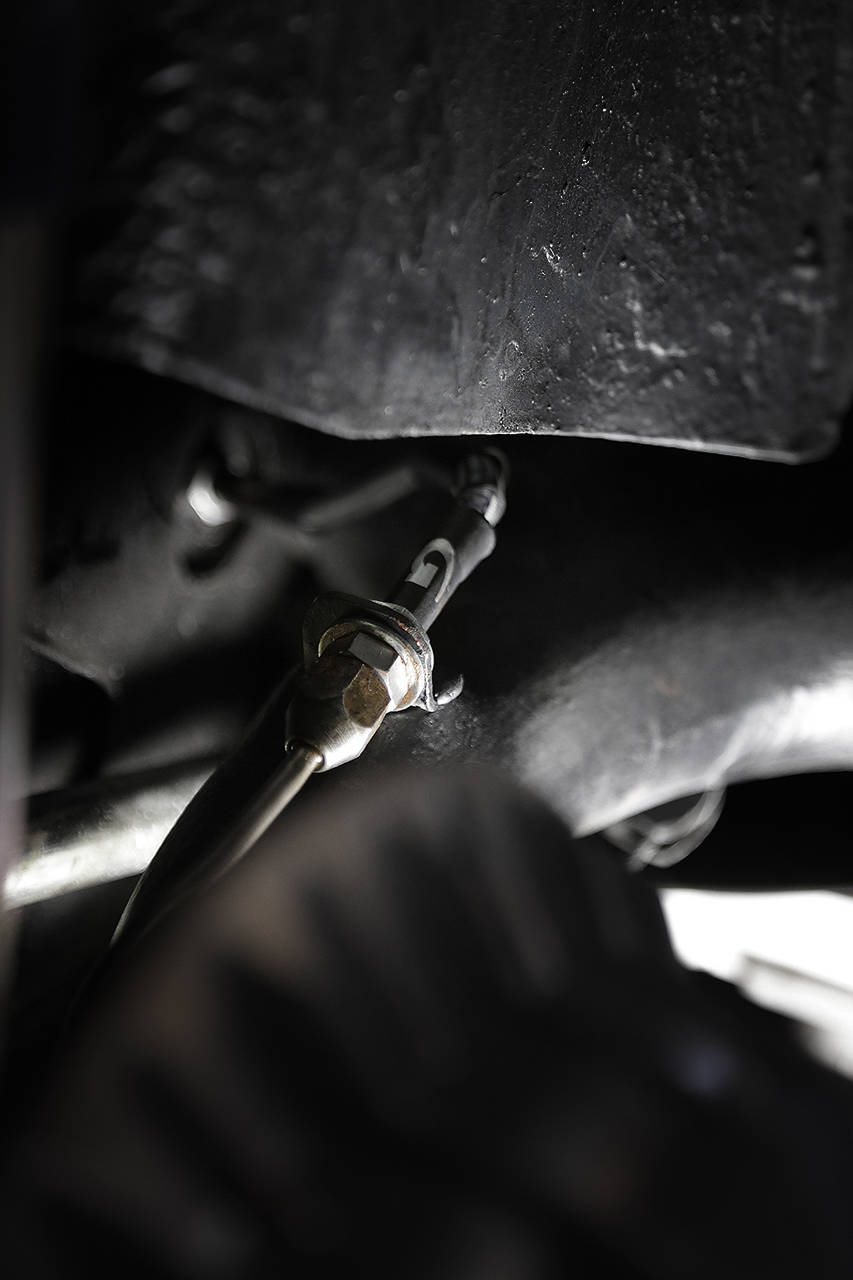
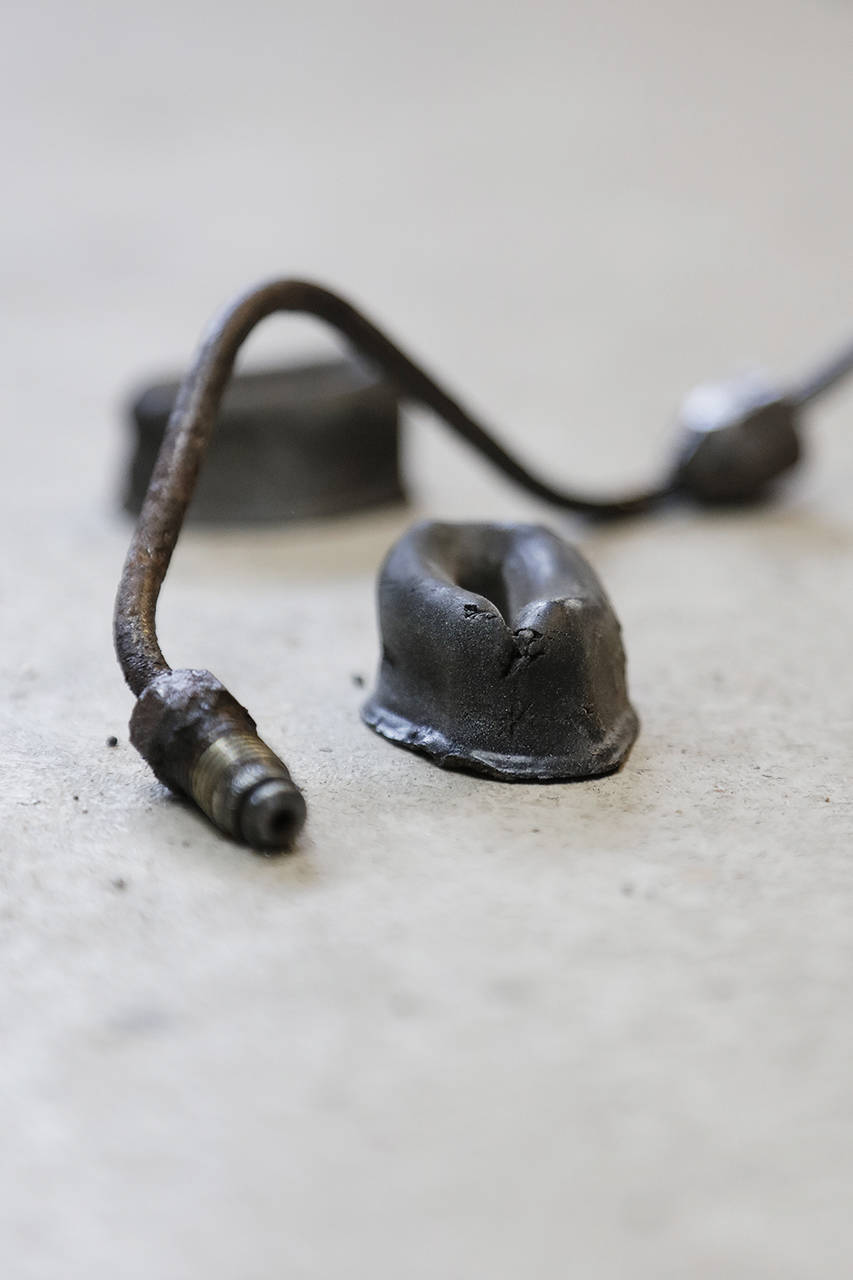
Jag skulle byta handbromsslangarna som var lite risiga mot nya trådomspunna istället. Jag tänkte göra det i ett nafs men glömde bort Murphy's-lag. Fästena gav dessvärre med sig när jag skulle lossa slangarna från nippeln. Så det var bara till att kapa bort fästena och tillverka och svetsa dit nya.
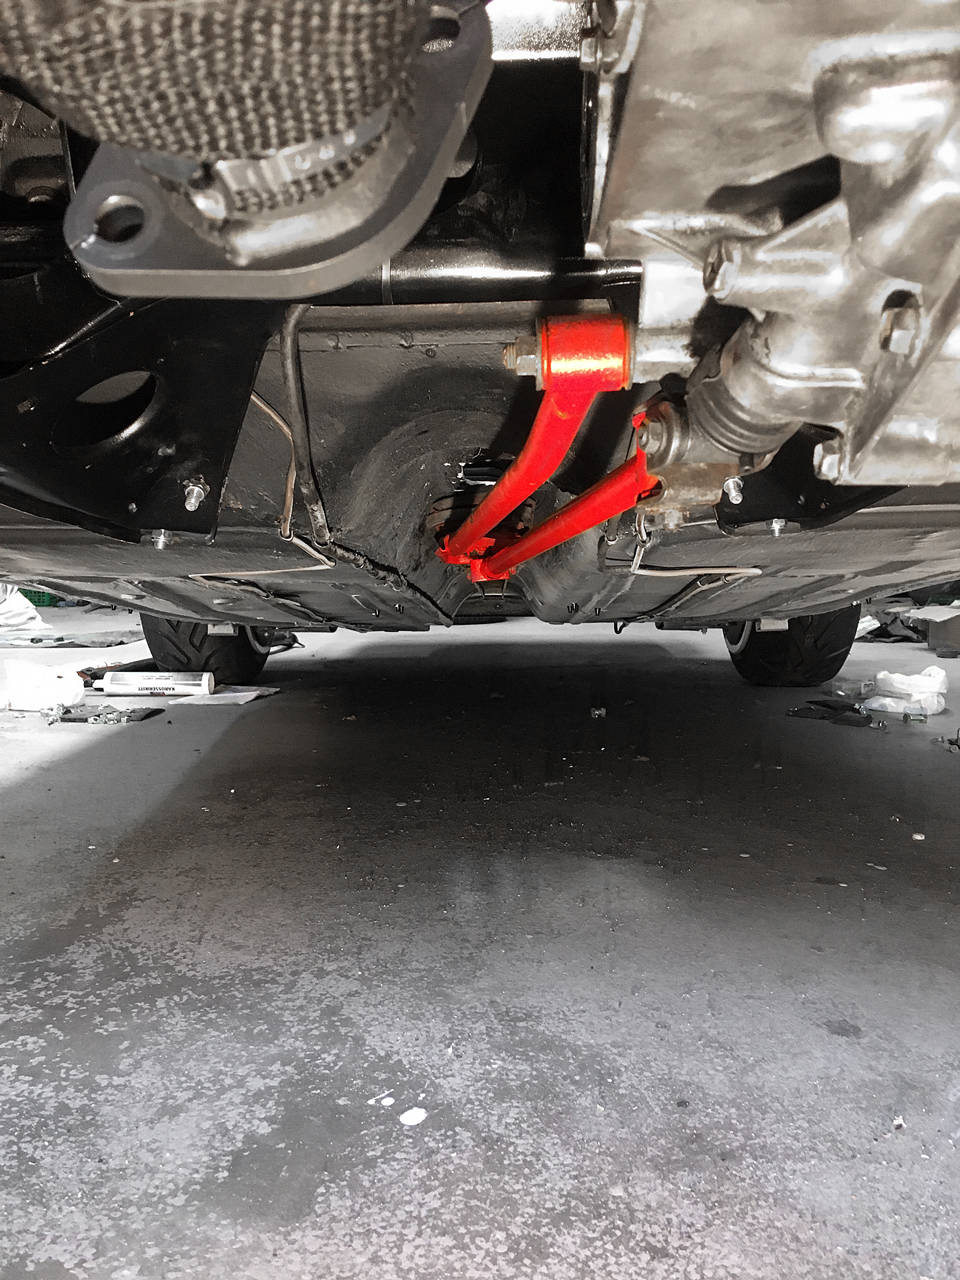
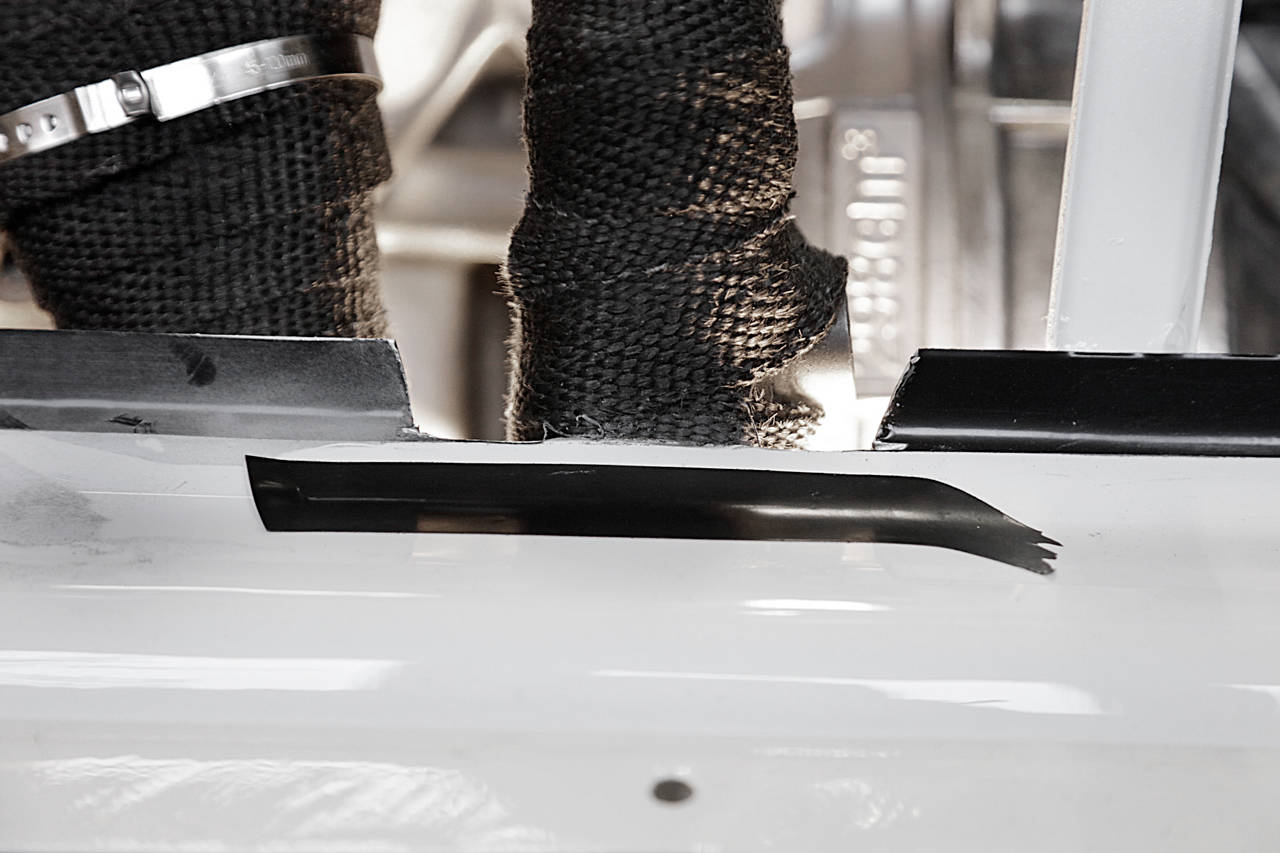
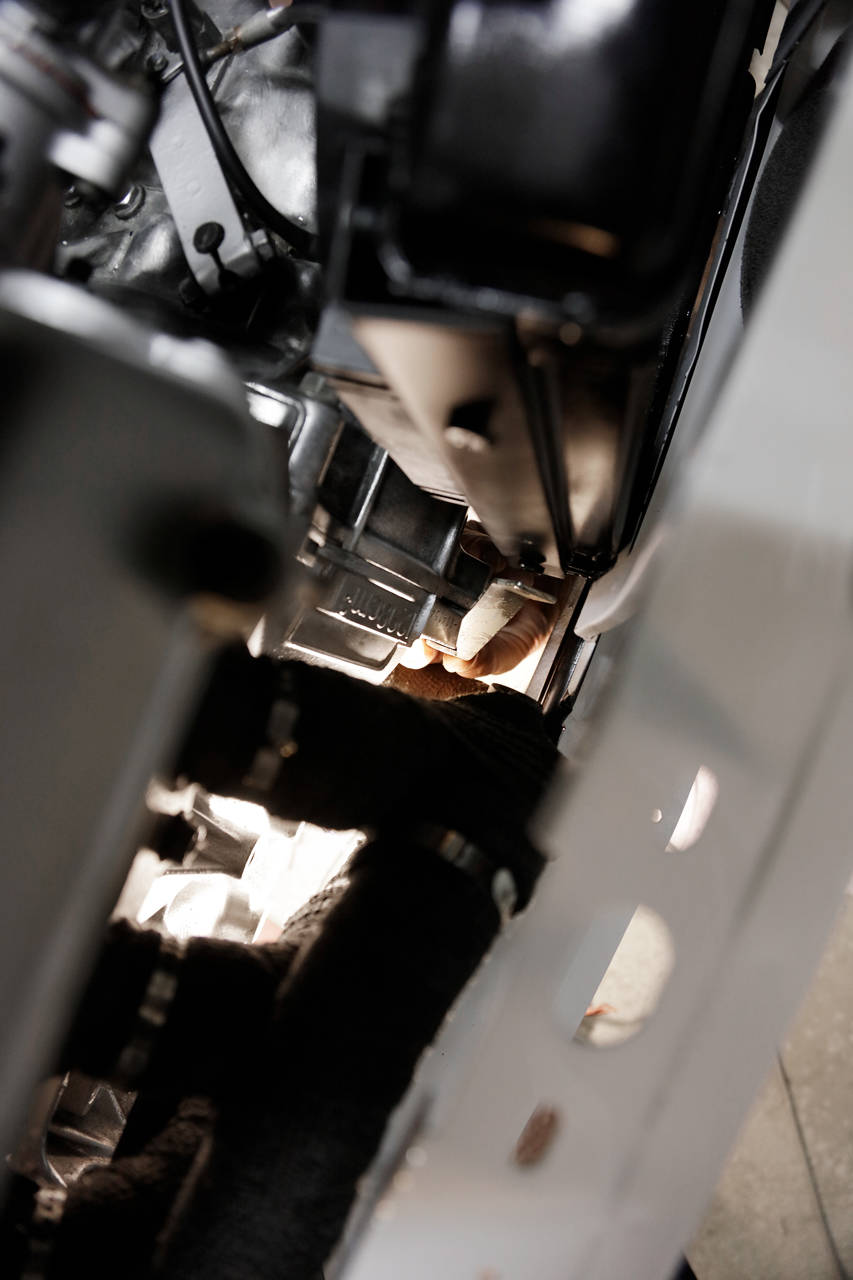
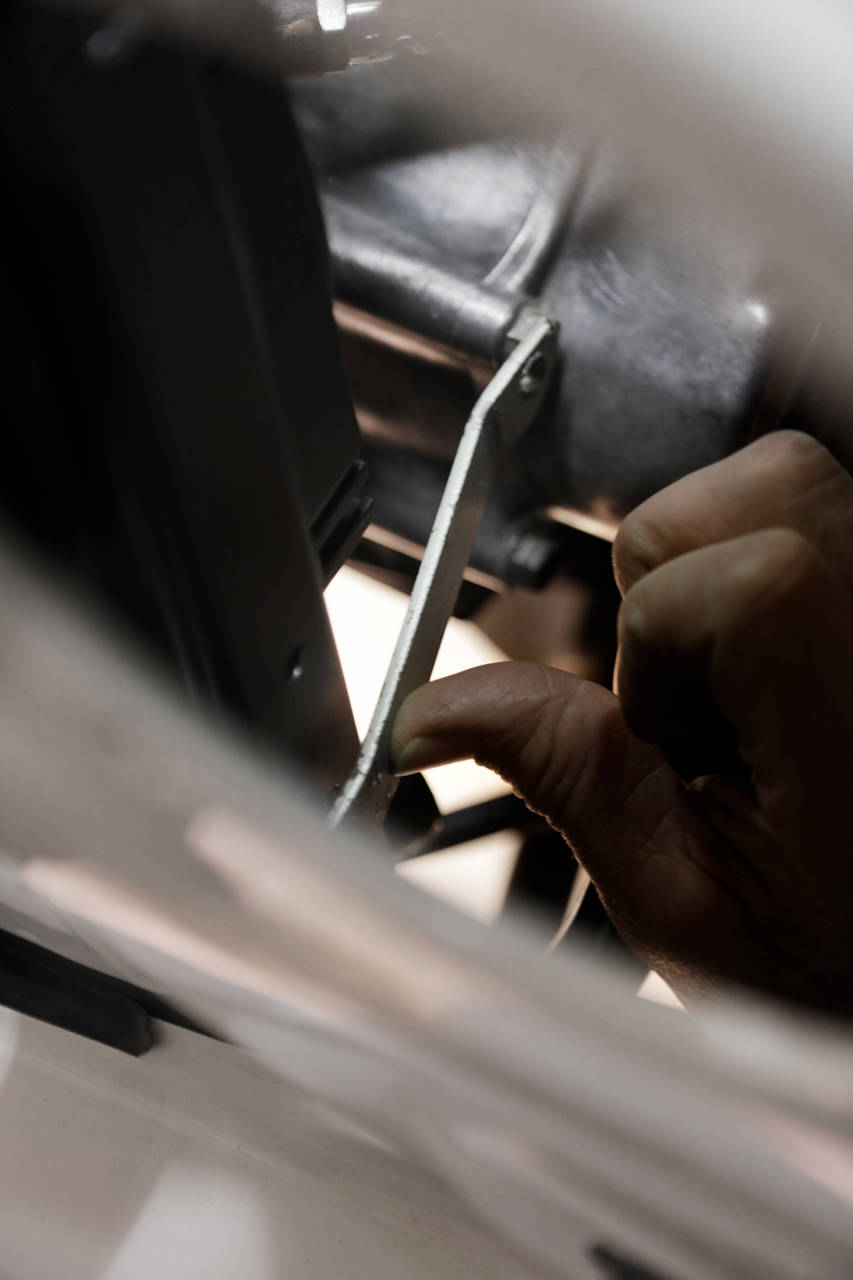
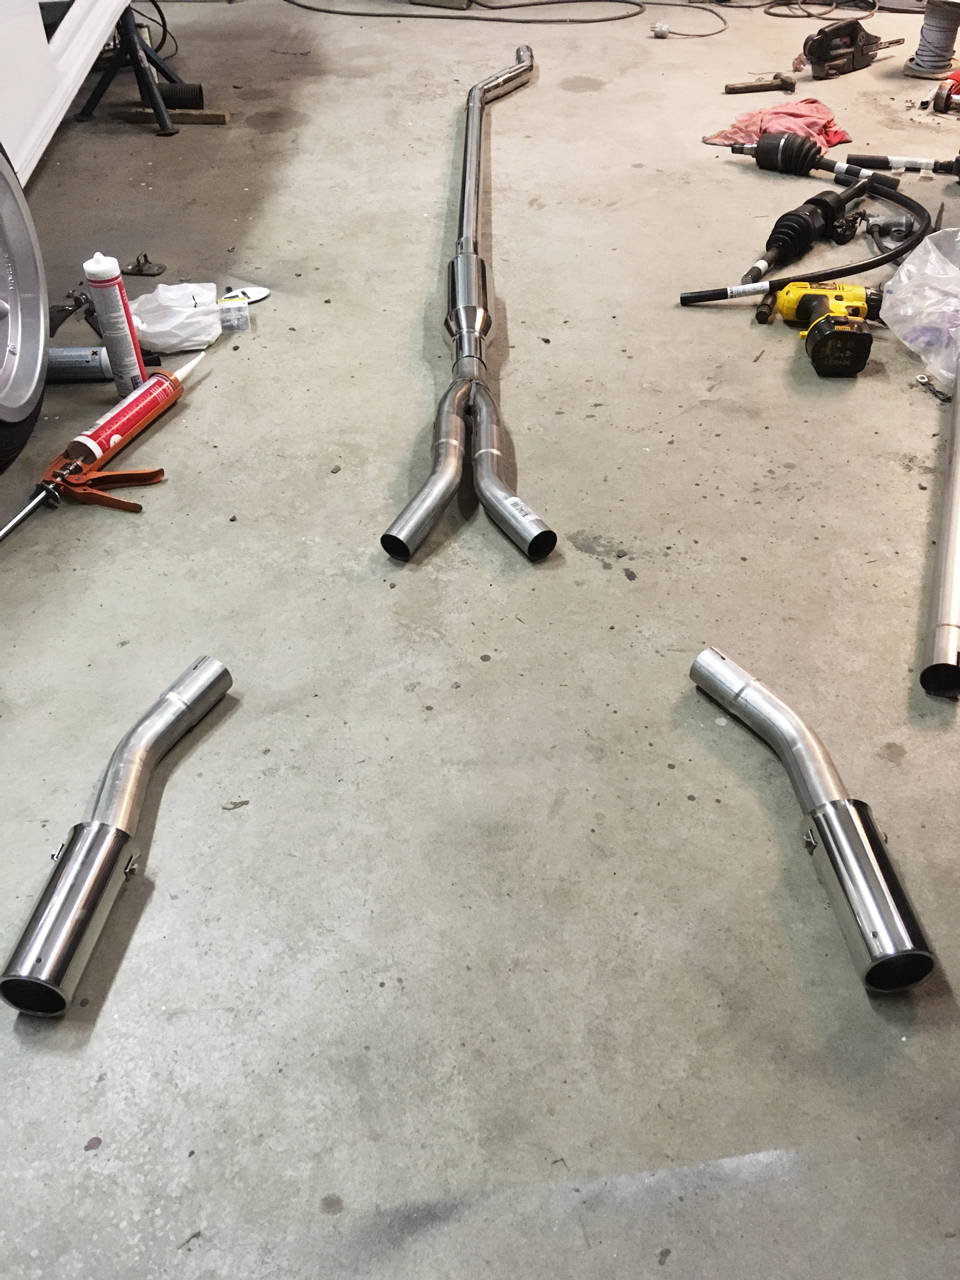
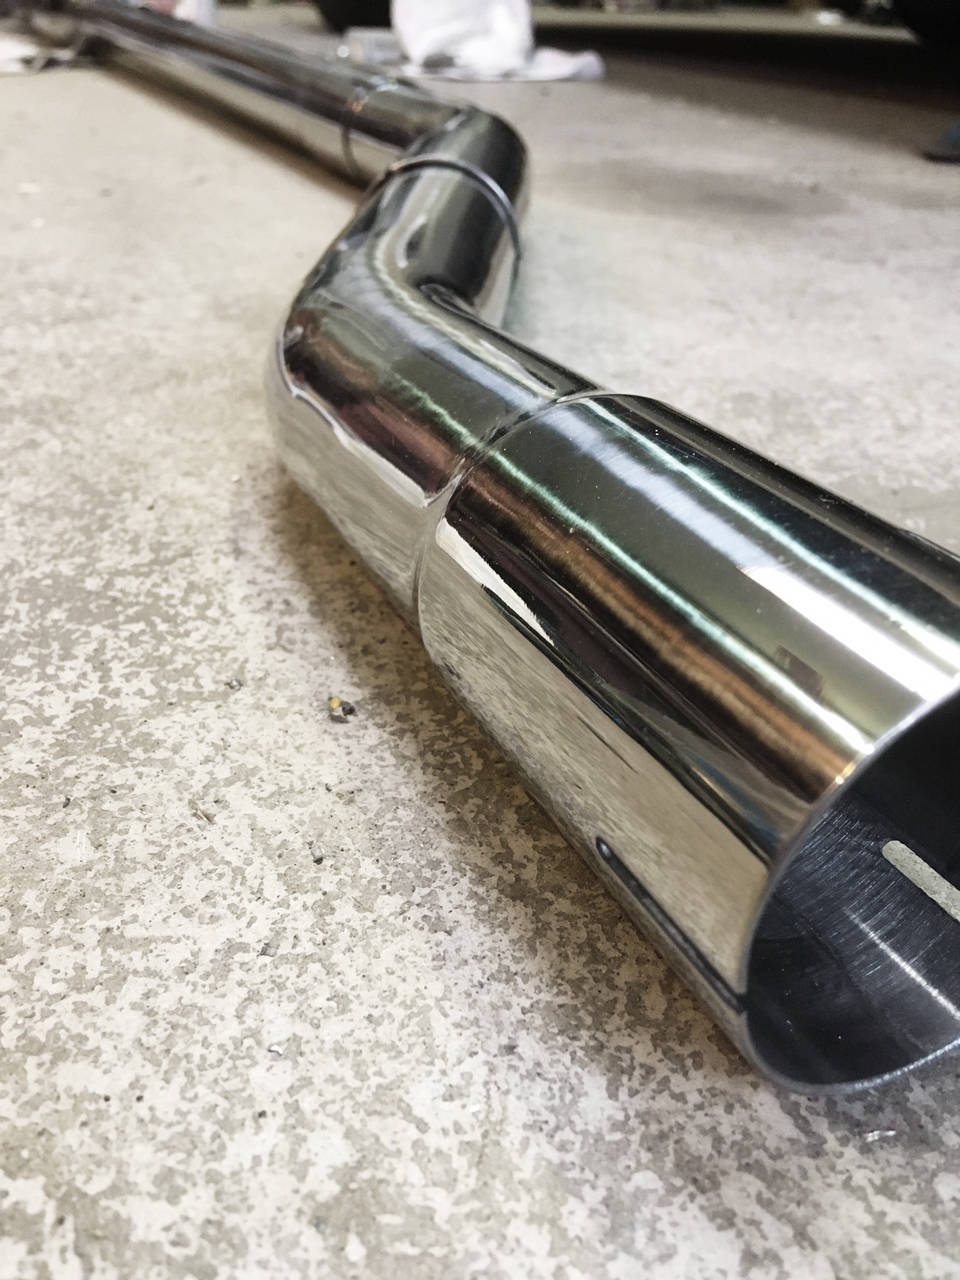
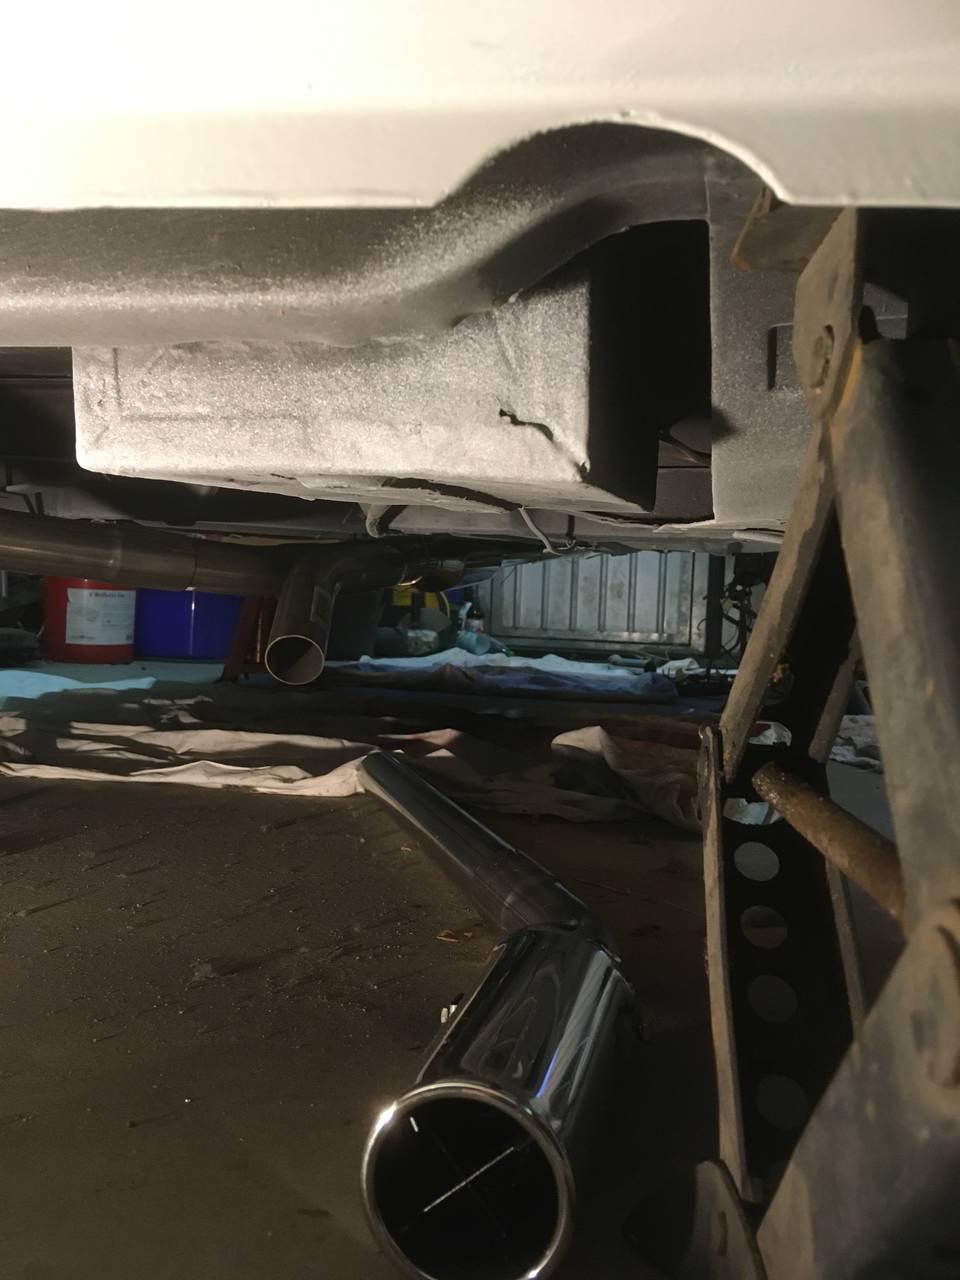
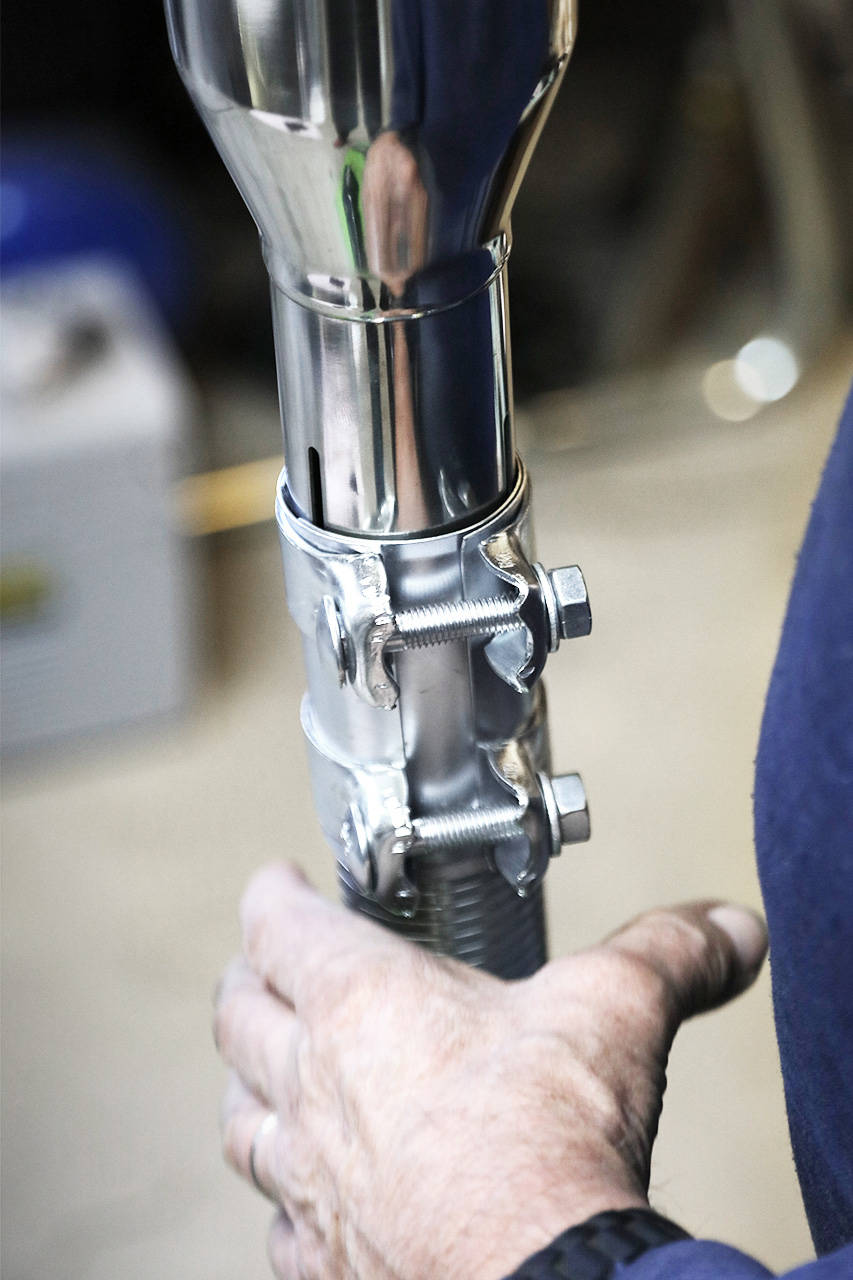
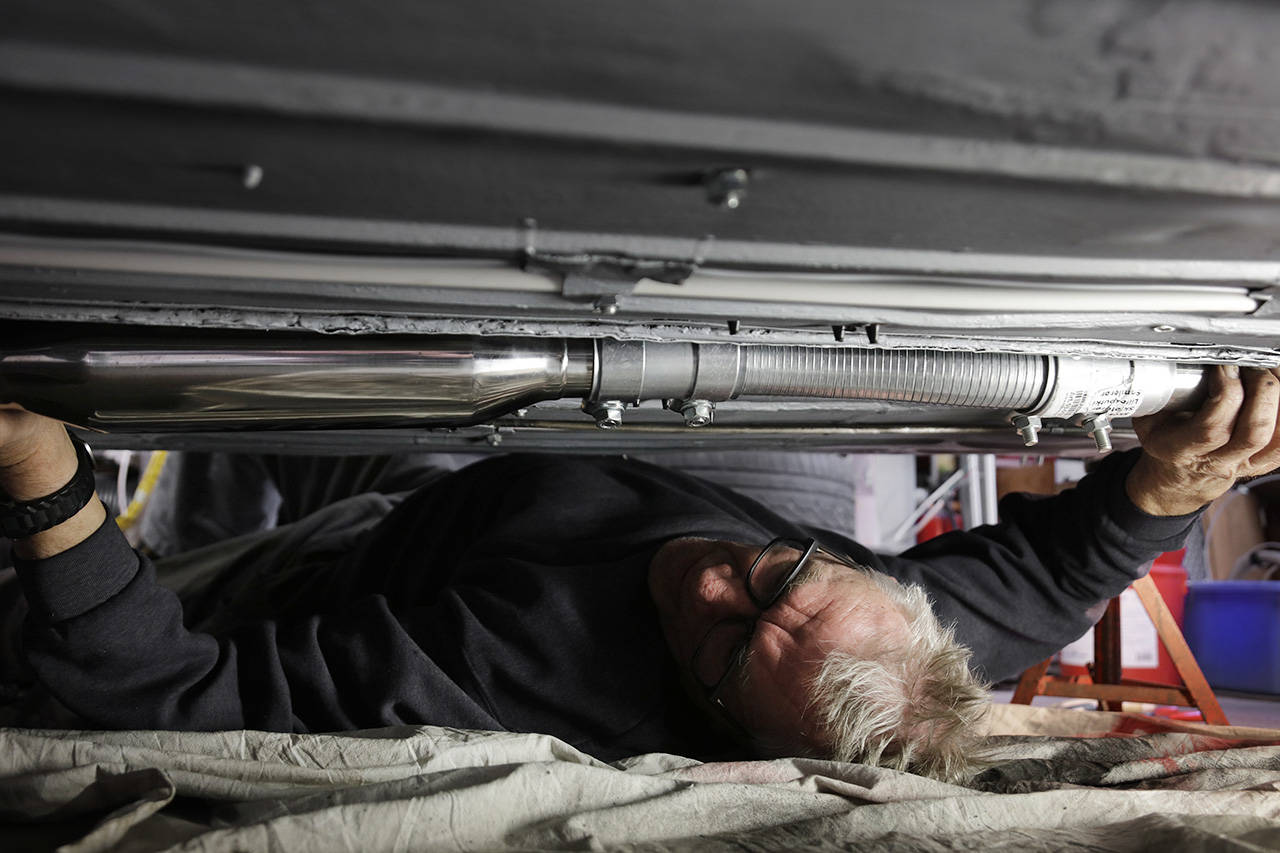
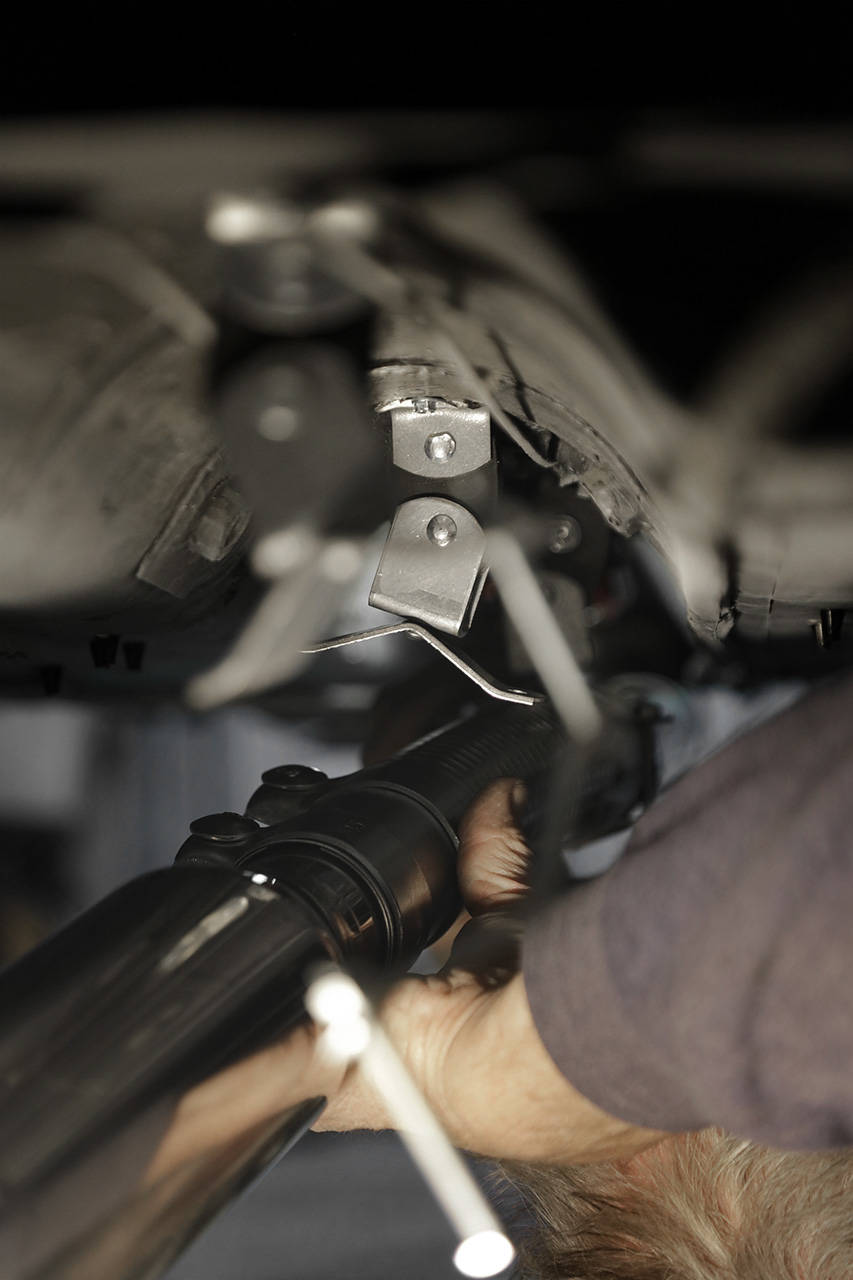
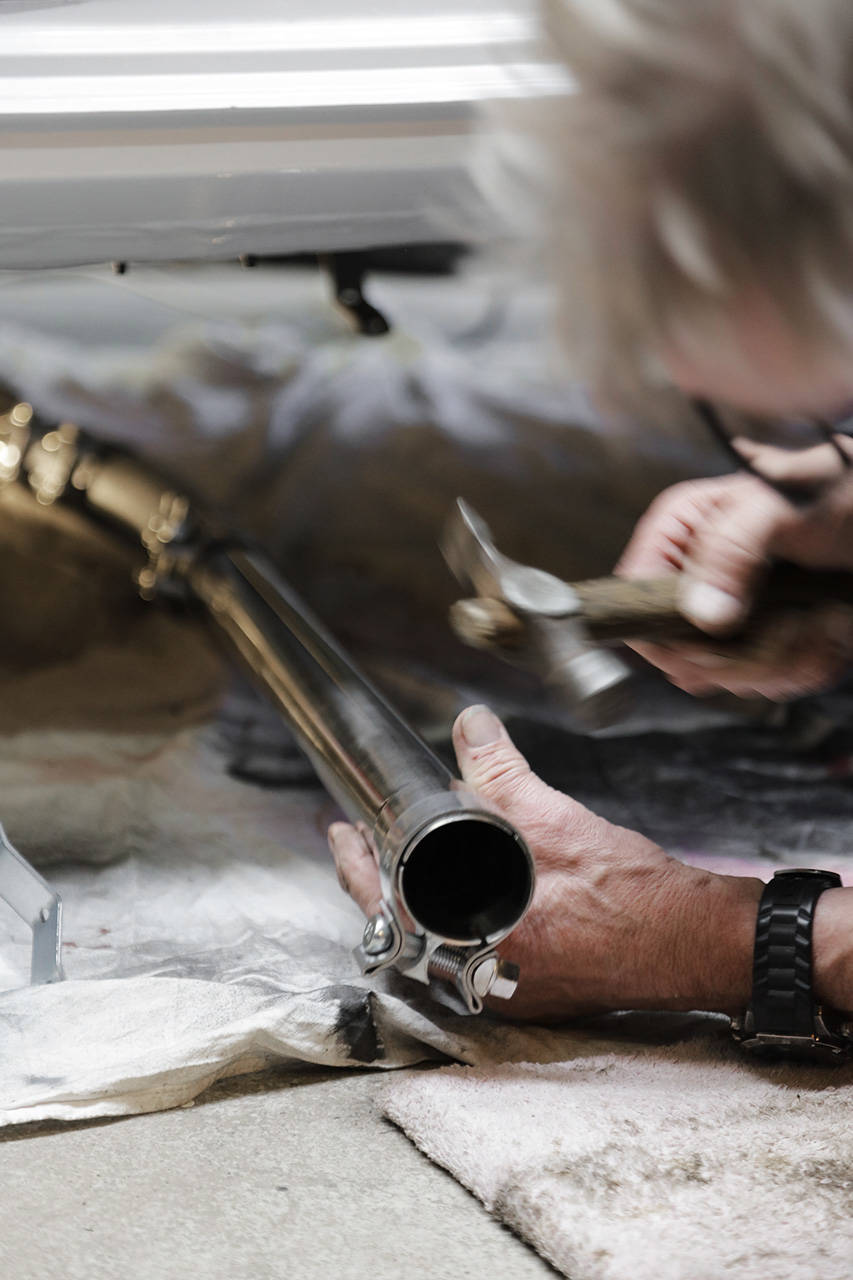
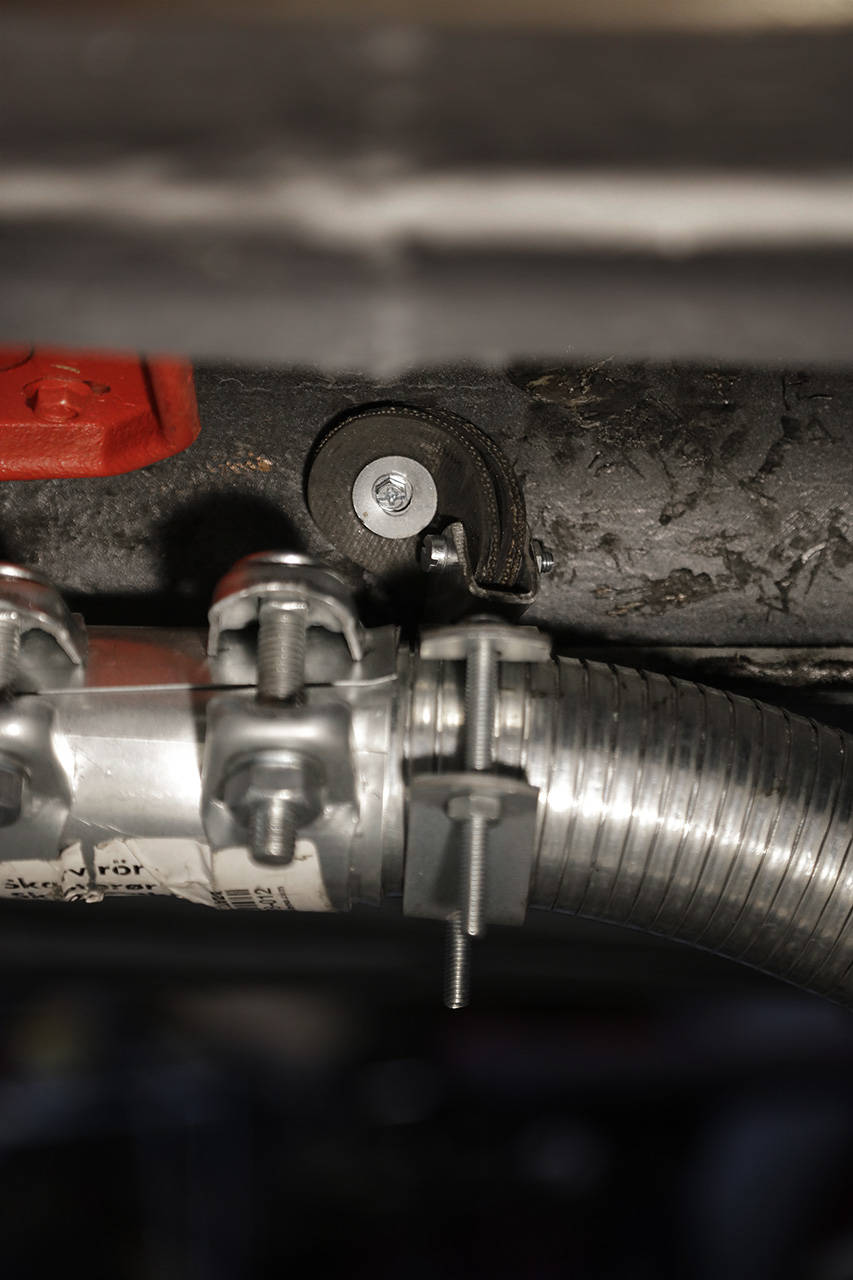
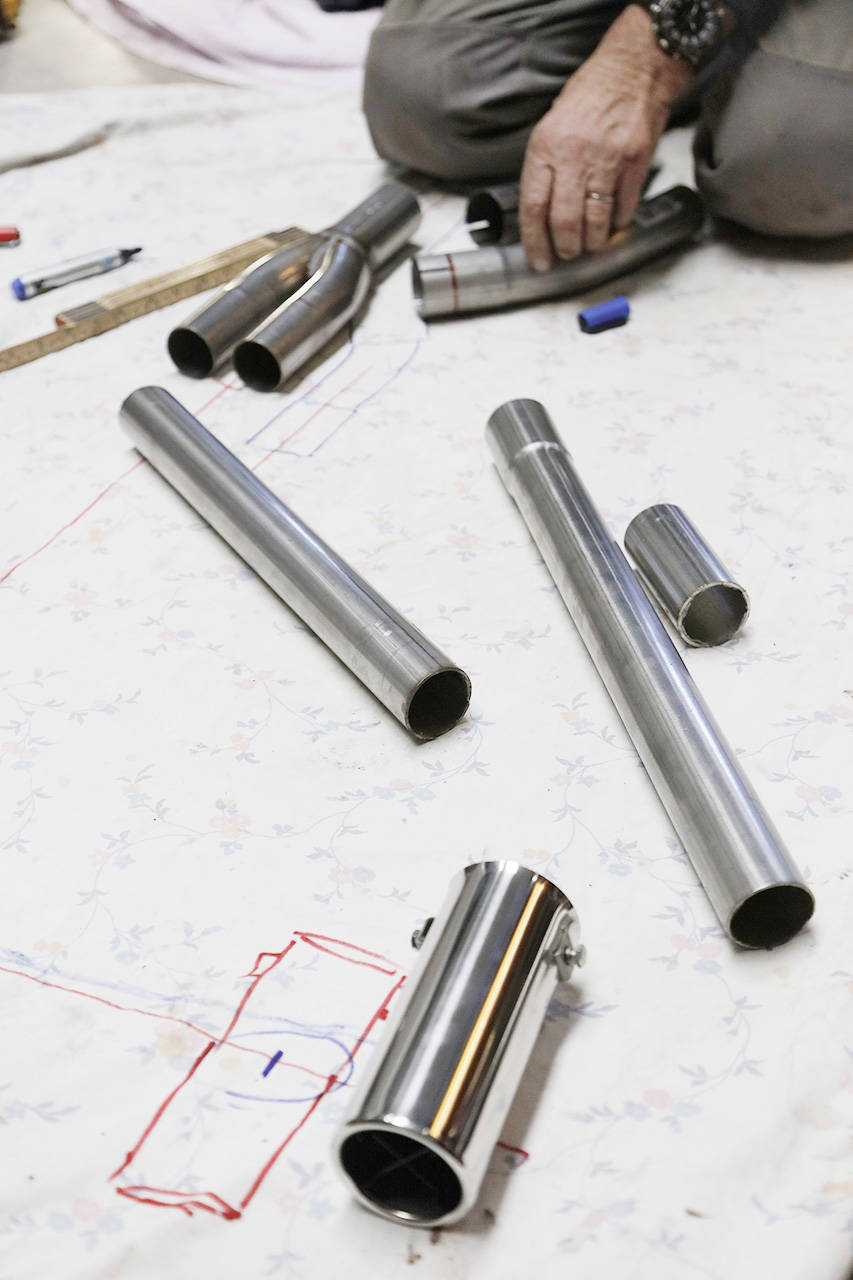
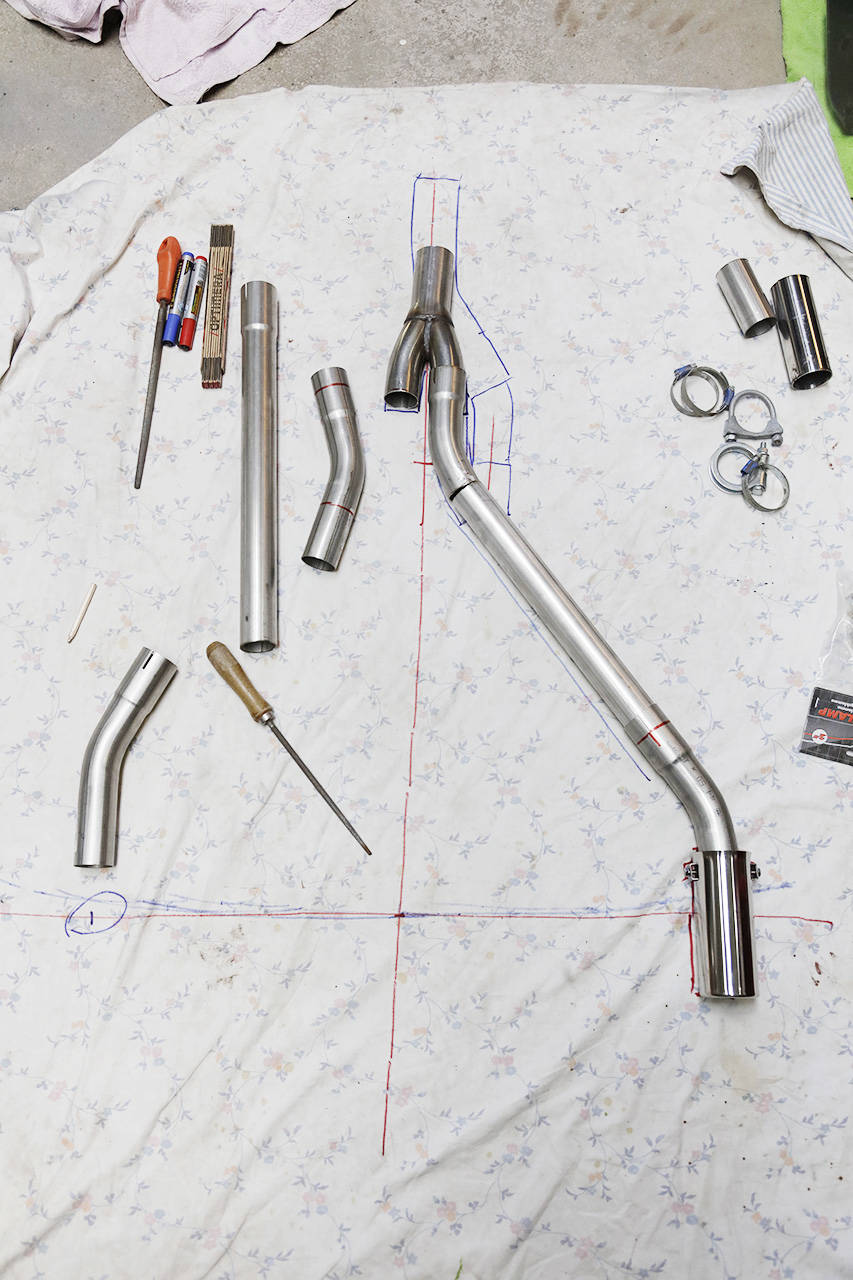
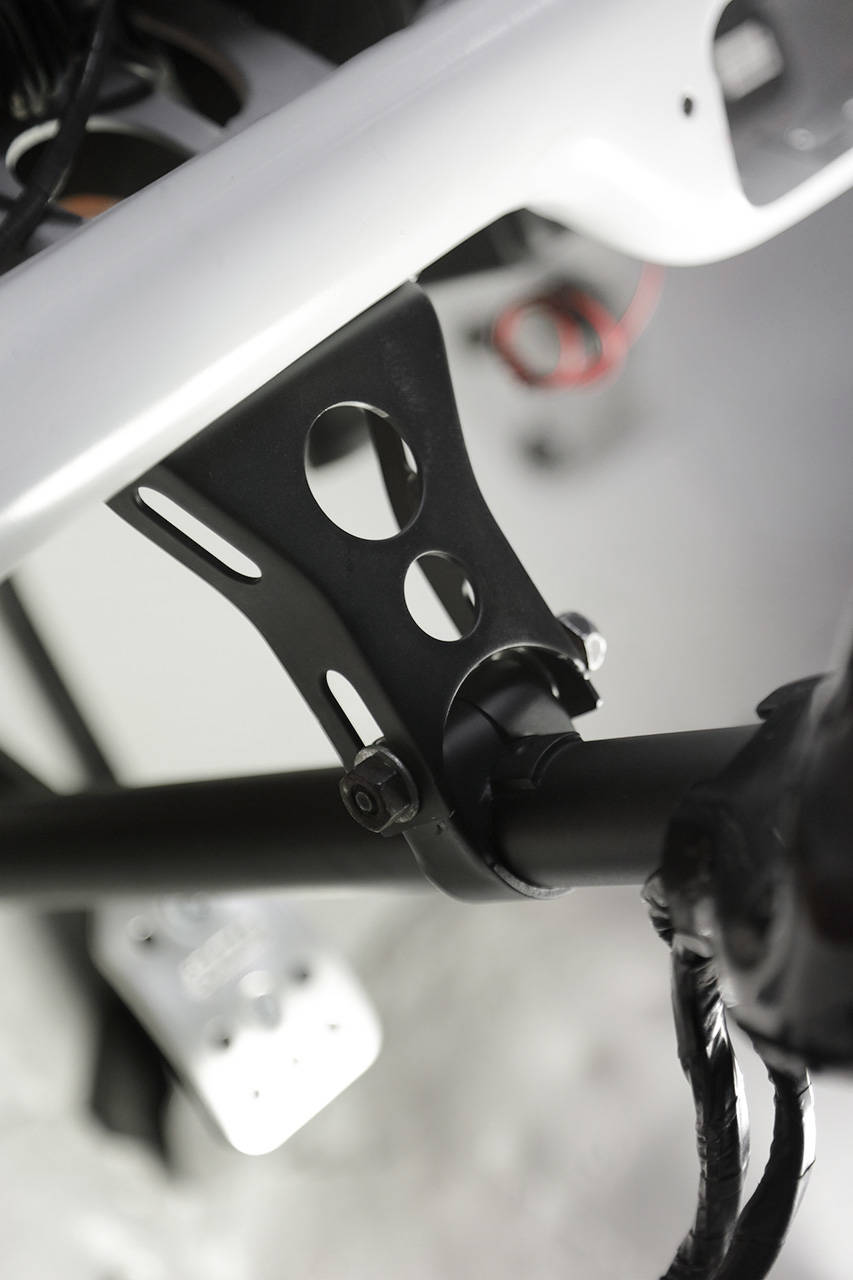
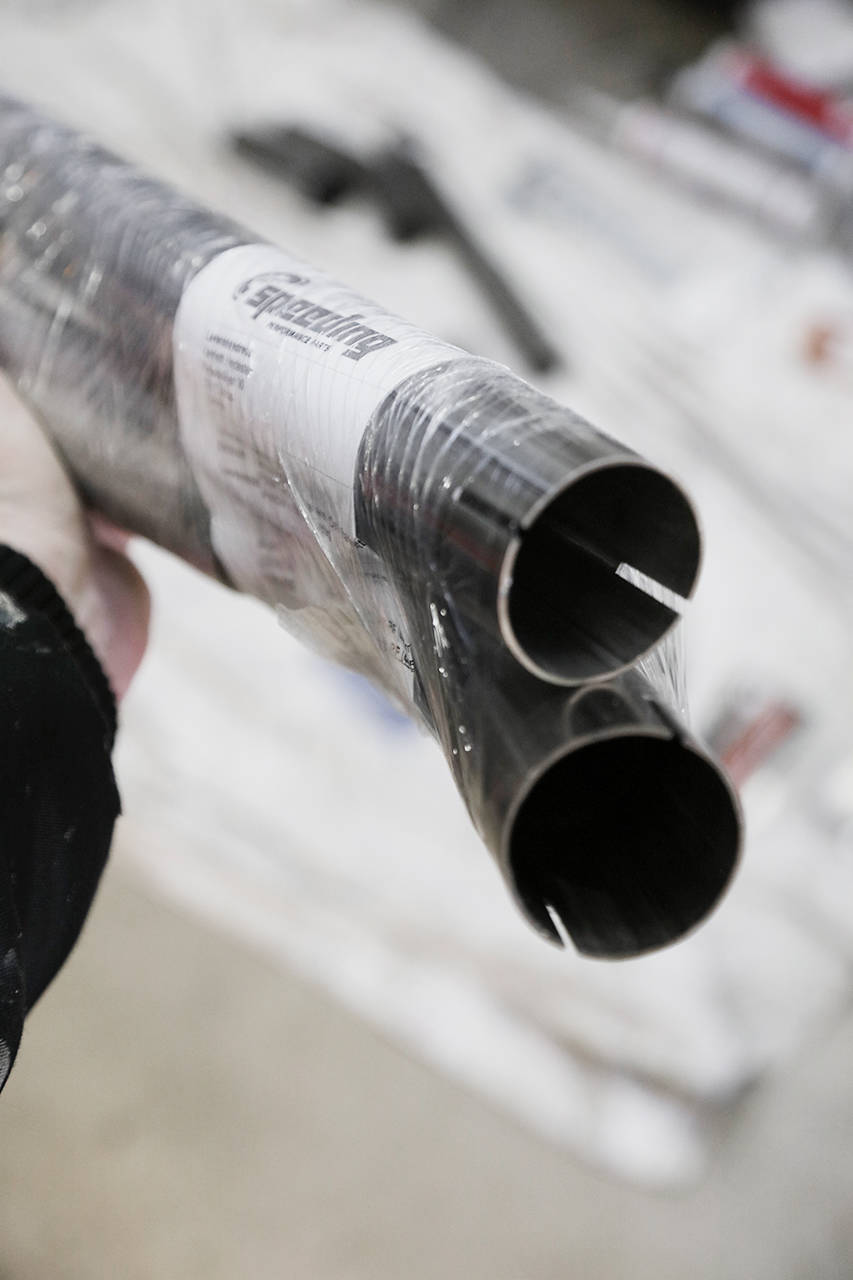
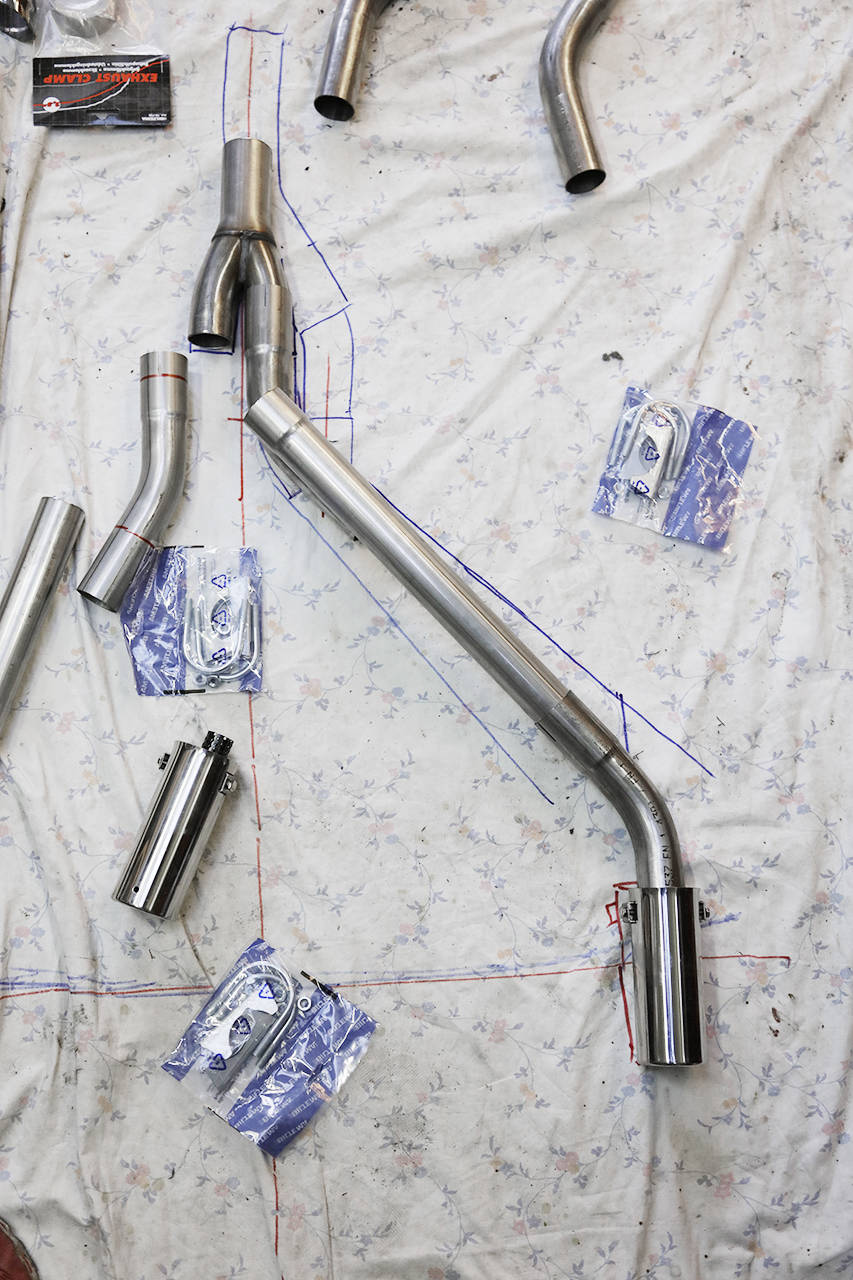
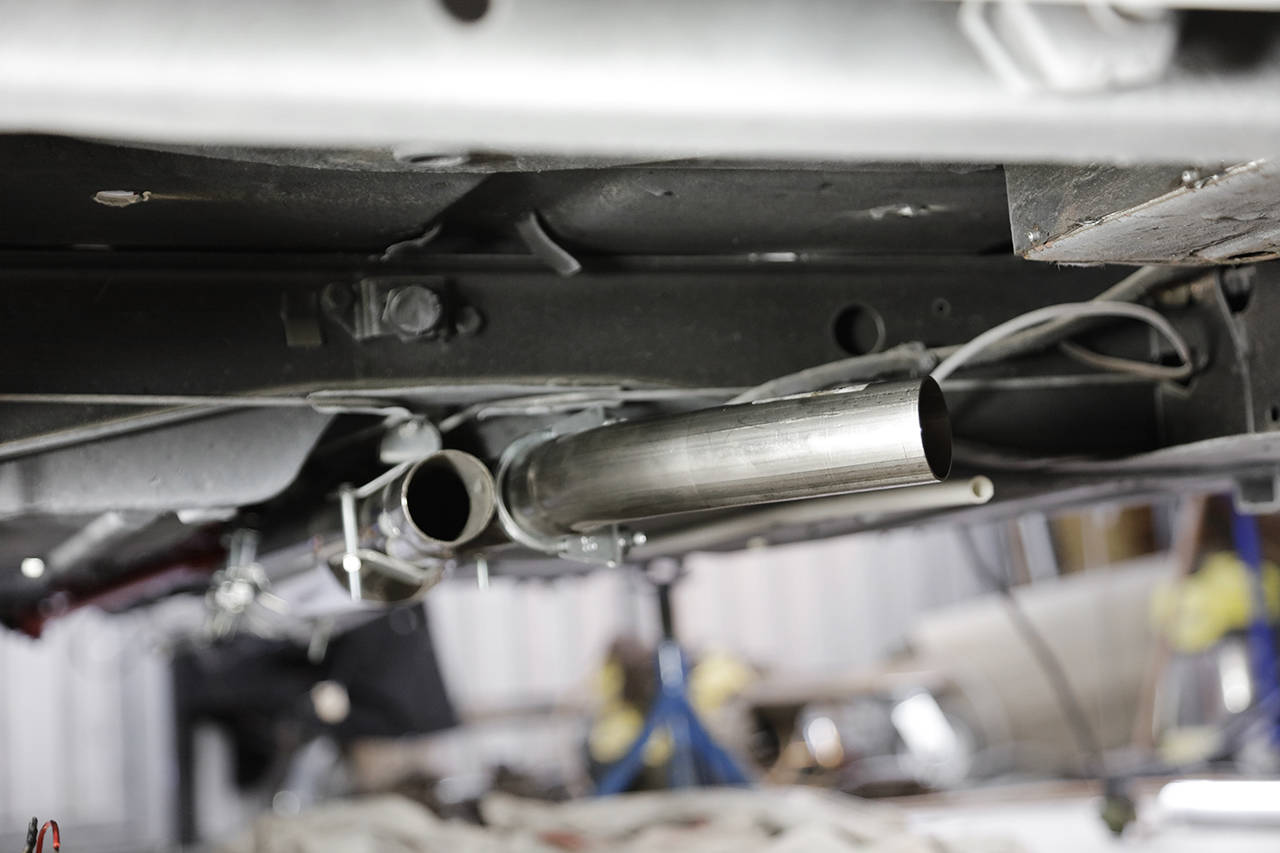
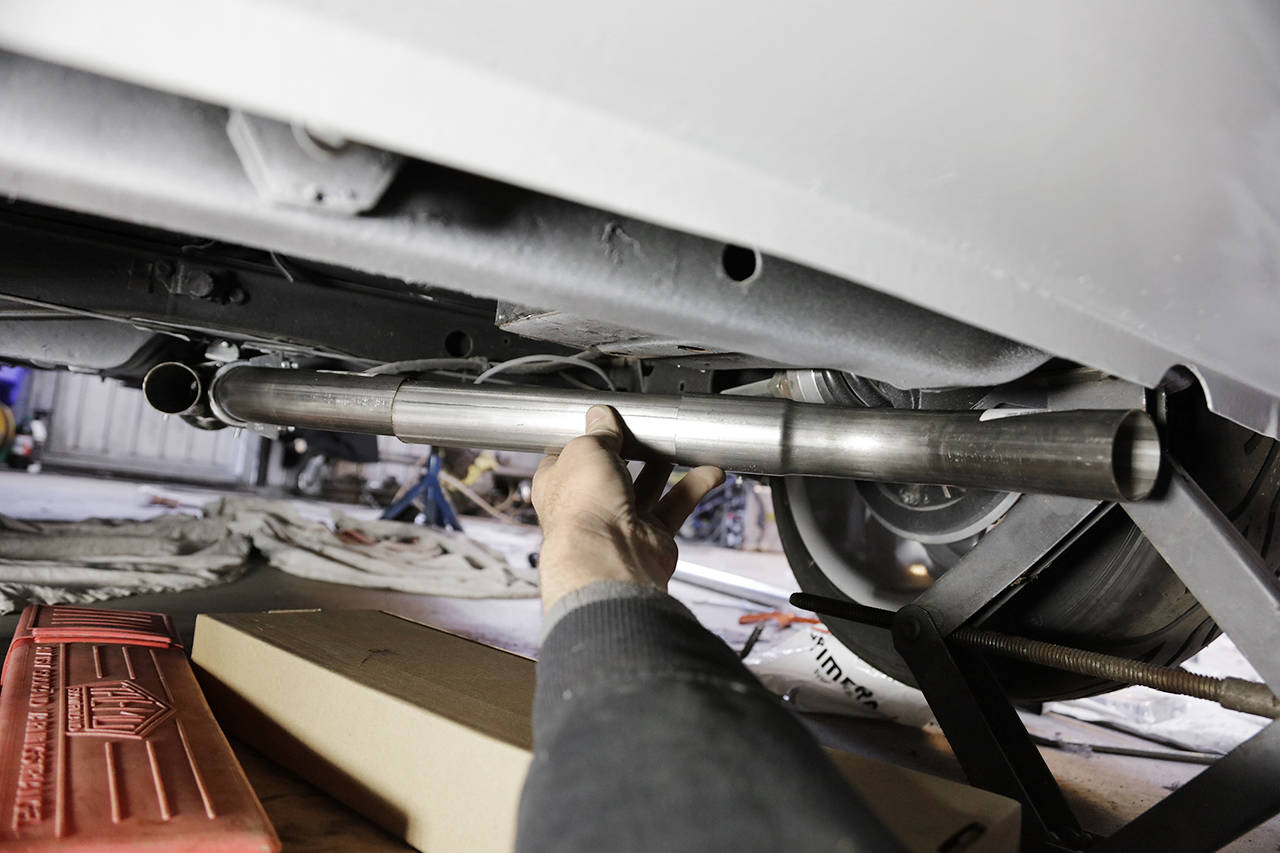
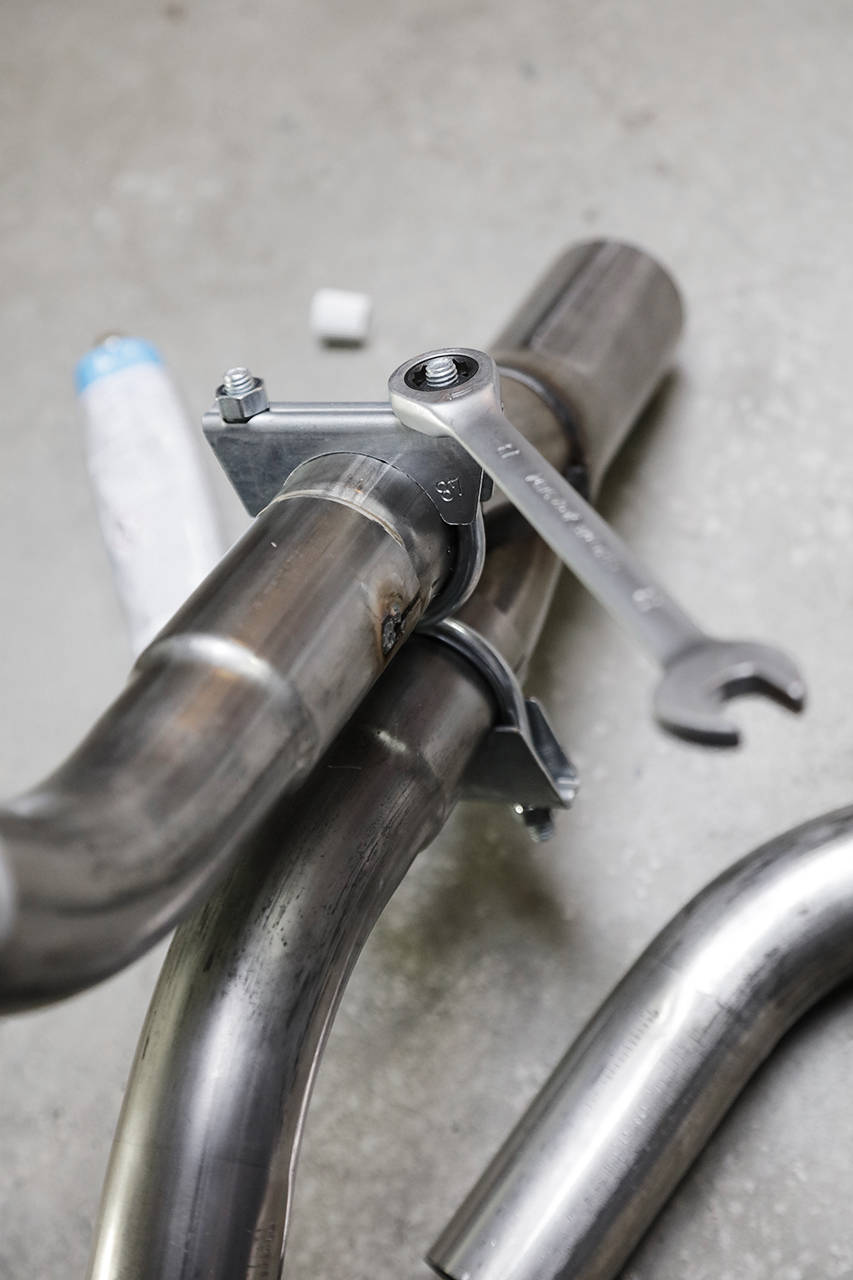
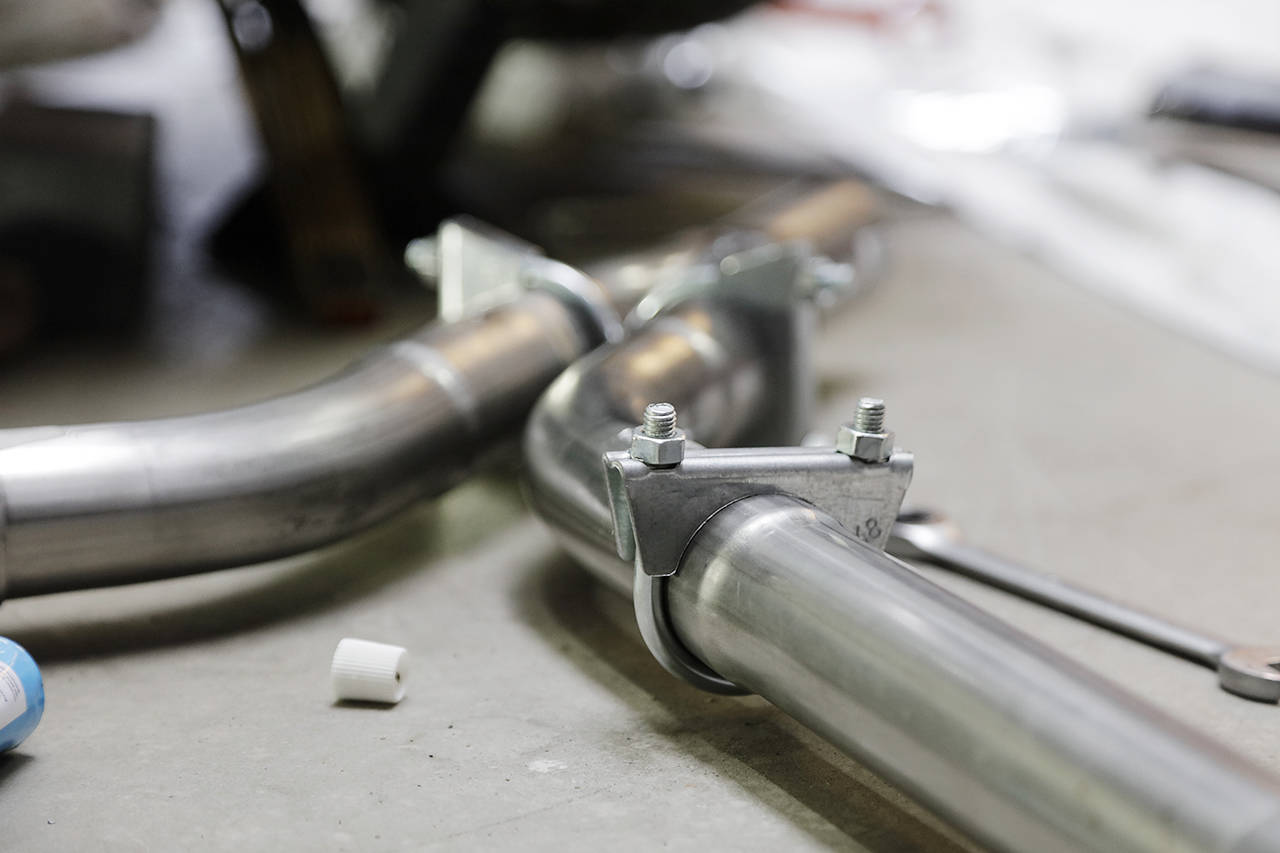
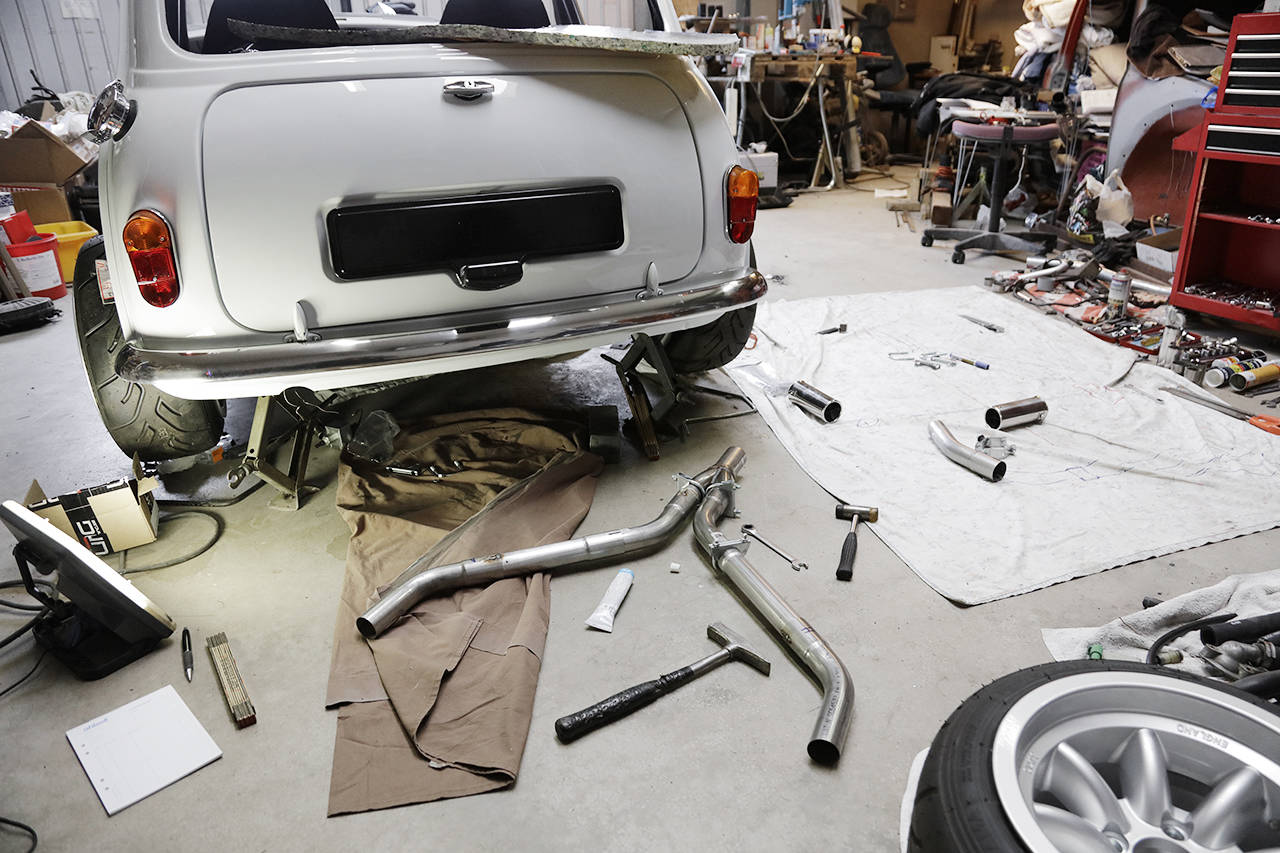
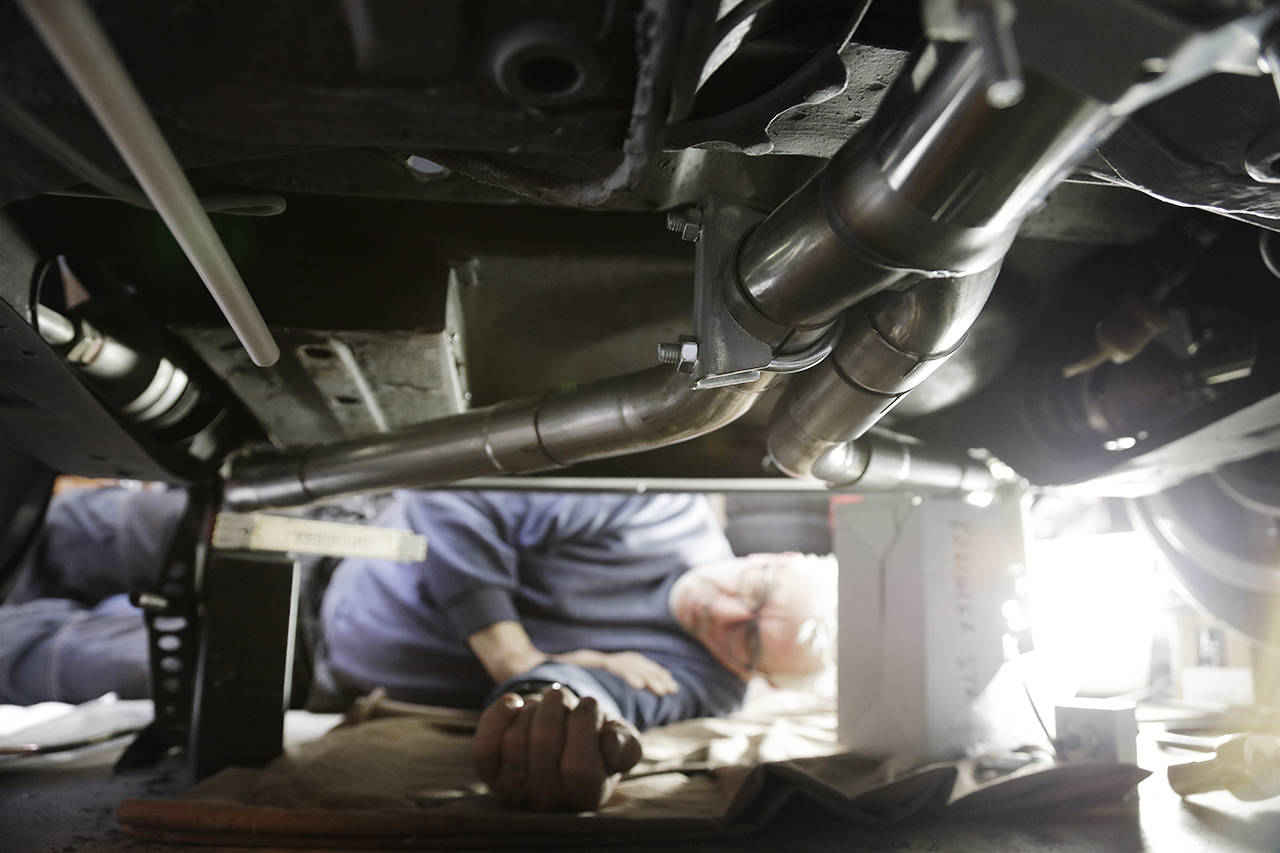
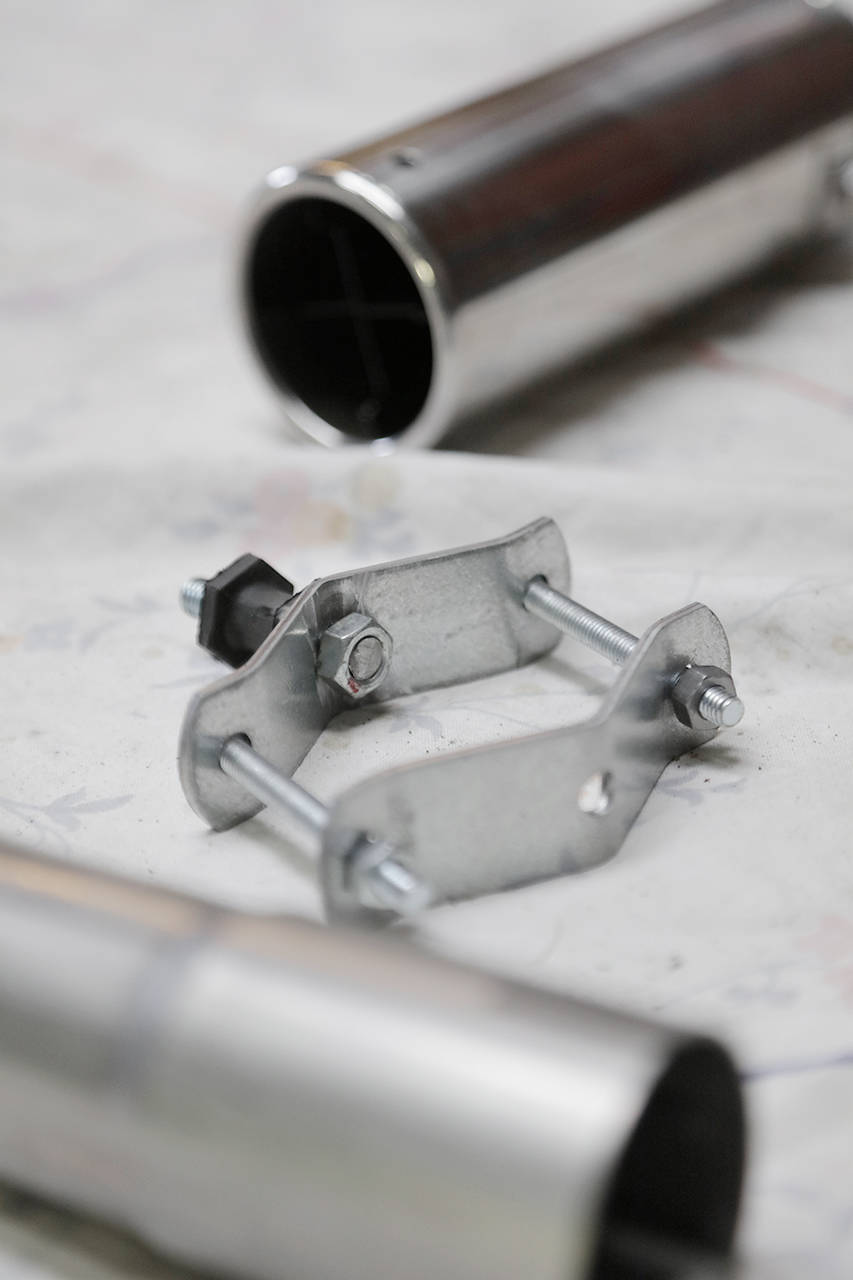
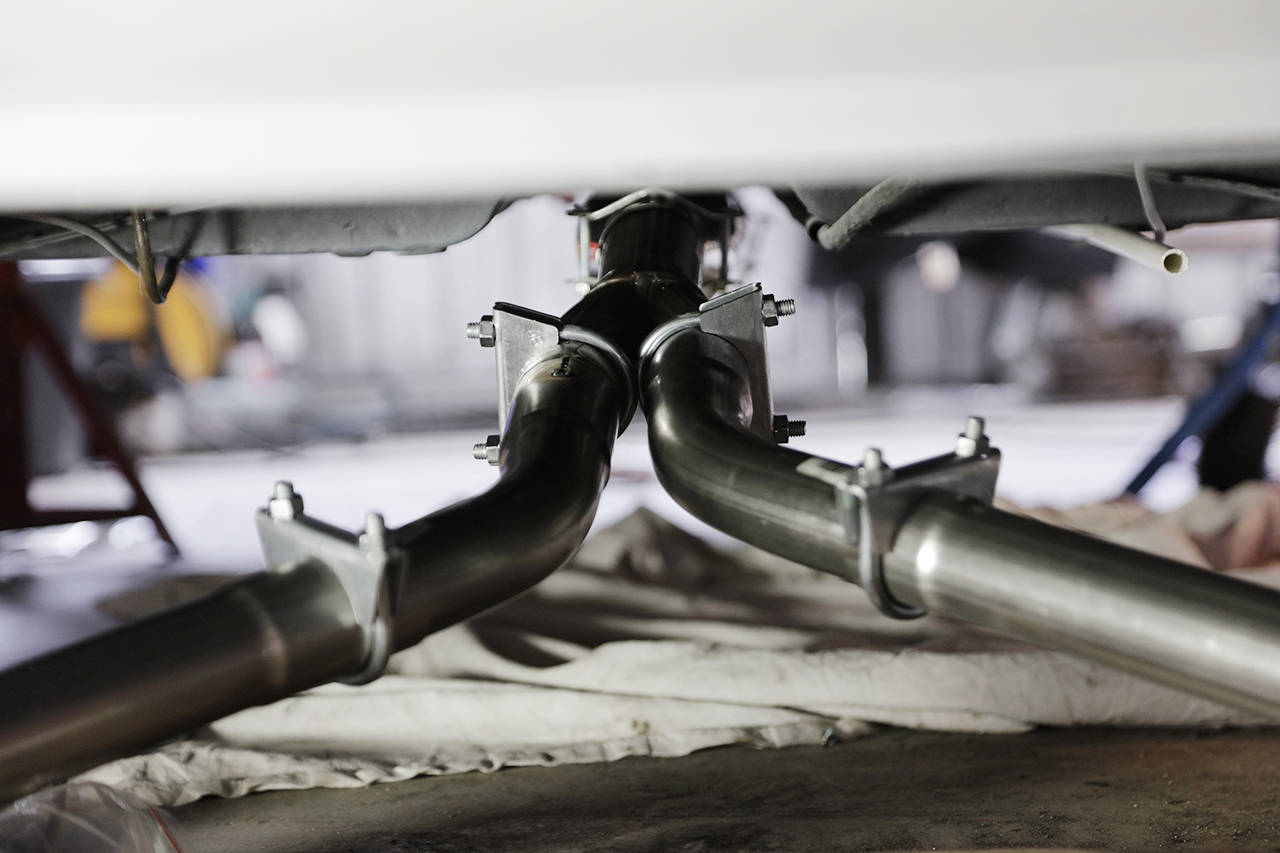
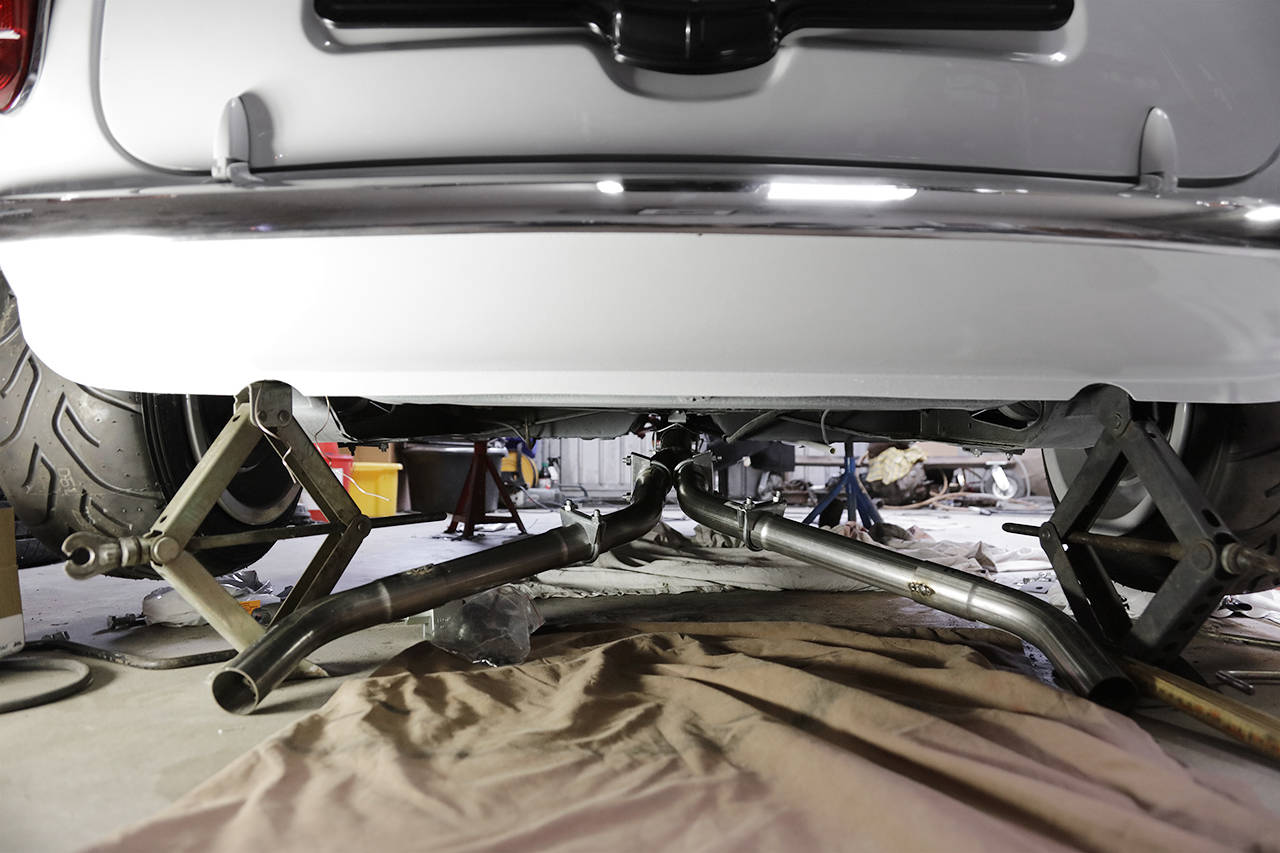
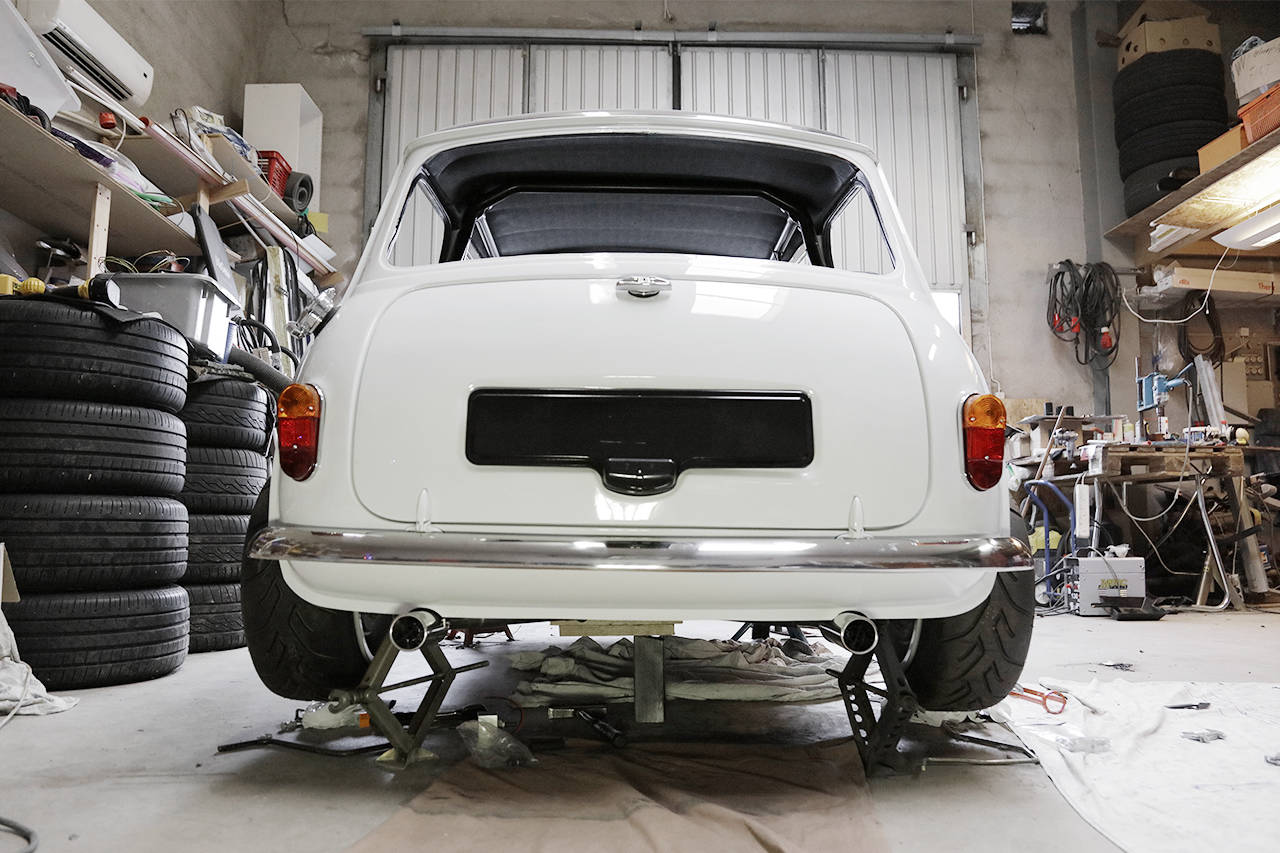
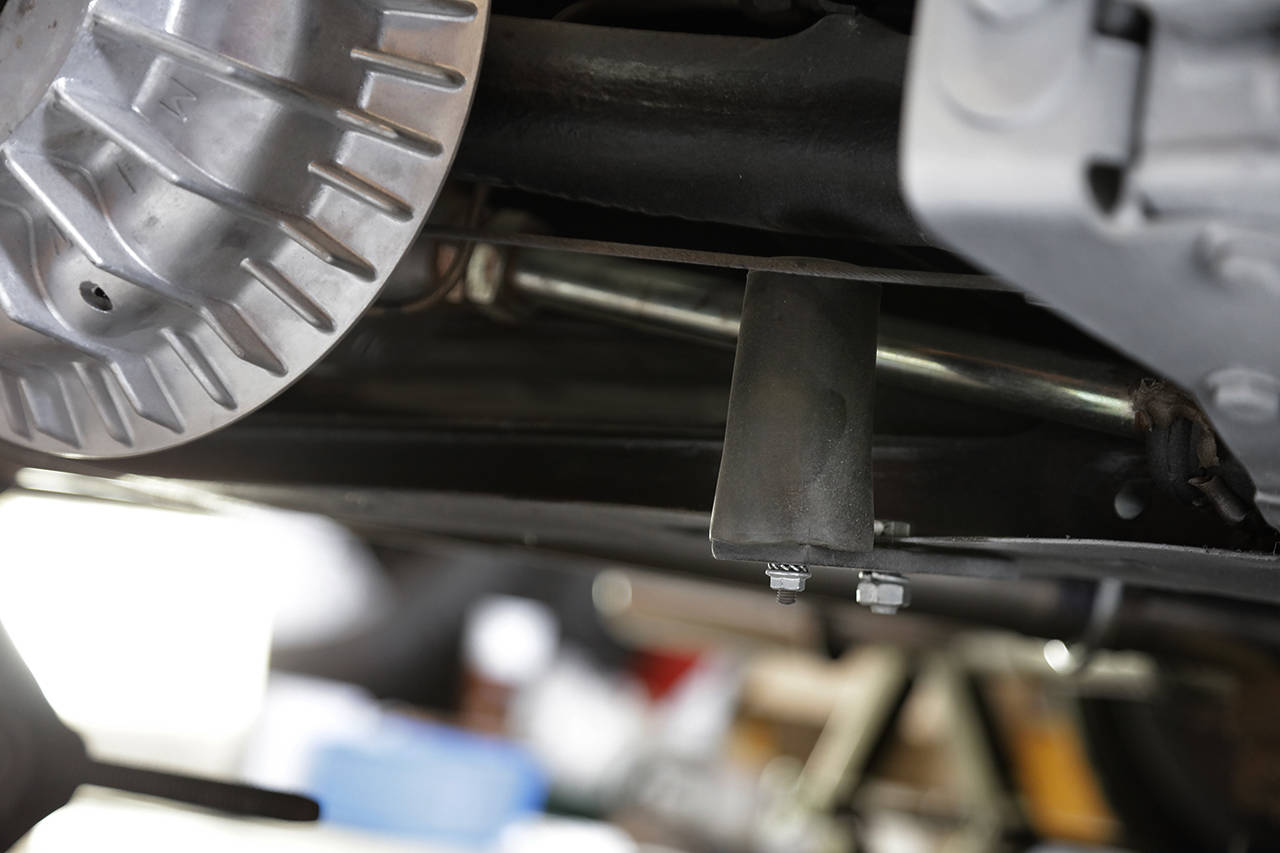
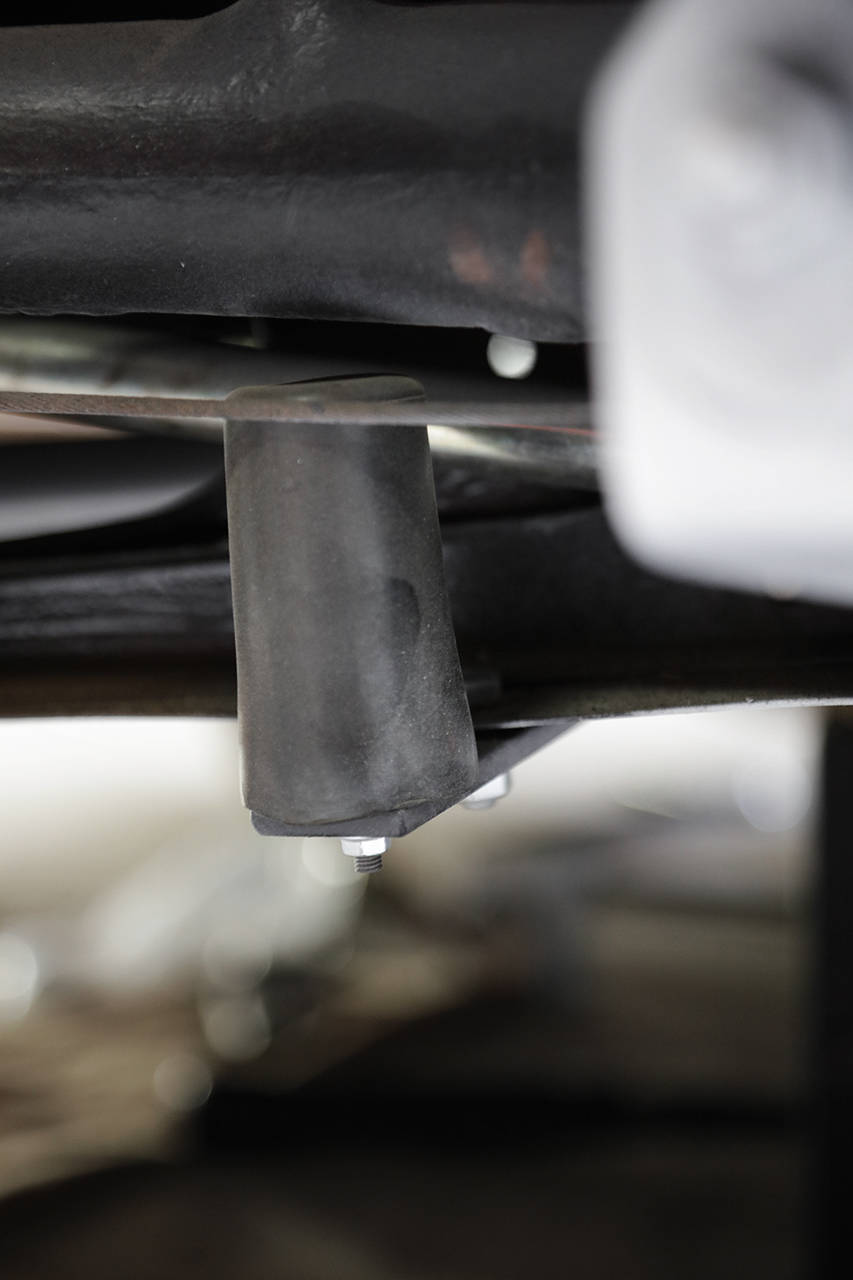
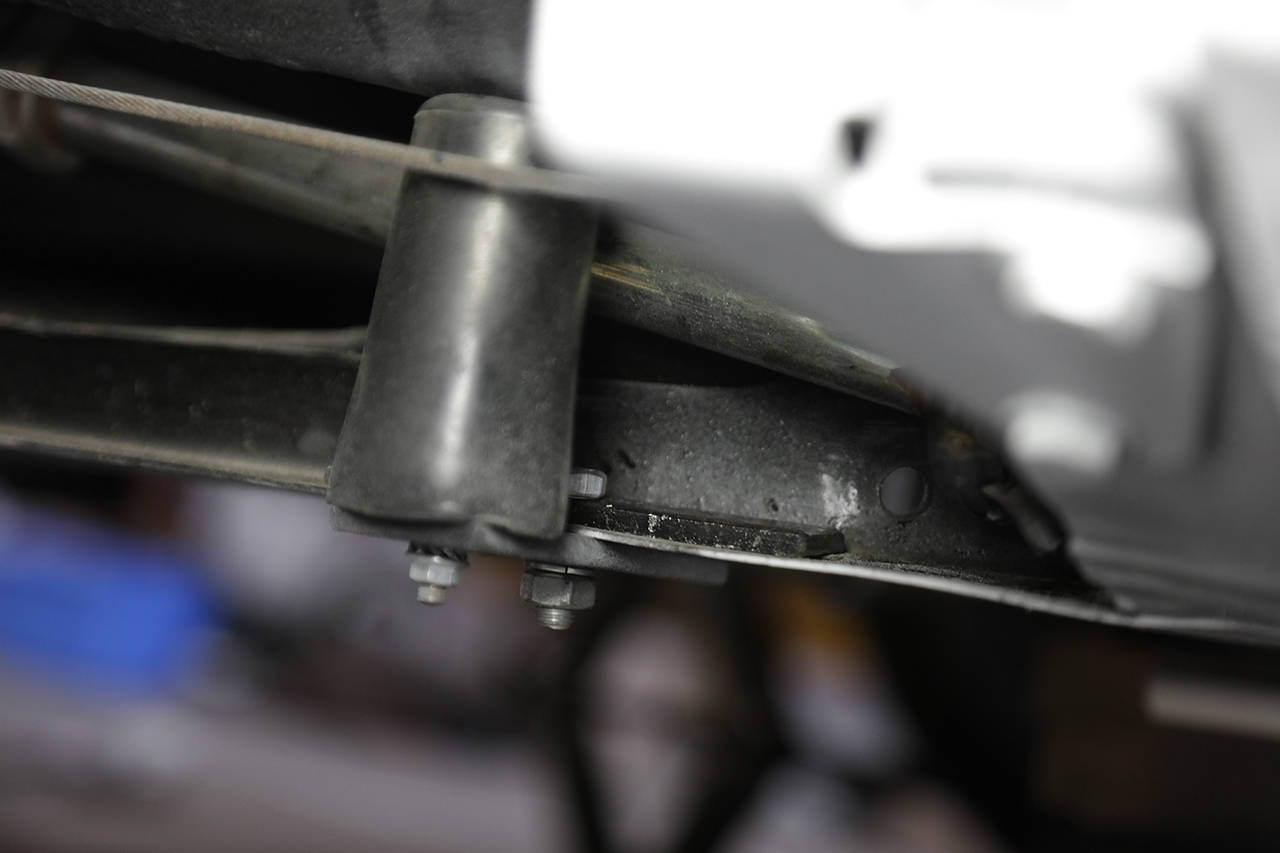
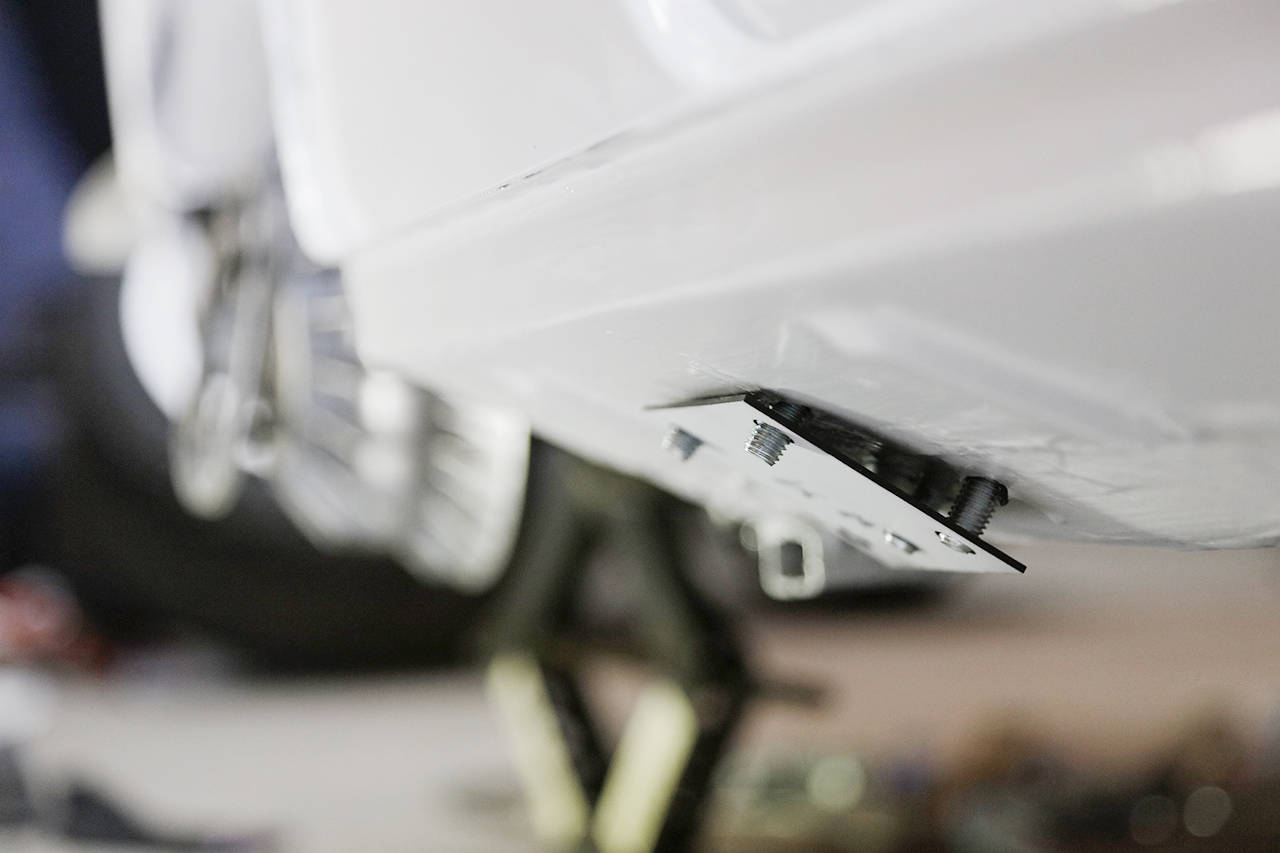
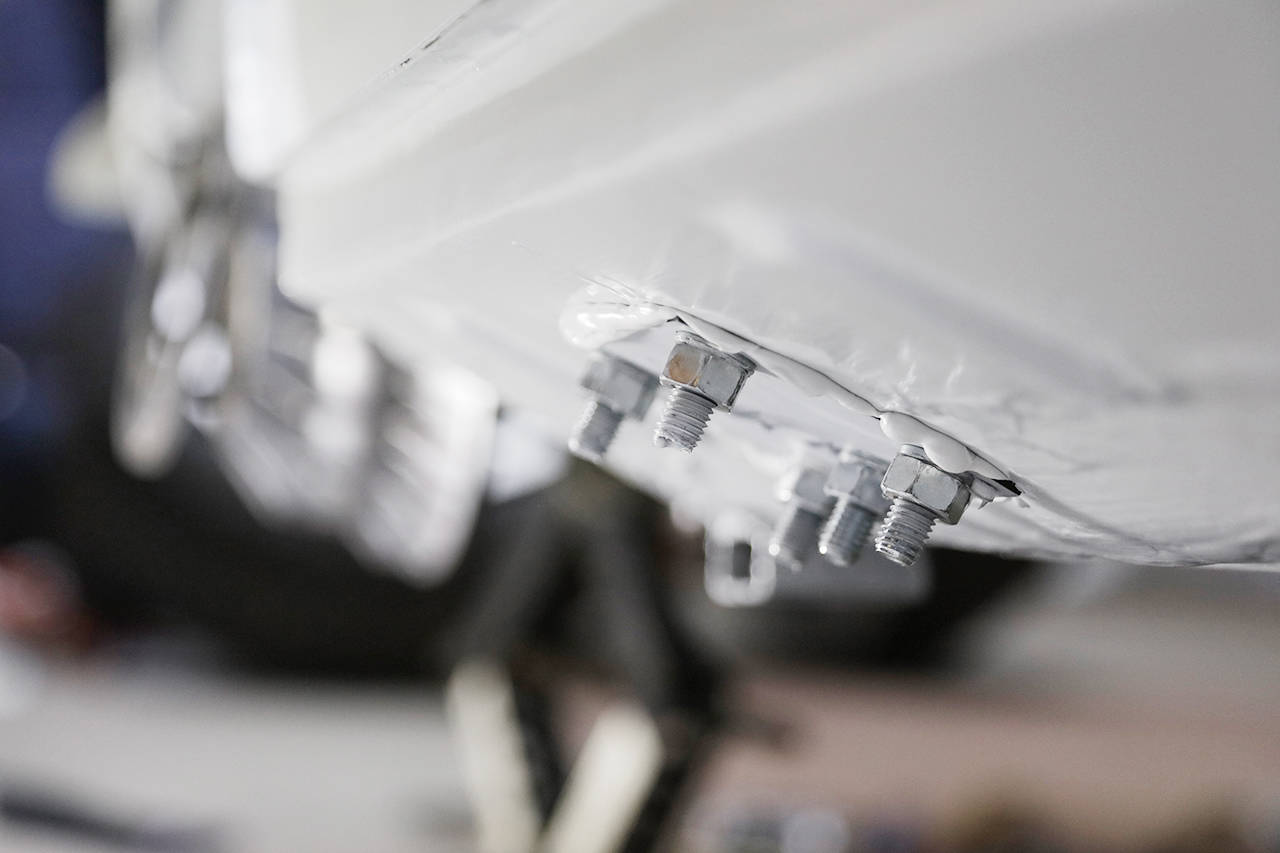
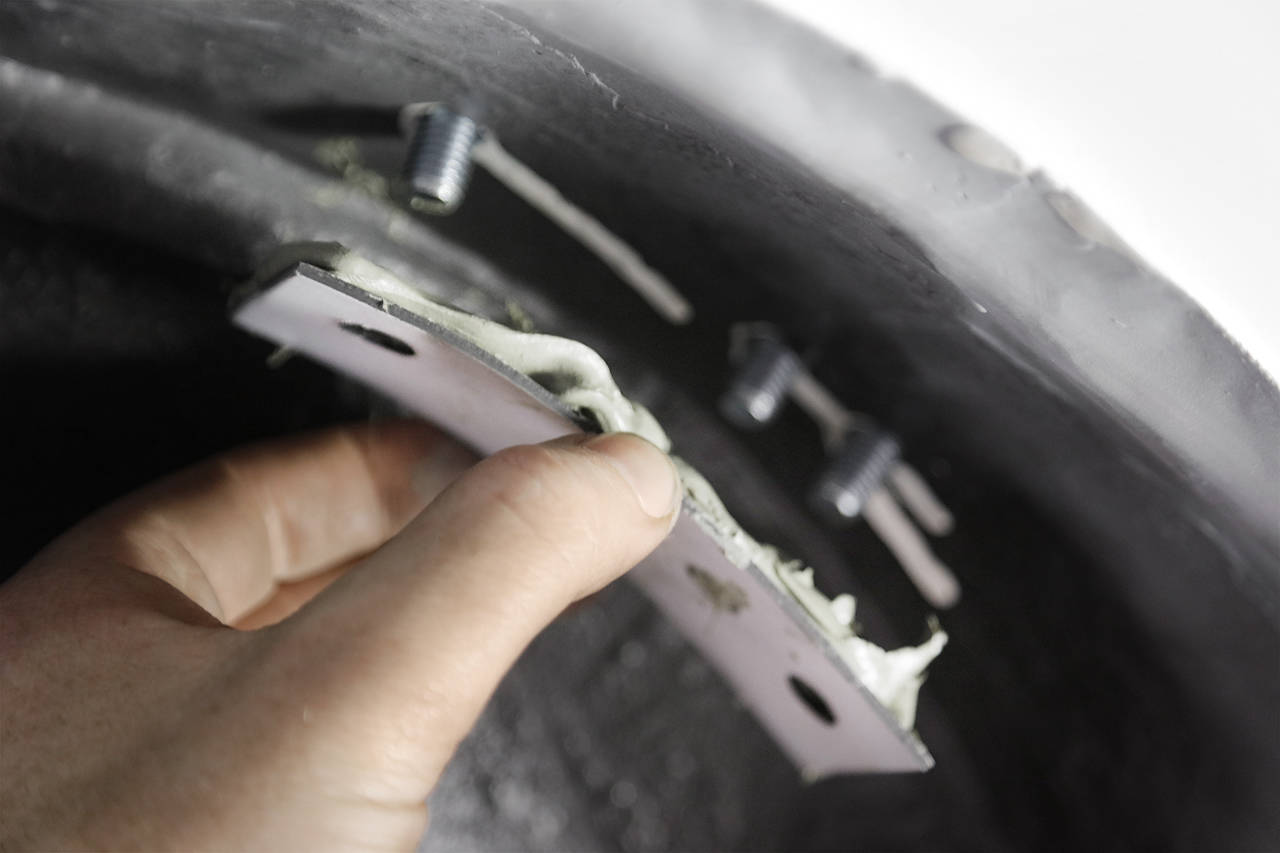
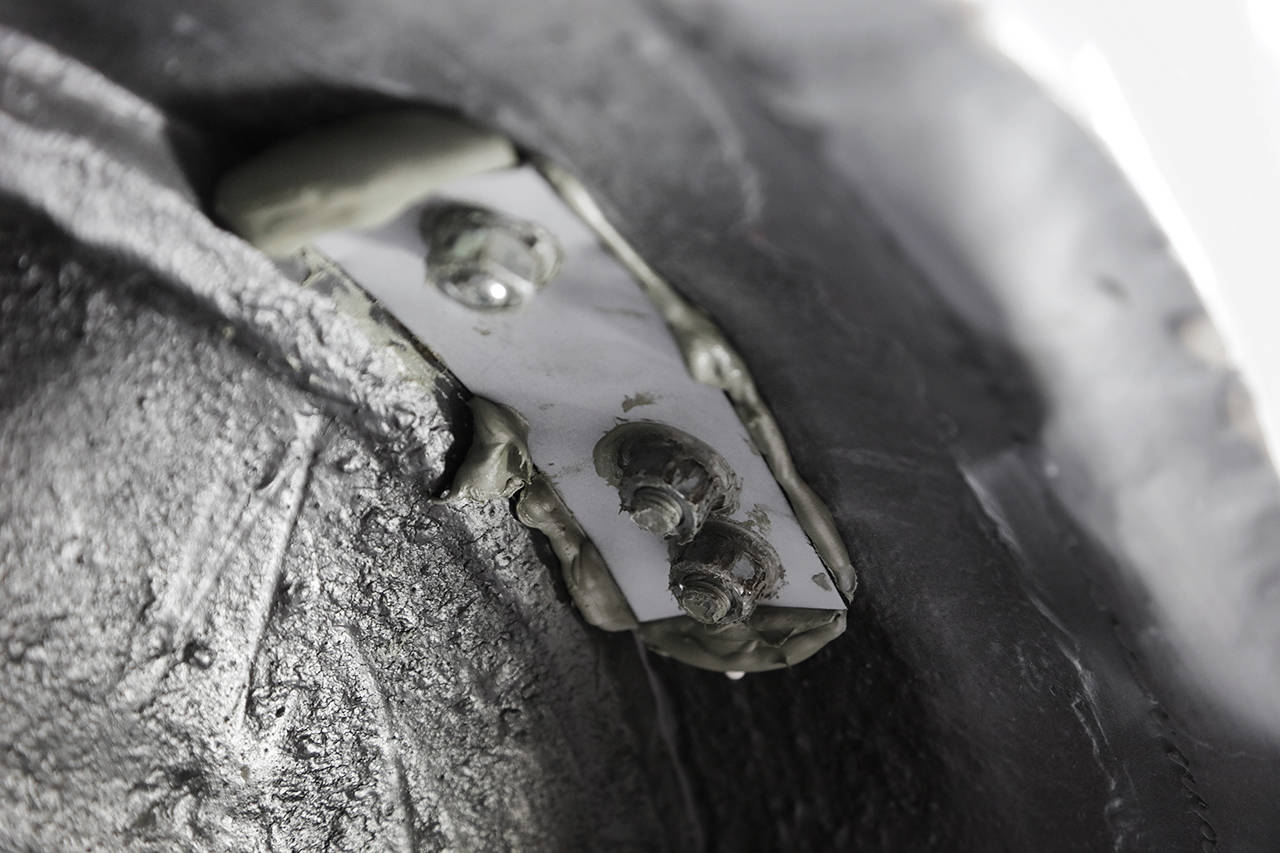
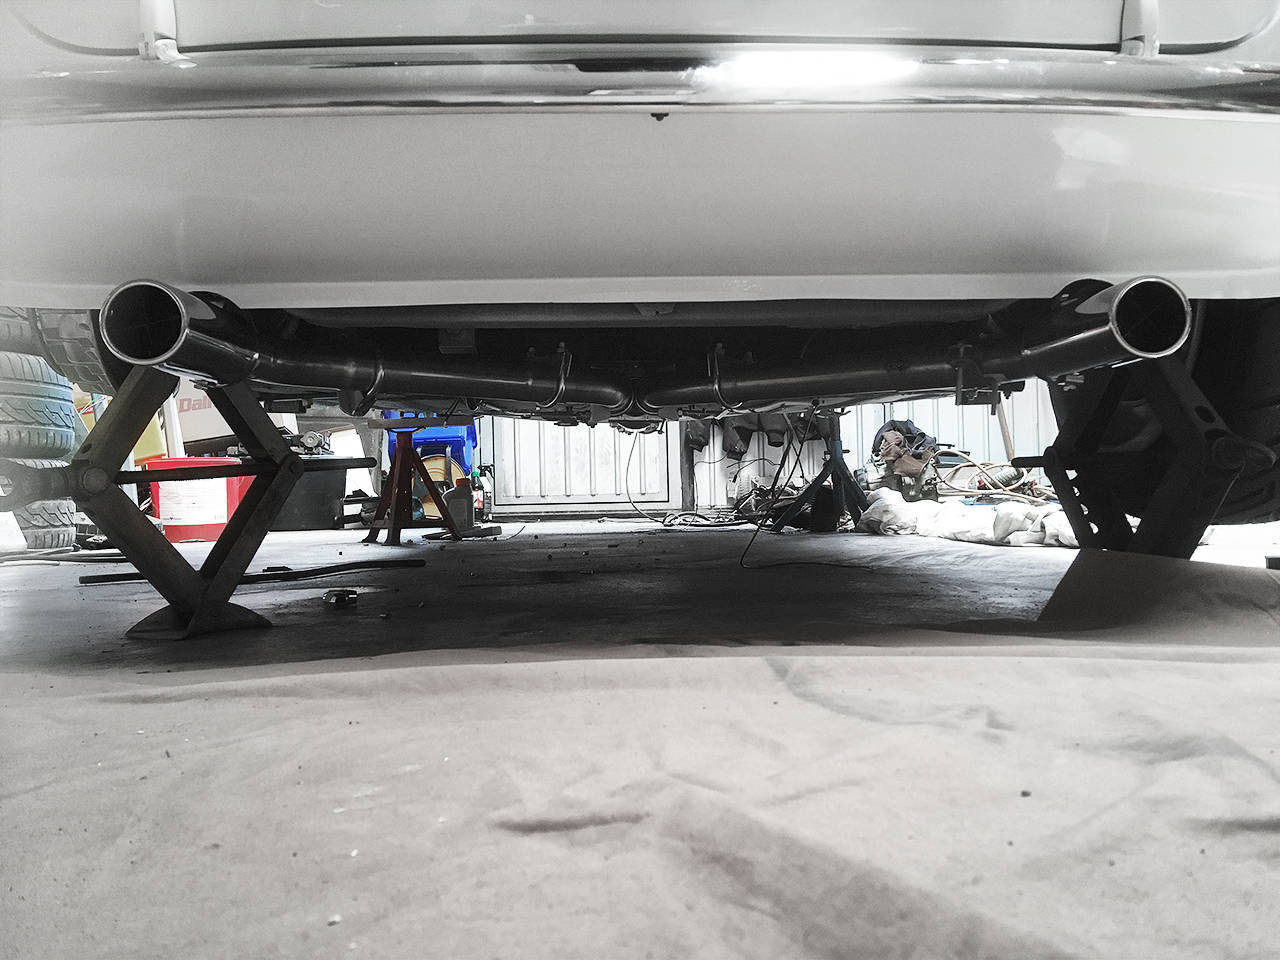
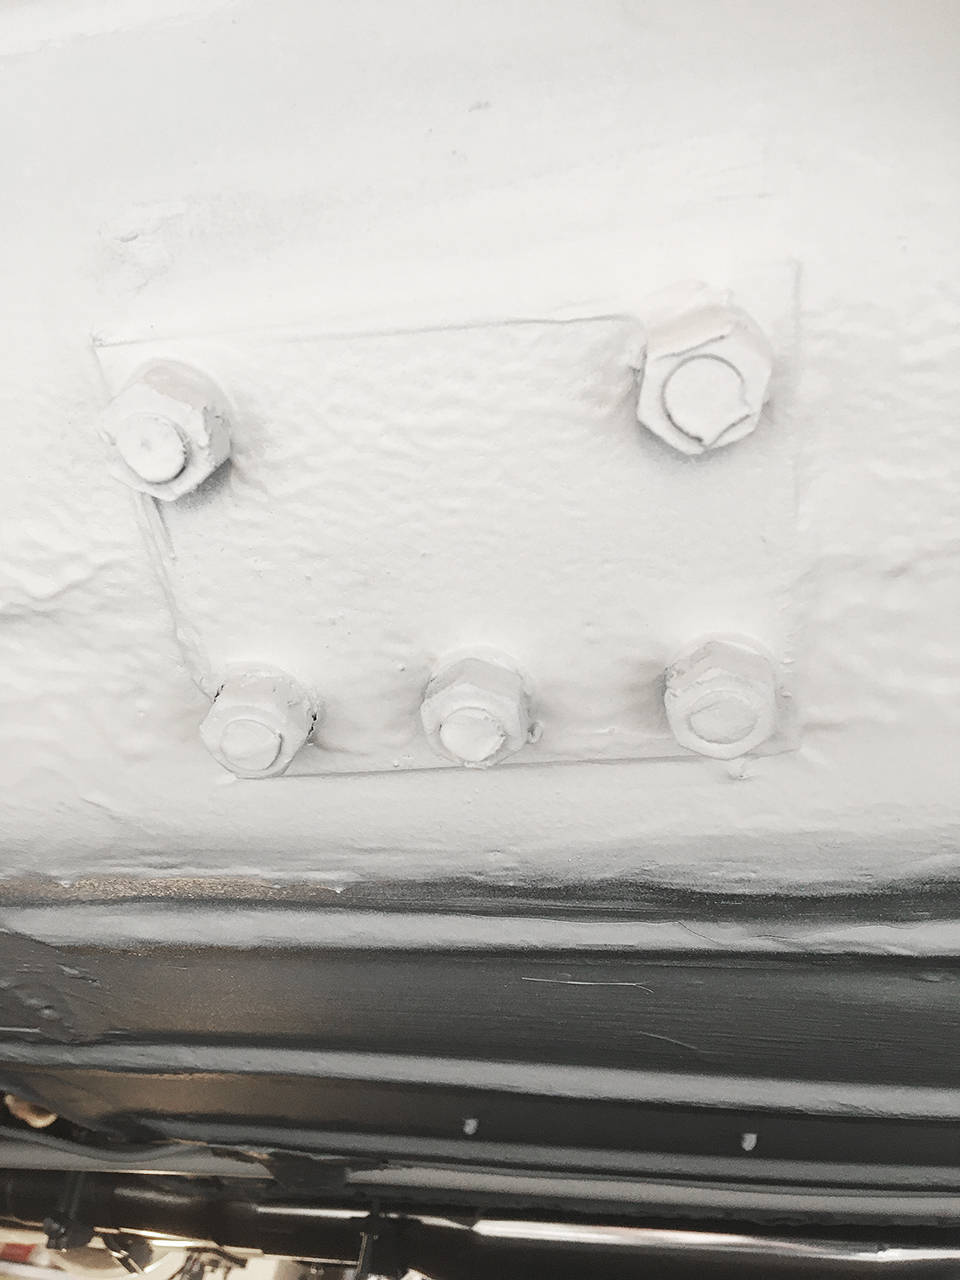
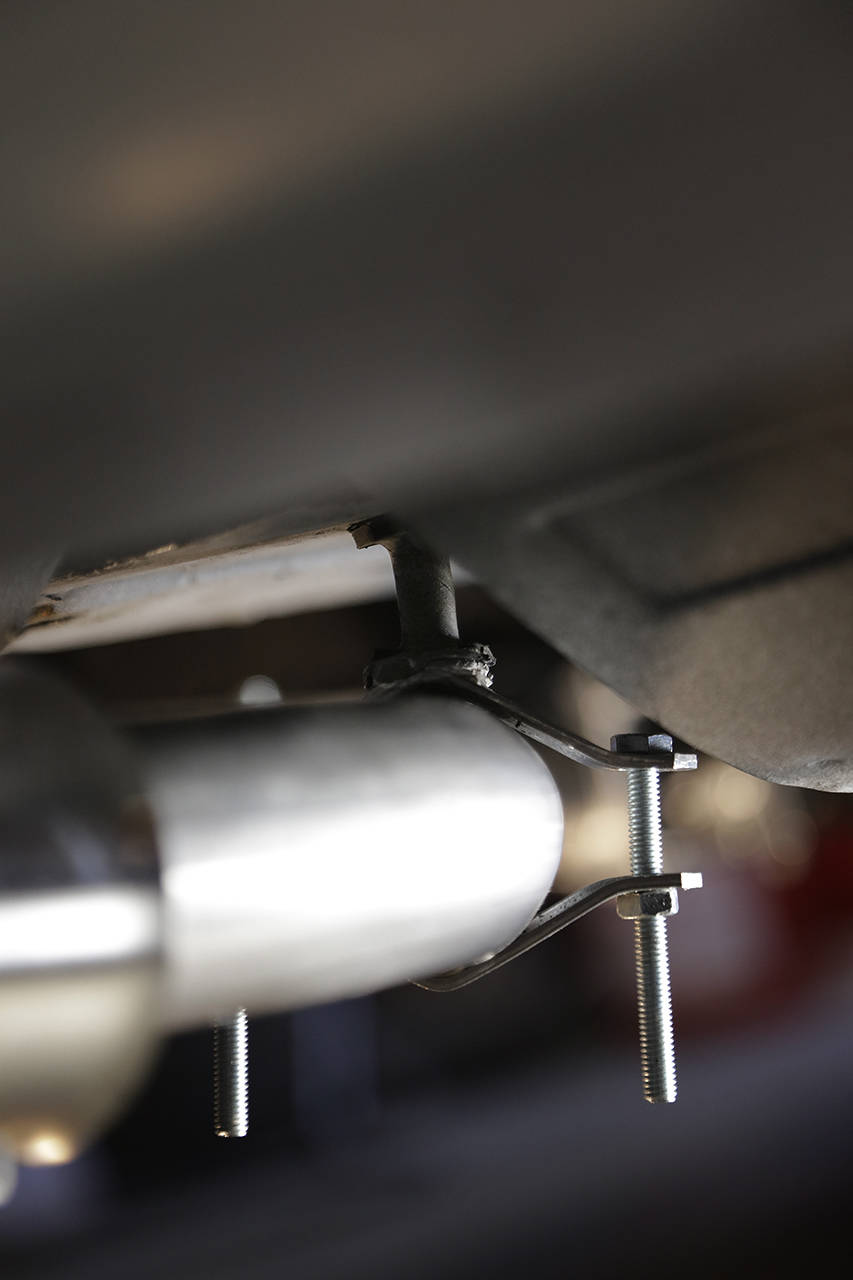
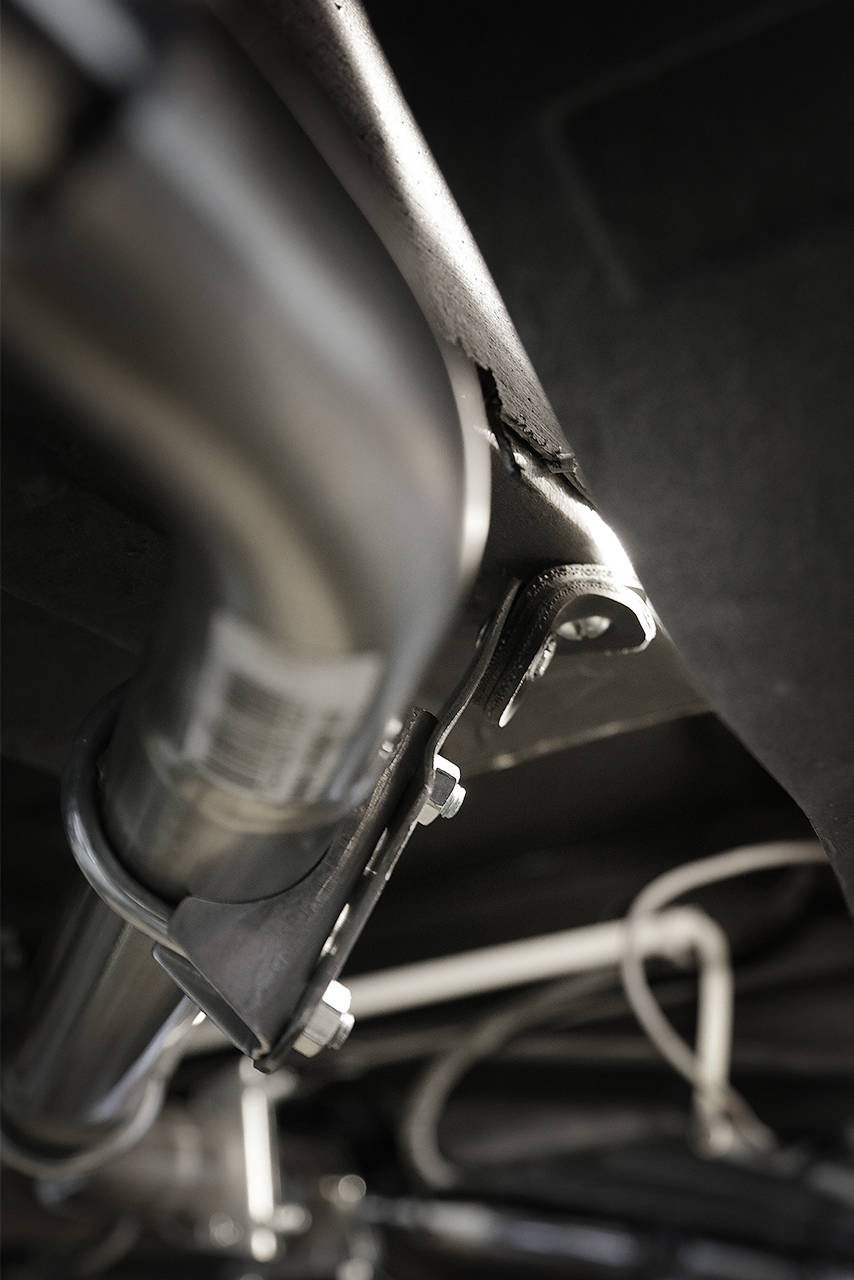
Farsan hade tidigare i veckan gjort en upphängningsmekanism för höger avgasrör där bak men gummibussningen såg inte ut att palla trycket. Nytt fäste tillverkades och nu är hela bakre avgassystemet stabilt monterat.
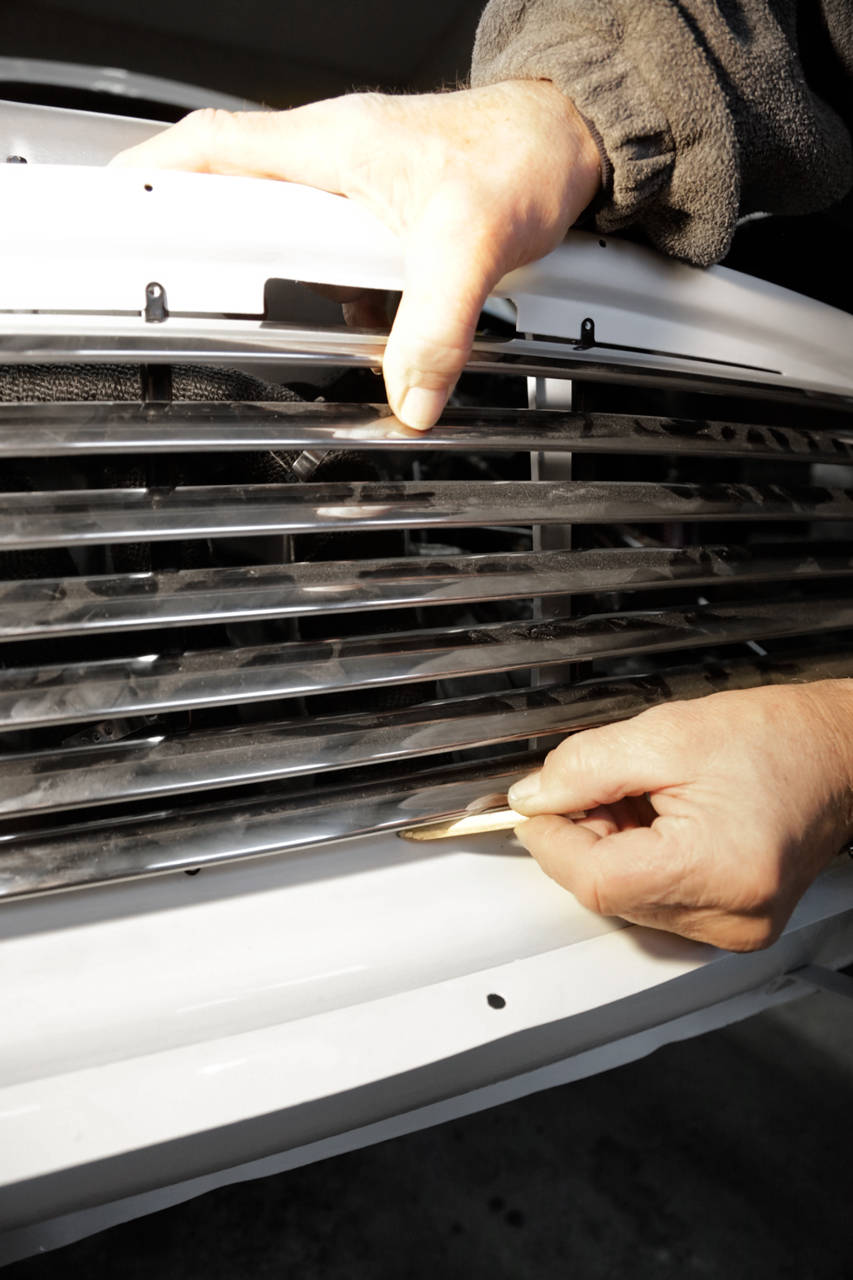
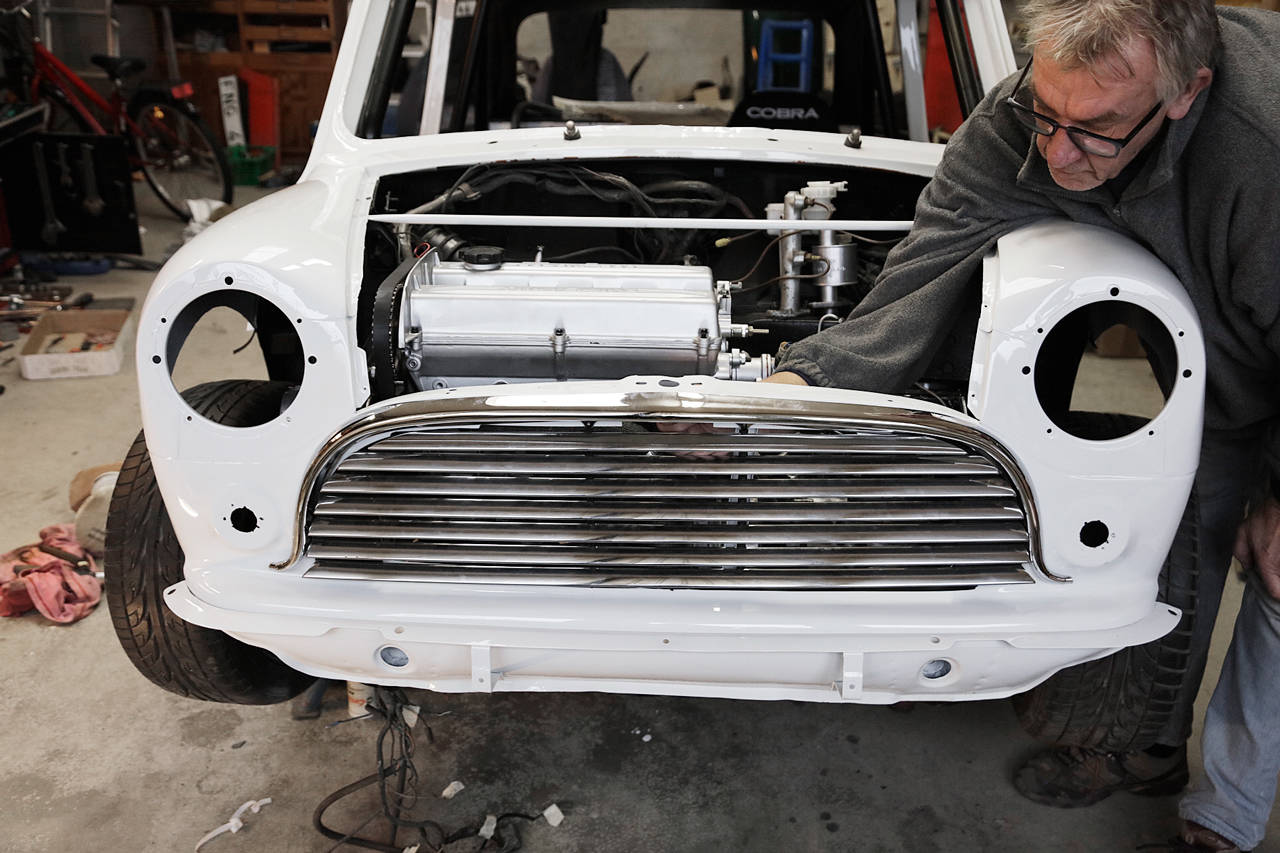
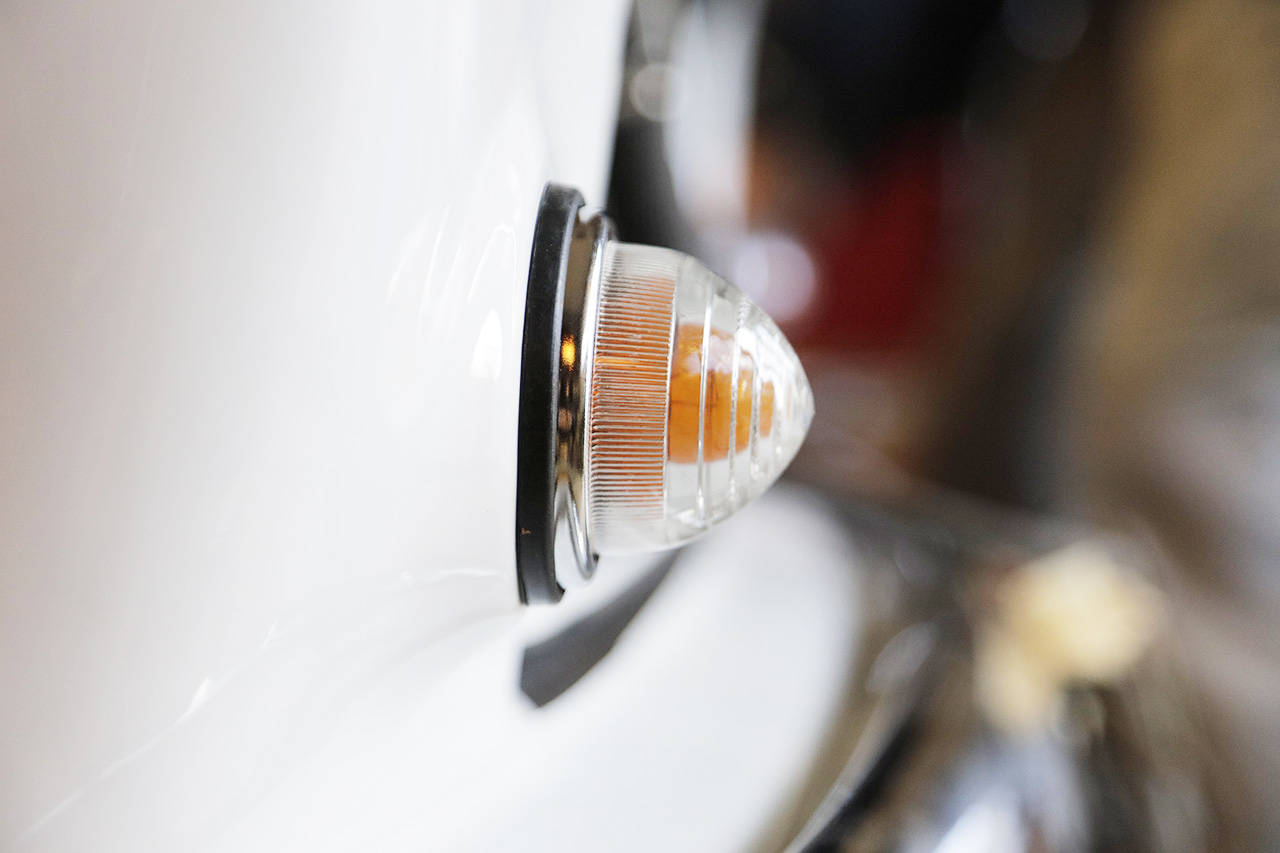
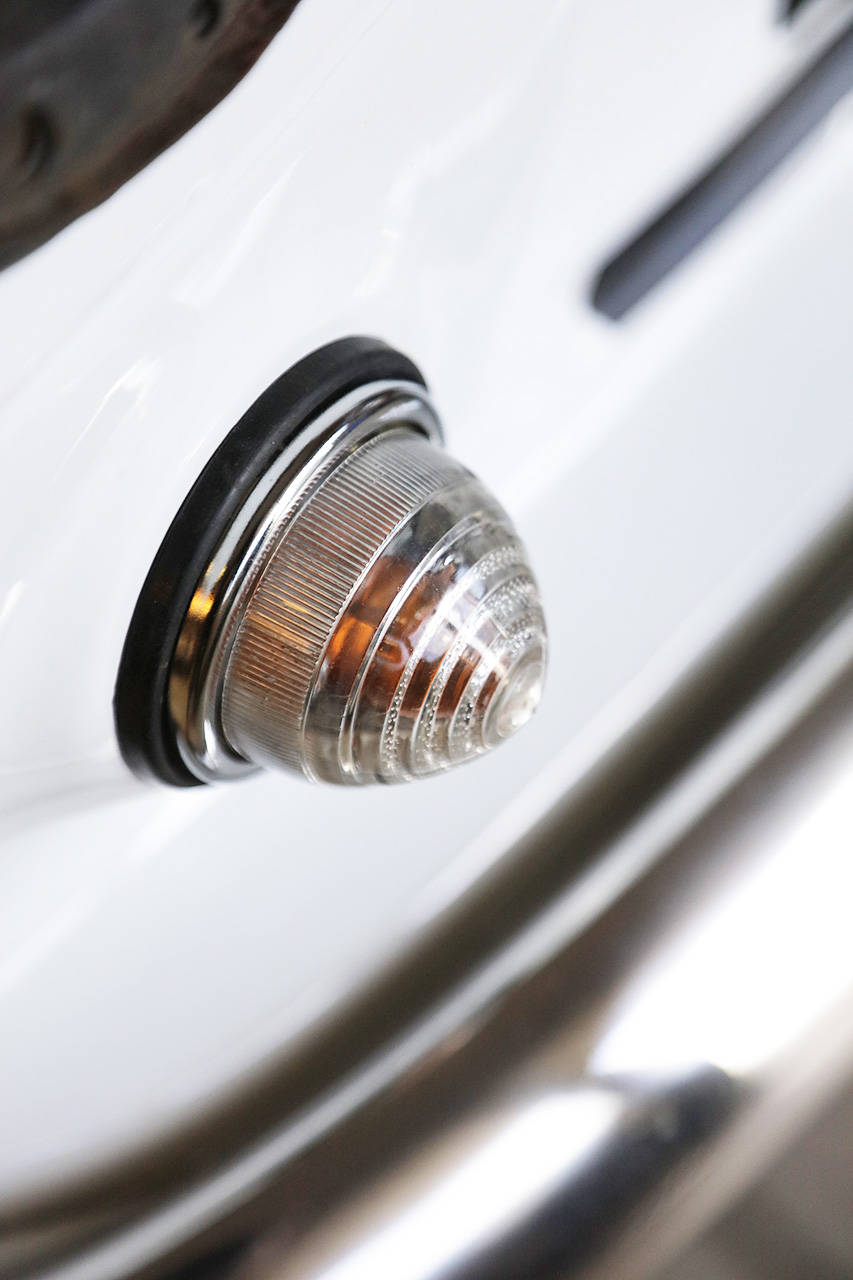
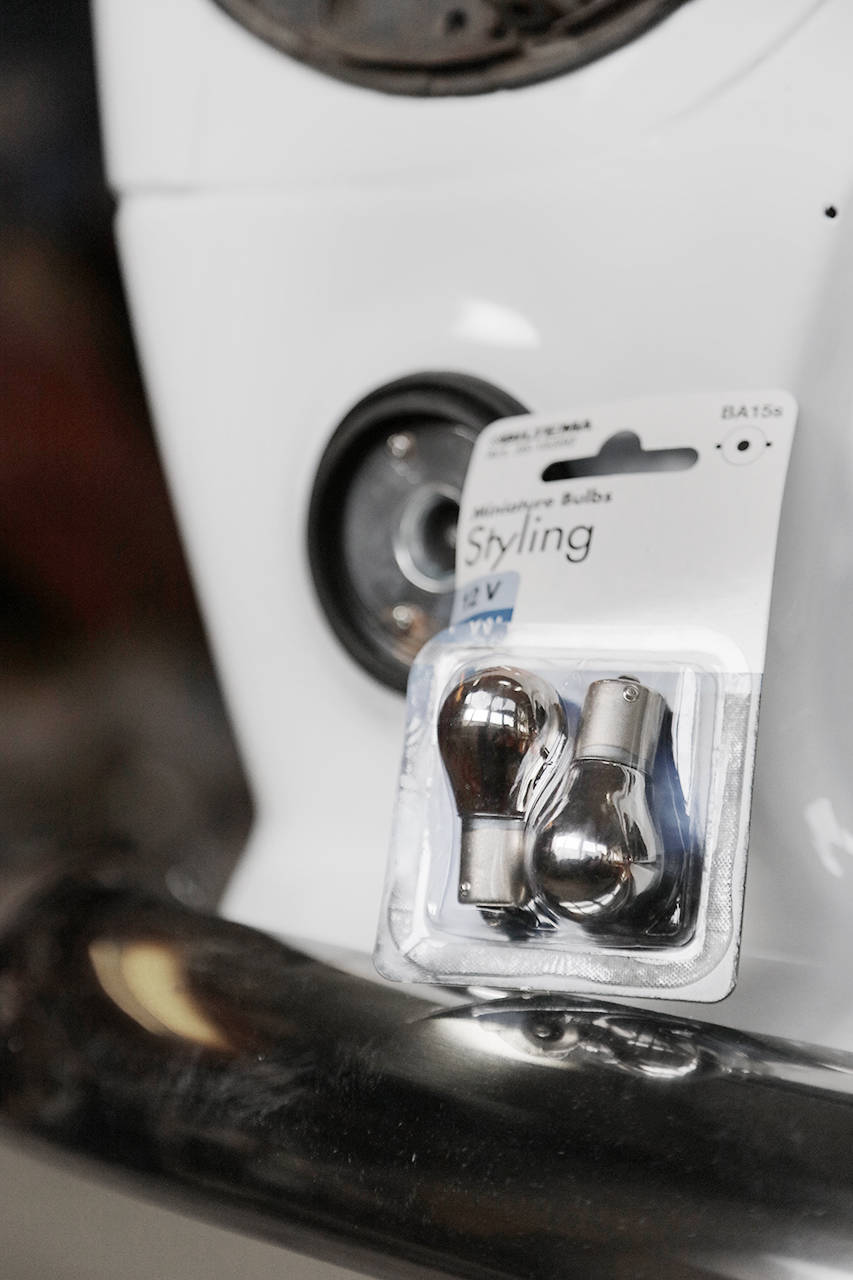
Gud sade "Varde ljus, och det blev LED". Parkeringsljus i form av en kort LED-list har monterats mellan grillens ribbor. Jag var inledningsvis tveksam då grillen ska svartfolieras och därmed kanske inte reflektera LED-lamporna tillräckligt. Men farsan hade provtejpat svart eltejp och reflektionen duger defintivt. Och så slipper vi risken för att parkeringsljusen rostar som de brukar göra i strålkastarvarianten med sådana i.
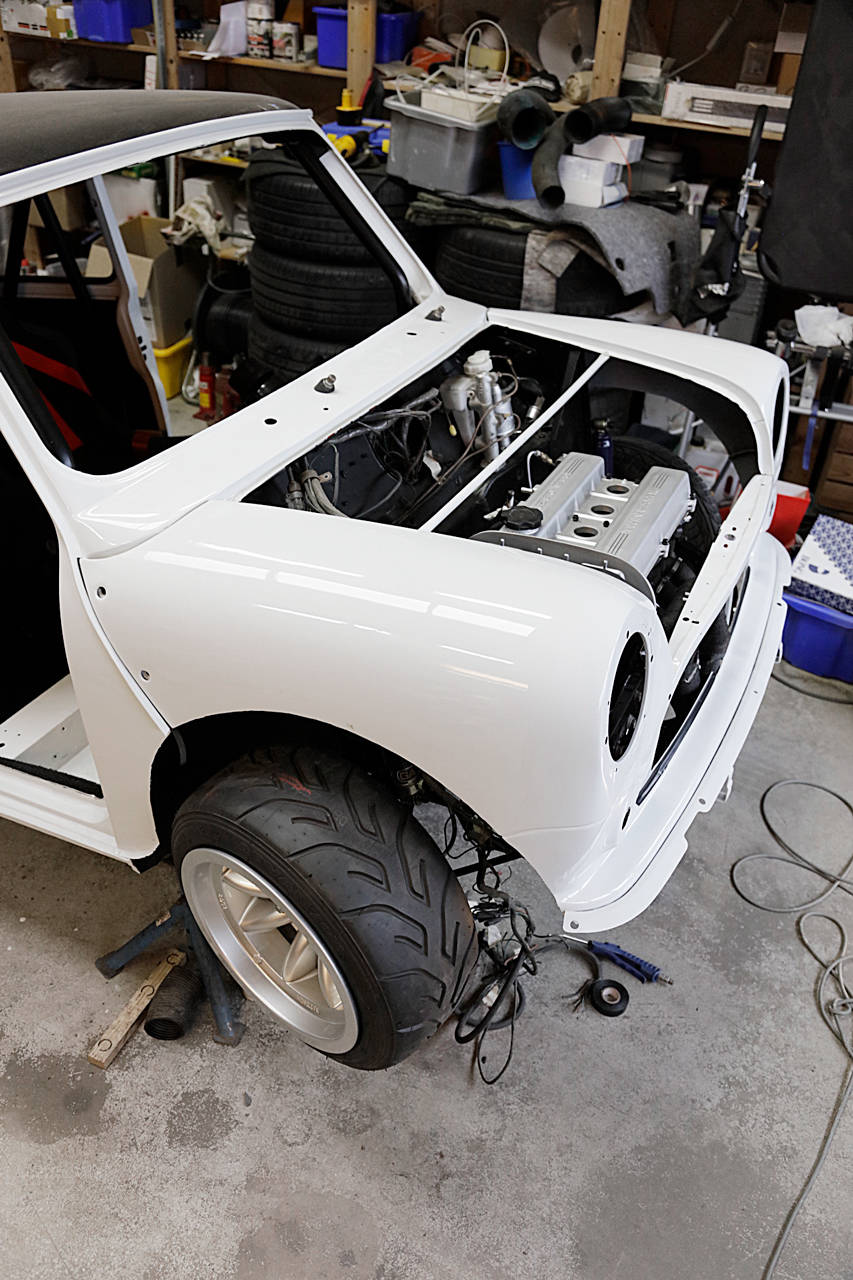
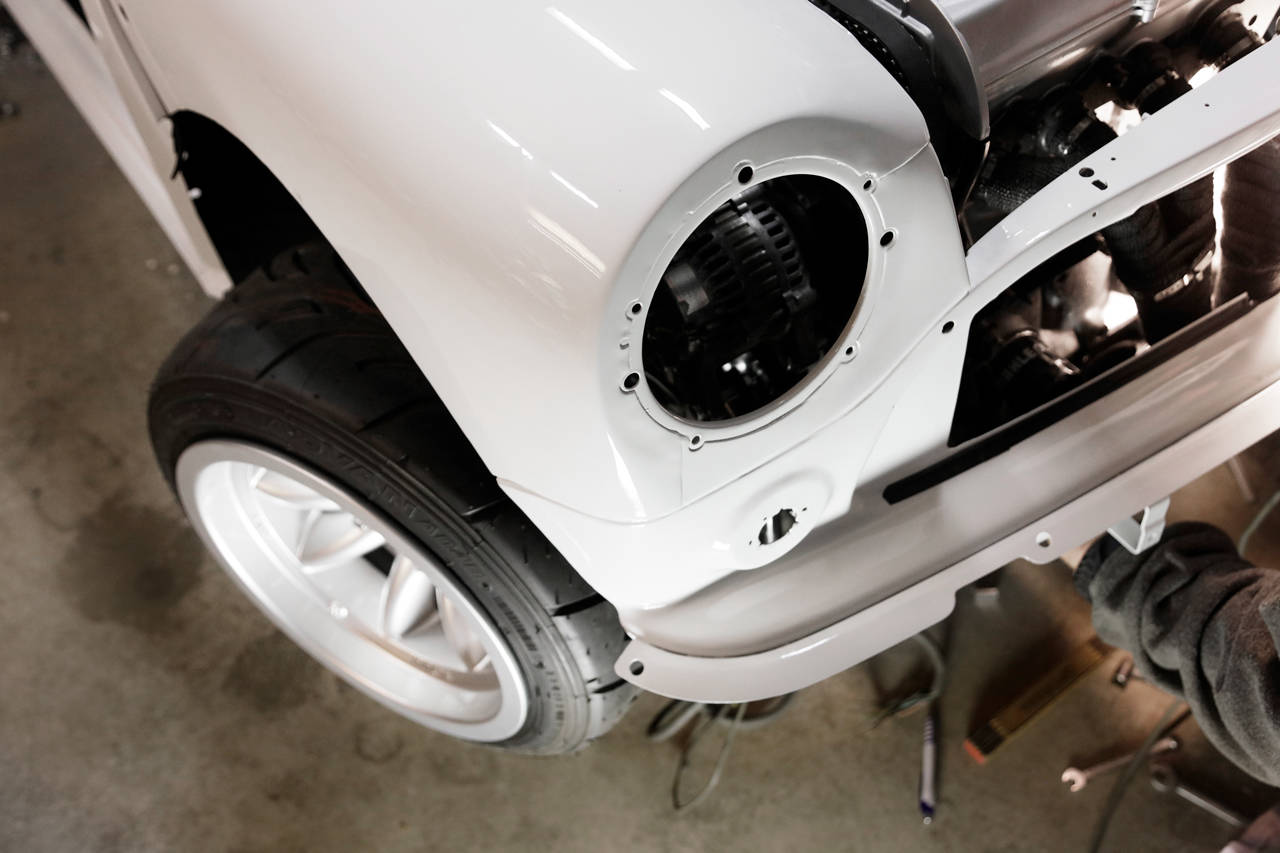
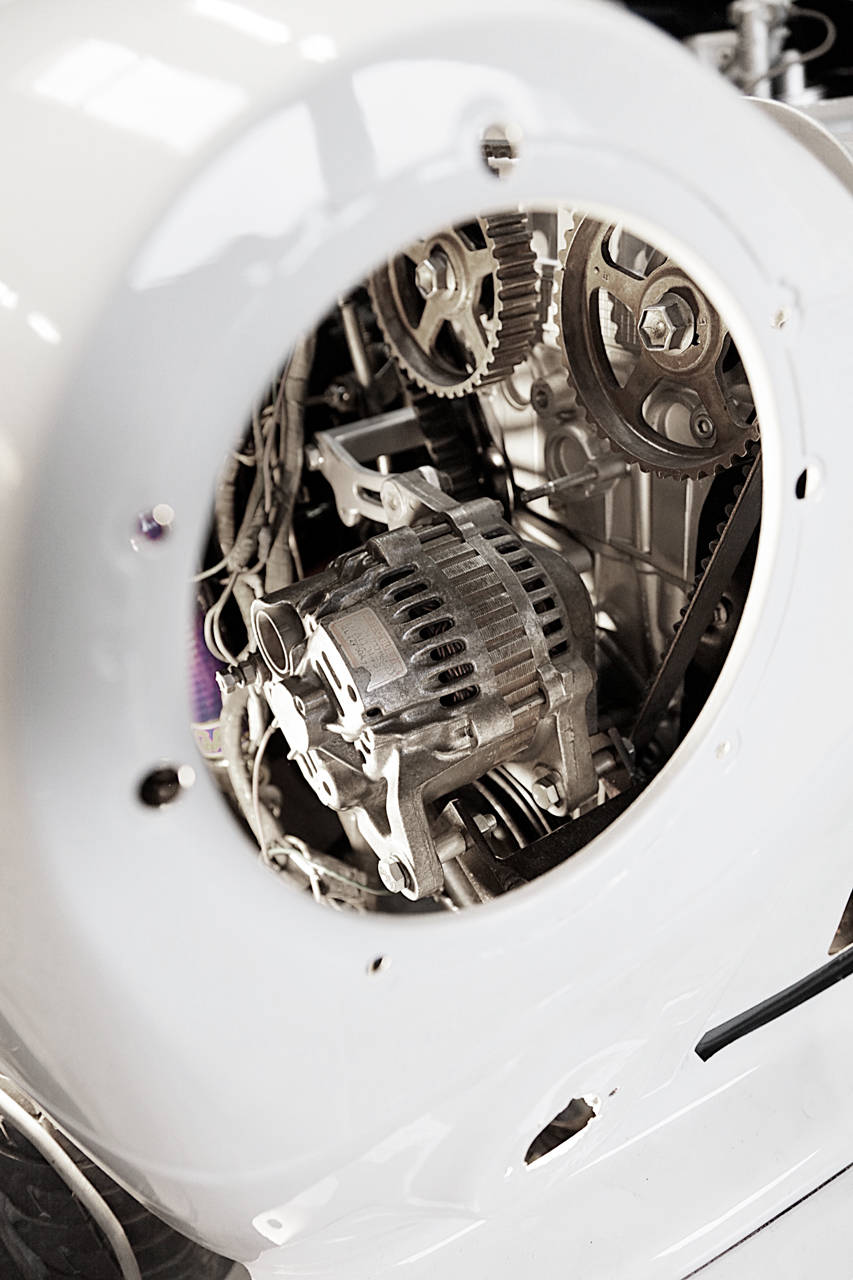
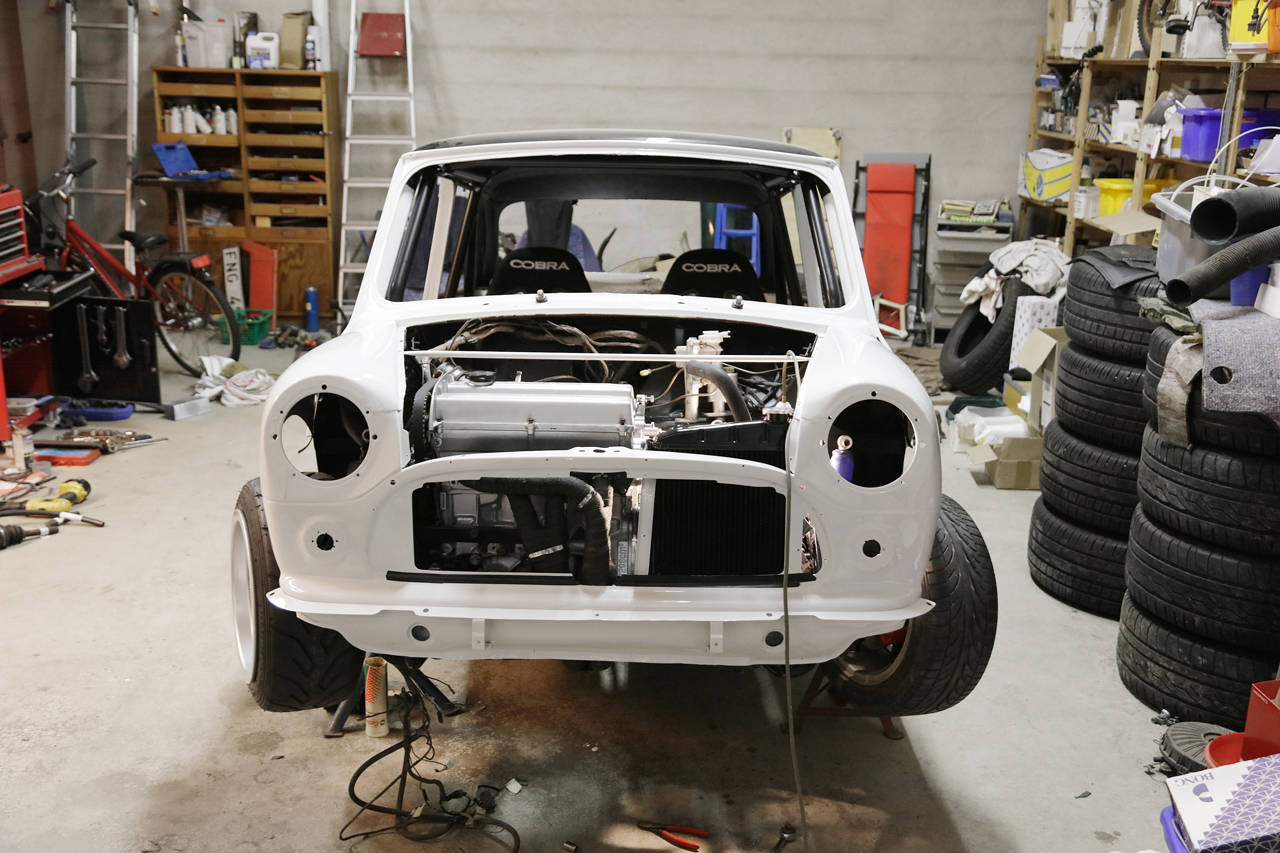
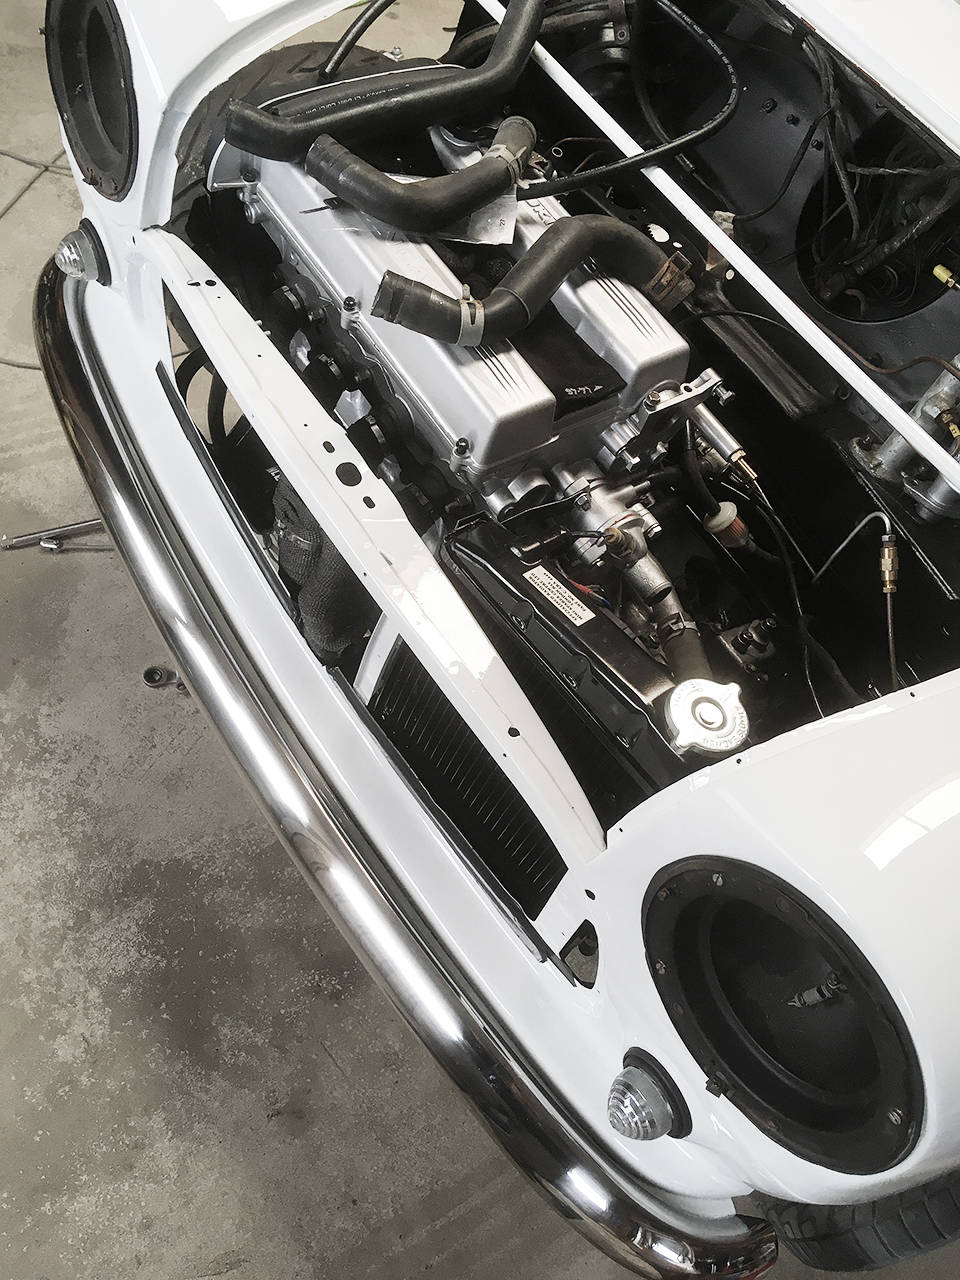
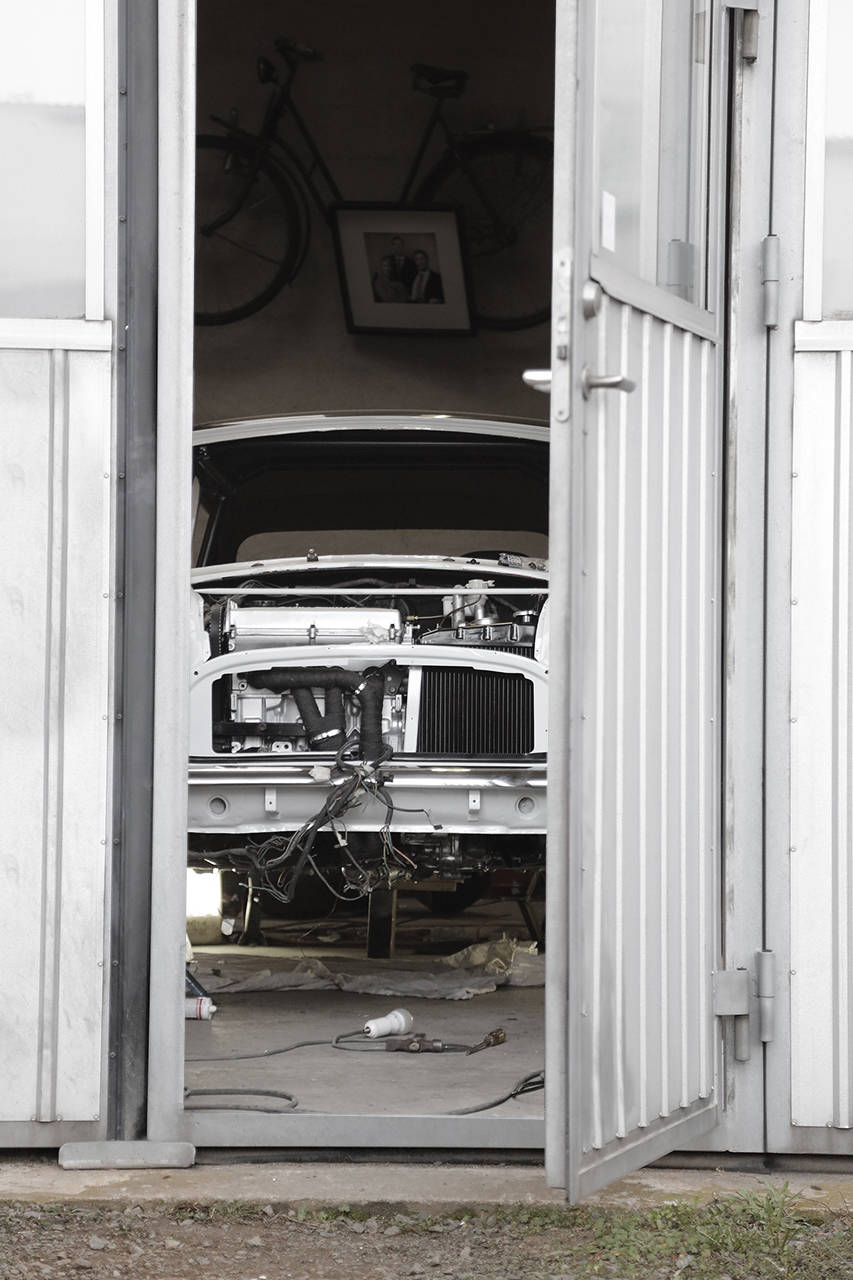
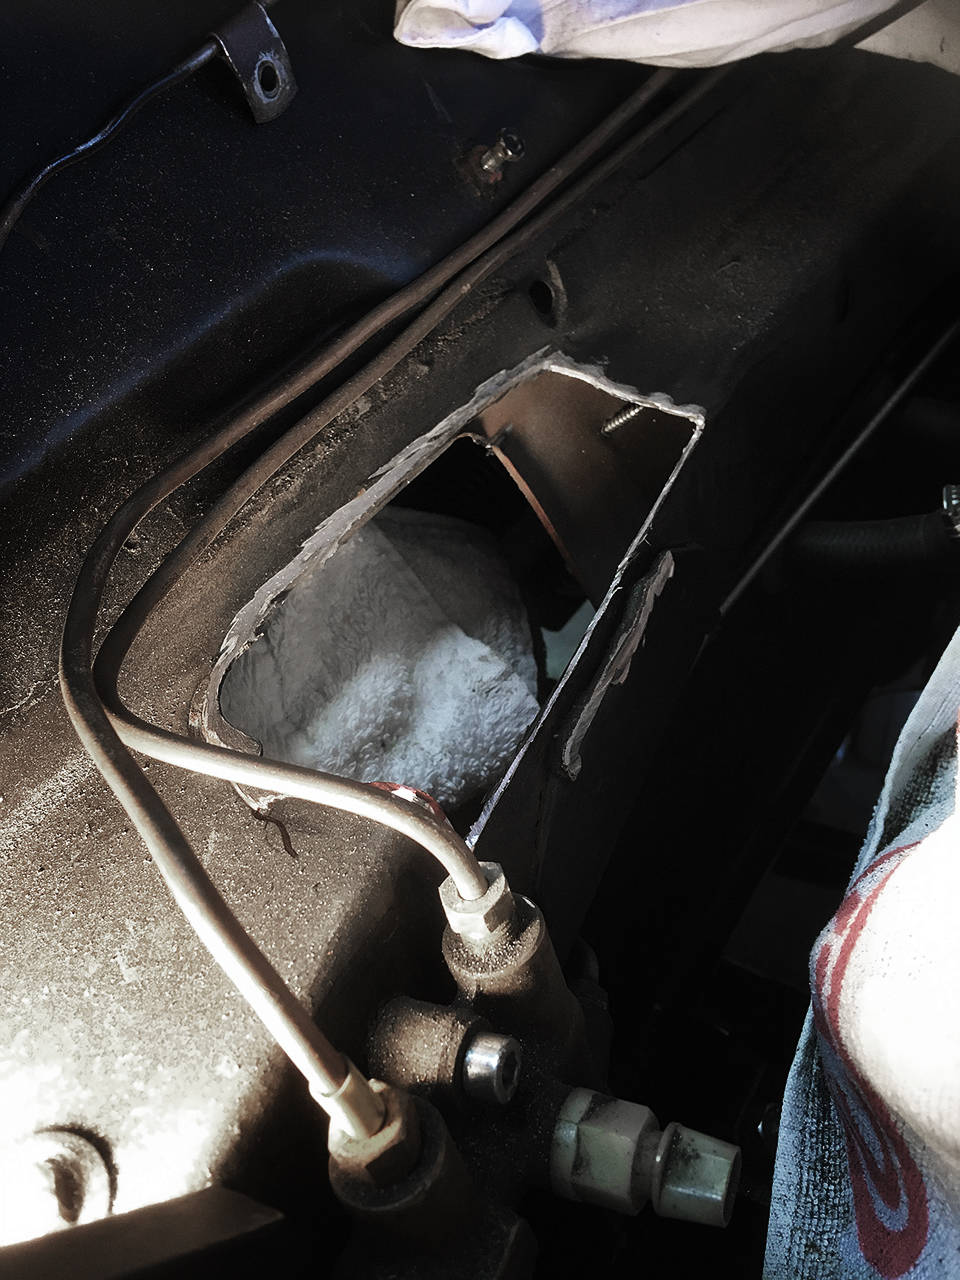
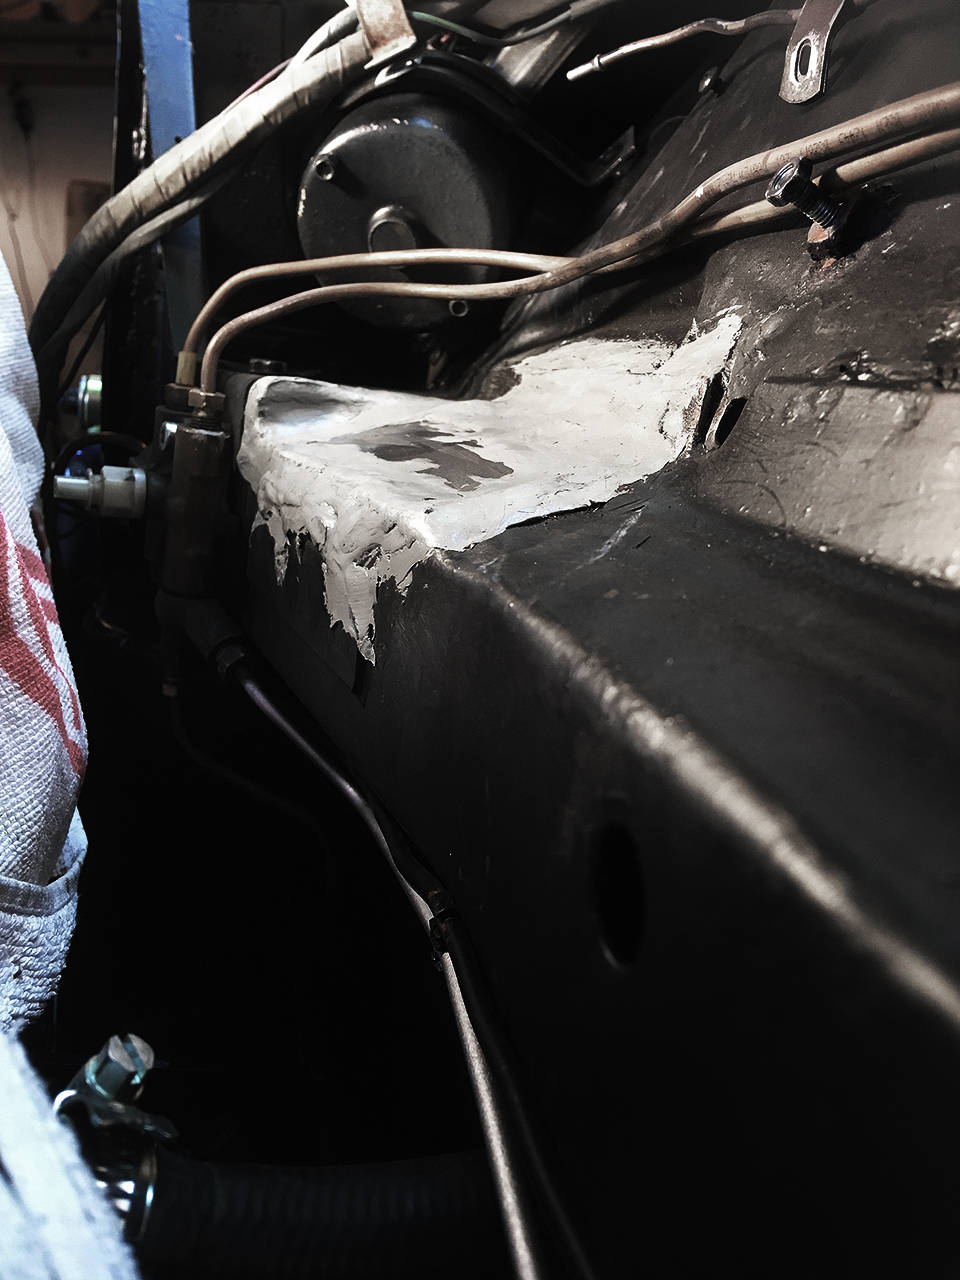
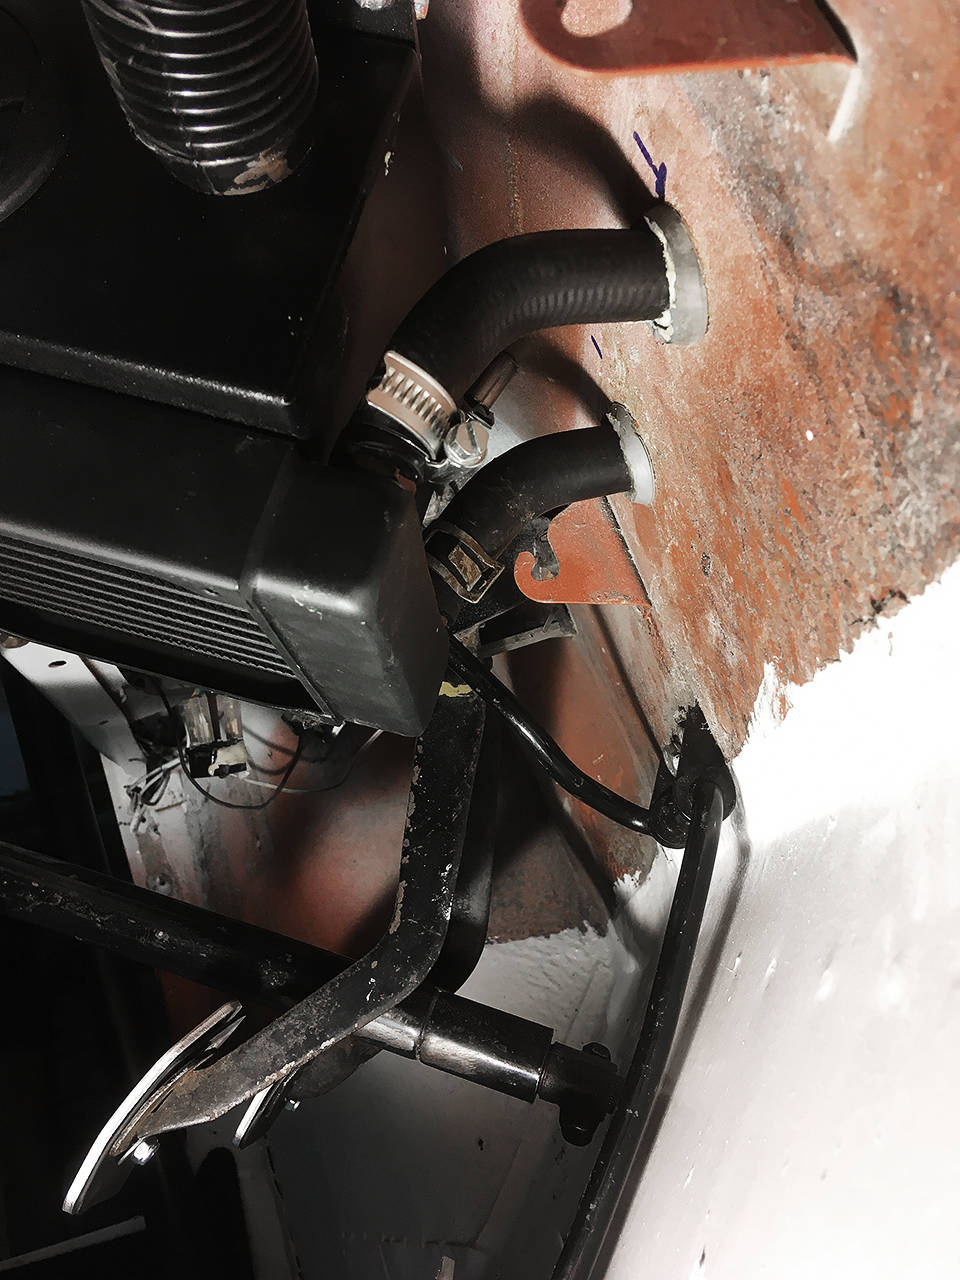
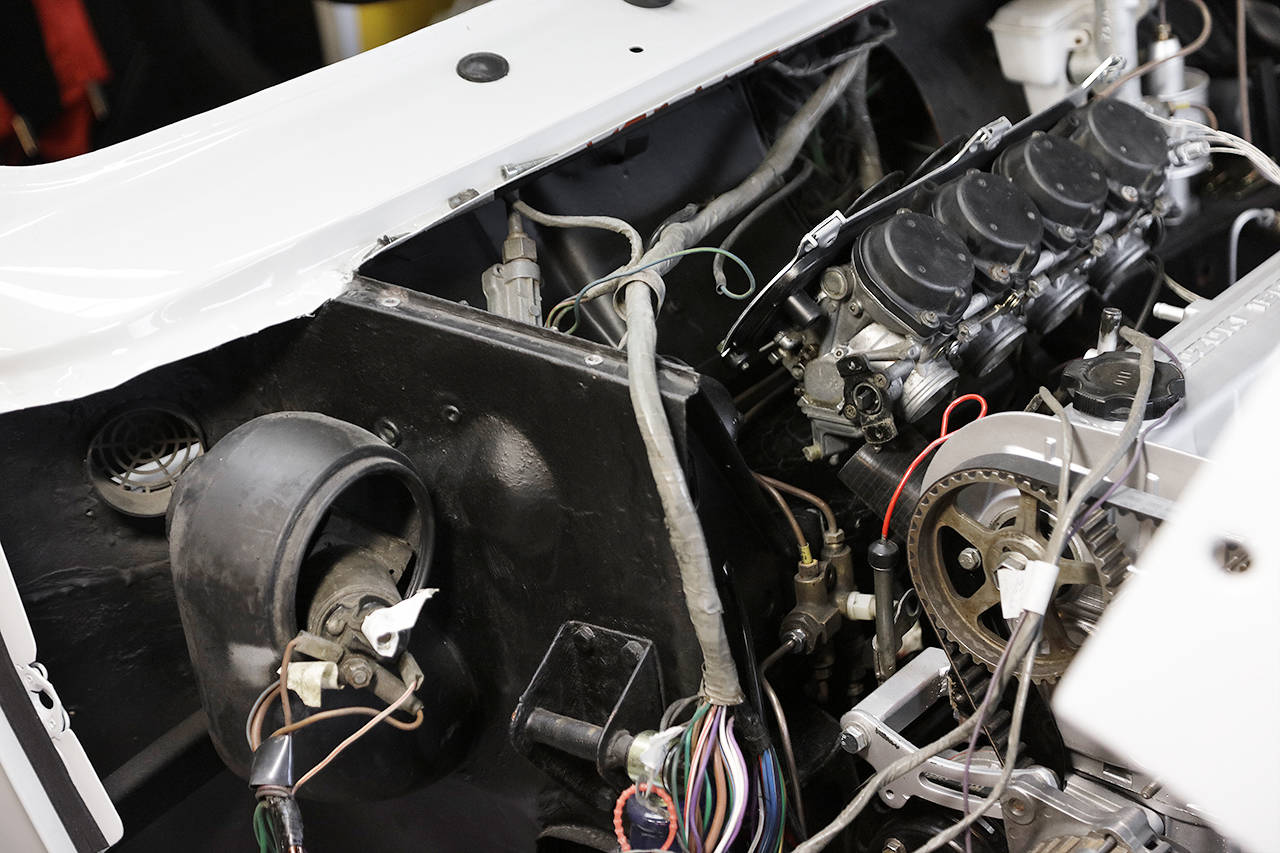
Farsan hade ju tiidgare kapat bort och tillverkat nytt område i torpedväggen för att förgasaren inte skulle ligga an. Men luftfilterfästet verkar ändå ta i torpedväggen. Farsan har en idé hur vi enkelt kan flytta hela luftfiltret 20 mm och därmed eliminera att det tar i. Men... luftfiltret sitter ju bakom motorn och lär inte få tillräckligt med luftströmning där den sitter. Vi kommer därför leda luftintagen via större hål och slang i sidopanelen inuti motorrummet. Och så blir det kall luft. Motorn hade annars värmt upp luften i motorrummet för att sedan nå förgasaren vilket inte är önskvärt.
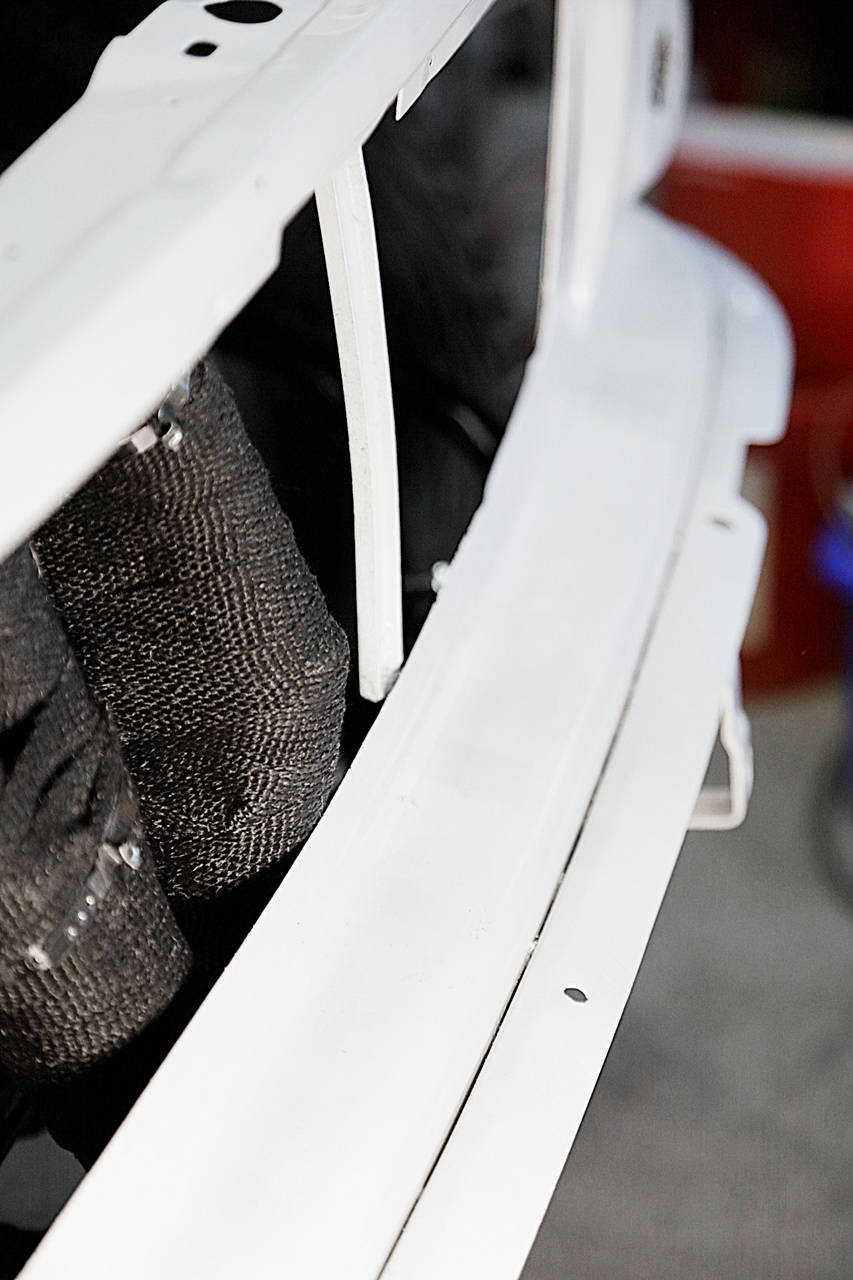
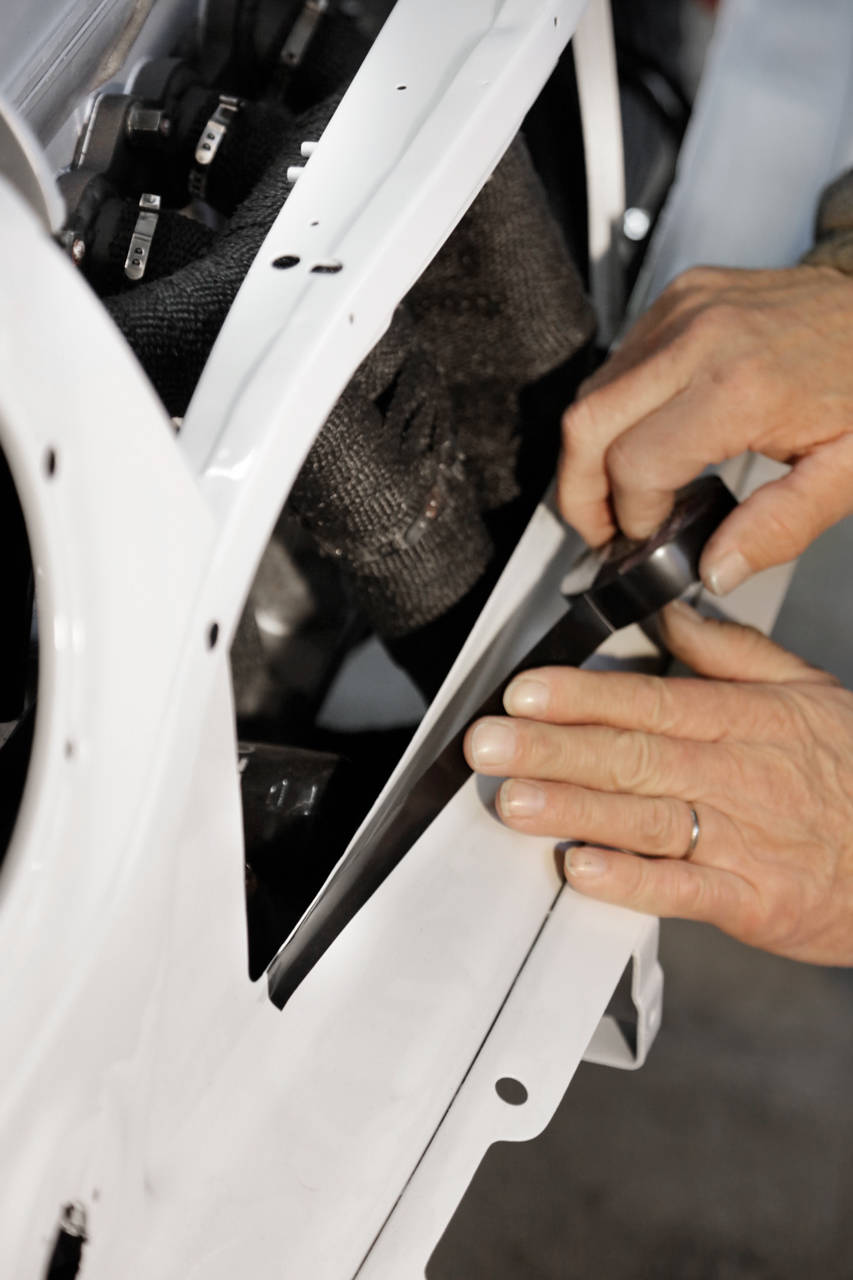
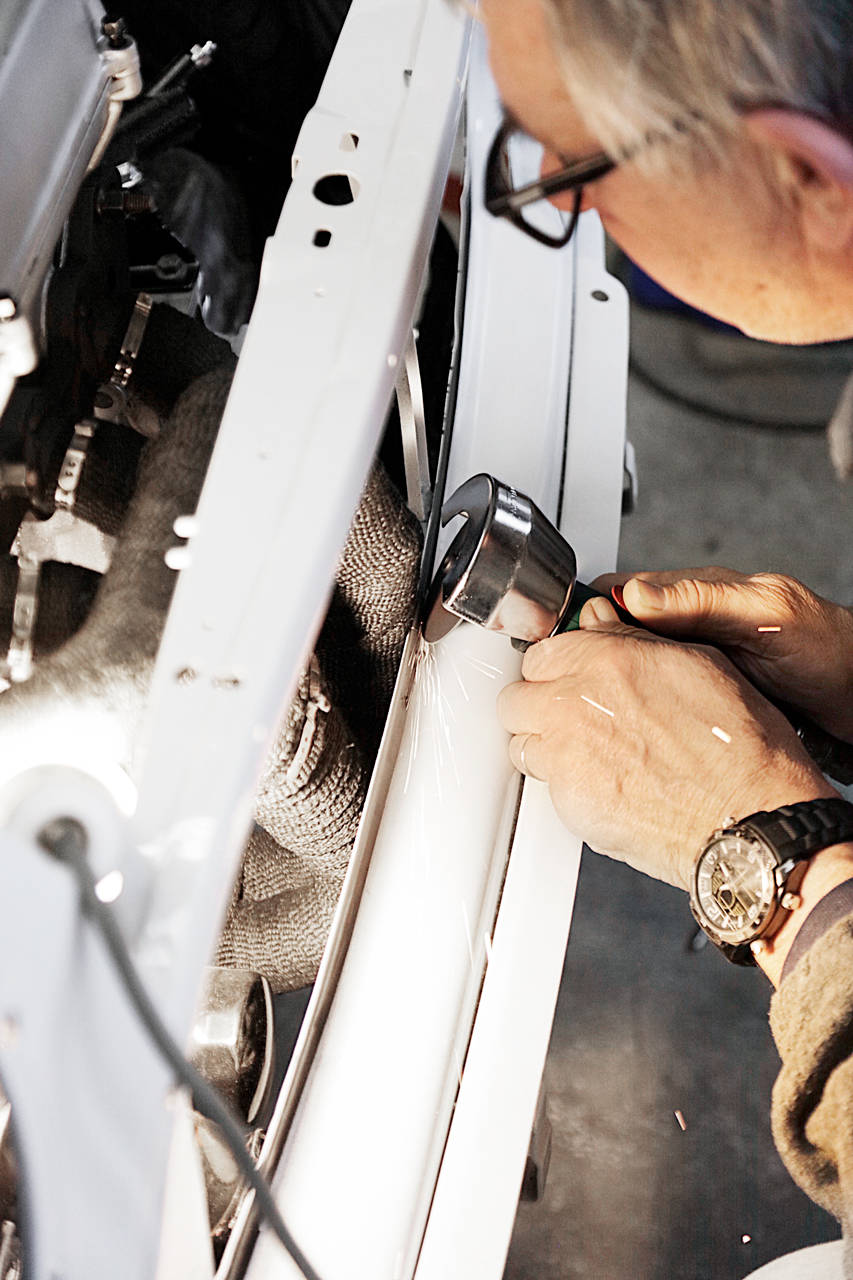
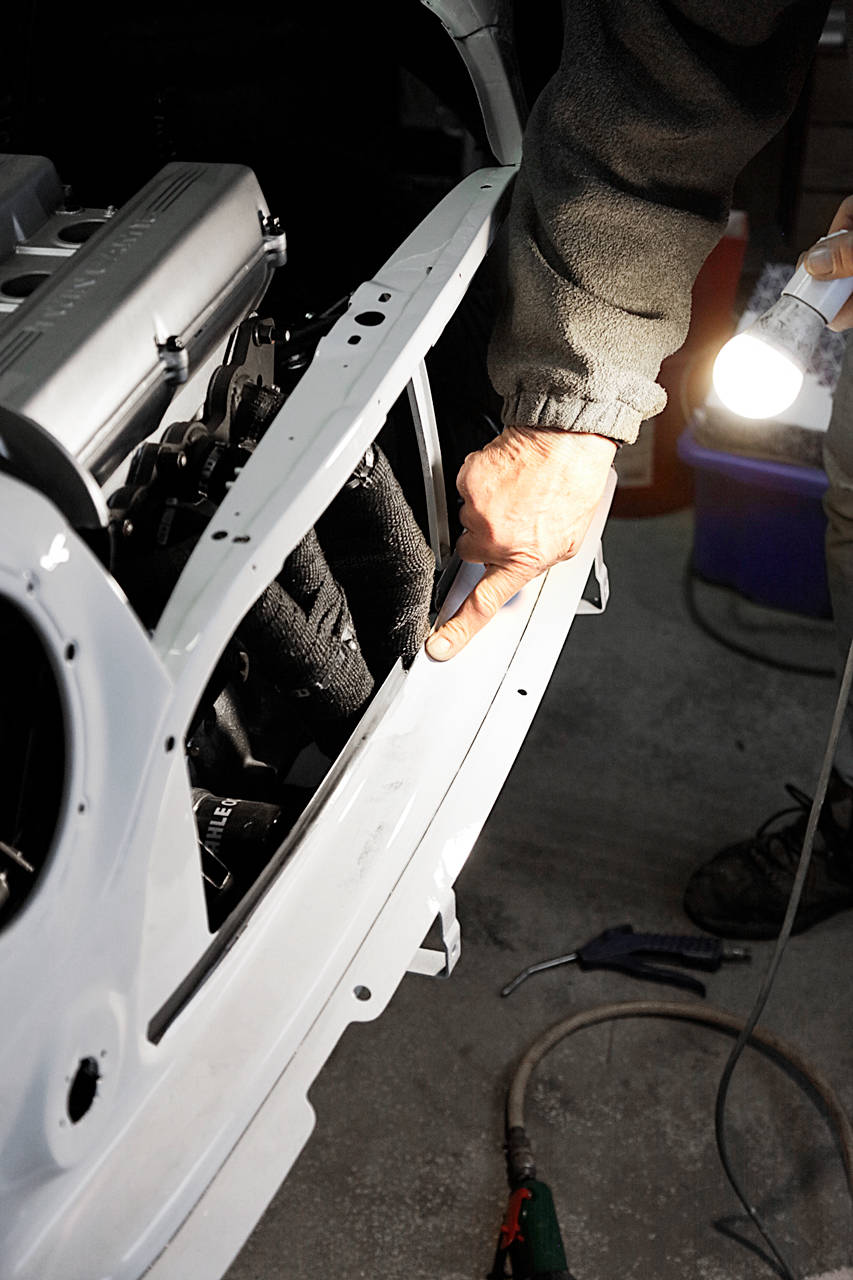
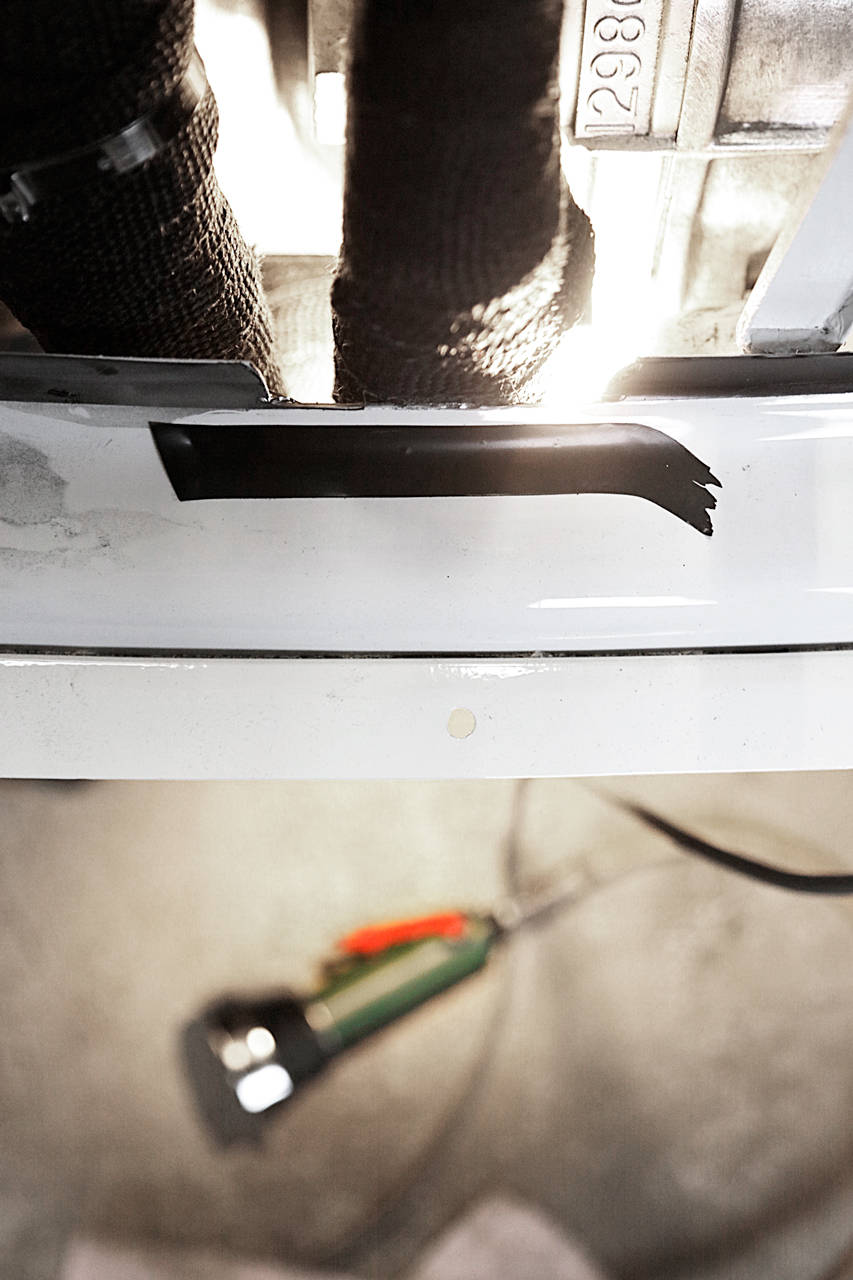
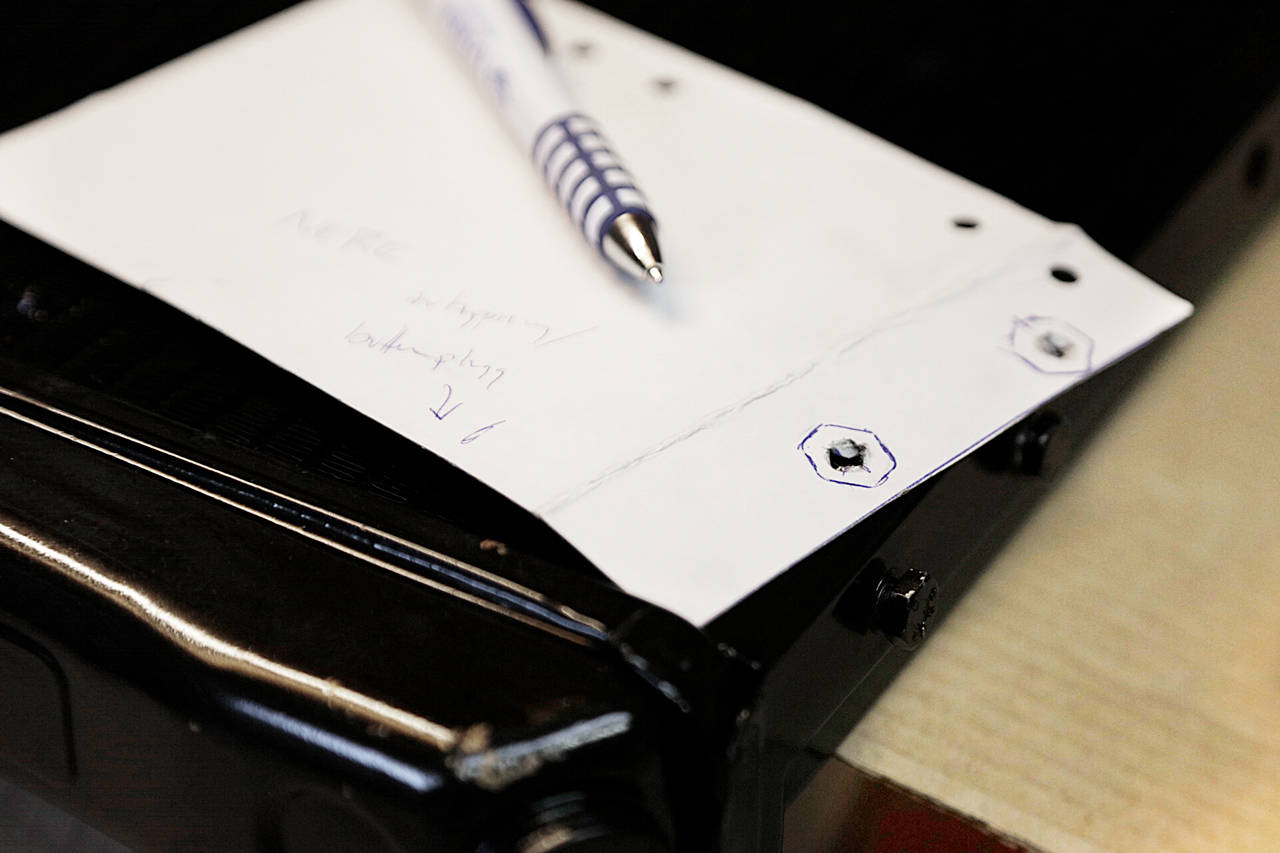
Jag hade tagit med mig en utav dörrarna i hopp om att montera den fönsterlist som saknades hemma. Men först fick själva dörrlisten monteras. Men saker och ting behöver ju göras i en viss ordning för att det ska bli rätt. Dörrlisten ska ju klämmas på kanten och då måste mattan vara på plats. Och innan dess måste ljuddämparmattan vara ditlimmad. Och innan dess måste jag ha sprutat spraylim för att få bättre fäste då den styva ljuddämparmattan ska vikas runt en böj (hjulhuset) mellan dörr och pedaler. Och spraylimmet får dra och bli bra och det tar tid. Längre än så kom jag inte med dörren. Så den släpade jag med mig hem igen men denna gång med de där fönsterlisterna som saknades så att jag kan montera ihop dem helt och hållet.
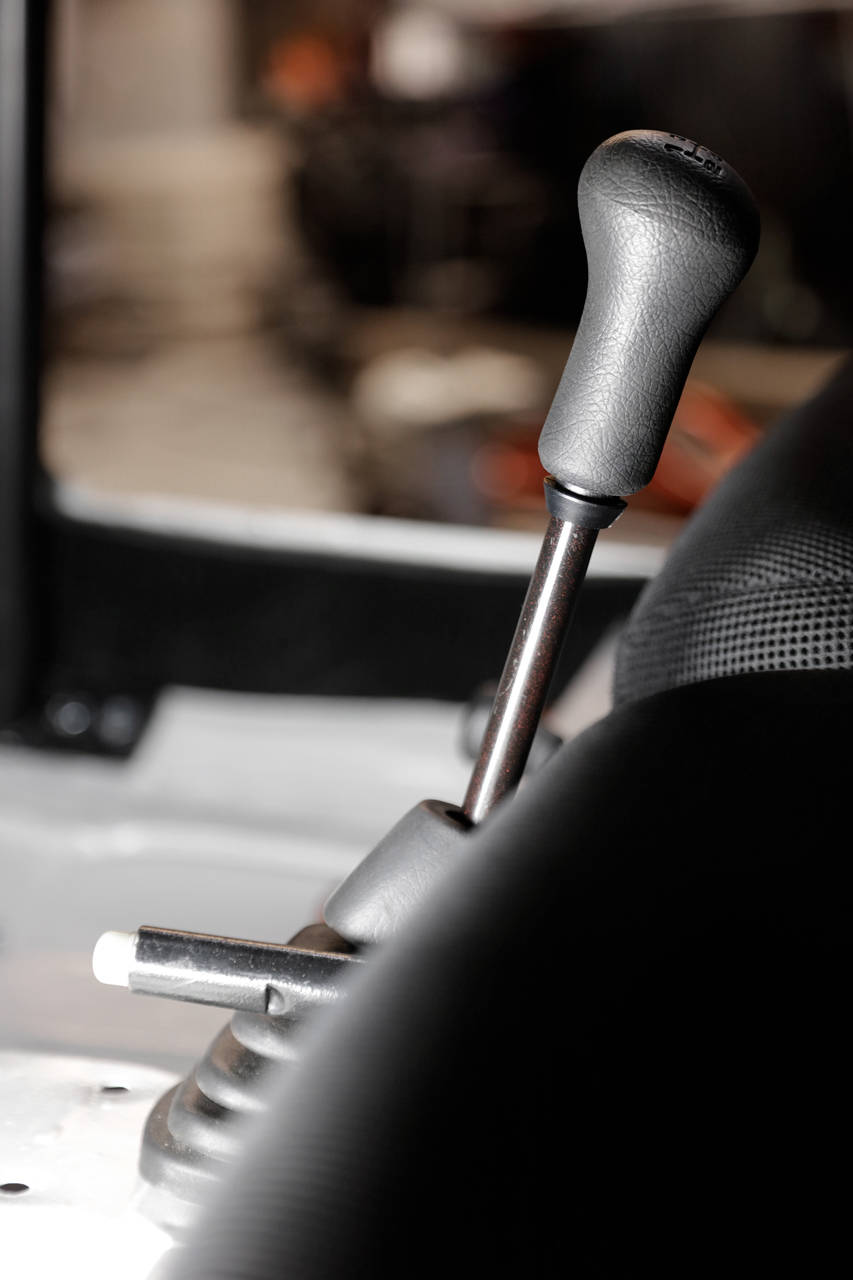
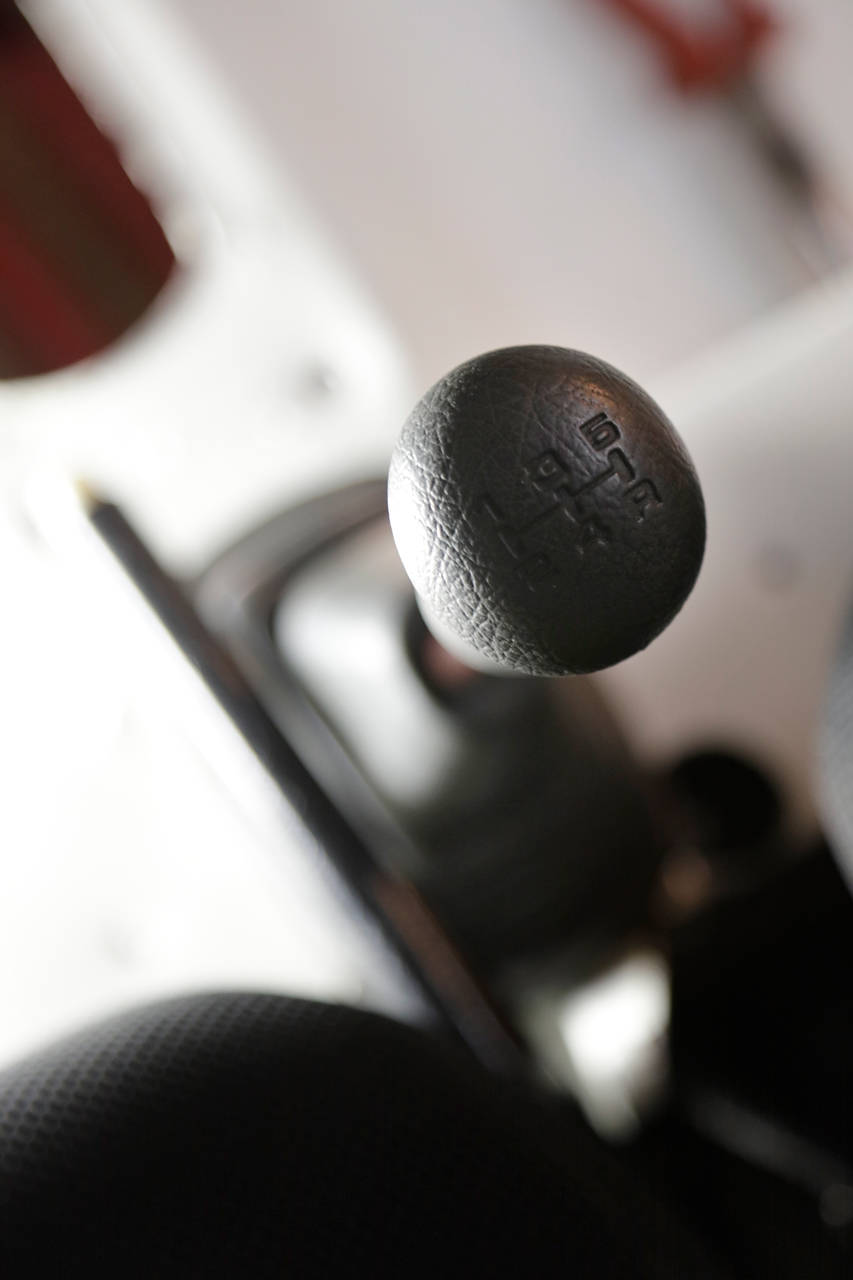
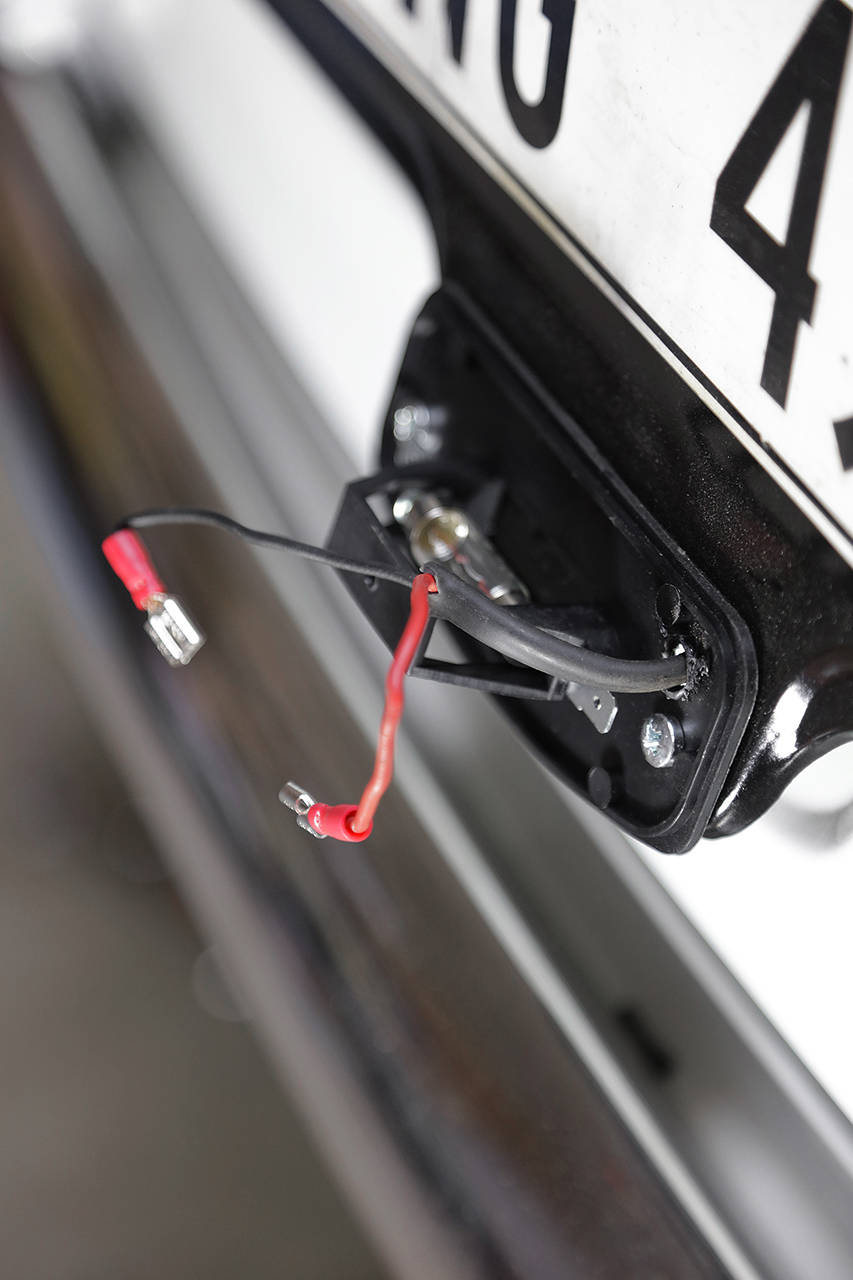
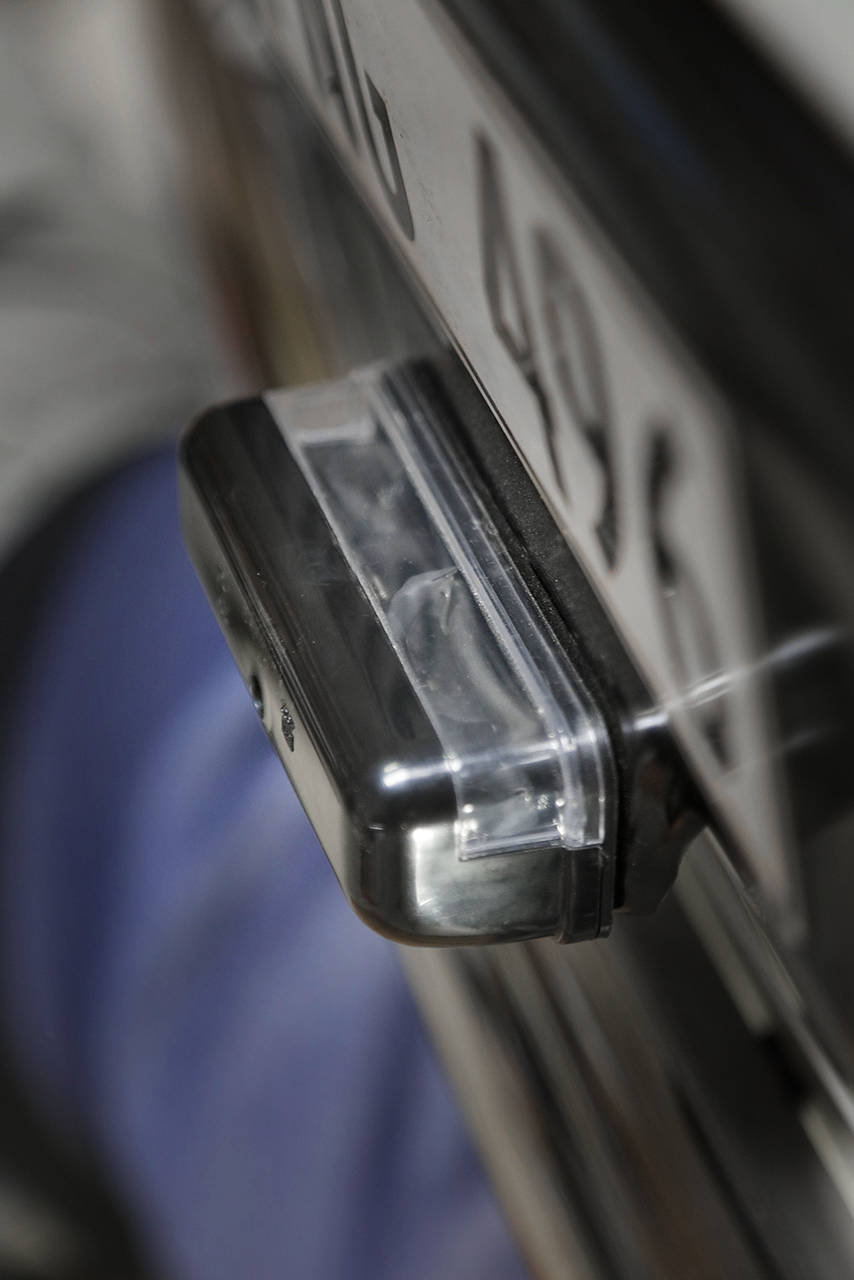
Jag gick vidare med att skruva dit en täckplåt ovanpå det tidigare växelspakshålet i tunneln. Därefter fixade jag de röda elsladdarna i nummerplåtsbelysningen med svart krympplast. Man ser ju sladdarna om man kikar på belysningen uppifrån och då var det inte snyggt med röda elsladdar. Detaljer.
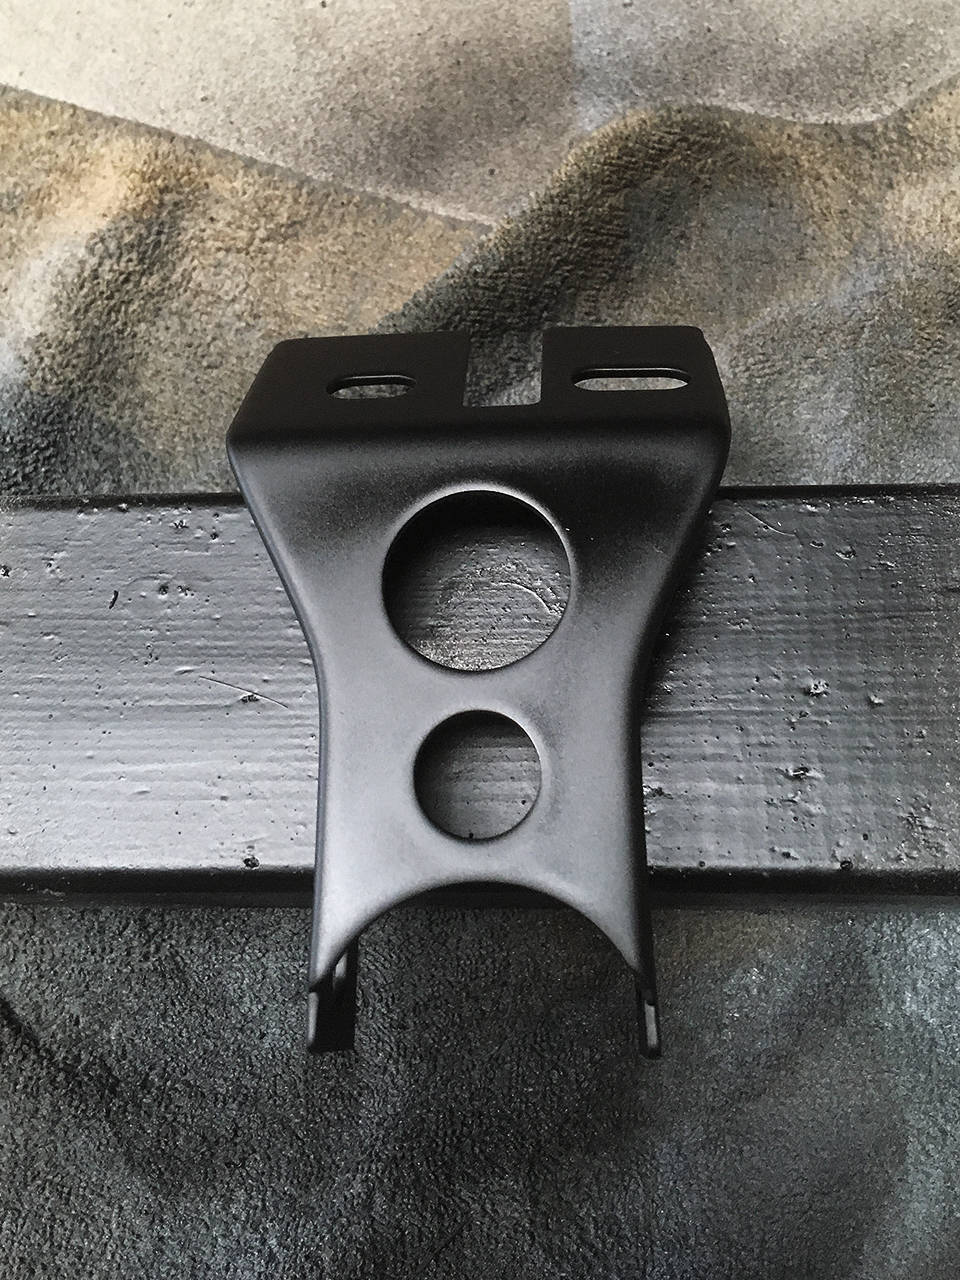
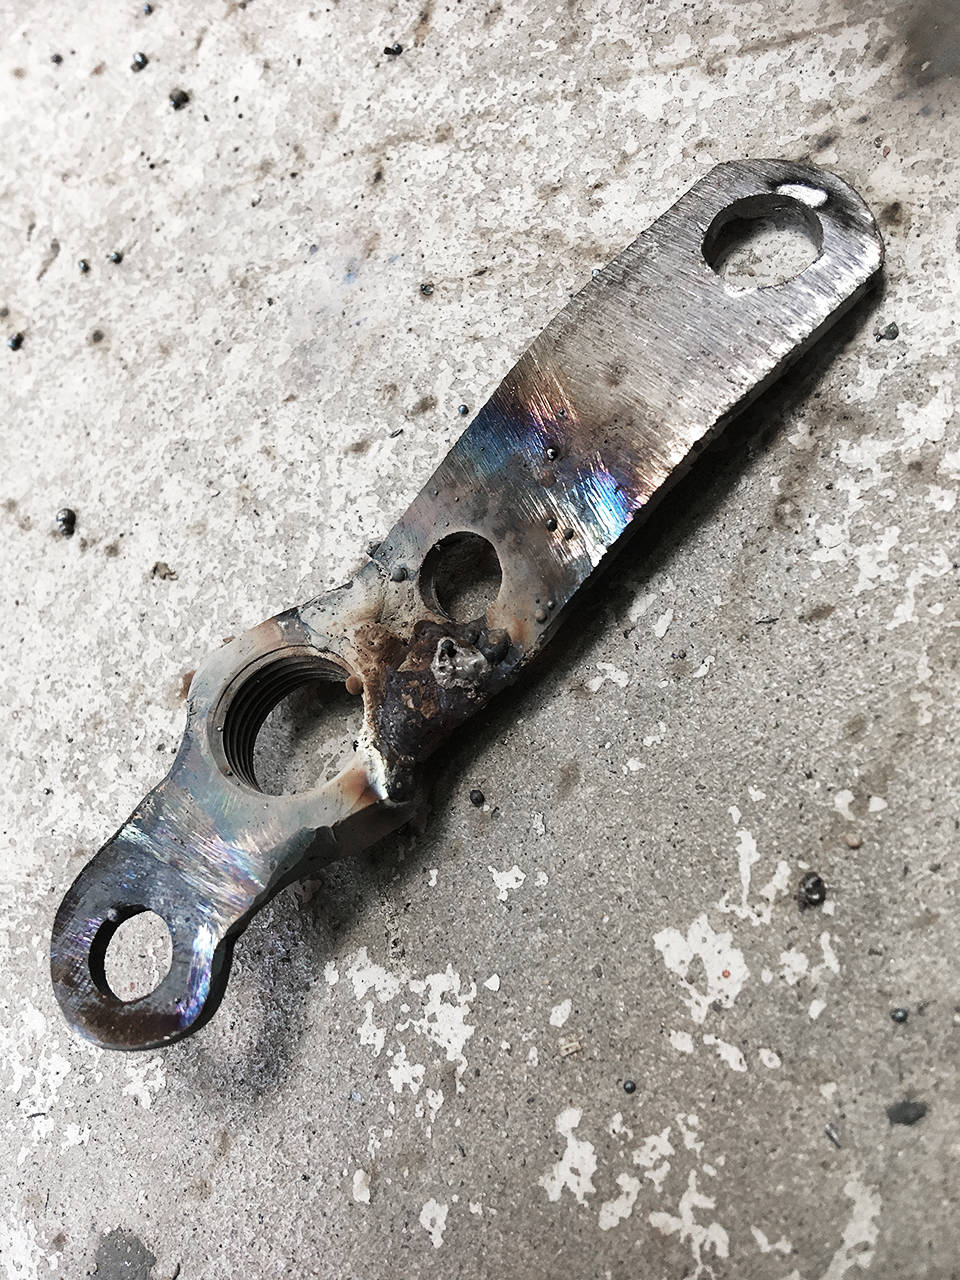
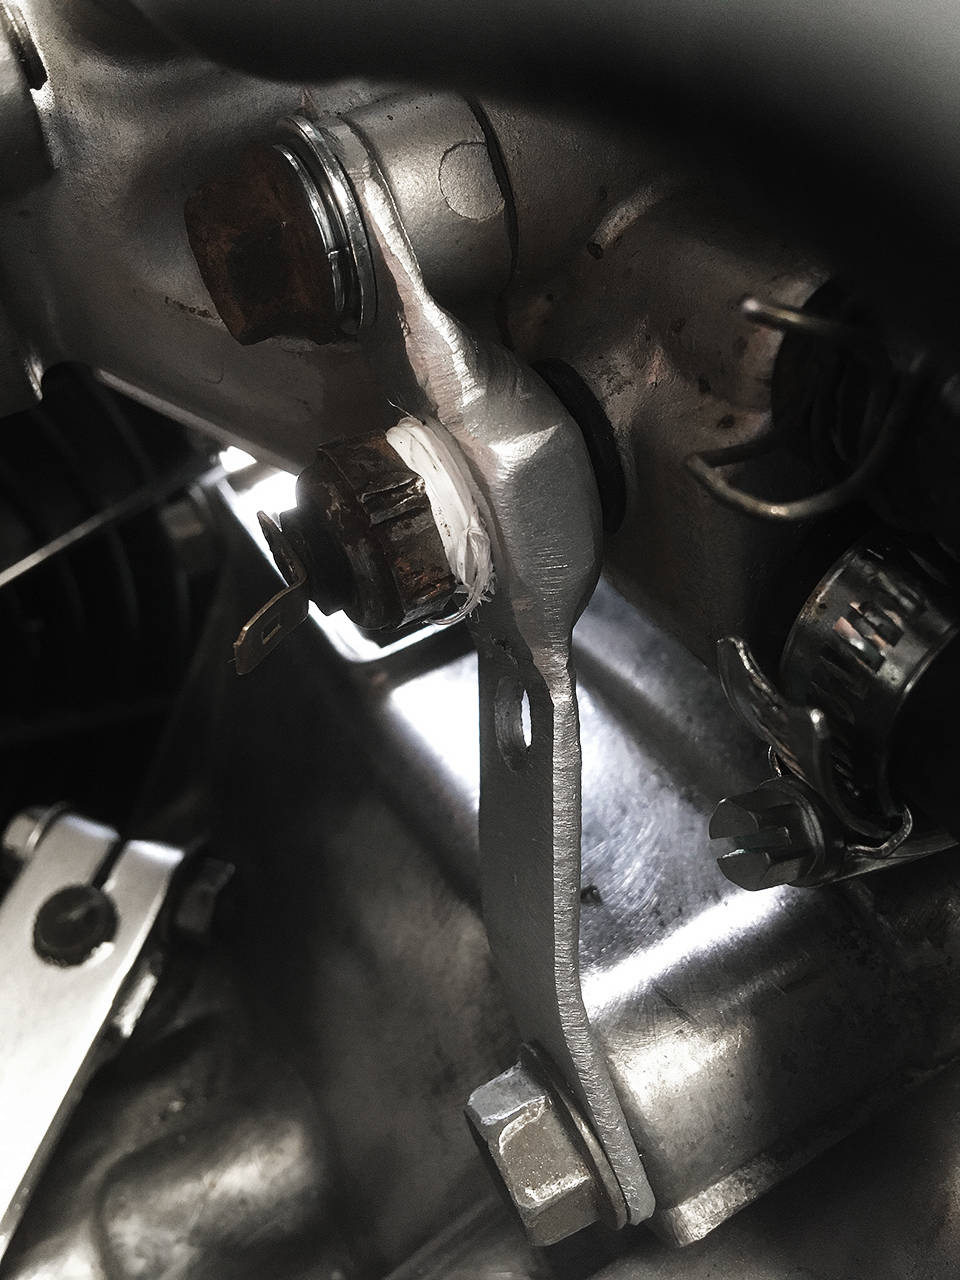
Farsan tillverkade ett pedalstopp till bromspedalen så att pedalerna linjerar när de sitter där på rad. Vore knasigt ifall en pedal sticker upp 4 cm högre än de andra.
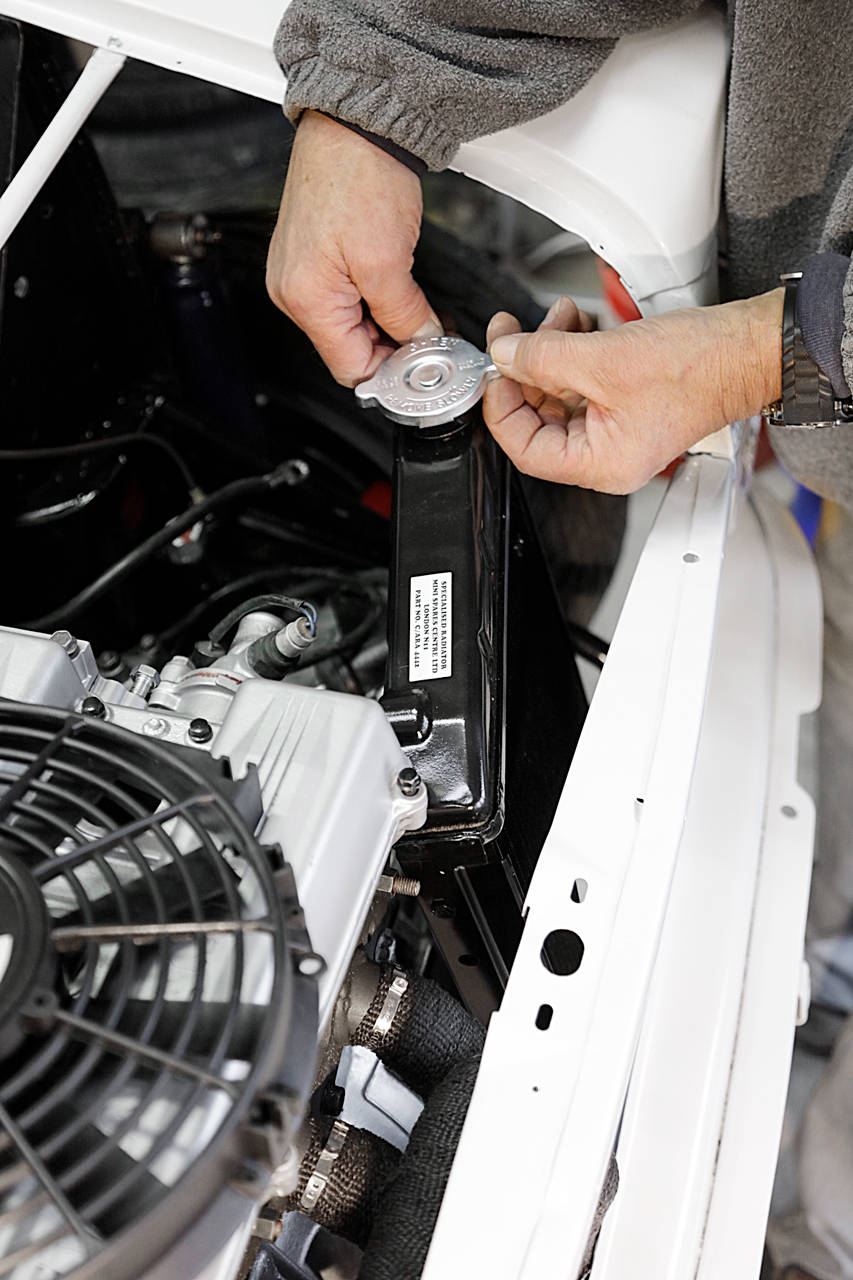
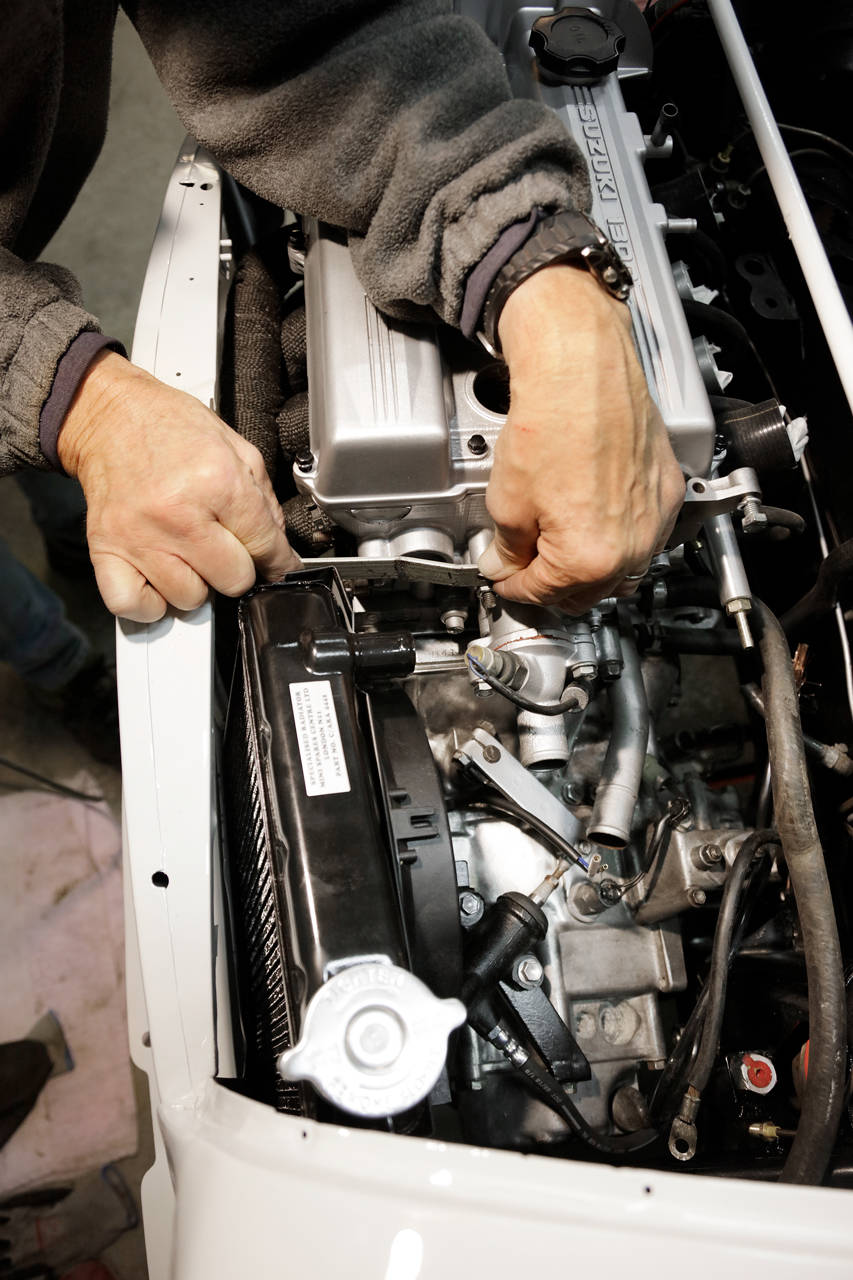
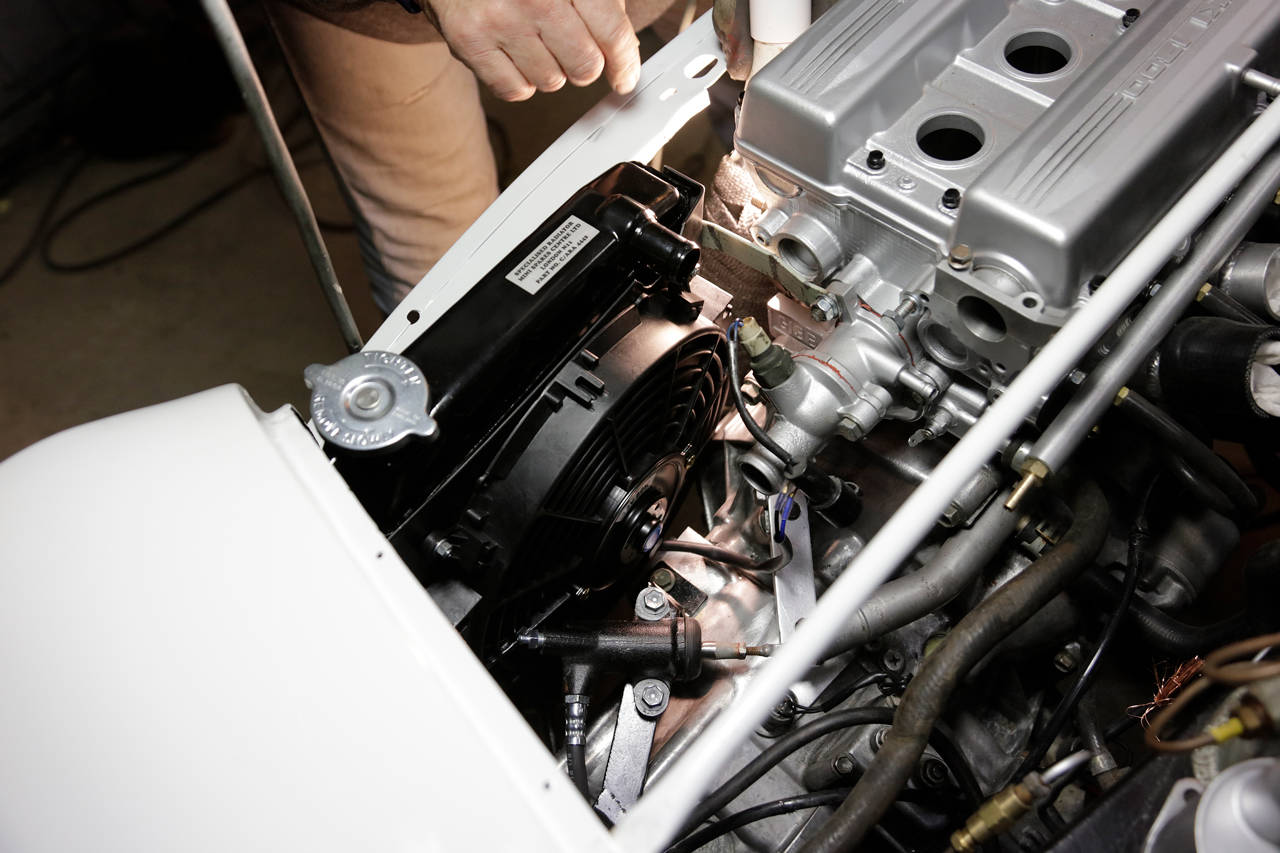
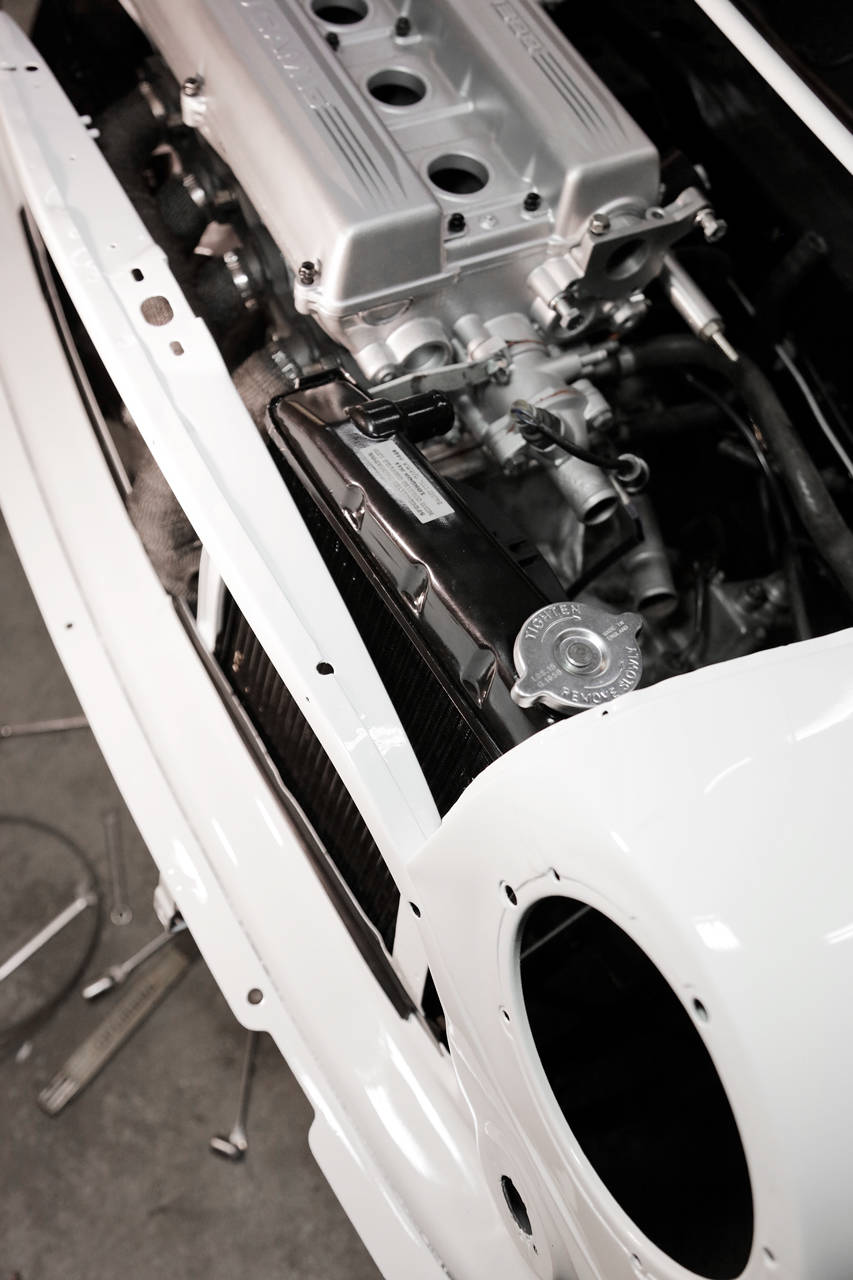
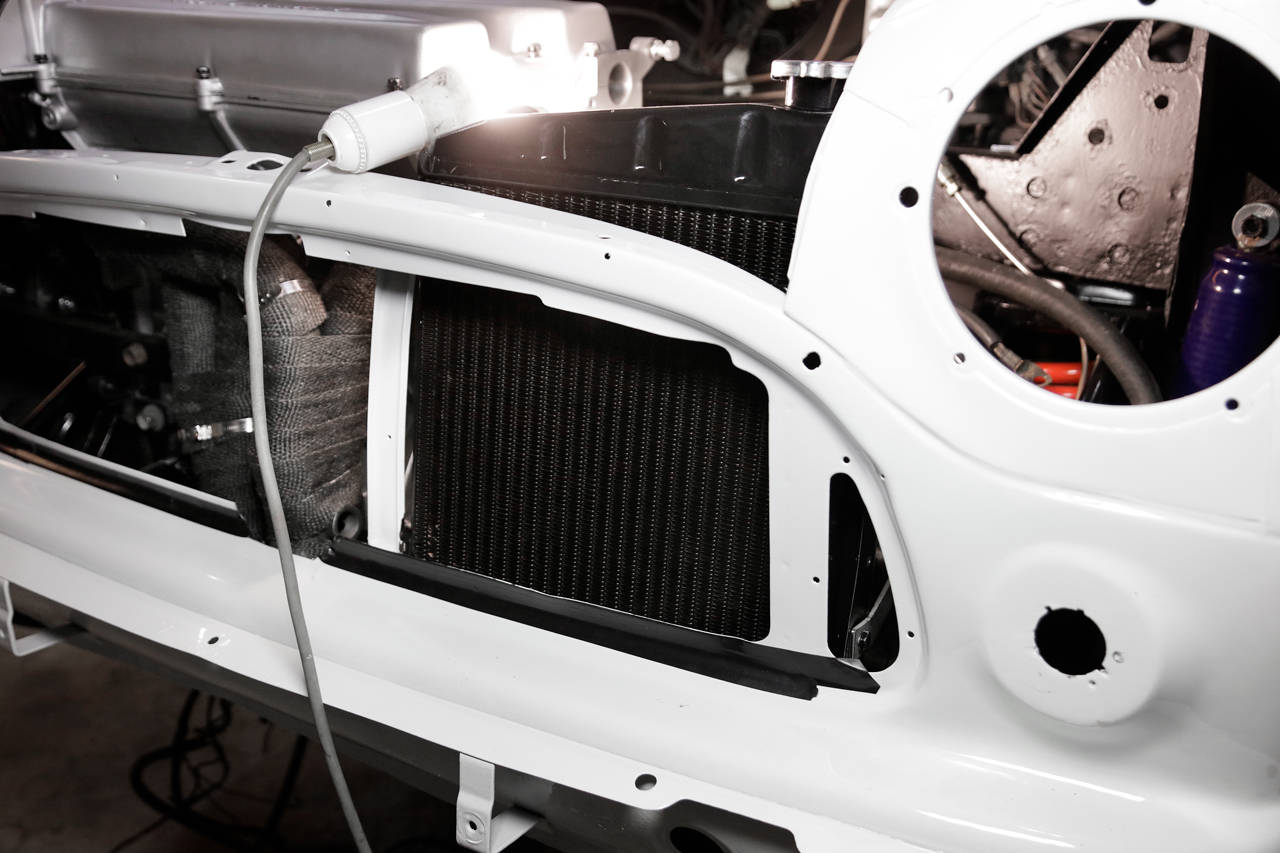
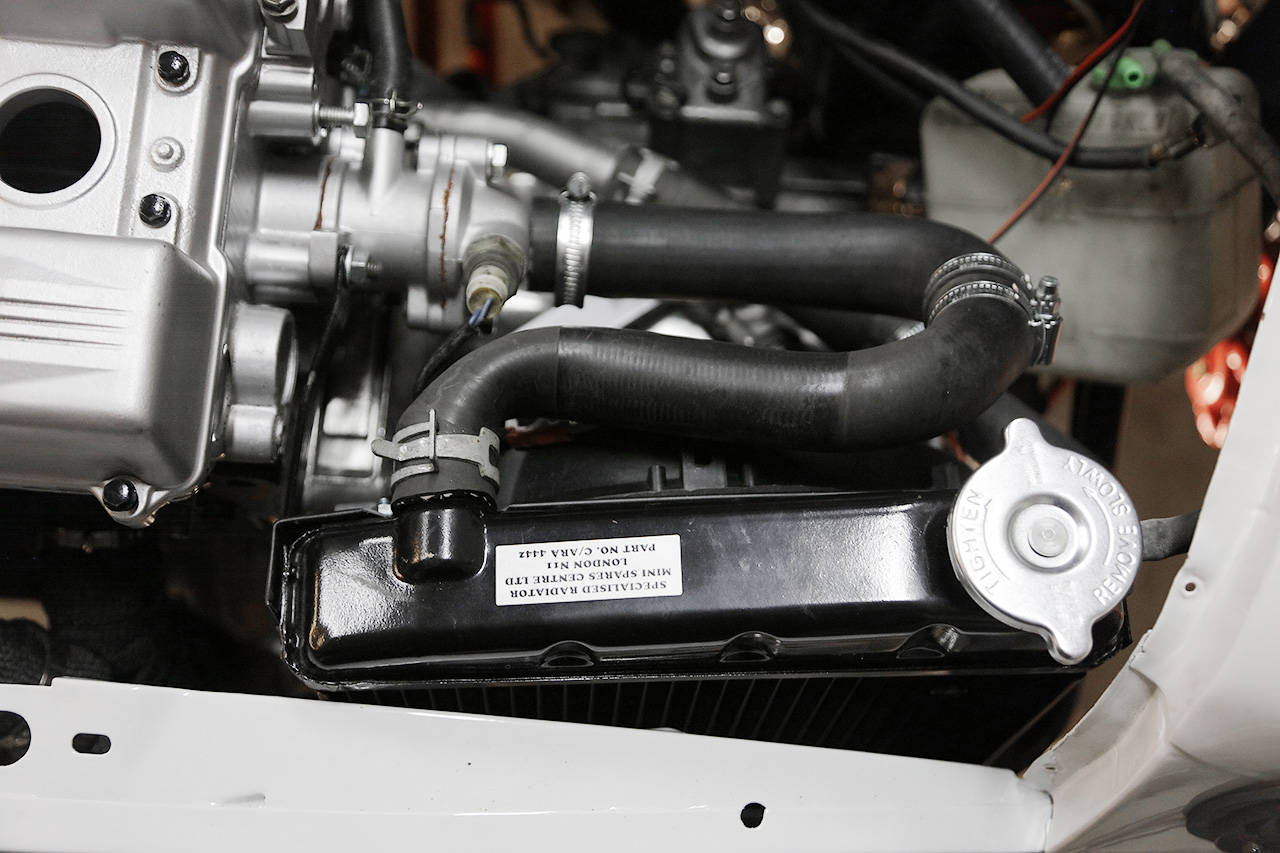
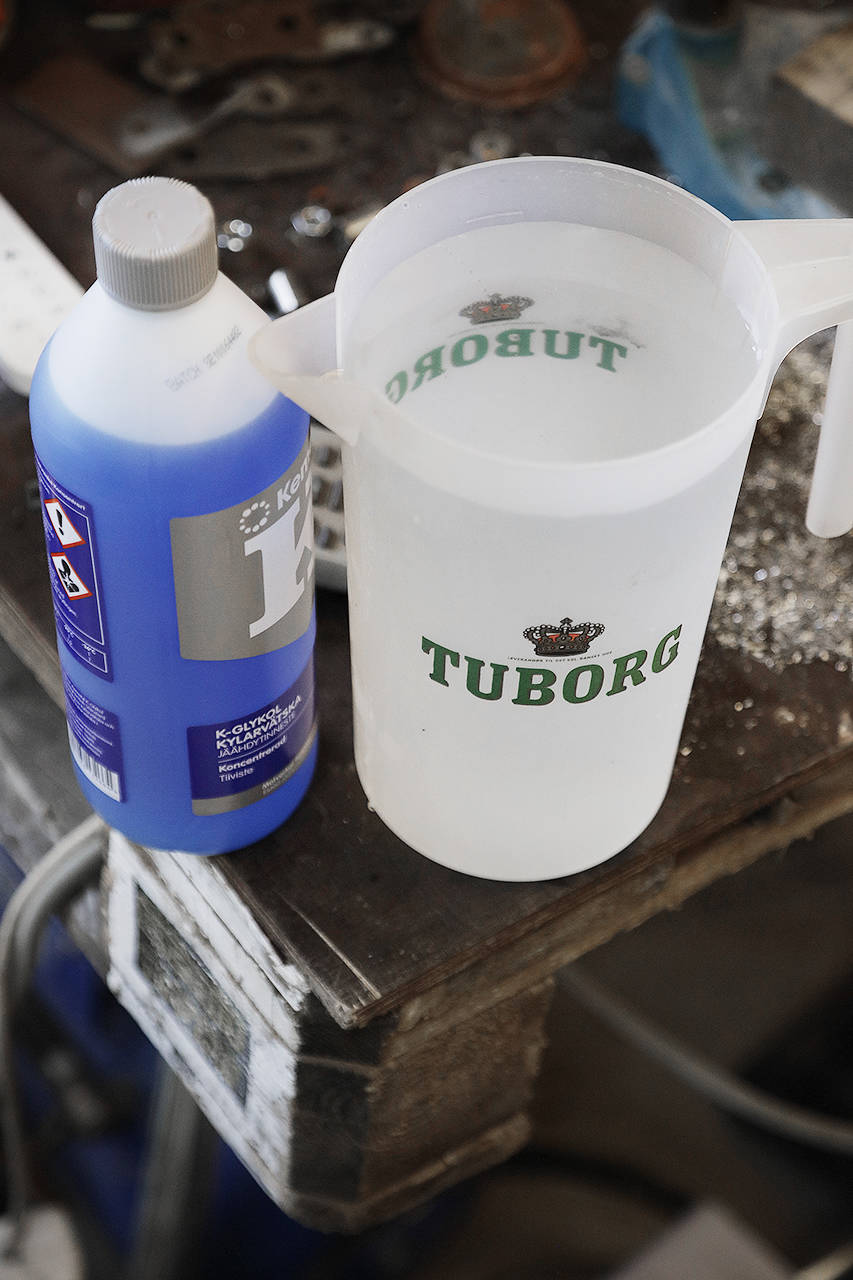
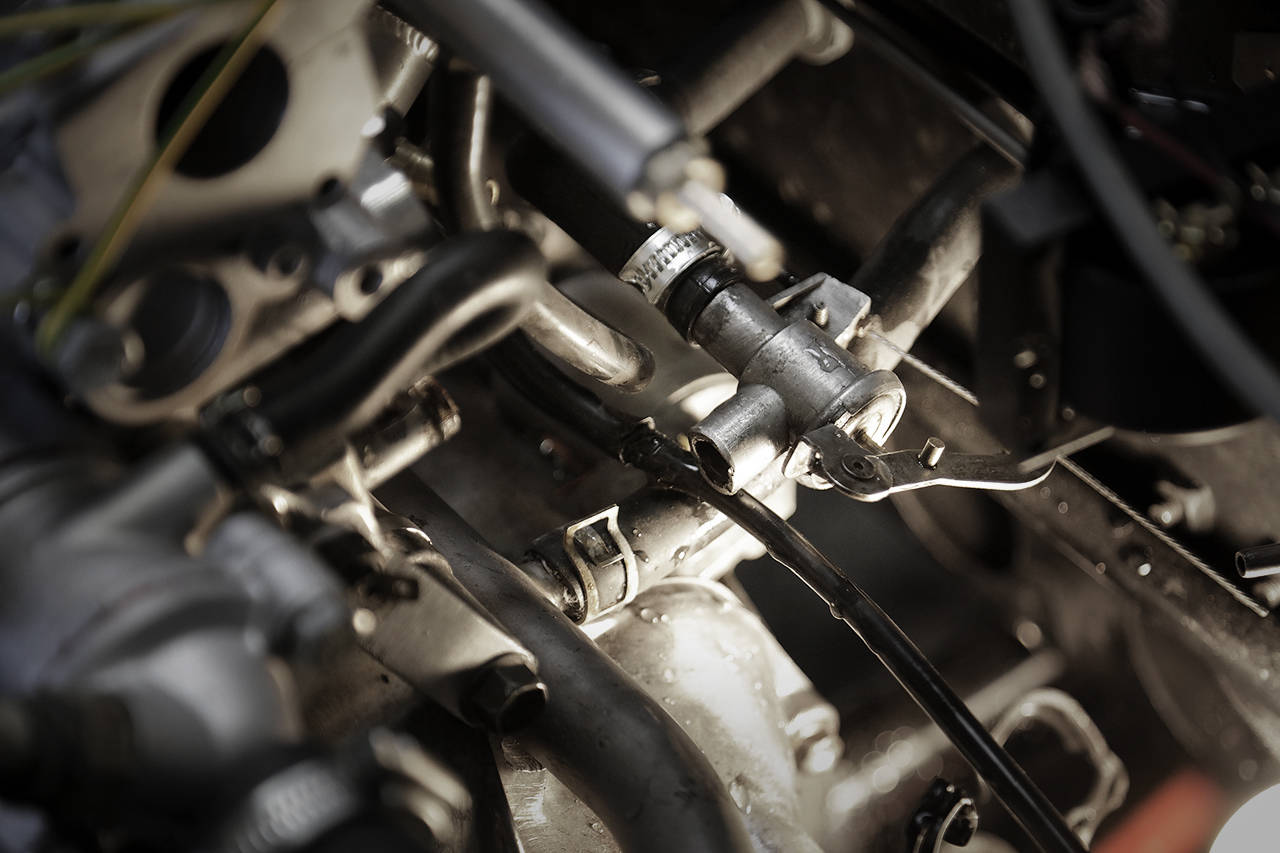
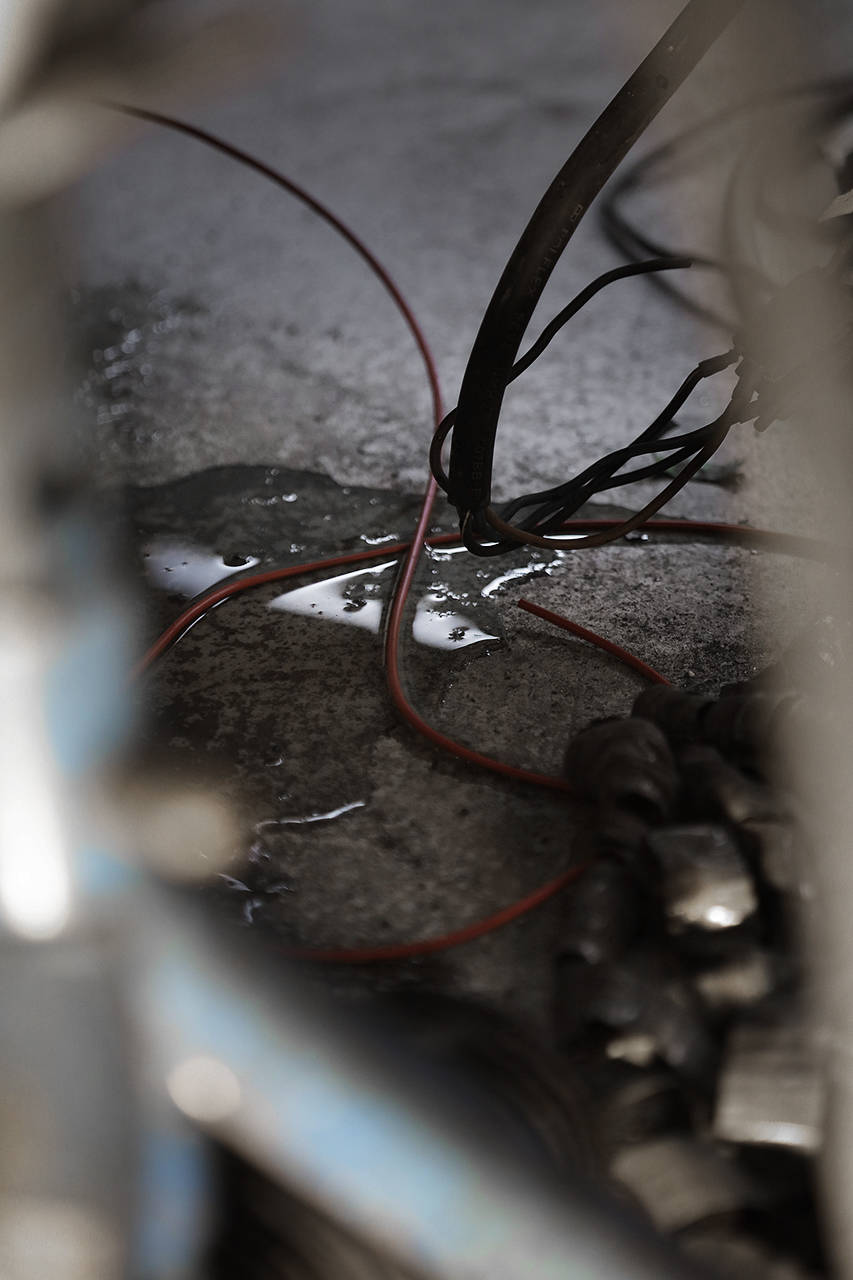
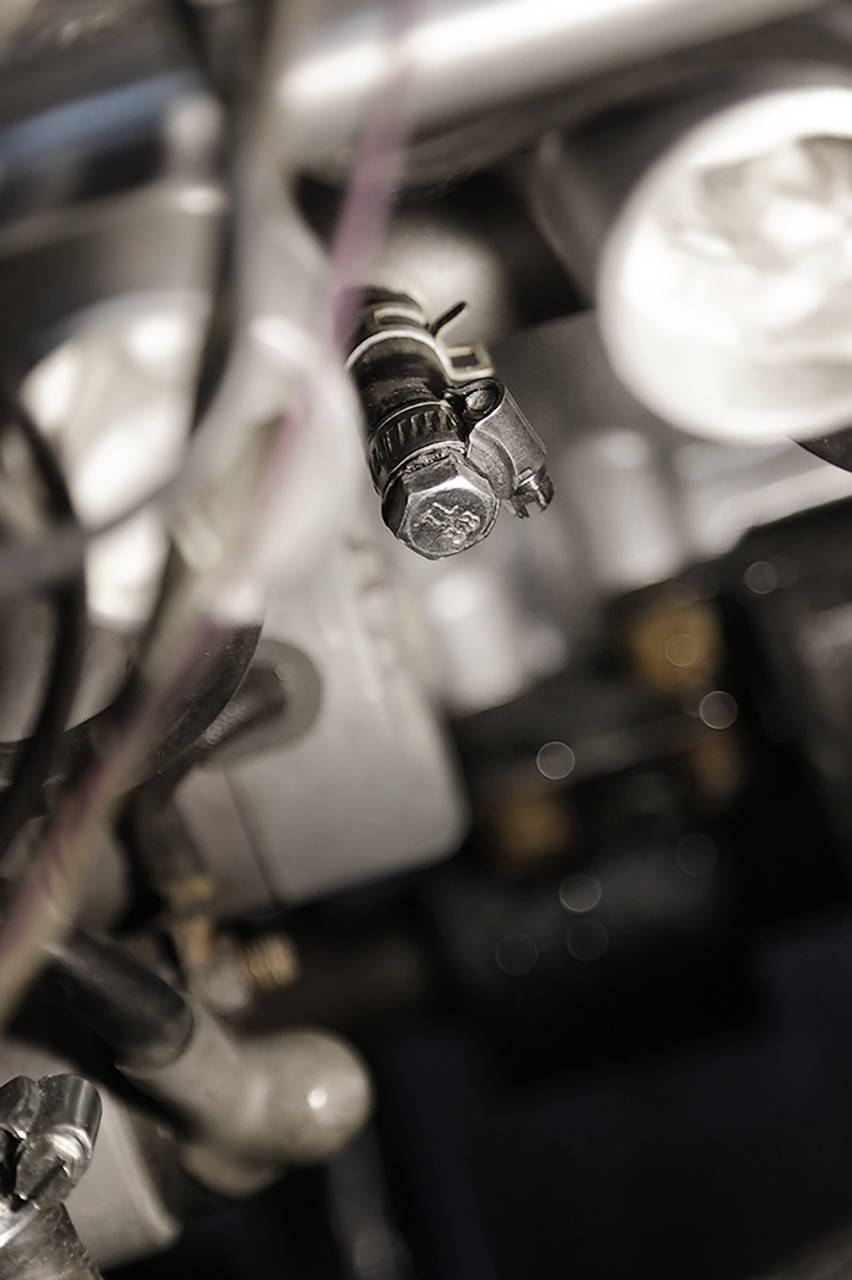
När det var gjort så fyllde vi vatten i en Tuborg-bringare och smaksatte med en gnutta glykol. En märklig kombo. Hällde inledningsvis i en liten del vatten i kylaren och kollade efter eventuella läckage. Såg bra ut. Fyllde på lite mer. Men, njae, här blev det tyvärr ett par pölar under bilen. En slang till vattentermostaten hade ett hål och fick bytas. Dessutom hade vi pluggat en liten stump men slangklämman satt inte värst bra. Vi bytte pluggen också och nu var allt tätt.
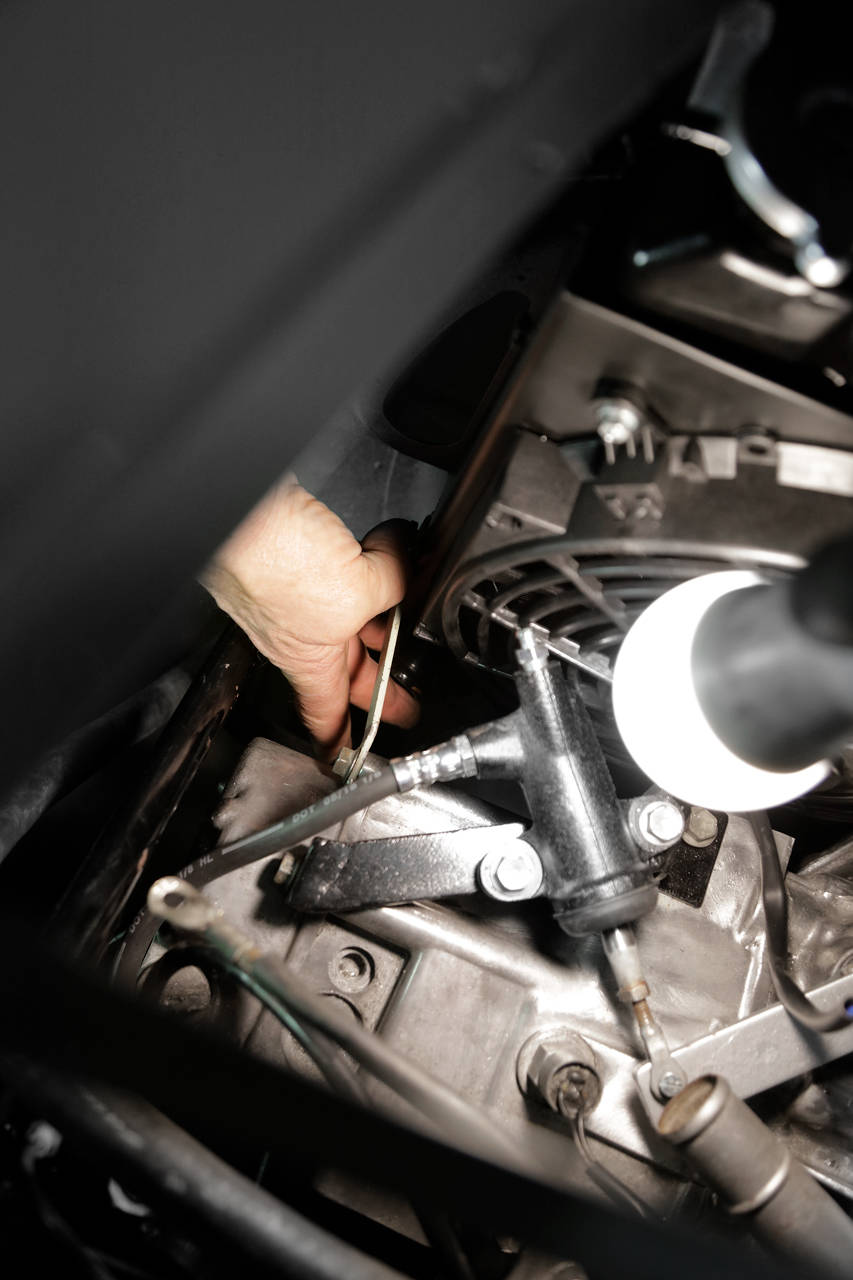
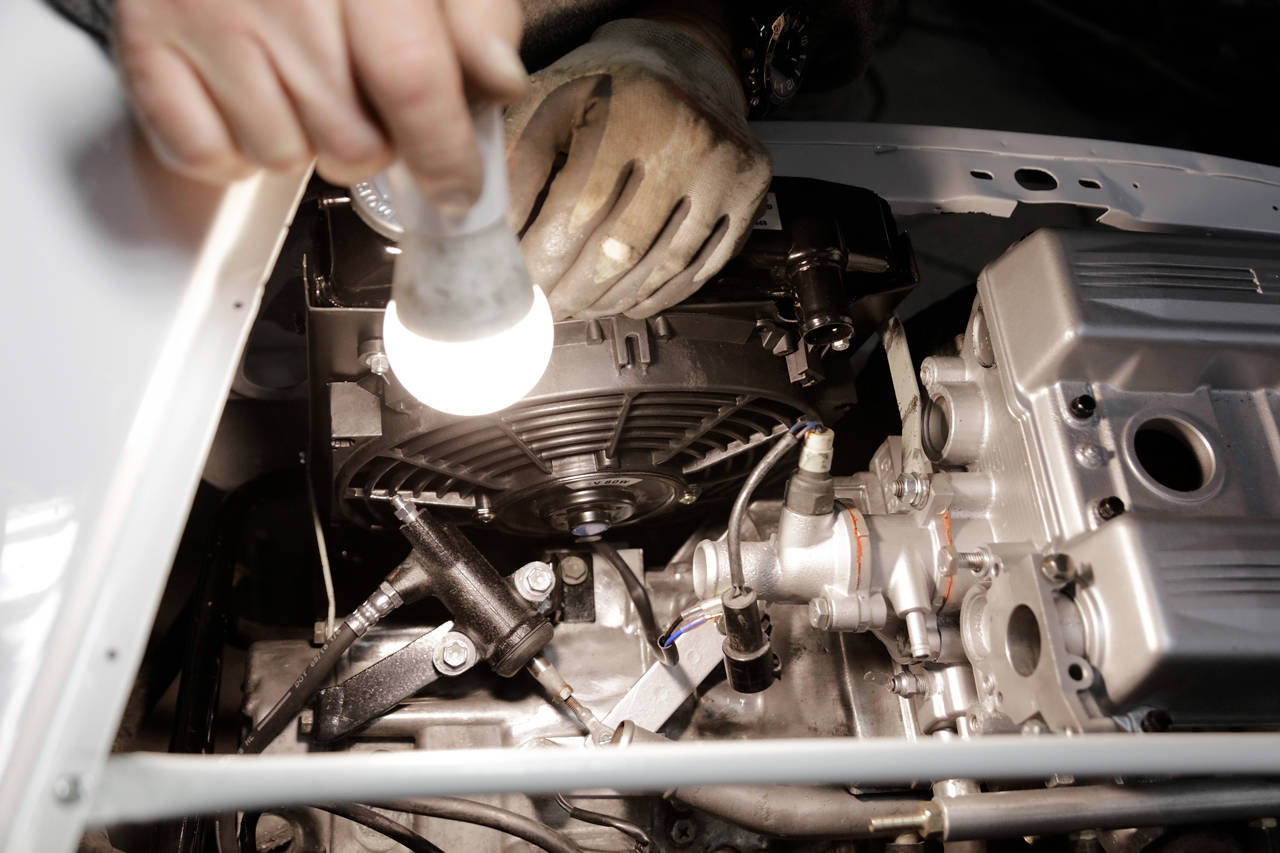
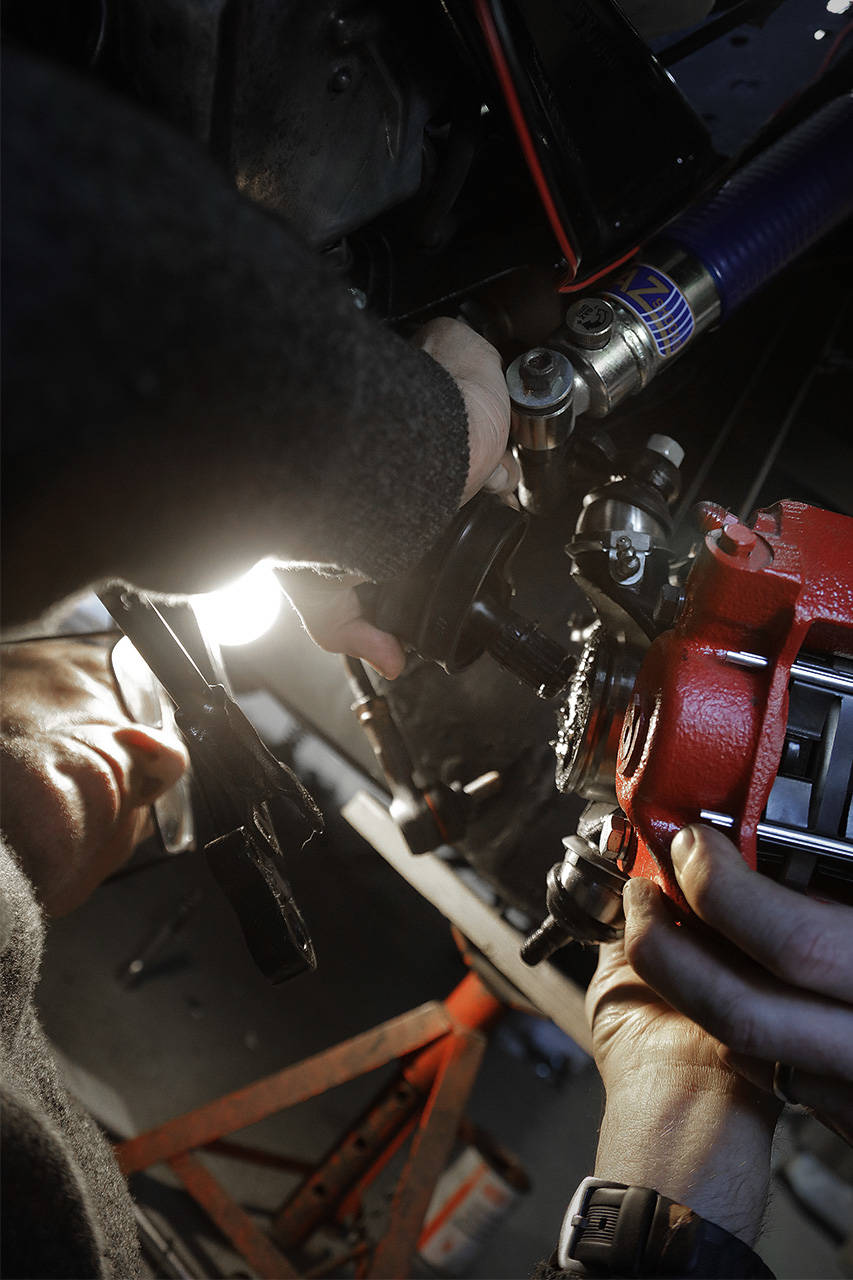
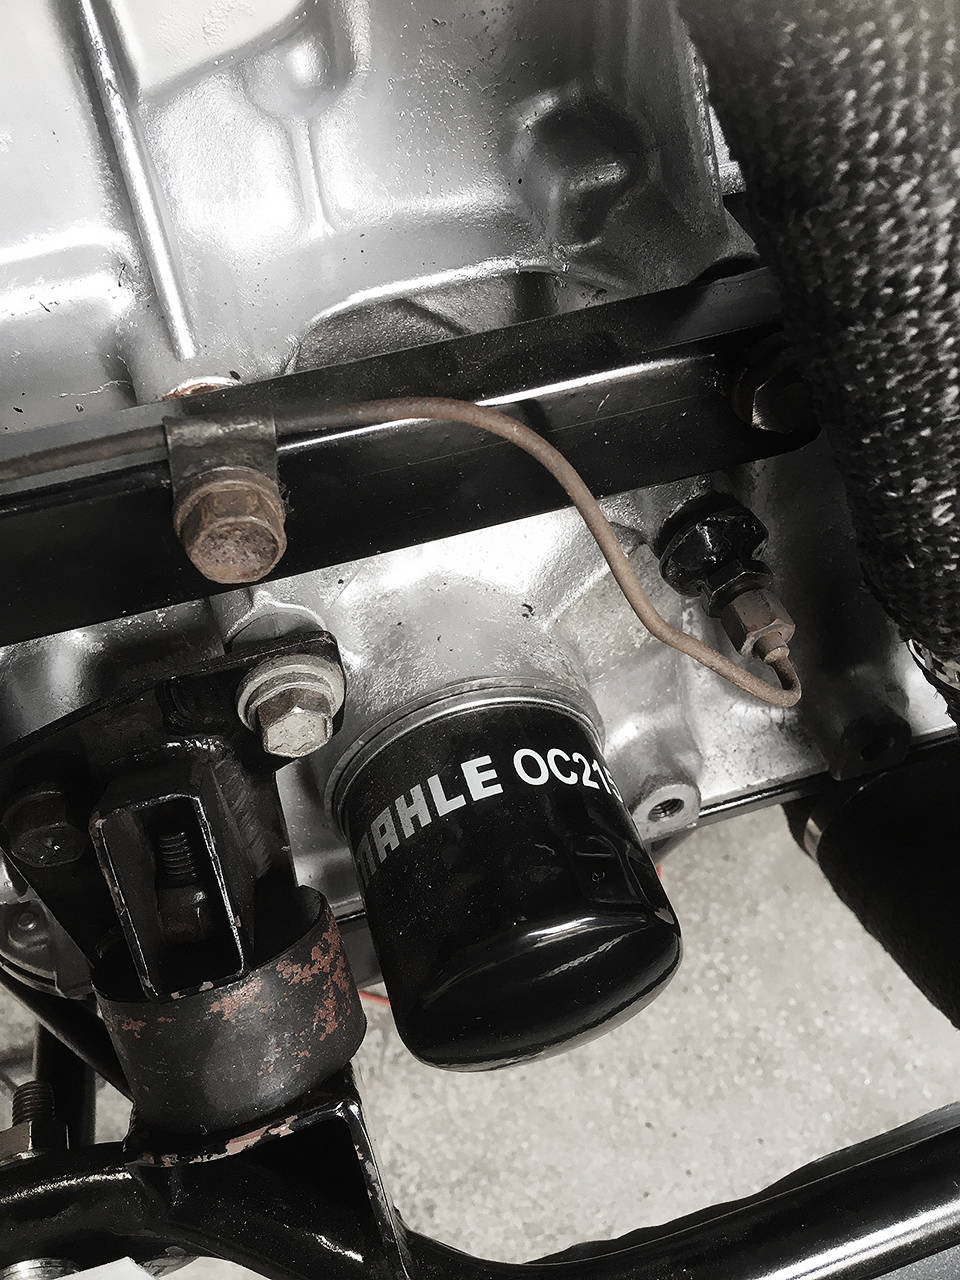
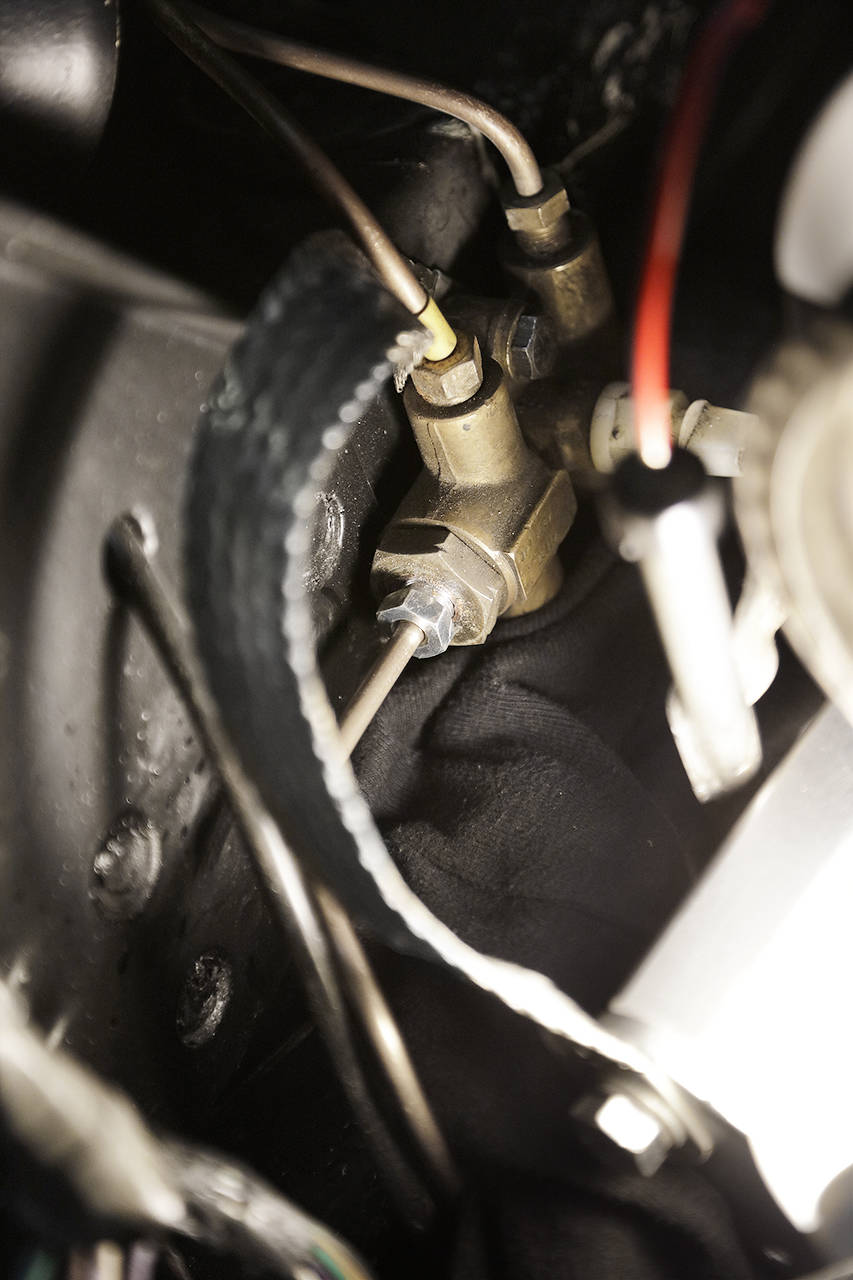
Vi gick vidare med att fylla på bromsolja och började genast att lufta bakbromsarna. Pumpa upp trycket, öppna kretsen och trycka pedalen i botten, stänga kretsen, repetera. Så gjorde vi i 10 minuter men vi tyckte det inte hände så mycket. Det slurpade dock i bromsbehållaren tills jag i ögonvrån såg att det droppade olja från motorrummet. Det var en nippel som vi inte dragit åt. Se där ja. Så enkelt. Men så svårt samtidigt. Men nu är bromsarna luftade en omgång. Lär göras fler gånger framöver.
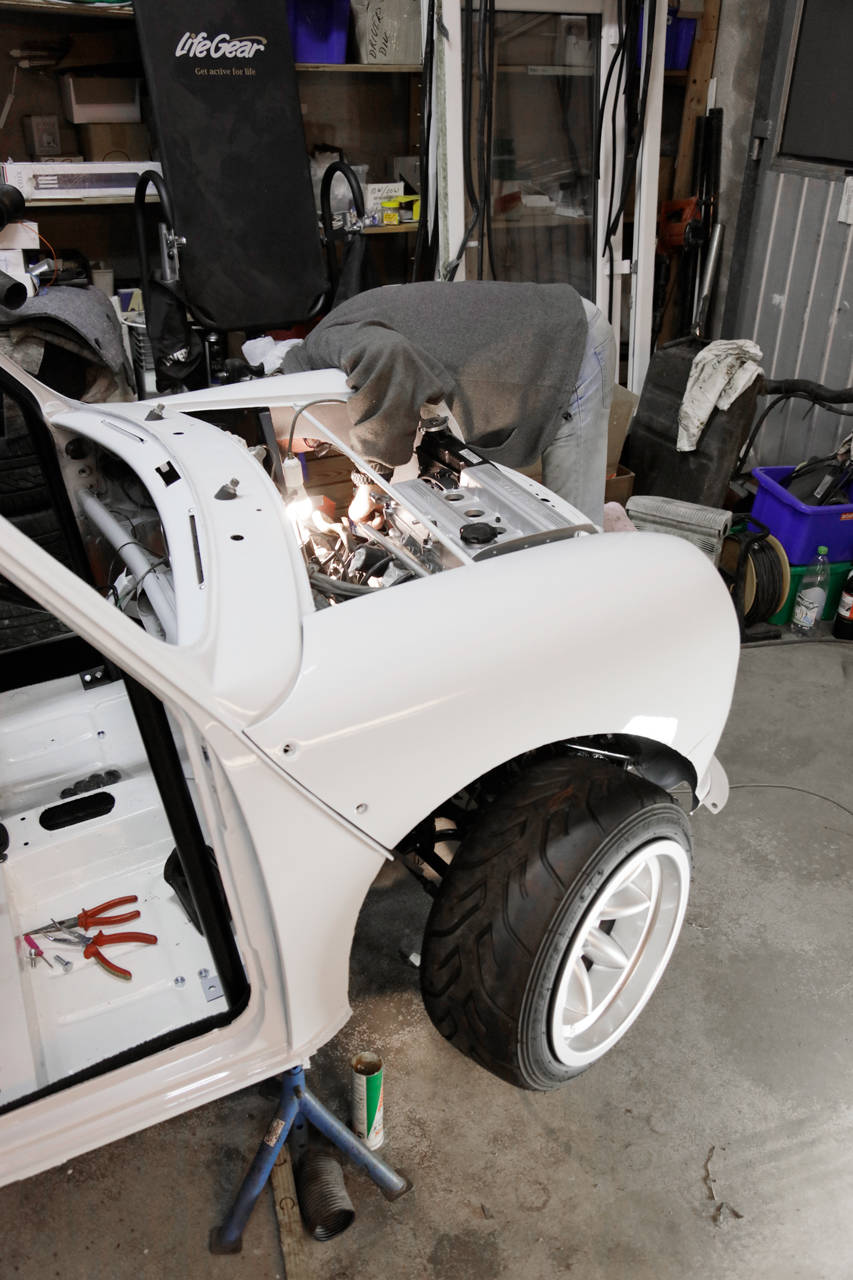
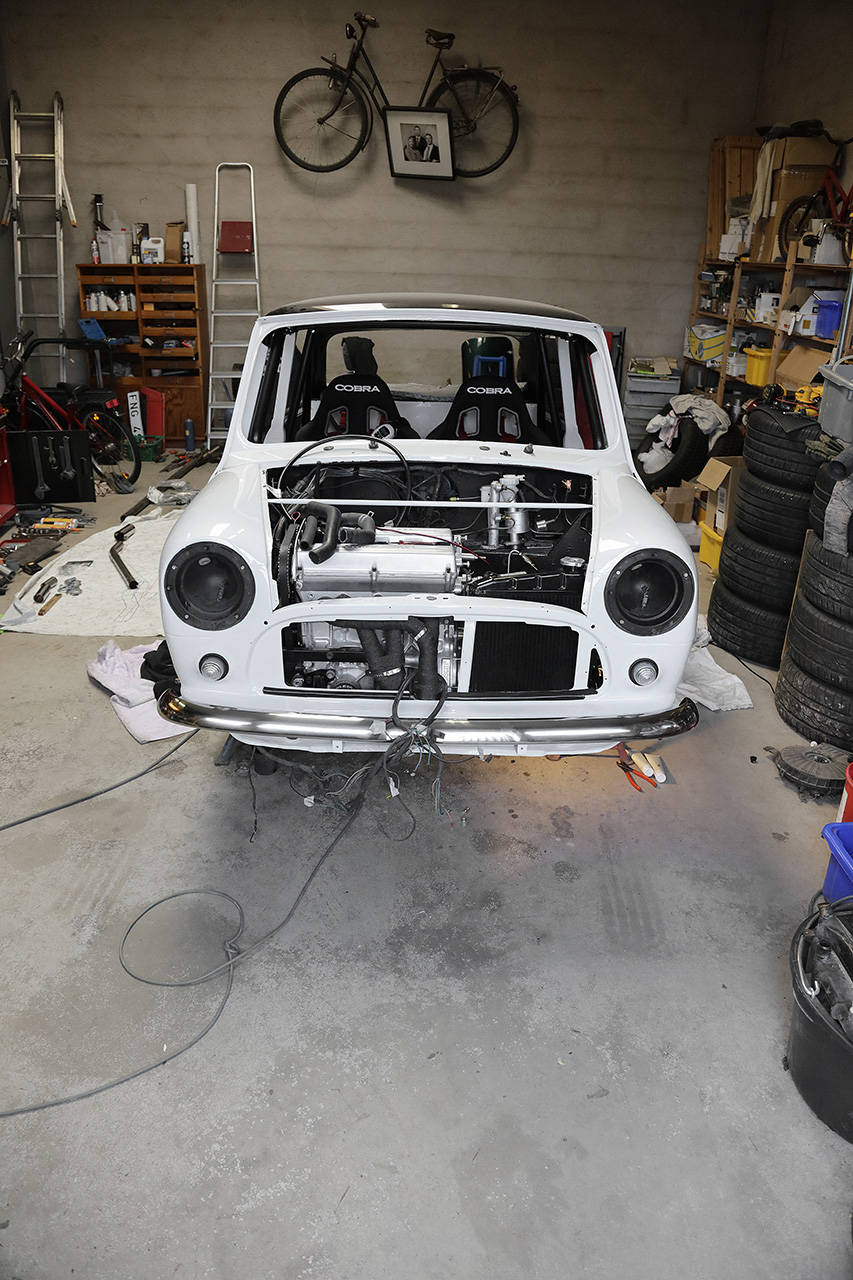
Denna gång var det mycket "gömda" grejor som ordnades, men de ska ju också göras för att få igång den inom kort.
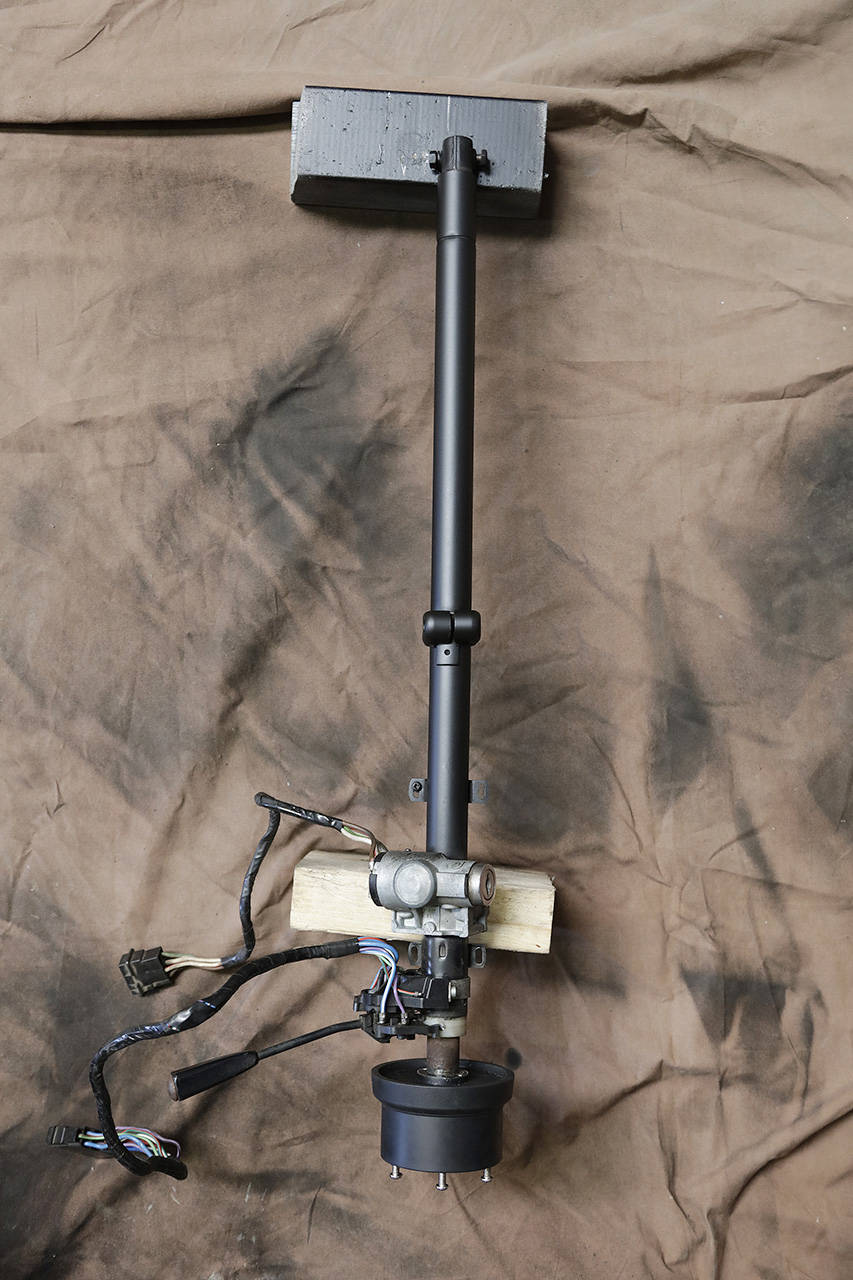
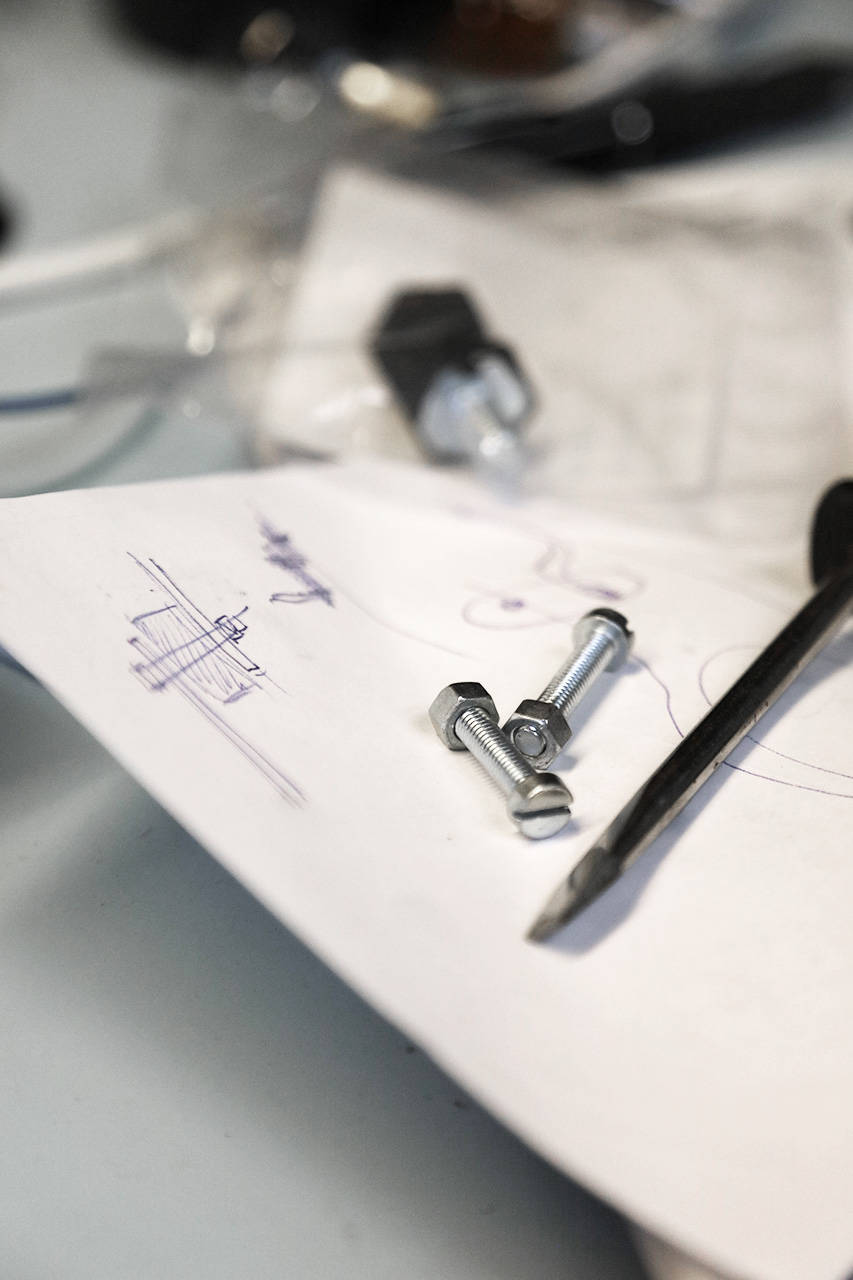
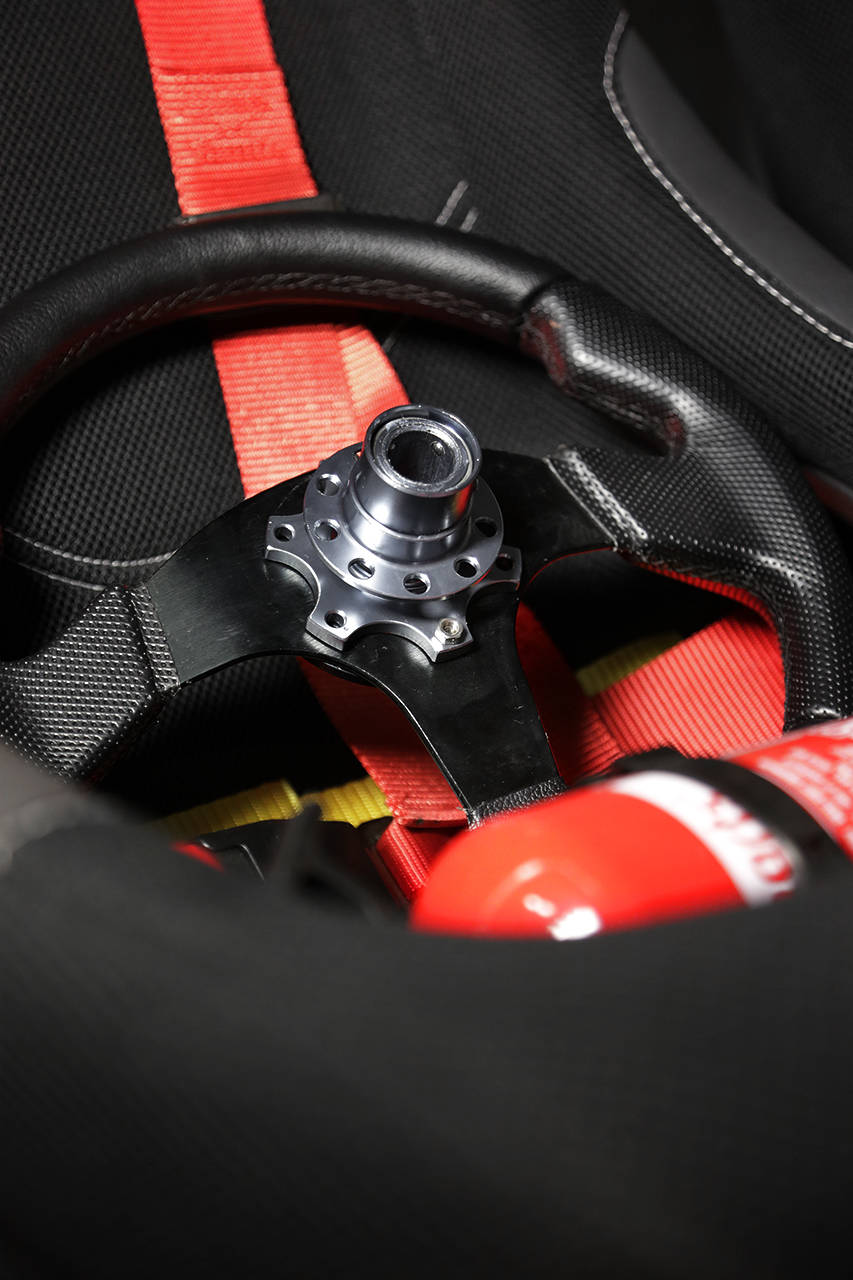
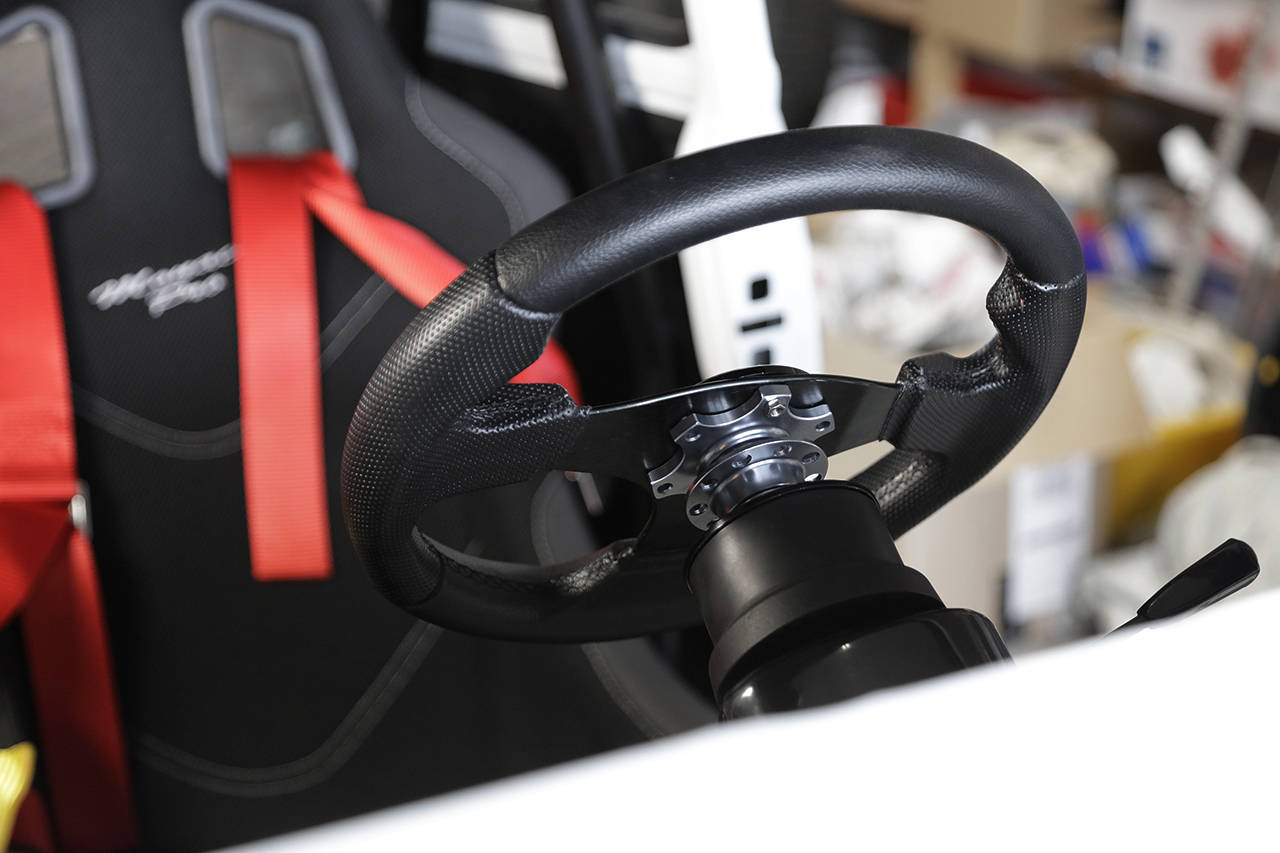
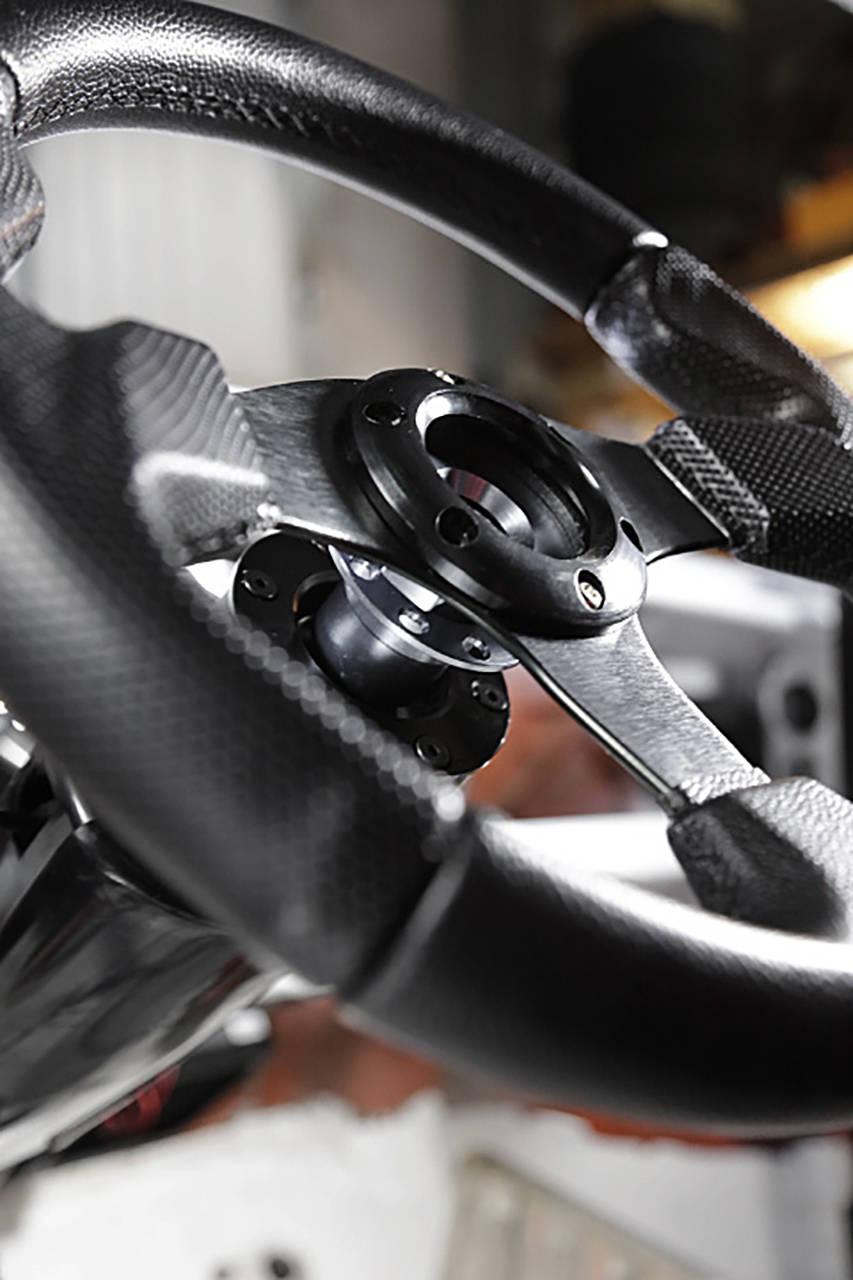
Jag kapade också bort halva rattnavet (på djupet alltså) för att kunna montera det på snabbfästet. Egentligen kan man säga att det är tutans mekanism, men eftersom tutan sitter på blinkersspaken så behövs inte fjädermekanismen på tutan (knappen). Nya skruvar måste införskaffas då de var i kortaste laget. Vore bra att ratten sitter på plats så att man inte plötsligt sitter där med den i näven i en sväng.
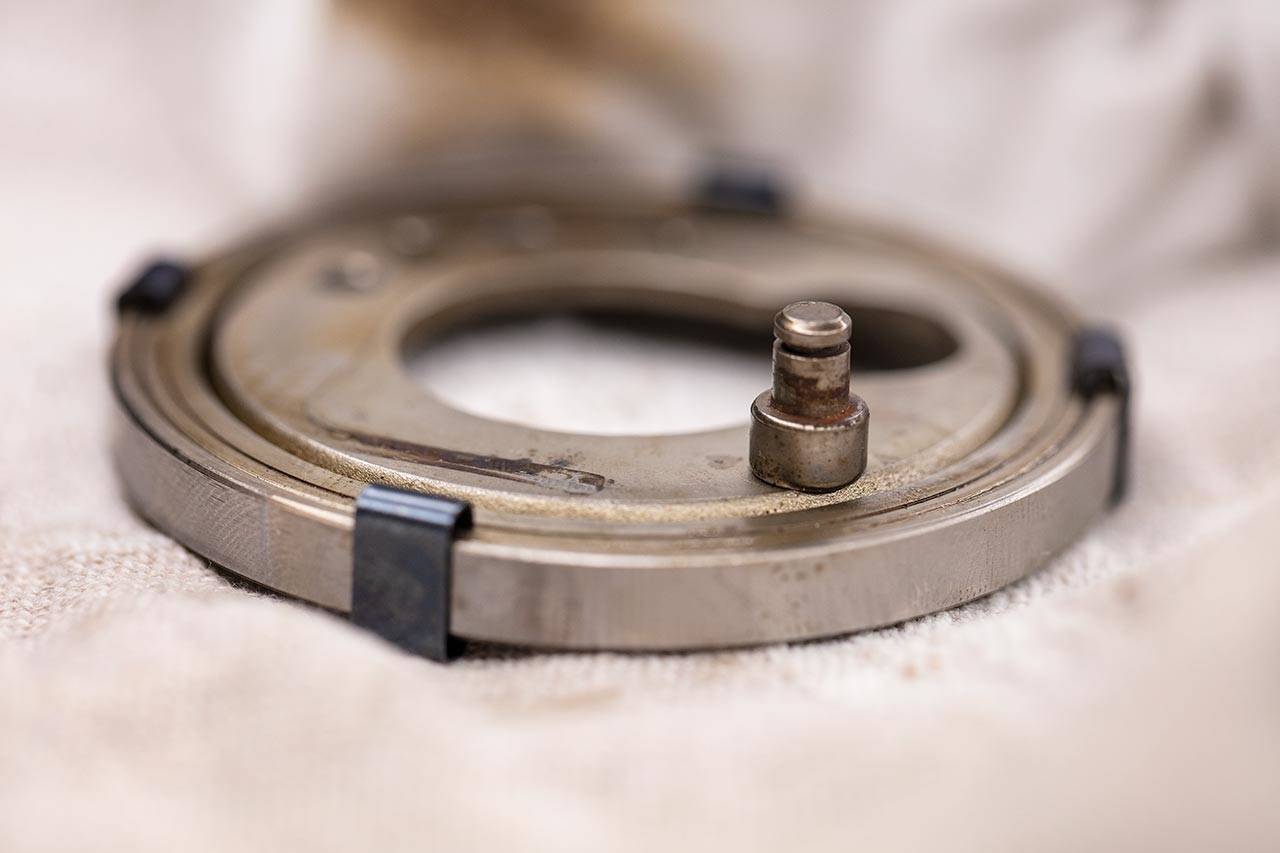
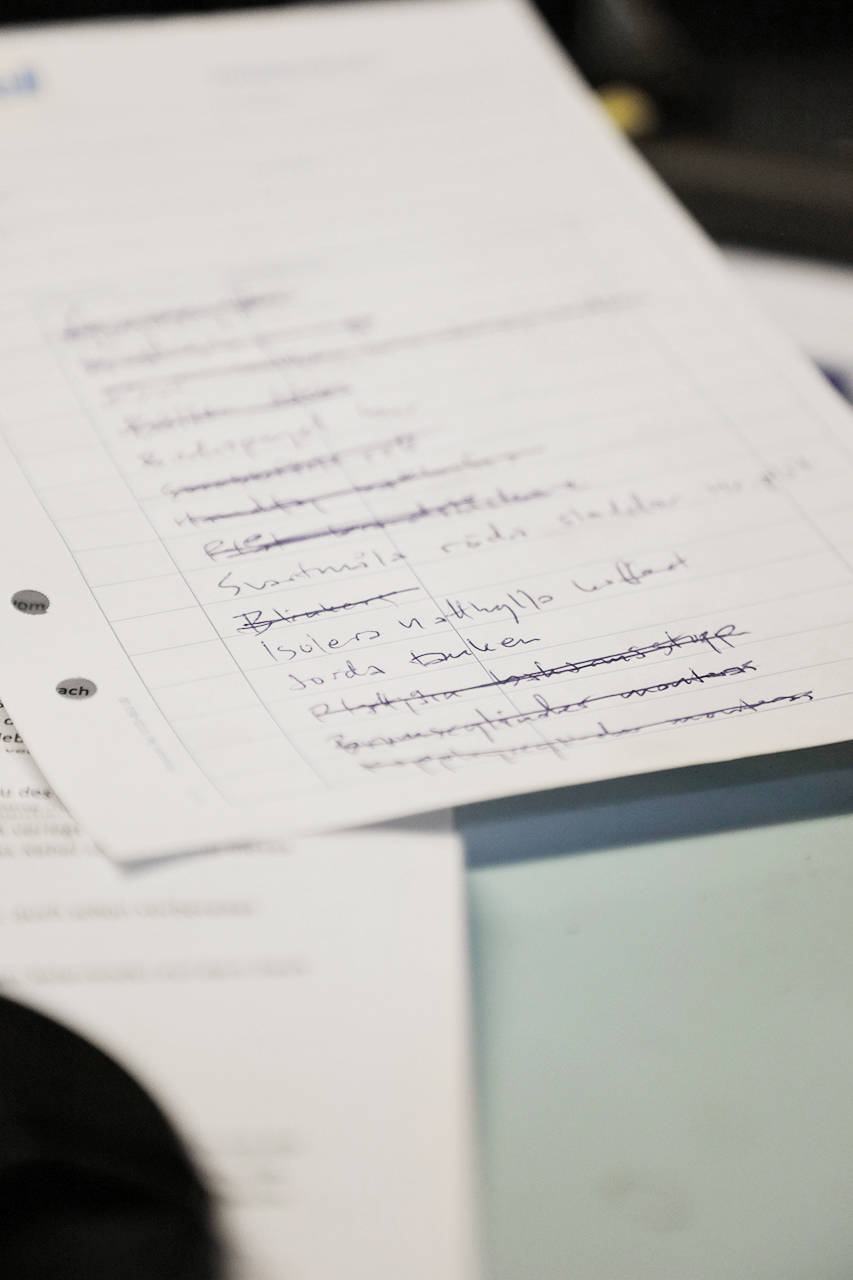
Annat smått som gjordes var bl a
- Jorda tanken
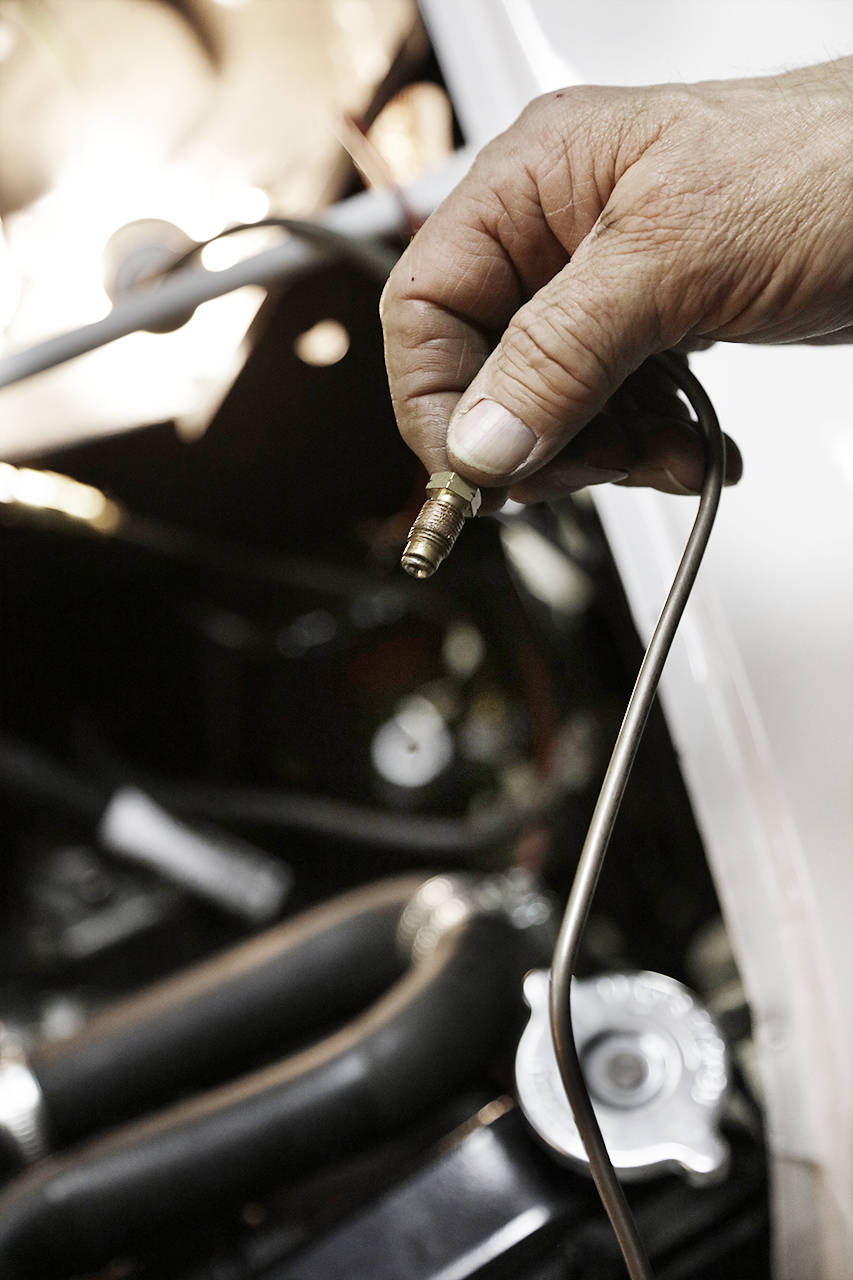
- Dra luftningsslang till tanken
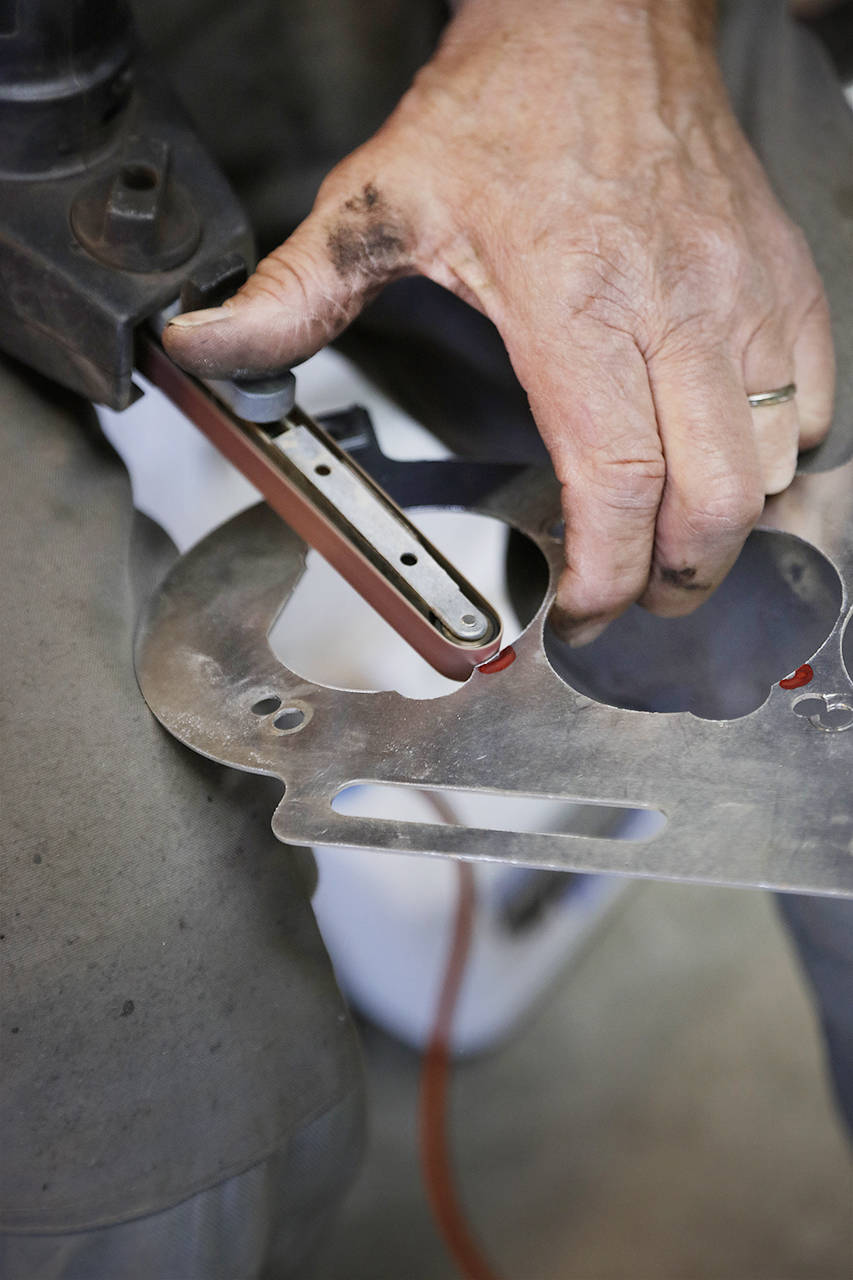
- Svetsa grenrörsflänsen
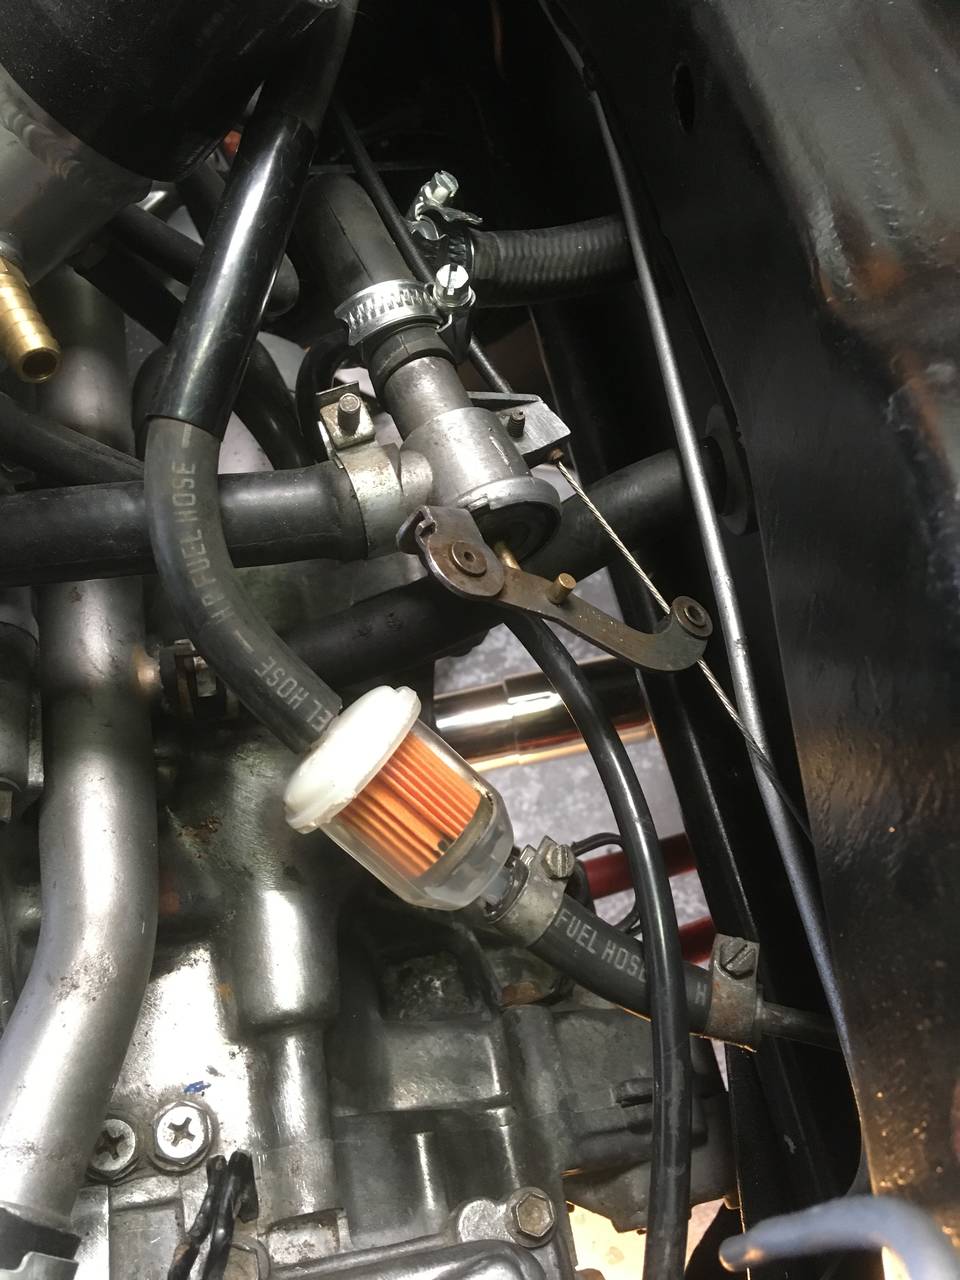
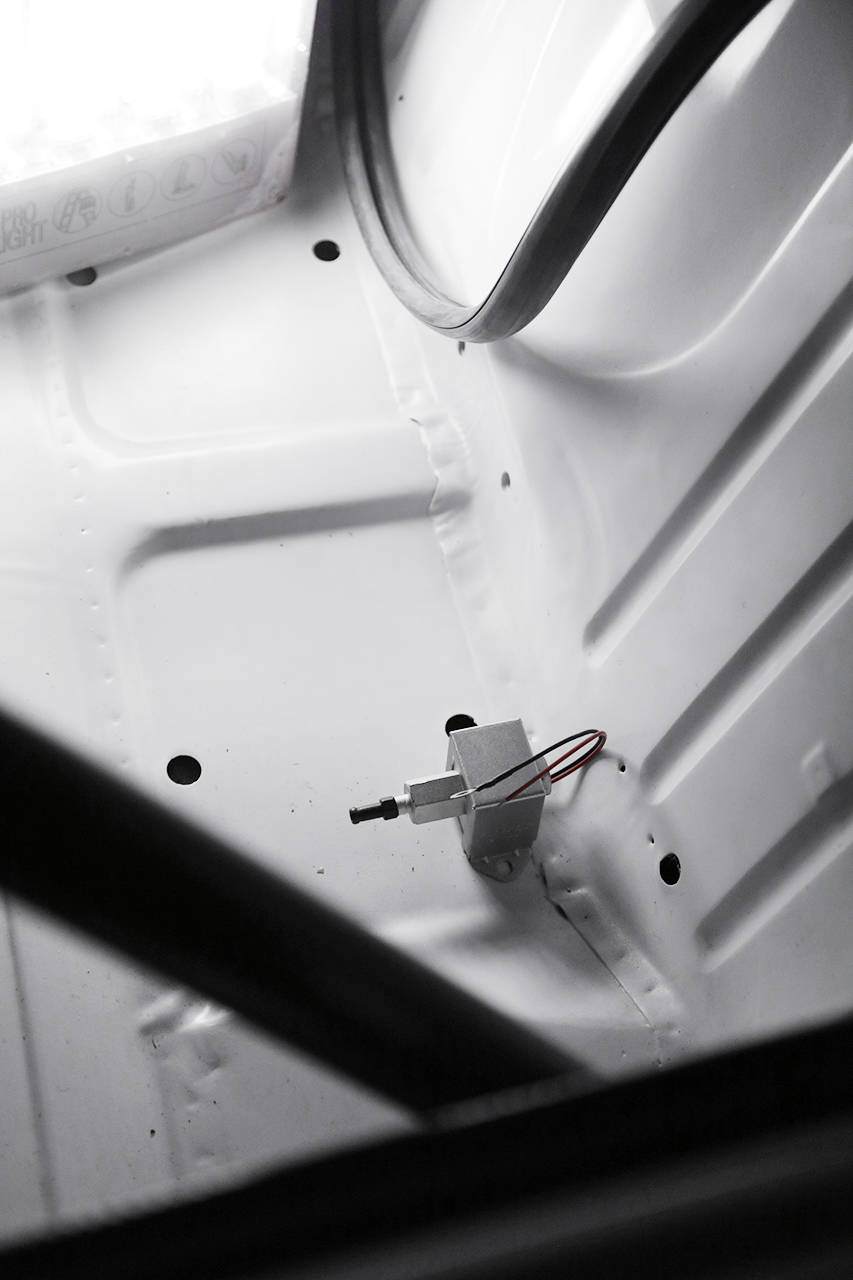
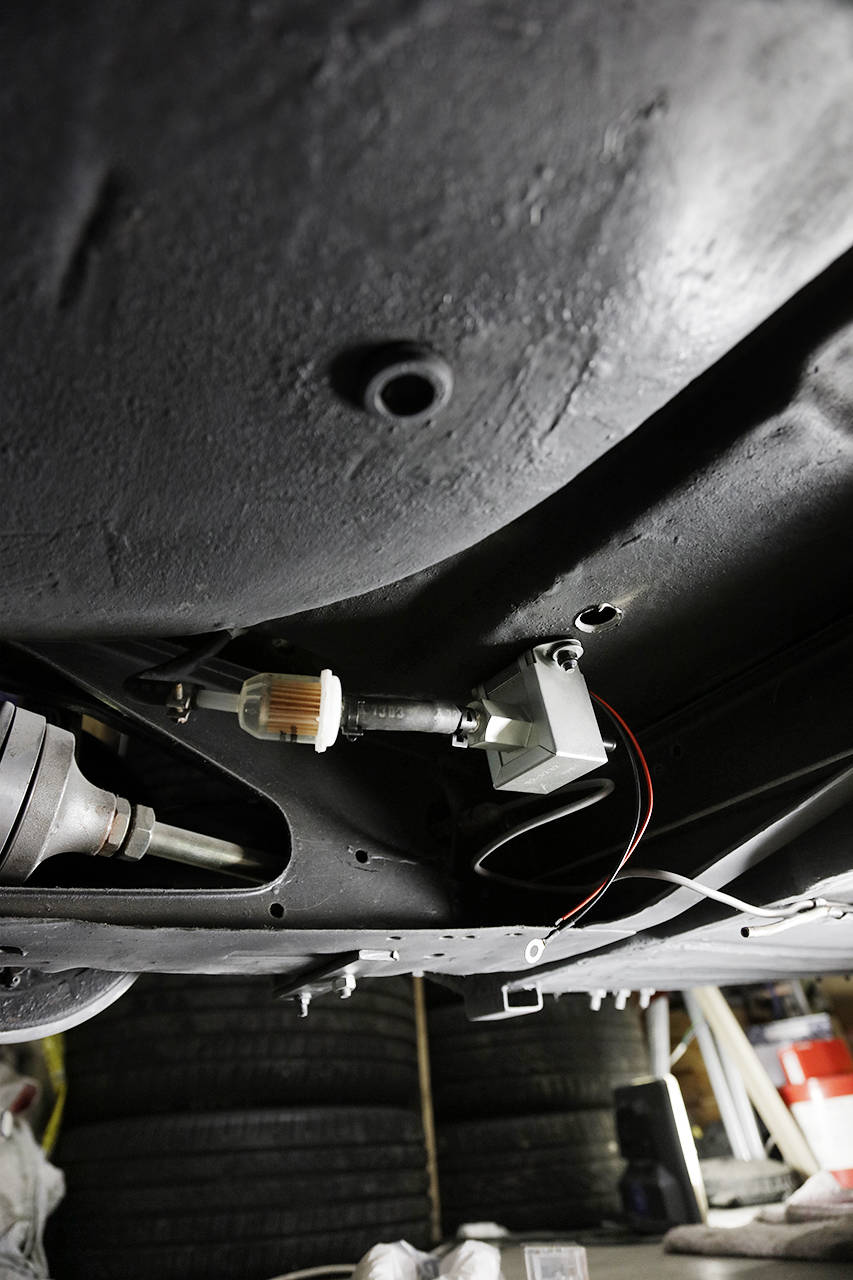
- El kopplad till bränslepumpen
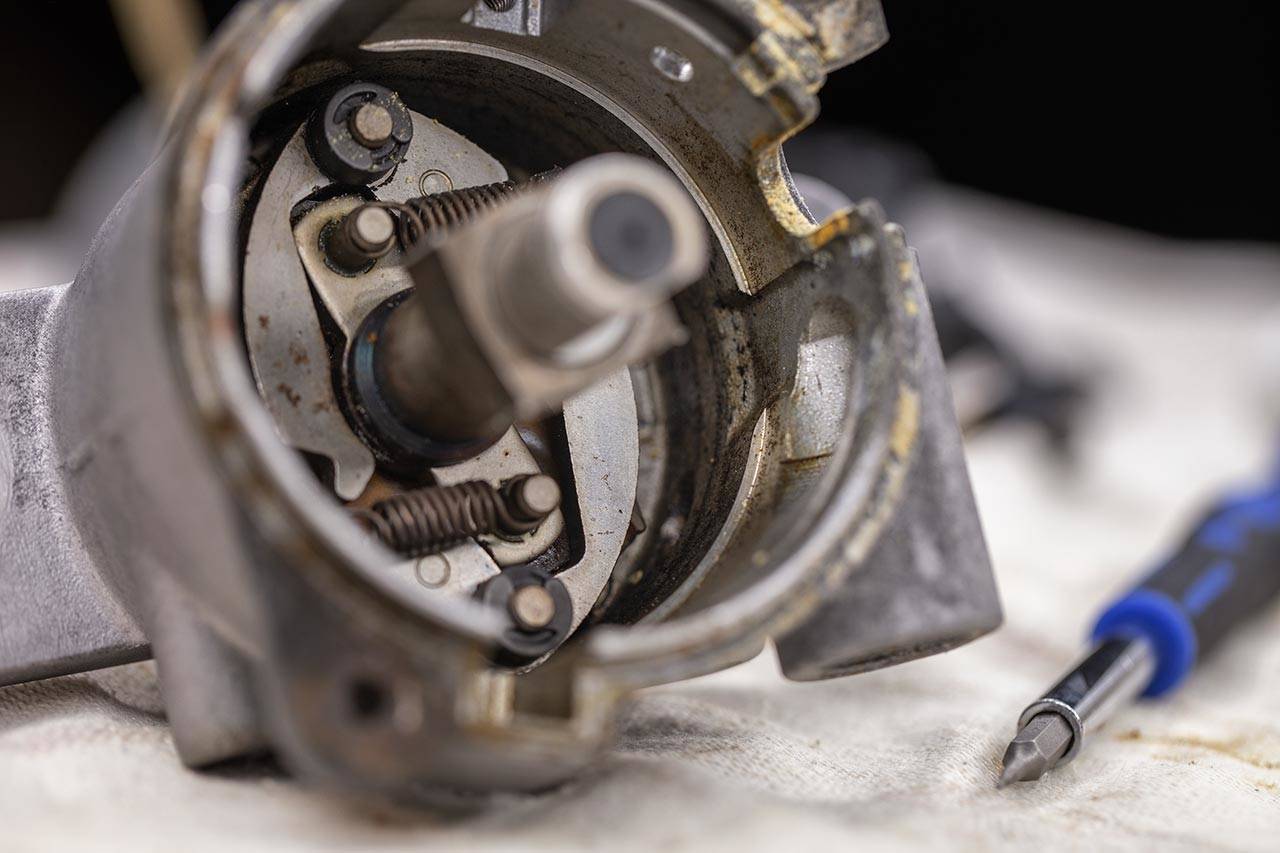
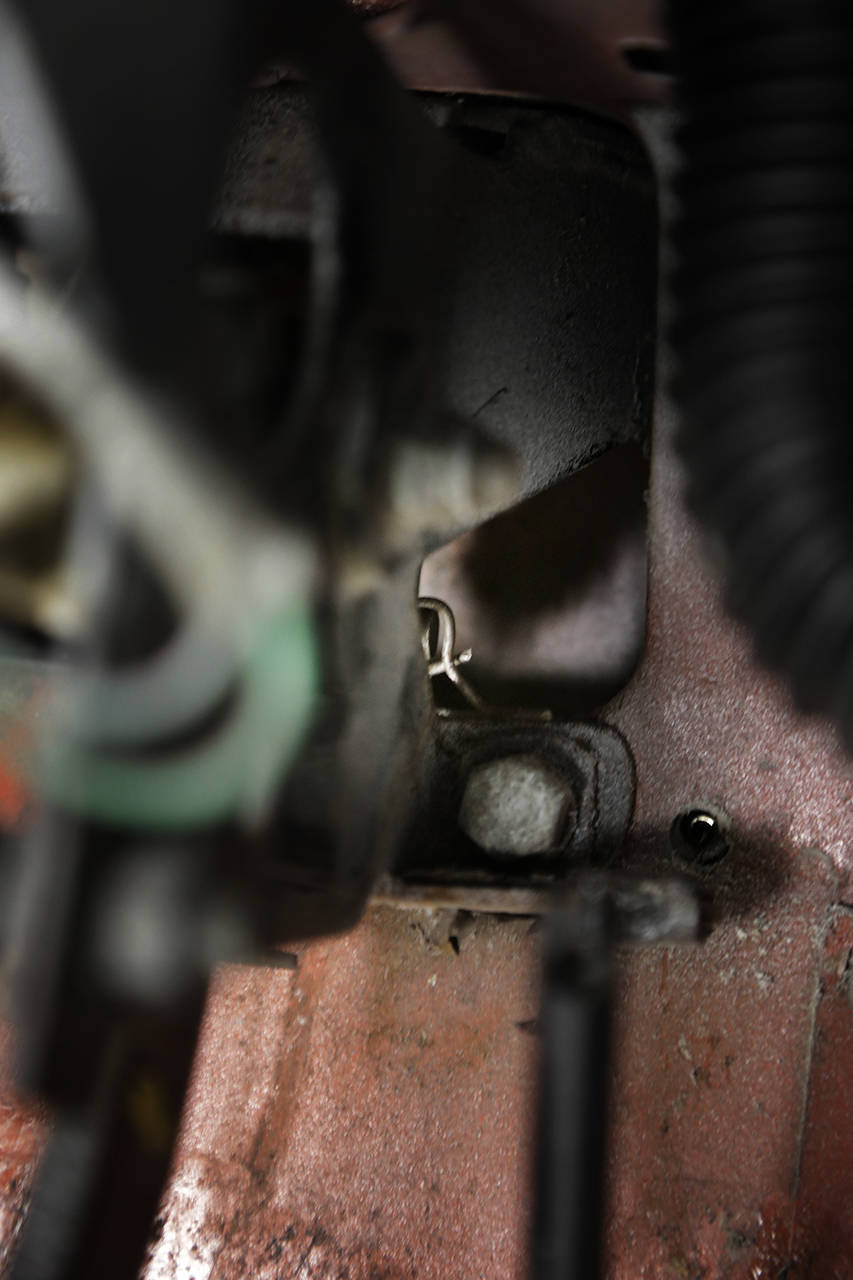
- Damask på handbromsmekanismen
- Svetsat handbromsfästet
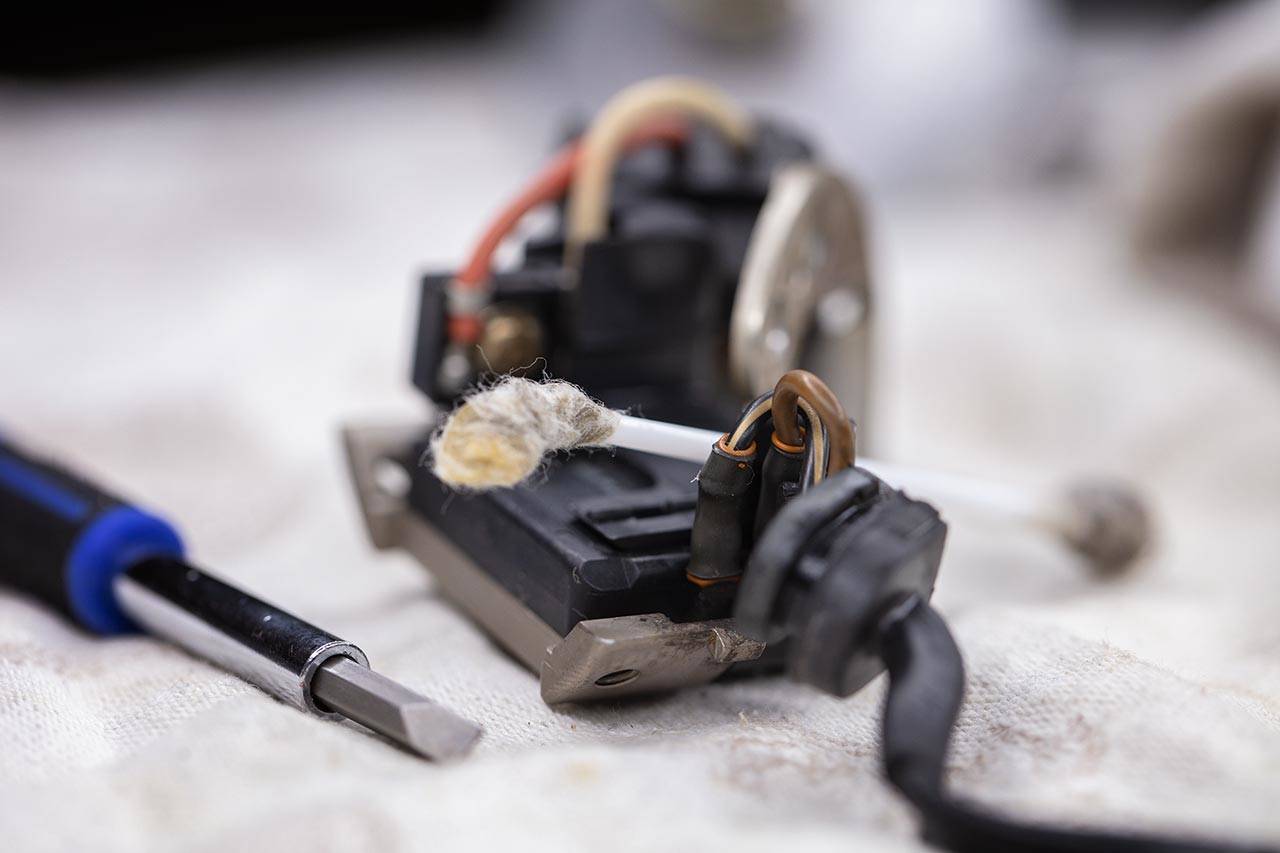
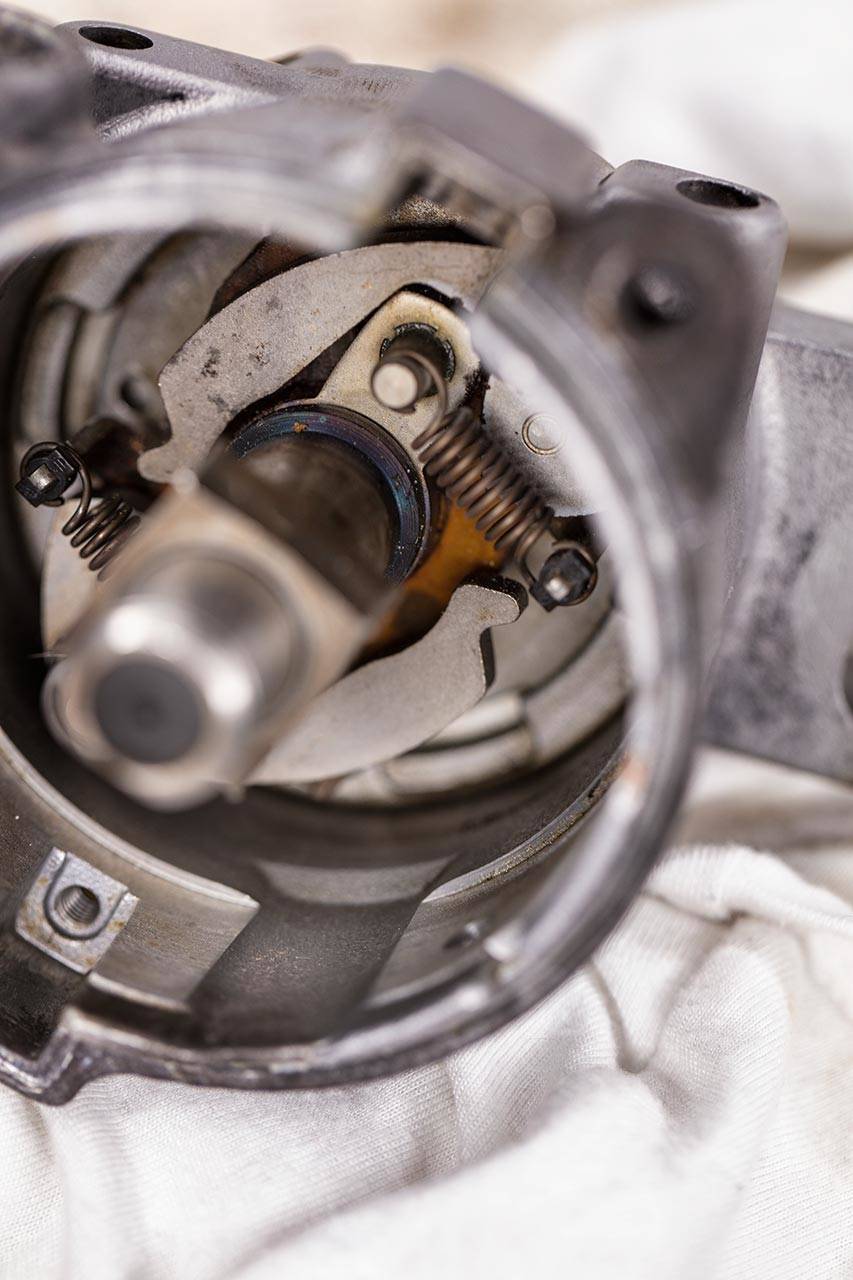
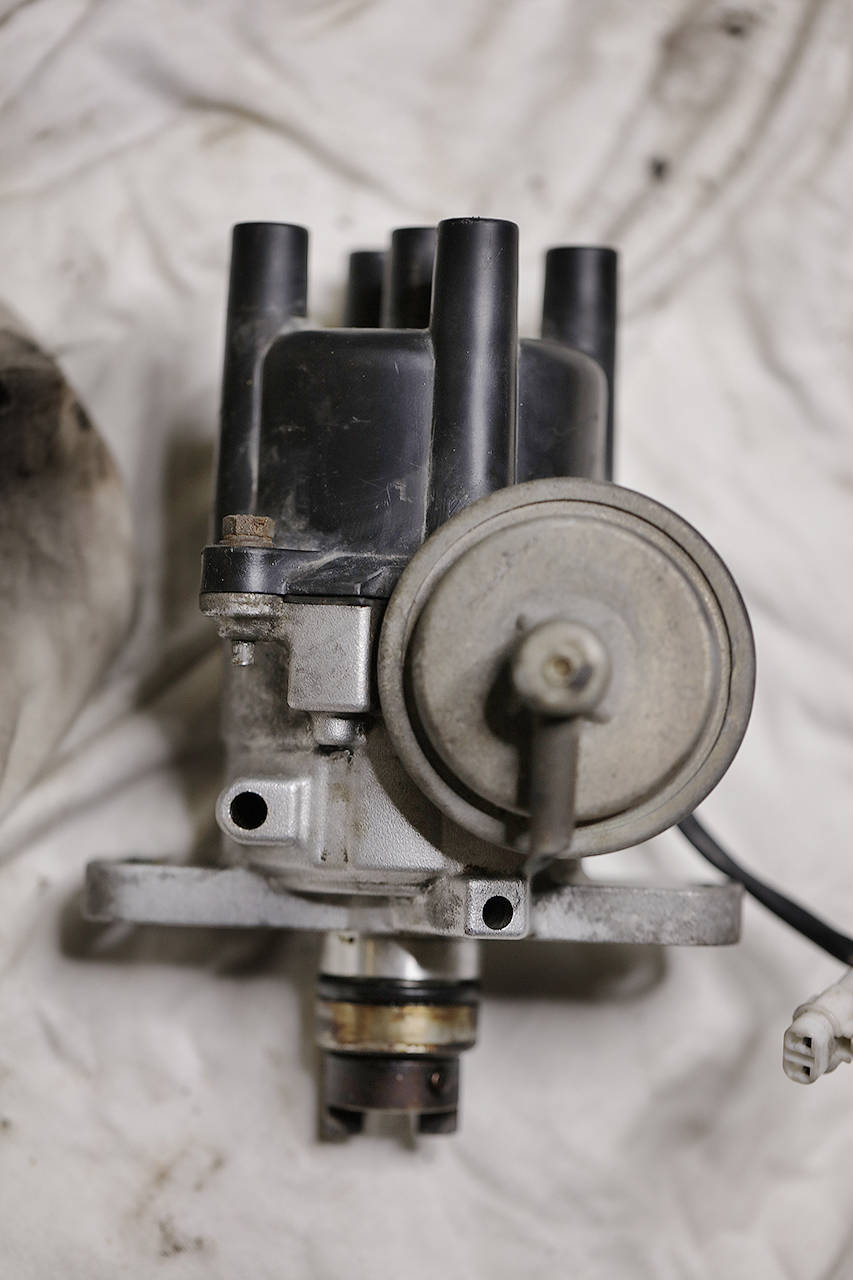
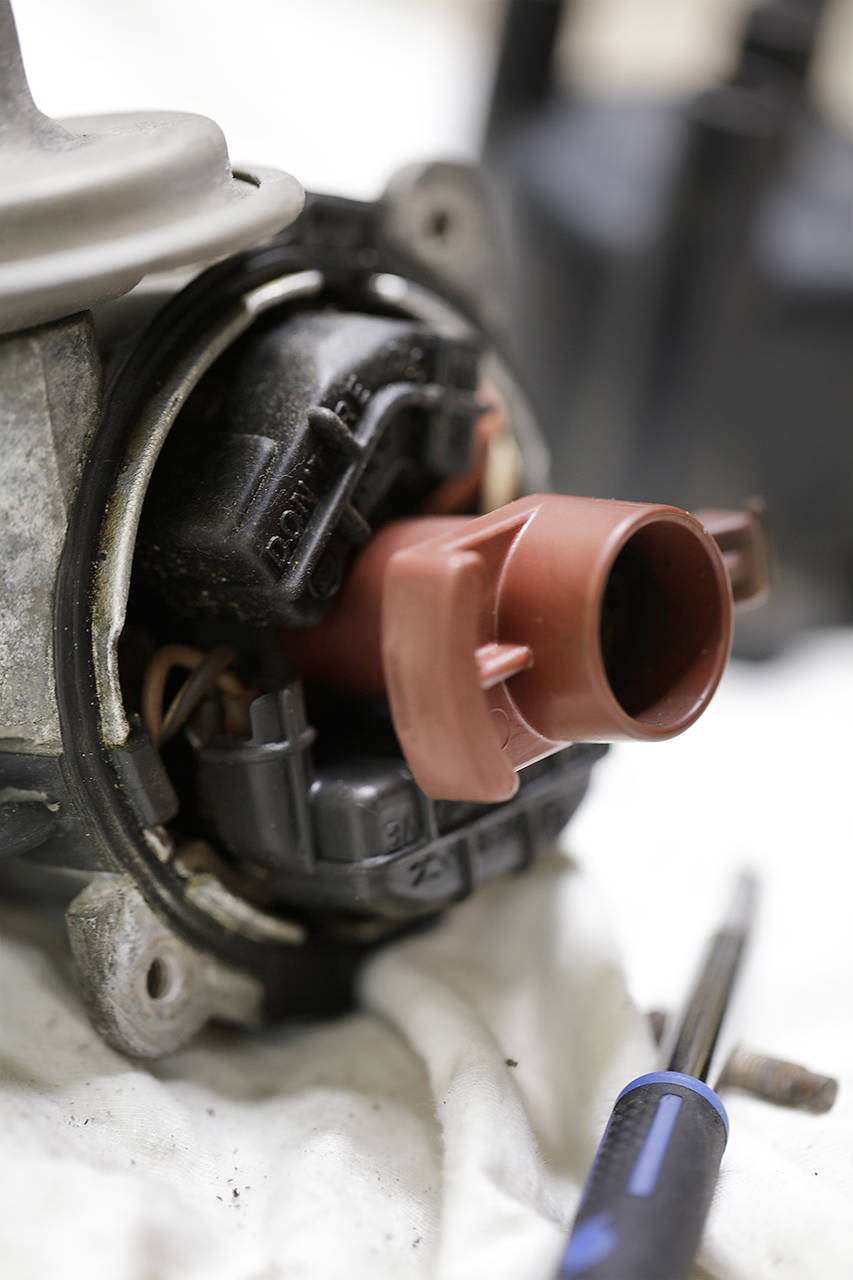
- Tändspolen monterad
- Expansionskärlet monterat
Snart är det påsk och då lär jag ta mig tiden att jobba vidare med den lilla bilen. På återseende och Glad Påsk!
TRANSLATION Thursday... a day of contrasts. It started with rain and cold, then sun and warmth, and thereafter storm and rain. And good flow turned into setbacks. And Tuborg, water, and antifreeze. Yes, an eventful day. On the way to the garage, the windshield wipers on the daily driver also stopped working. Well, that looks good on the highway.
Still, I made it to the garage. Now, let's get started!
Dad had been pondering the electrical work over the past week, digging around in the wire harnesses. But he has experience since he was previously an electrician.
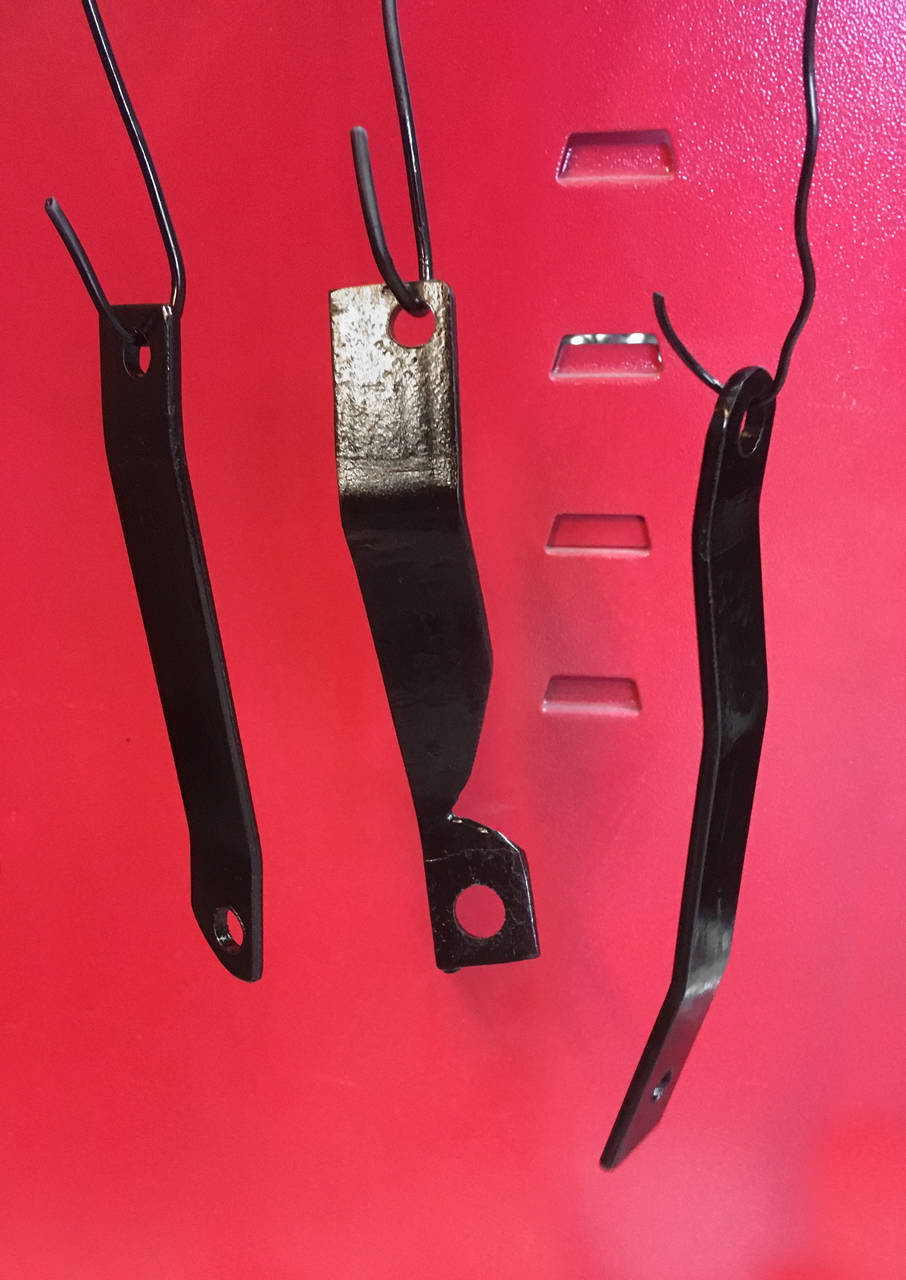
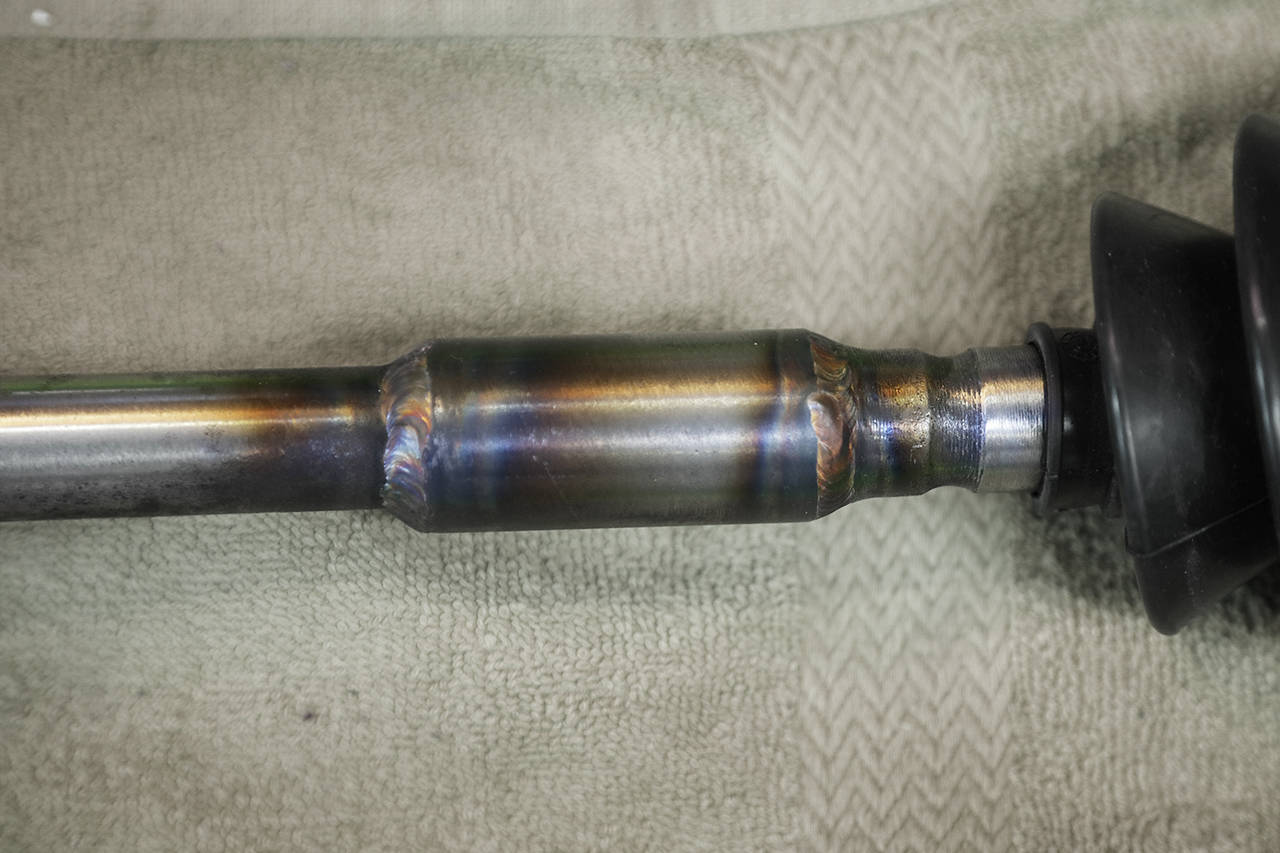
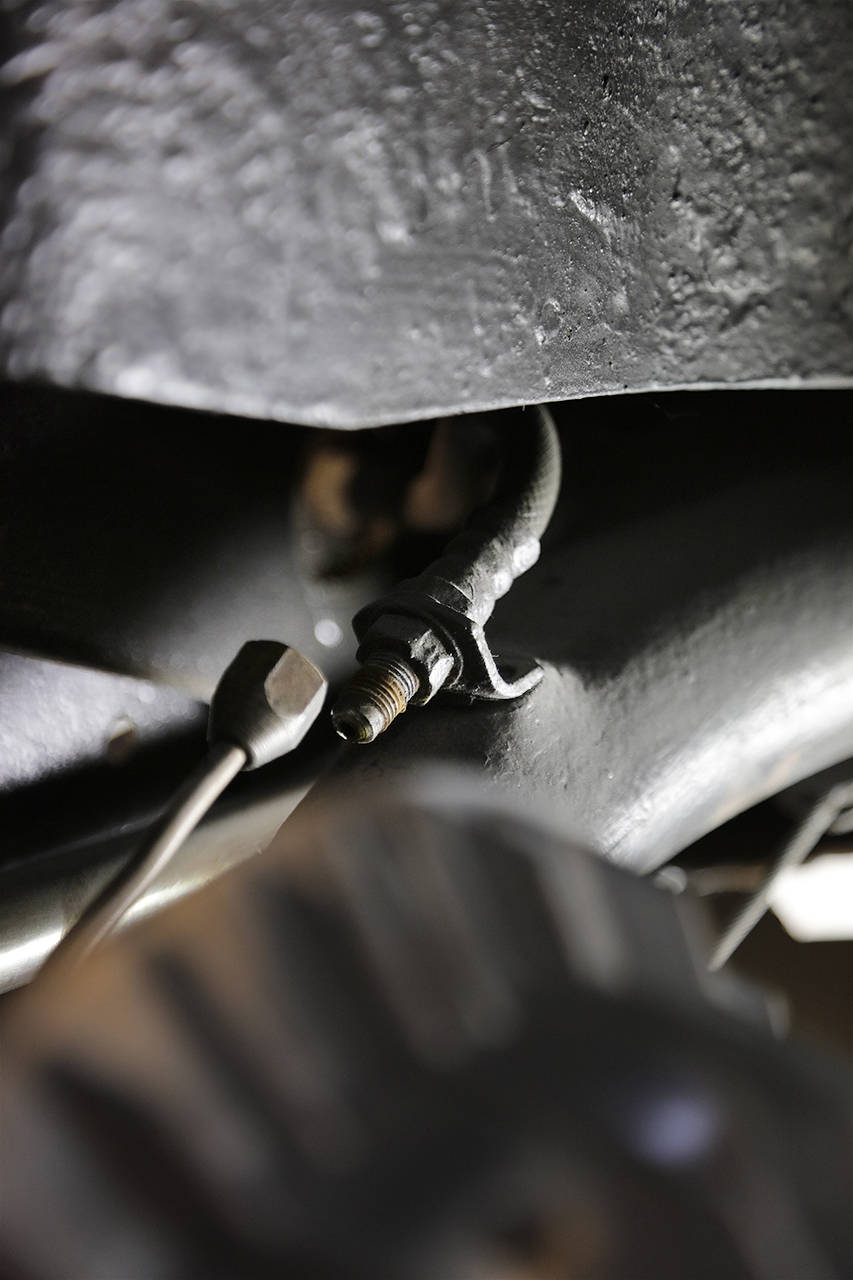
I was supposed to replace the slightly worn handbrake hoses with new braided ones. I thought I could do it in a breeze but forgot Murphy's Law. Unfortunately, the brackets gave in when I tried to loosen the hoses from the nipple. So I had to cut off the brackets and manufacture and weld new ones.
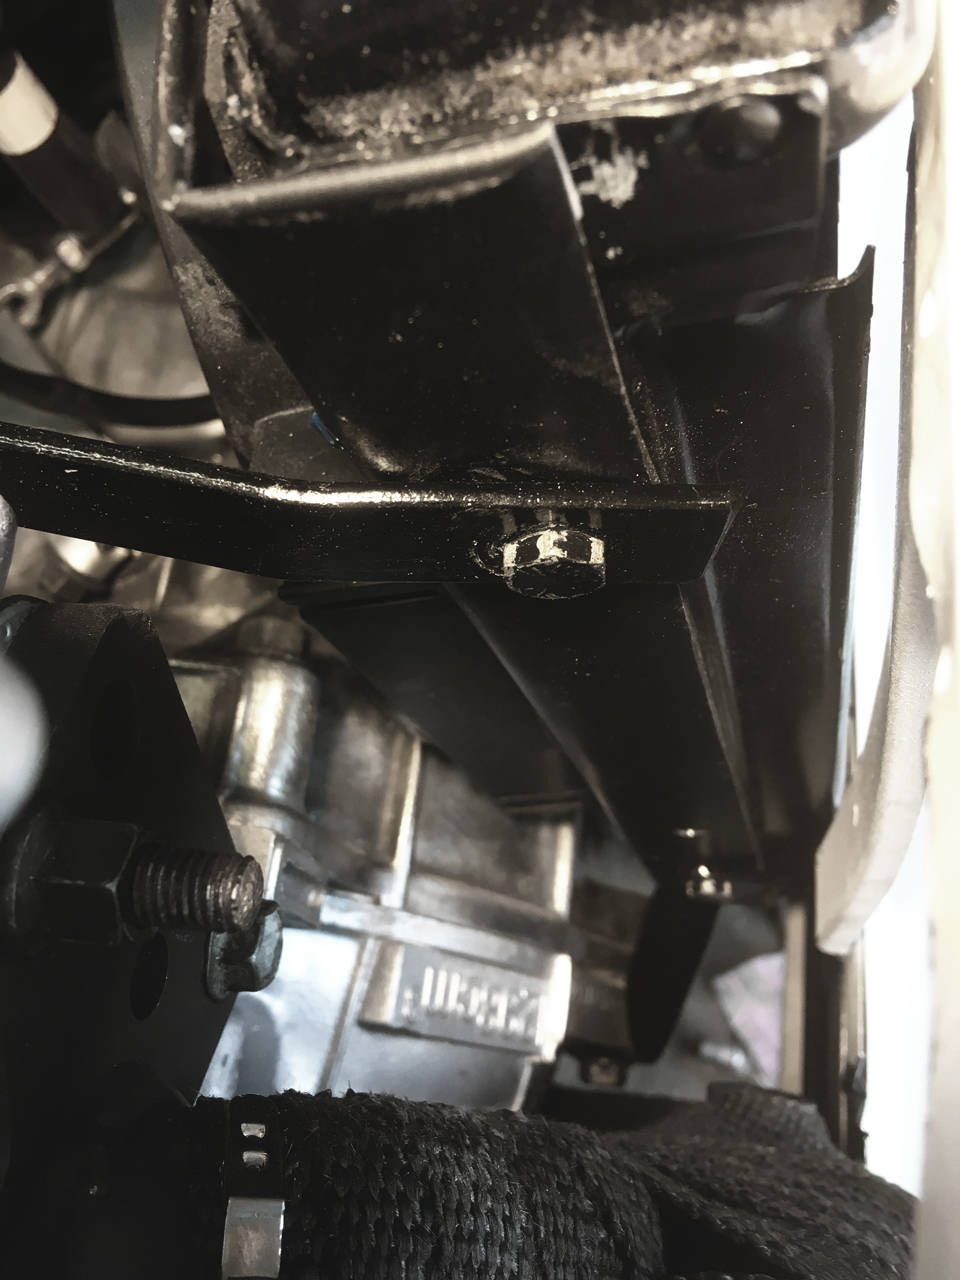
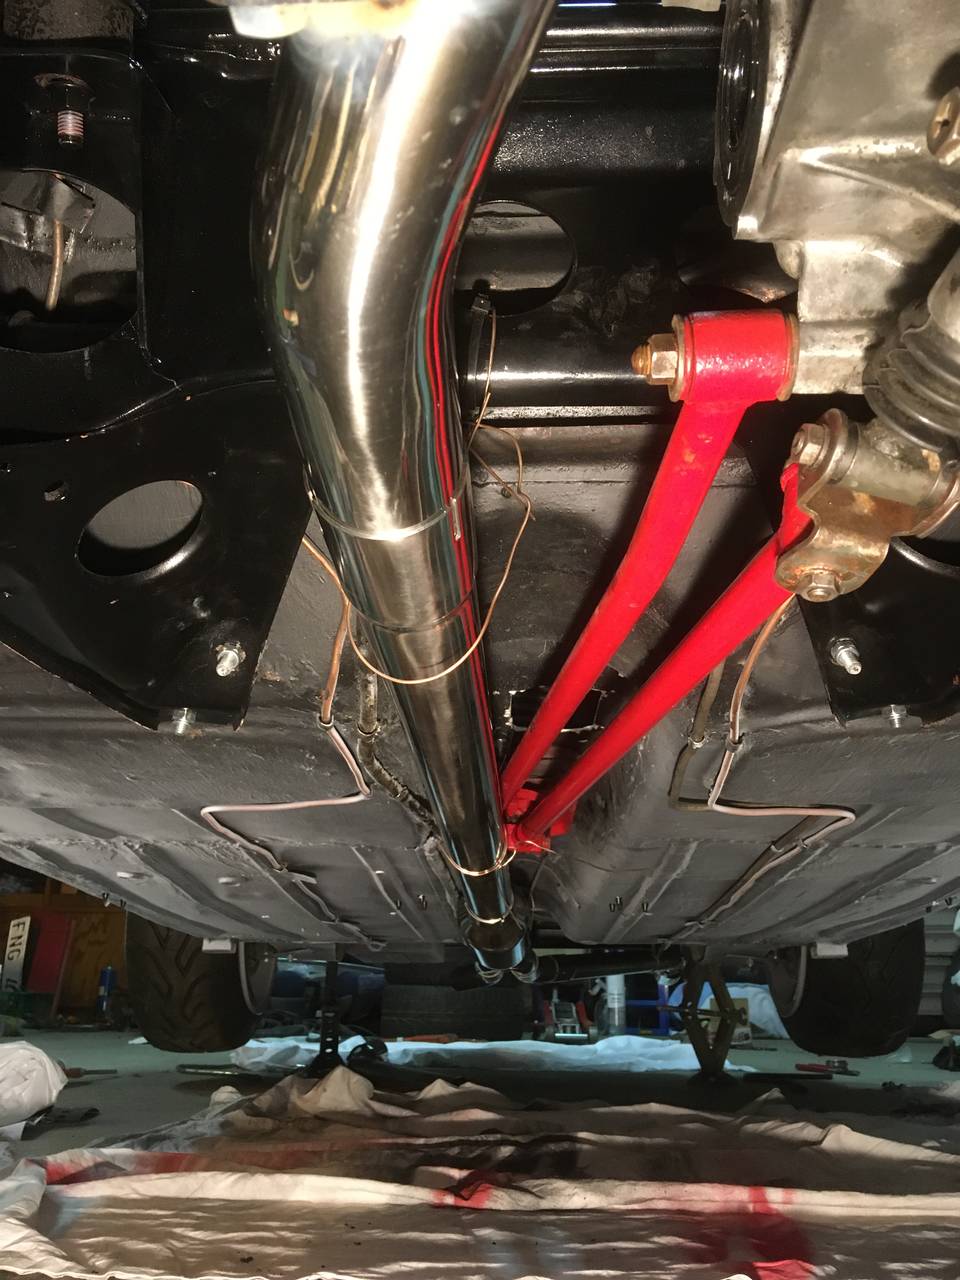
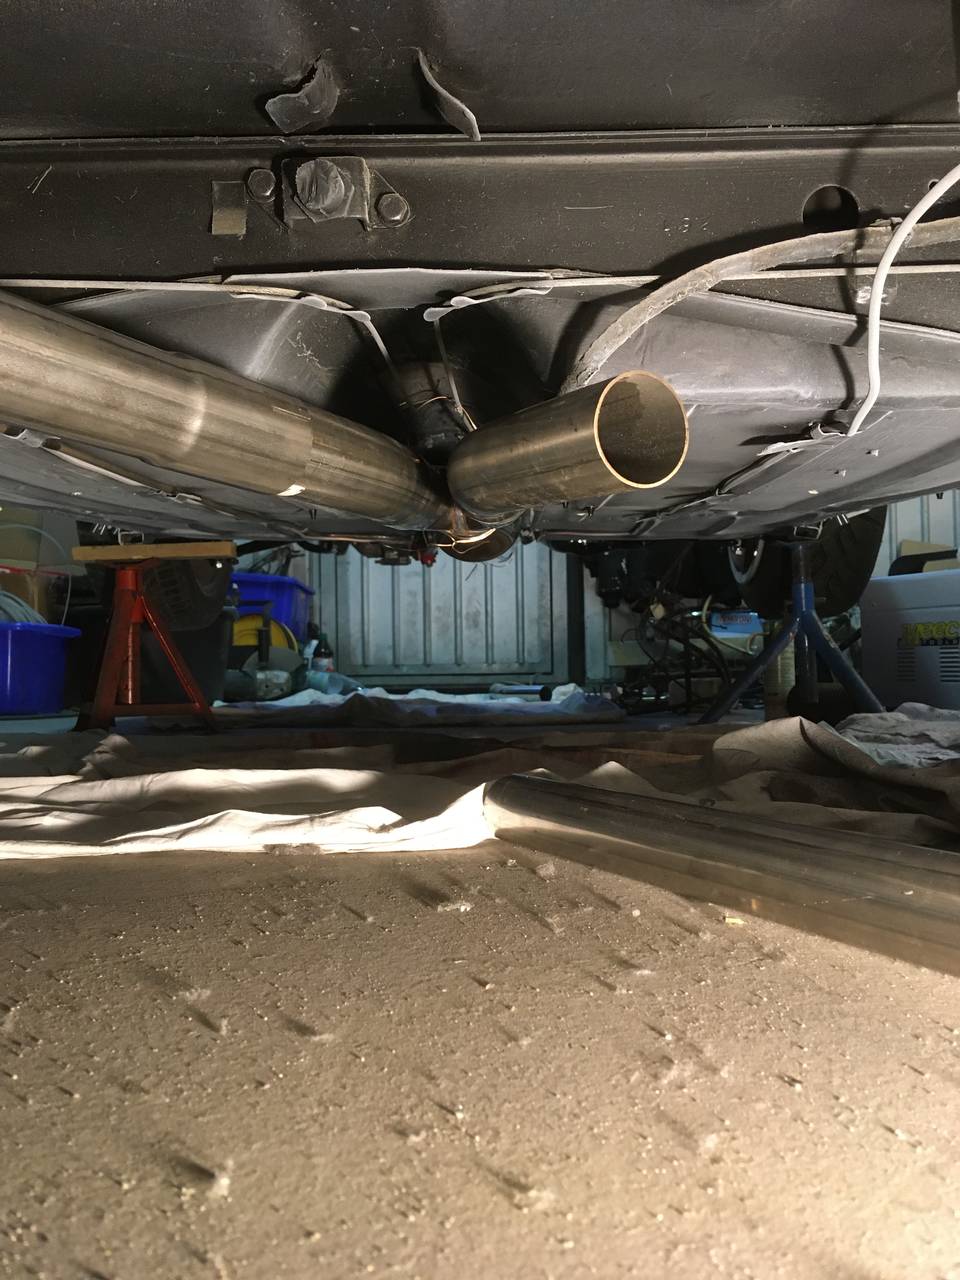
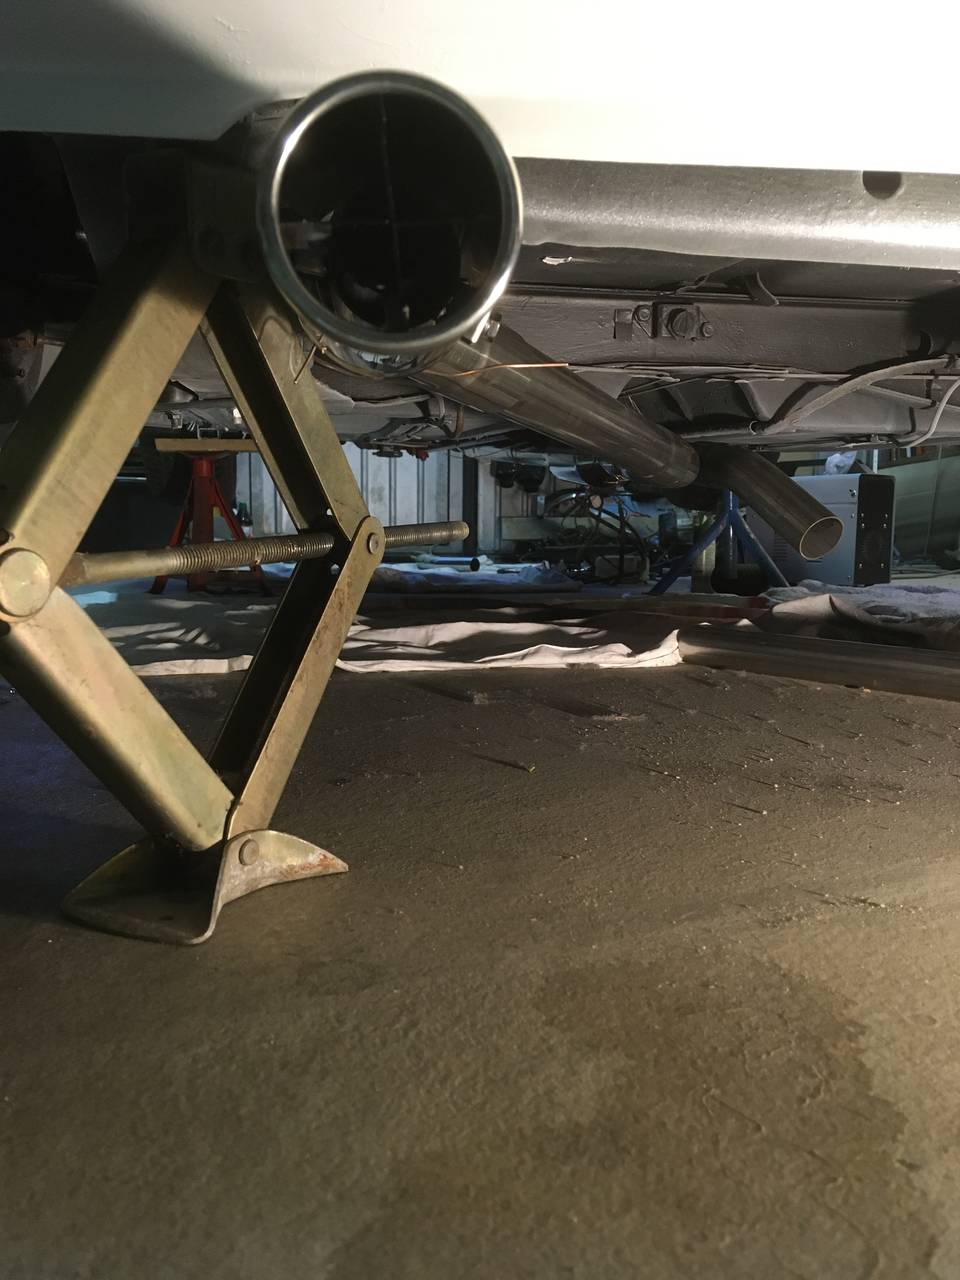
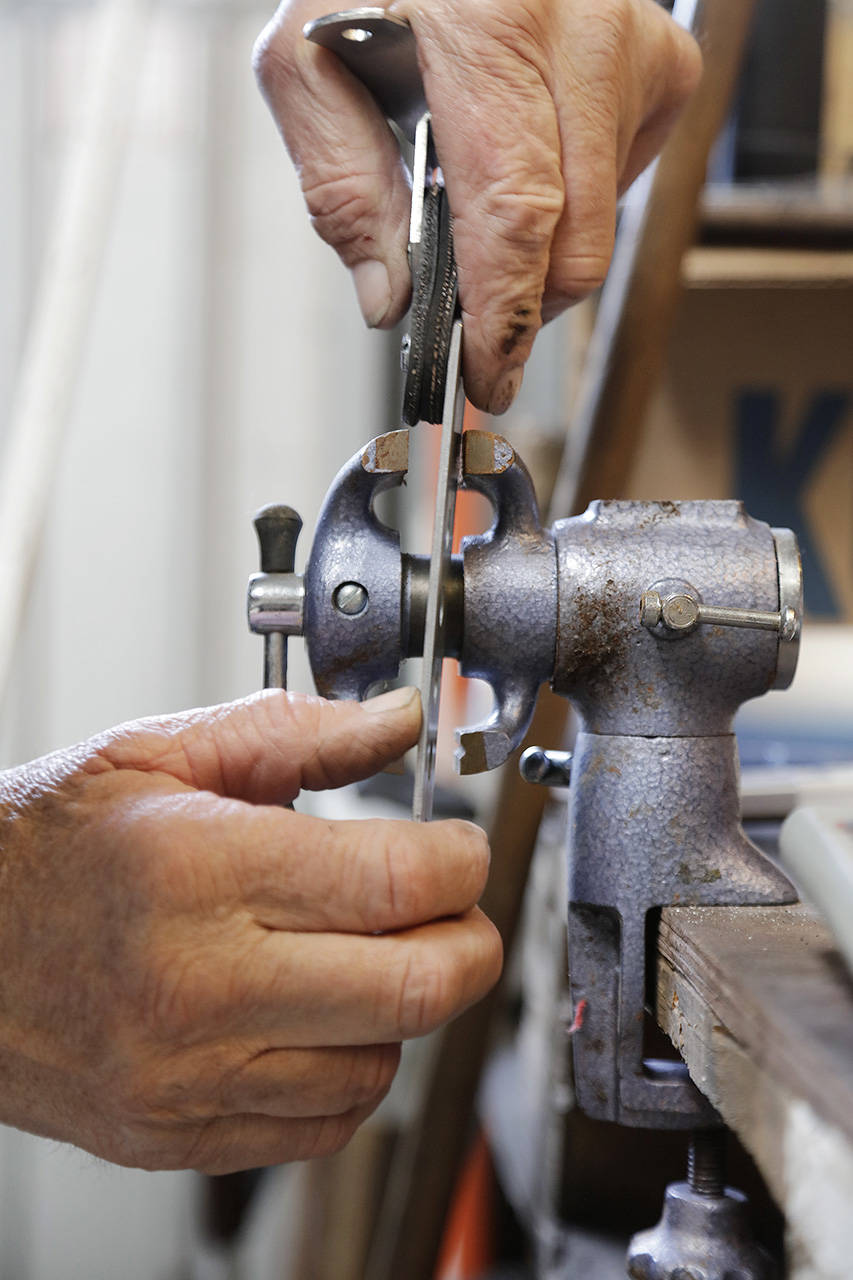
Dad had earlier in the week made a suspension mechanism for the right exhaust pipe at the back, but the rubber bushing didn't seem to withstand the pressure. A new bracket was made, and now the entire rear exhaust system is securely mounted.
God said, "Let there be light, and there was LED." Parking lights in the form of a short LED strip have been installed between the grille ribs. Initially, I was hesitant because the grille is to be black foiled and might not reflect the LED lights sufficiently. But Dad had temporarily taped it with black electrical tape, and the reflection is definitely sufficient. And we avoid the risk of the parking lights rusting, as they tend to do in the headlight variant with such lights.
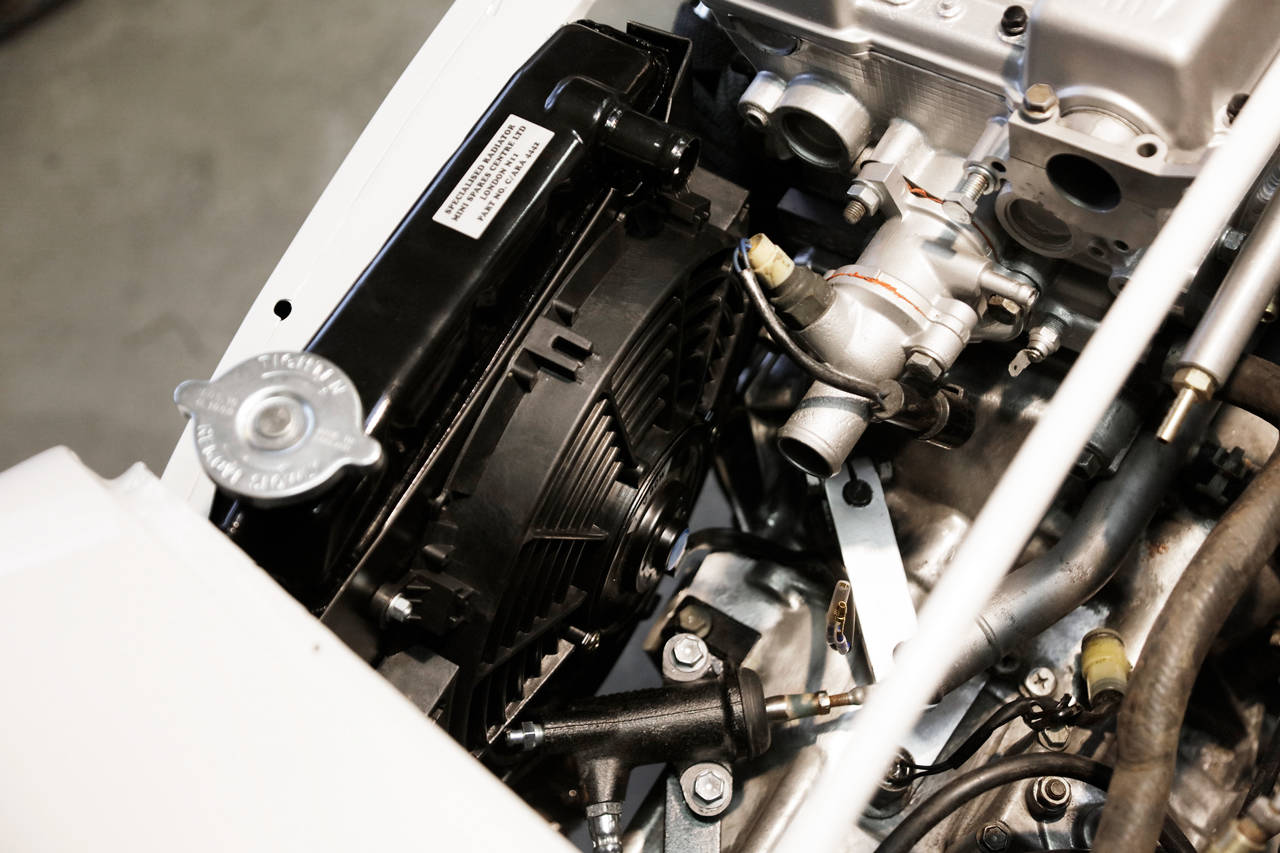
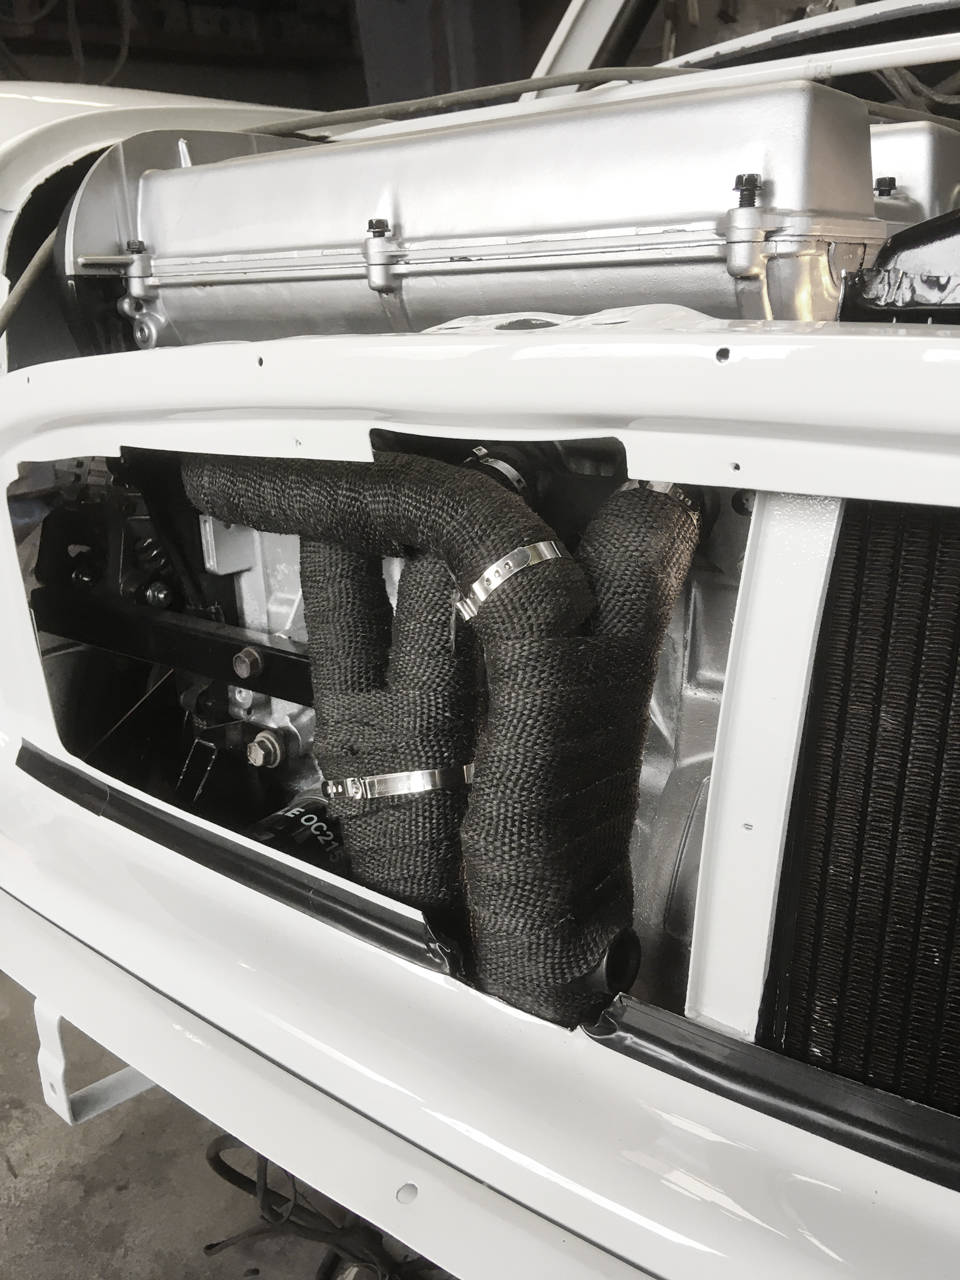
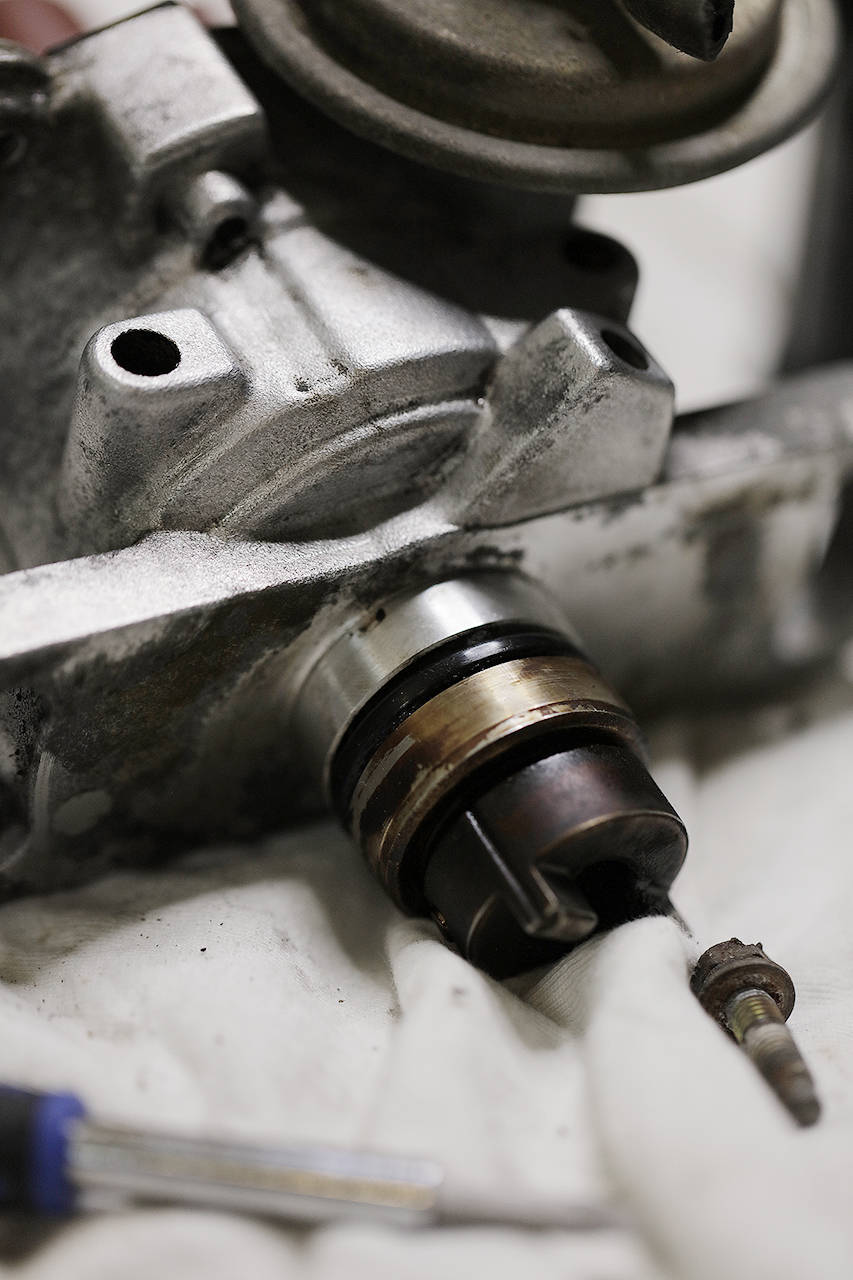
Dad had previously cut and made a new area in the bulkhead so that the carburetor wouldn't touch. But the air filter bracket still seemed to touch the bulkhead. Dad has an idea of how we can easily move the entire air filter 20 mm and thus eliminate the interference. However, the air filter is located behind the engine and may not get enough airflow there. Therefore, we will direct the air intakes through larger holes and hoses in the side panel inside the engine compartment. And so it will be cool air. Otherwise, the engine would have heated up the air in the engine compartment before reaching the carburetor, which is undesirable.
I had brought one of the doors hoping to install the window trim that was missing at home. But first, the door trim itself had to be installed. But things need to be done in a certain order for it to be right. The door trim is supposed to clamp on the edge, so the mat must be in place. And before that, the sound deadening mat must be glued in place. And before that, I had to spray spray adhesive to get better adhesion since the rigid sound deadening mat has to fold around a bend (the wheelhouse) between the door and pedals. And the spray adhesive needs to set and become good, and that takes time. I didn't get further than that with the door. So I dragged it back home, but this time with those missing window trims so that I can assemble them completely.
I proceeded to screw a cover plate over the previous gear lever hole in the tunnel. After that, I fixed the red electrical wires in the license plate light with black heat shrink tubing. You can see the wires if you look at the light from above, and it wasn't nice with red wires. Details.
Dad manufactured a pedal stop for the brake pedal so that the pedals align when they are in a row. It would be weird if one pedal sticks up 4 cm higher than the others.
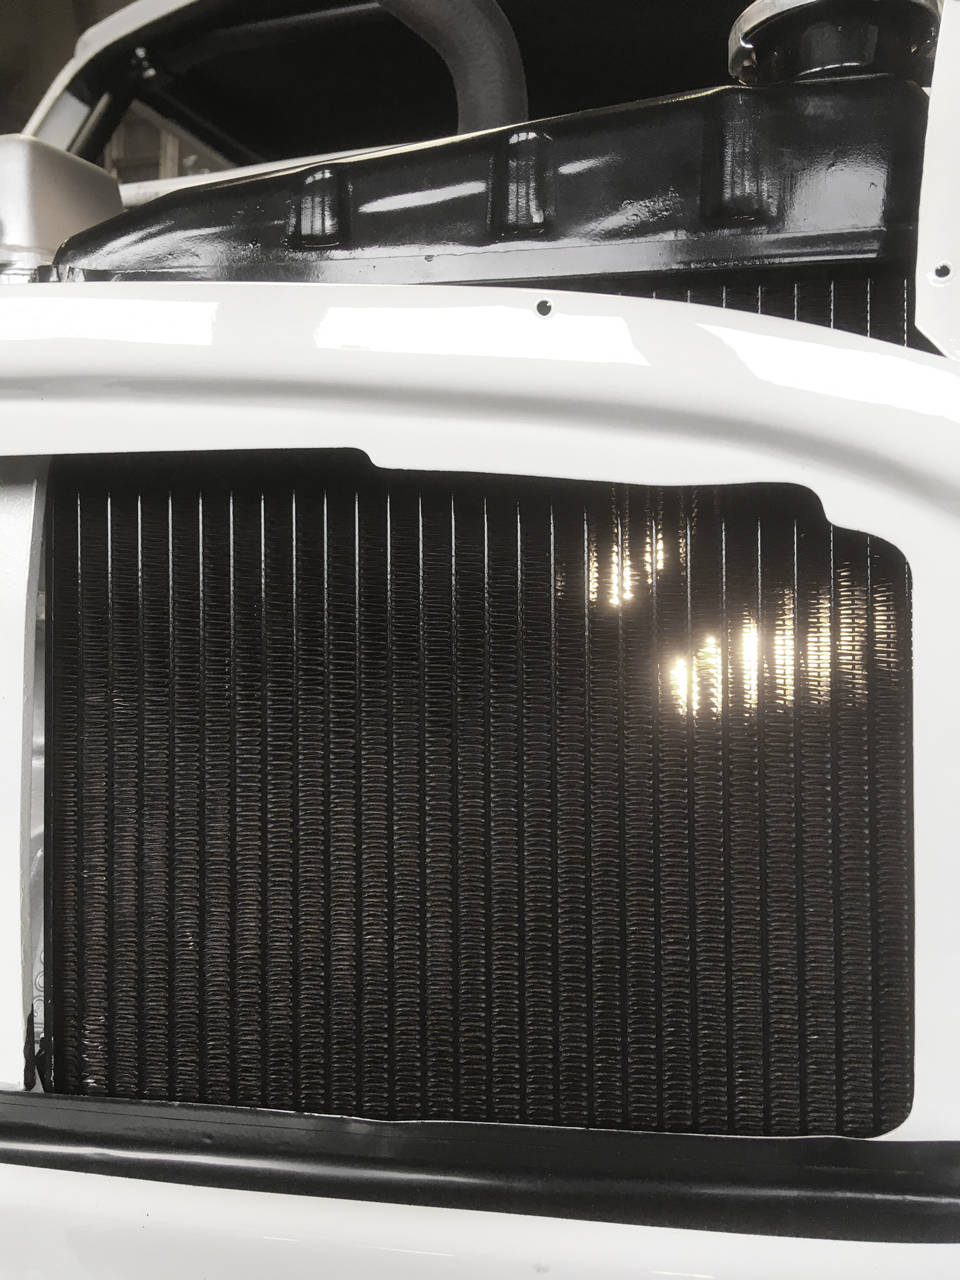
When that was done, we filled water in a Tuborg jug and flavored it with a little antifreeze. A strange combo. Initially poured a small part of water into the radiator and checked for any leaks. Looked good. Added a bit more. But, well, unfortunately, there were a couple of puddles under the car. A hose to the water thermostat had a hole and had to be replaced. Also, we had plugged a small stub, but the hose clamp wasn't sitting very well. We replaced the plug too, and now everything was tight.
We moved on to filling brake fluid and immediately started bleeding the rear brakes. Pump up the pressure, open the circuit and press the pedal to the floor, close the circuit, repeat. We did this for 10 minutes, but we didn't think much was happening. However, the brake fluid in the reservoir was slurping until, in the corner of my eye, I saw oil dripping from the engine compartment. It was a nipple that we hadn't tightened. There you go. So simple. Yet so difficult at the same time. But now the brakes have been bled once. Will be done more times in the future.
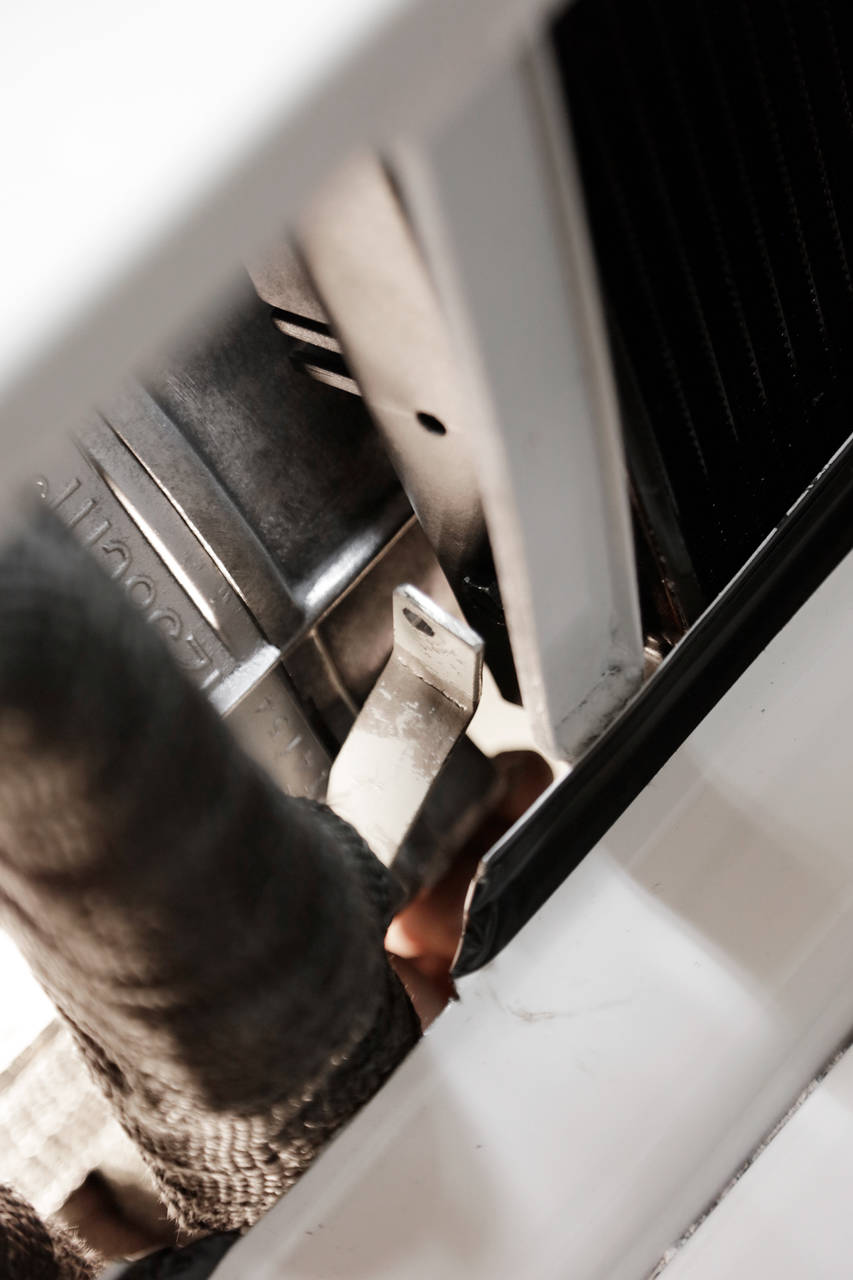
This time, there were many "hidden" things being sorted out, but they also need to be done to get it running shortly.
I also cut off half of the steering wheel hub (in depth) to be able to mount it on the quick release. Technically, you could say that it's the horn mechanism, but since the horn is on the turn signal lever, the horn button isn't needed. New screws need to be obtained as they were too short. It would be good if the steering wheel is in place so that you don't suddenly sit there with it in your hand in a turn.
Other small things that were done include
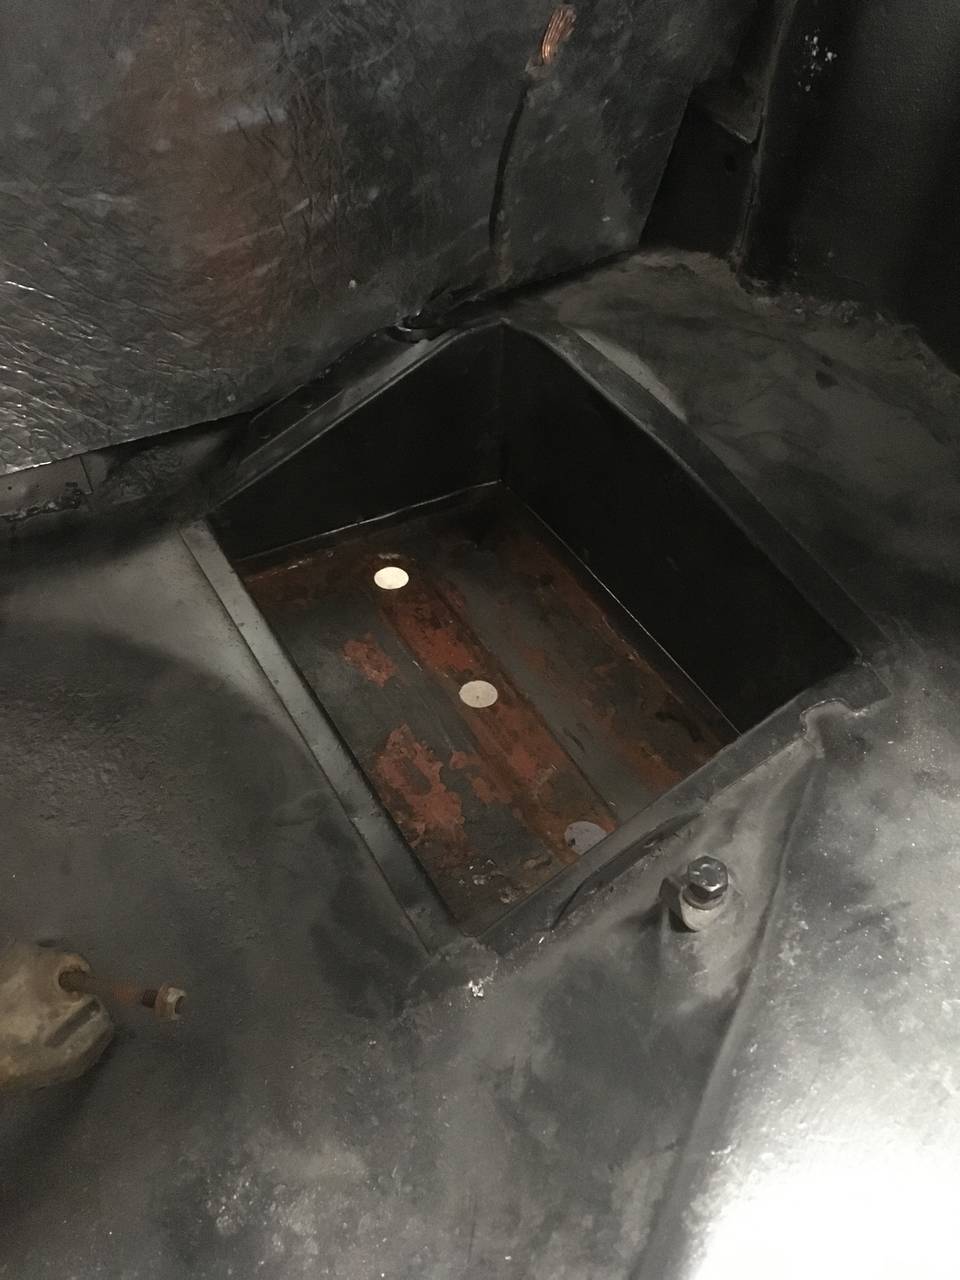
- Grounding the tank
- Running a ventilation hose to the tank
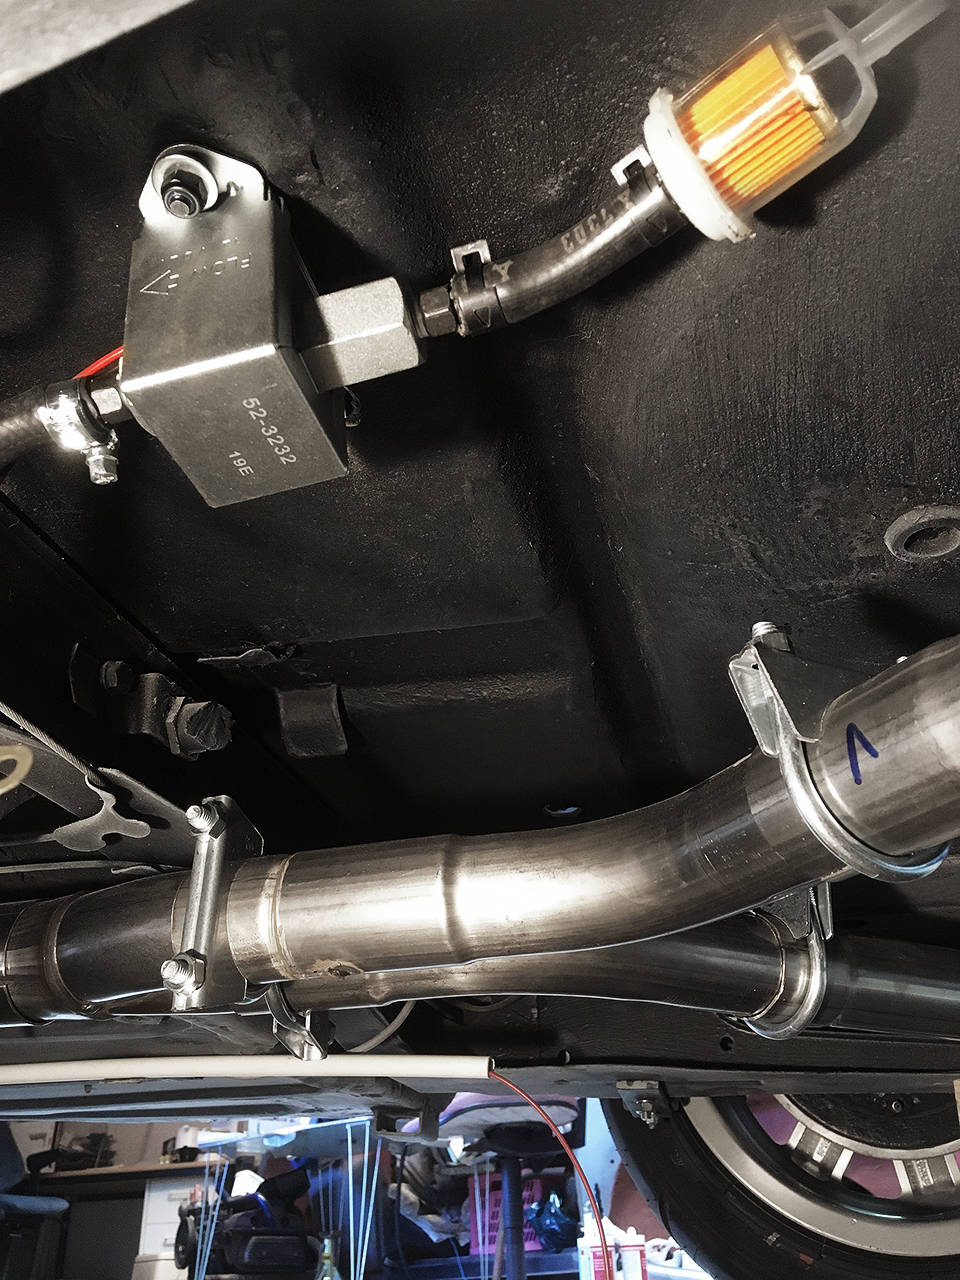
- Welding the exhaust manifold flange
- Electrical connection to the fuel pump
- Cover on the handbrake mechanism
- Welding the handbrake bracket
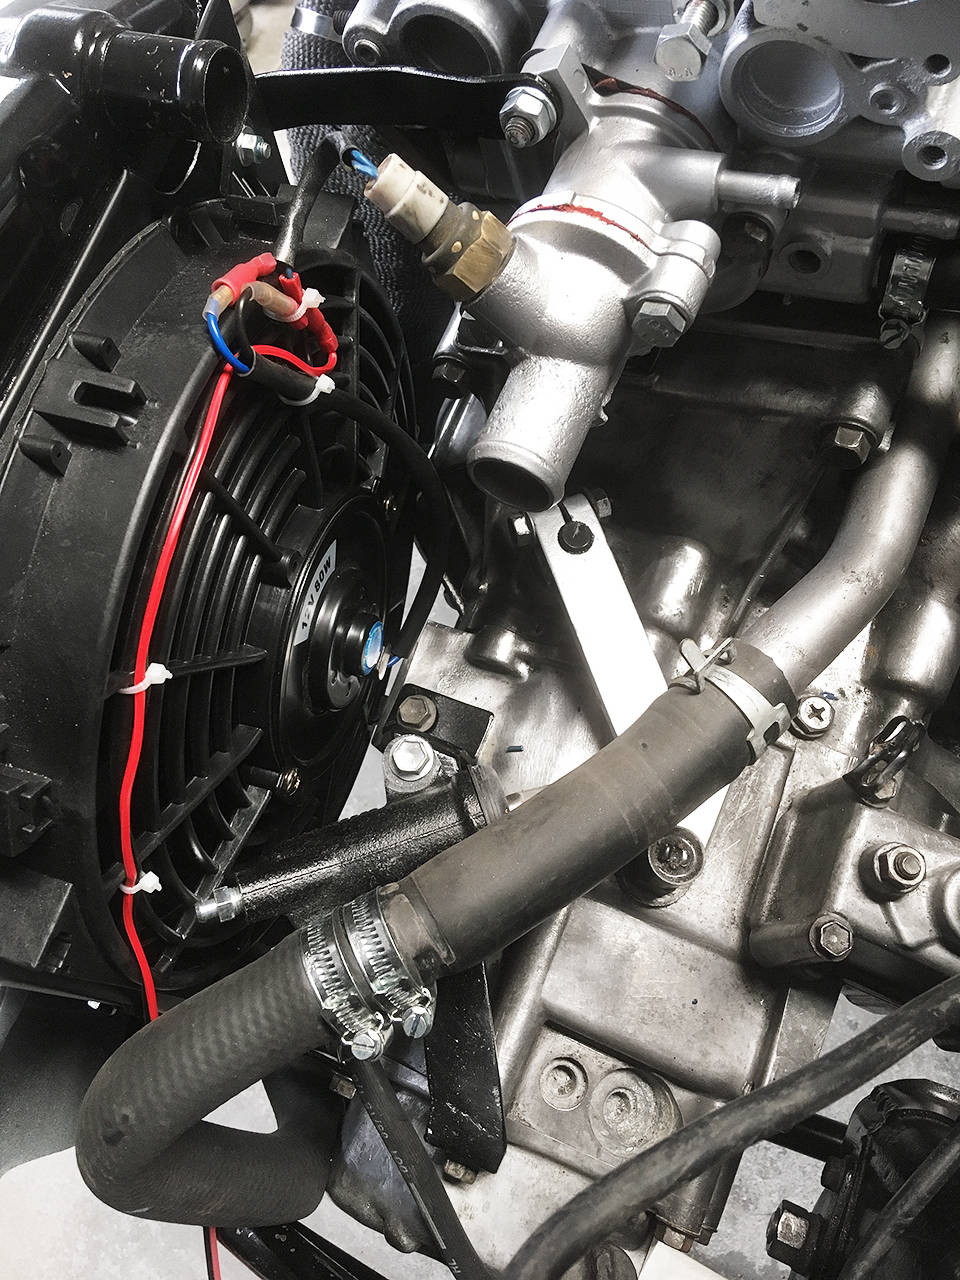
- Mounting the ignition coil
- Mounting the expansion tank
Soon it will be Easter, and then I'll likely take the time to continue working on the little car. Until then, see you and Happy Easter!
![https://www1.garaget.org/gallery/images/219/218366/218366-e7b7a0cd3107d3d8f57b89511f74ecdd.jpg]()
![https://www1.garaget.org/gallery/images/219/218366/218366-4041b14da28277a66fc156c0b3b8e7c4.jpg]()
![https://www1.garaget.org/gallery/images/219/218366/218366-0969dc141be4508f0f906c84257a95ae.jpg]()
![https://www1.garaget.org/gallery/images/219/218366/218366-1e258f3f41e41f82de7a95fbd00c4db1.jpg]()
![https://www1.garaget.org/gallery/images/219/218366/218366-efff859f3d3f45b3499bb05391a7b2e6.jpg]()
![https://www1.garaget.org/gallery/images/219/218366/218366-7455e5c1f0d2ba0f2754916ba5e229d3.jpg]()
![https://www1.garaget.org/gallery/images/219/218366/218366-c21f333e6412436fd736dd42c9085e54.jpg]()
![https://www1.garaget.org/gallery/images/219/218366/218366-49613c7e8dcc7154e903d540a61b4f09.jpg]()
![https://www1.garaget.org/gallery/images/219/218366/218366-b25ebc52caa0763c8407ca959f856f8f.jpg]()
![https://www1.garaget.org/gallery/images/219/218366/218366-b772a0e06855ec41afe3e52c3d7267ce.jpg]()
![https://www1.garaget.org/gallery/images/219/218366/218366-121cd6114d894f382d83753cfc320f2d.jpg]()
![https://www1.garaget.org/gallery/images/219/218366/218366-73078ae989c61427b4d68f3653fb3a5d.jpg]()
![https://www1.garaget.org/gallery/images/219/218366/218366-23fa2044cbc281cdc088beb9b195986f.jpg]()
![https://www1.garaget.org/gallery/images/219/218366/218366-0618d2f1e701dba057ea48fa75347982.jpg]()
![https://www1.garaget.org/gallery/images/219/218366/218366-4d72e7a513f7f636a966a3139b87a4d8.jpg]()
![https://www1.garaget.org/gallery/images/219/218366/218366-f1677461f74ce00248439b5b916c26cf.jpg]()
![https://www1.garaget.org/gallery/images/219/218366/218366-7cf4b08f40dce7210754ea71b07bf3ce.jpg]()
![https://www1.garaget.org/gallery/images/219/218366/218366-72582d212cd8c1d8f51f6398b20a96b1.jpg]()
![https://www1.garaget.org/gallery/images/219/218366/218366-cb73ff58bf190ce22882e2bece20e6a6.jpg]()
![https://www1.garaget.org/gallery/images/219/218366/218366-e793d2ee872e14700d8175b6048898f4.jpg]()
![https://www1.garaget.org/gallery/images/219/218366/218366-b74da108d2be63223b17dcae7c5d7a57.jpg]()
![https://www1.garaget.org/gallery/images/219/218366/218366-1df6a66a2187bf6e4b12032107006fb5.jpg]()
![https://www1.garaget.org/gallery/images/219/218366/218366-22d3a5143e27be9ee15199994bb5e334.jpg]()
![https://www1.garaget.org/gallery/images/219/218366/218366-0ce38828ef9a62353c4c69fd85935407.jpg]()
![https://www1.garaget.org/gallery/images/219/218366/218366-7cfc56cbf6f050f969db9488e0d67469.jpg]()
![https://www1.garaget.org/gallery/images/219/218366/218366-72e663a889b9332727084e04b6e7c0a2.jpg]()
![https://www1.garaget.org/gallery/images/219/218366/218366-bac72220e585ce4733c5a8b206c5579b.jpg]()
![https://www1.garaget.org/gallery/images/219/218366/218366-60a1e9adaffe3ffbe7e14dee1dedaada.jpg]()